
- A VPN reseller provides two months of service for free when a website visitor creates an account.
- A newsletter publisher gives each new account holder a two-month free trial subscription.
Creating an order template
The first step is to select an order (or basket line item) for the target product. This order serves as the baseline for the template.- If you don’t have an order in your system for the target product, create a test order with a dummy client account. It’s not necessary to process a payment - simply create an order in the basket.
- Go to the admin dashboard.
- Click the Products & services tab on the side menu.
- Locate your target product and click the tile.
- Click the Invoices menu tab.
- On the next page, click an invoice.
- On the next page, click Create order template. A new side panel displays.
Adding template details
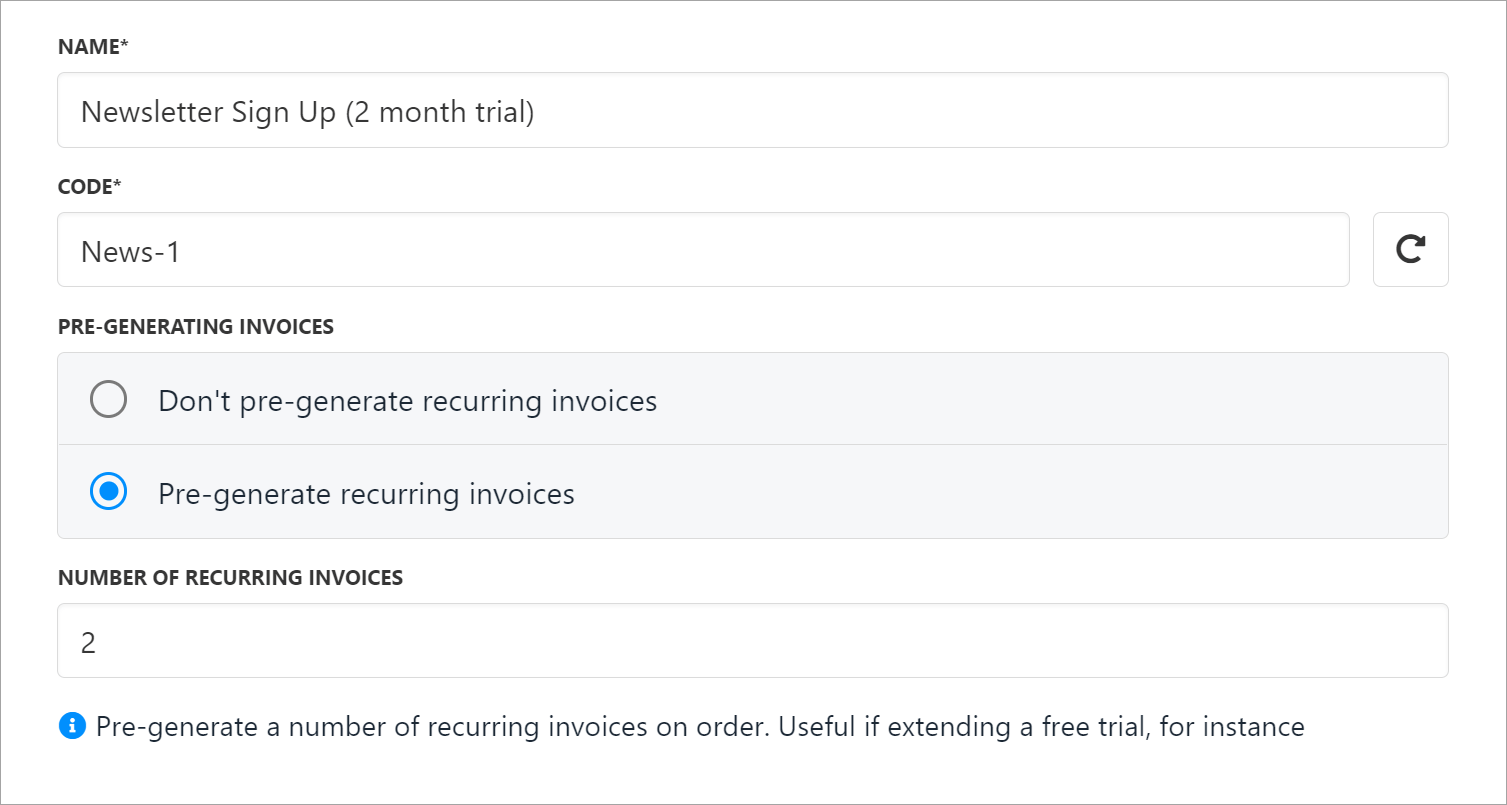
On the side panel page, enter a unique template name. In the Code field, enter a unique identifier (useful if you integrate an API with the order template). Click the radio button that matches your target product and then click Save. Options Select the first radio button if you’re creating a template for a one-off item. Select the second radio button (Pre-generate recurring invoices) if this is a recurring product. Enter the number of invoices that Upmind should generate for the new account. This feature is useful if you are creating an order with a discount code that applies for a number of months.- For example, if you offer a 60-day free trial, you would add a 100% discount for two months, then auto-generate two recurring invoices (as the screenshot below shows).
Editing an order template
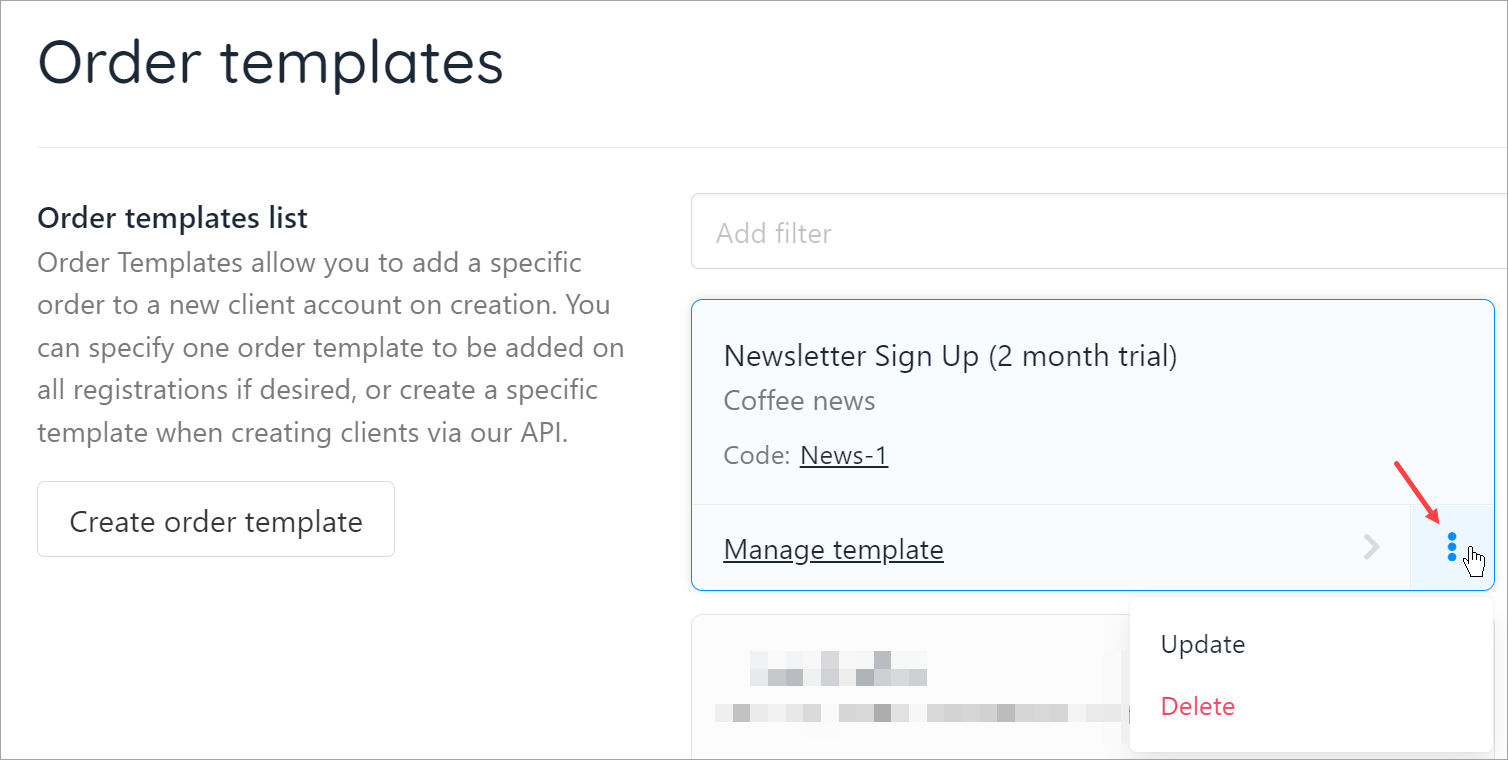
After you click Save, the Order templates page displays. Here you can update or delete an order template.- To make changes, locate the template you want to edit and click Manage template.
- To remove a template, click the ellipsis and select Delete. You can also click Update to open the template editor.
- Log in to the admin dashboard.
- Click Settings.
- Click the Order templates tile under the Ecommerce Settings heading.
Enabling an order template
The next step is to activate the order template so that when a website visitor creates an account, Upmind automatically creates a new order. In this example, Upmind creates an order for a newsletter subscription that comes with a two-month free trial.- Log in to the admin dashboard.
- Click Settings.
- Click the Order options tile under the Ecommerce Settings heading.
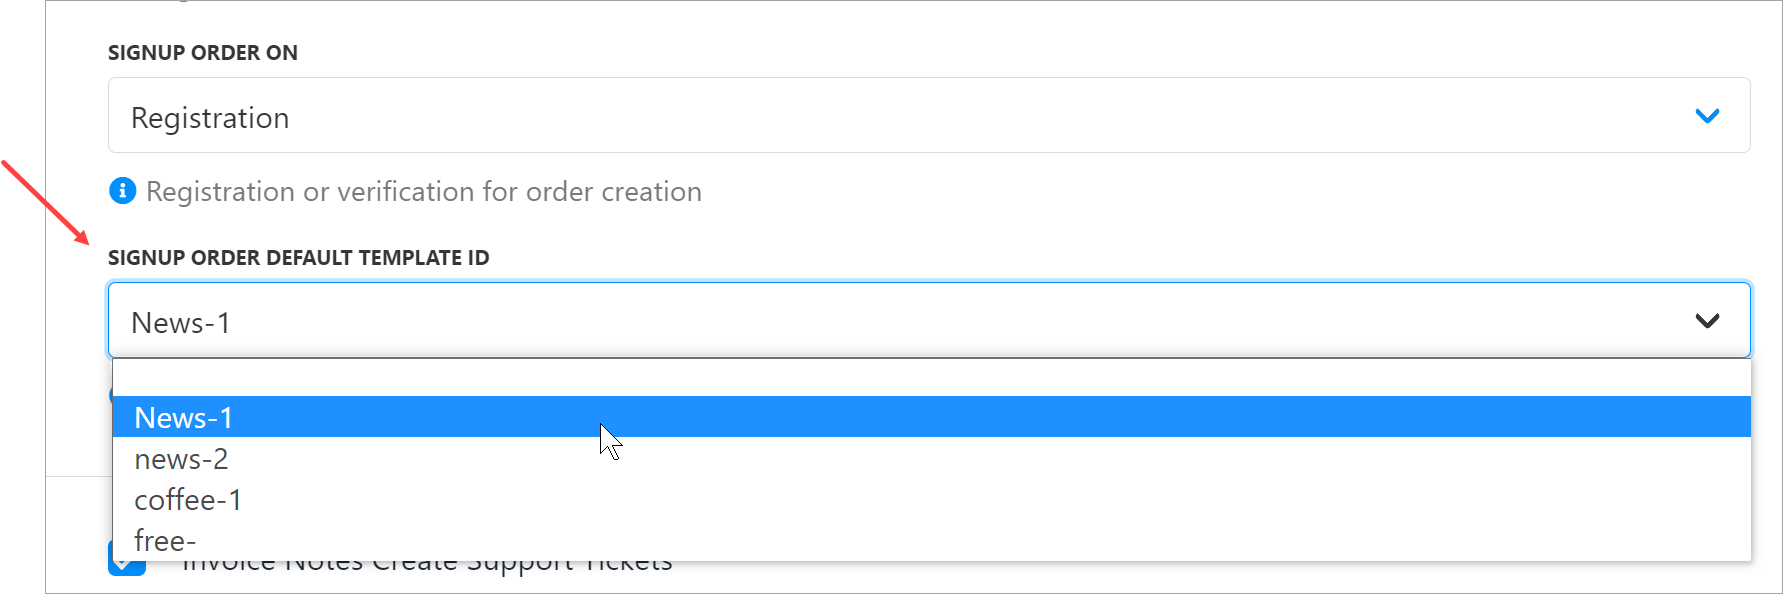
- On the next page, scroll down to the SIGN UP ORDER DEFAULT TEMPLATE ID heading.
- Click the field to open the drop-down menu. The menu shows the code name for each available order template.
- Select the correct order template code name.
- Click Save.
What the customer sees
Calling the order template by default
There are two ways to trigger this order template. First you can call it on the client registration API command. Simply passorder_template_code as a parameter when registering a new client.
PHP
settings > order options.