How to Create Hosting Welcome Emails
Hosting welcome emails are a form of product notification that gets sent when an order is activated.
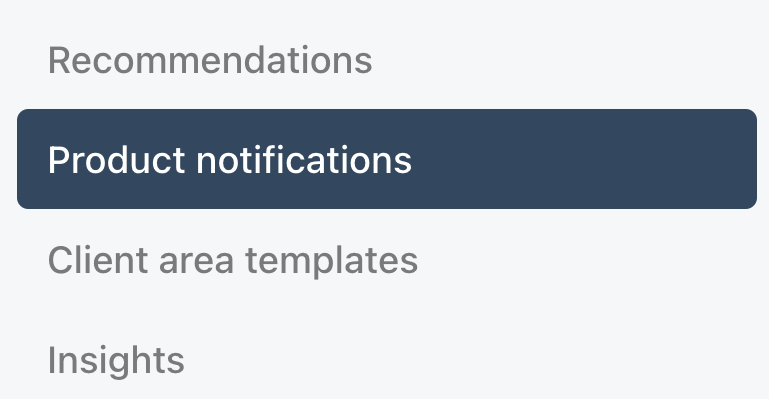
Once you have created your product, on the product screen click Product notifications

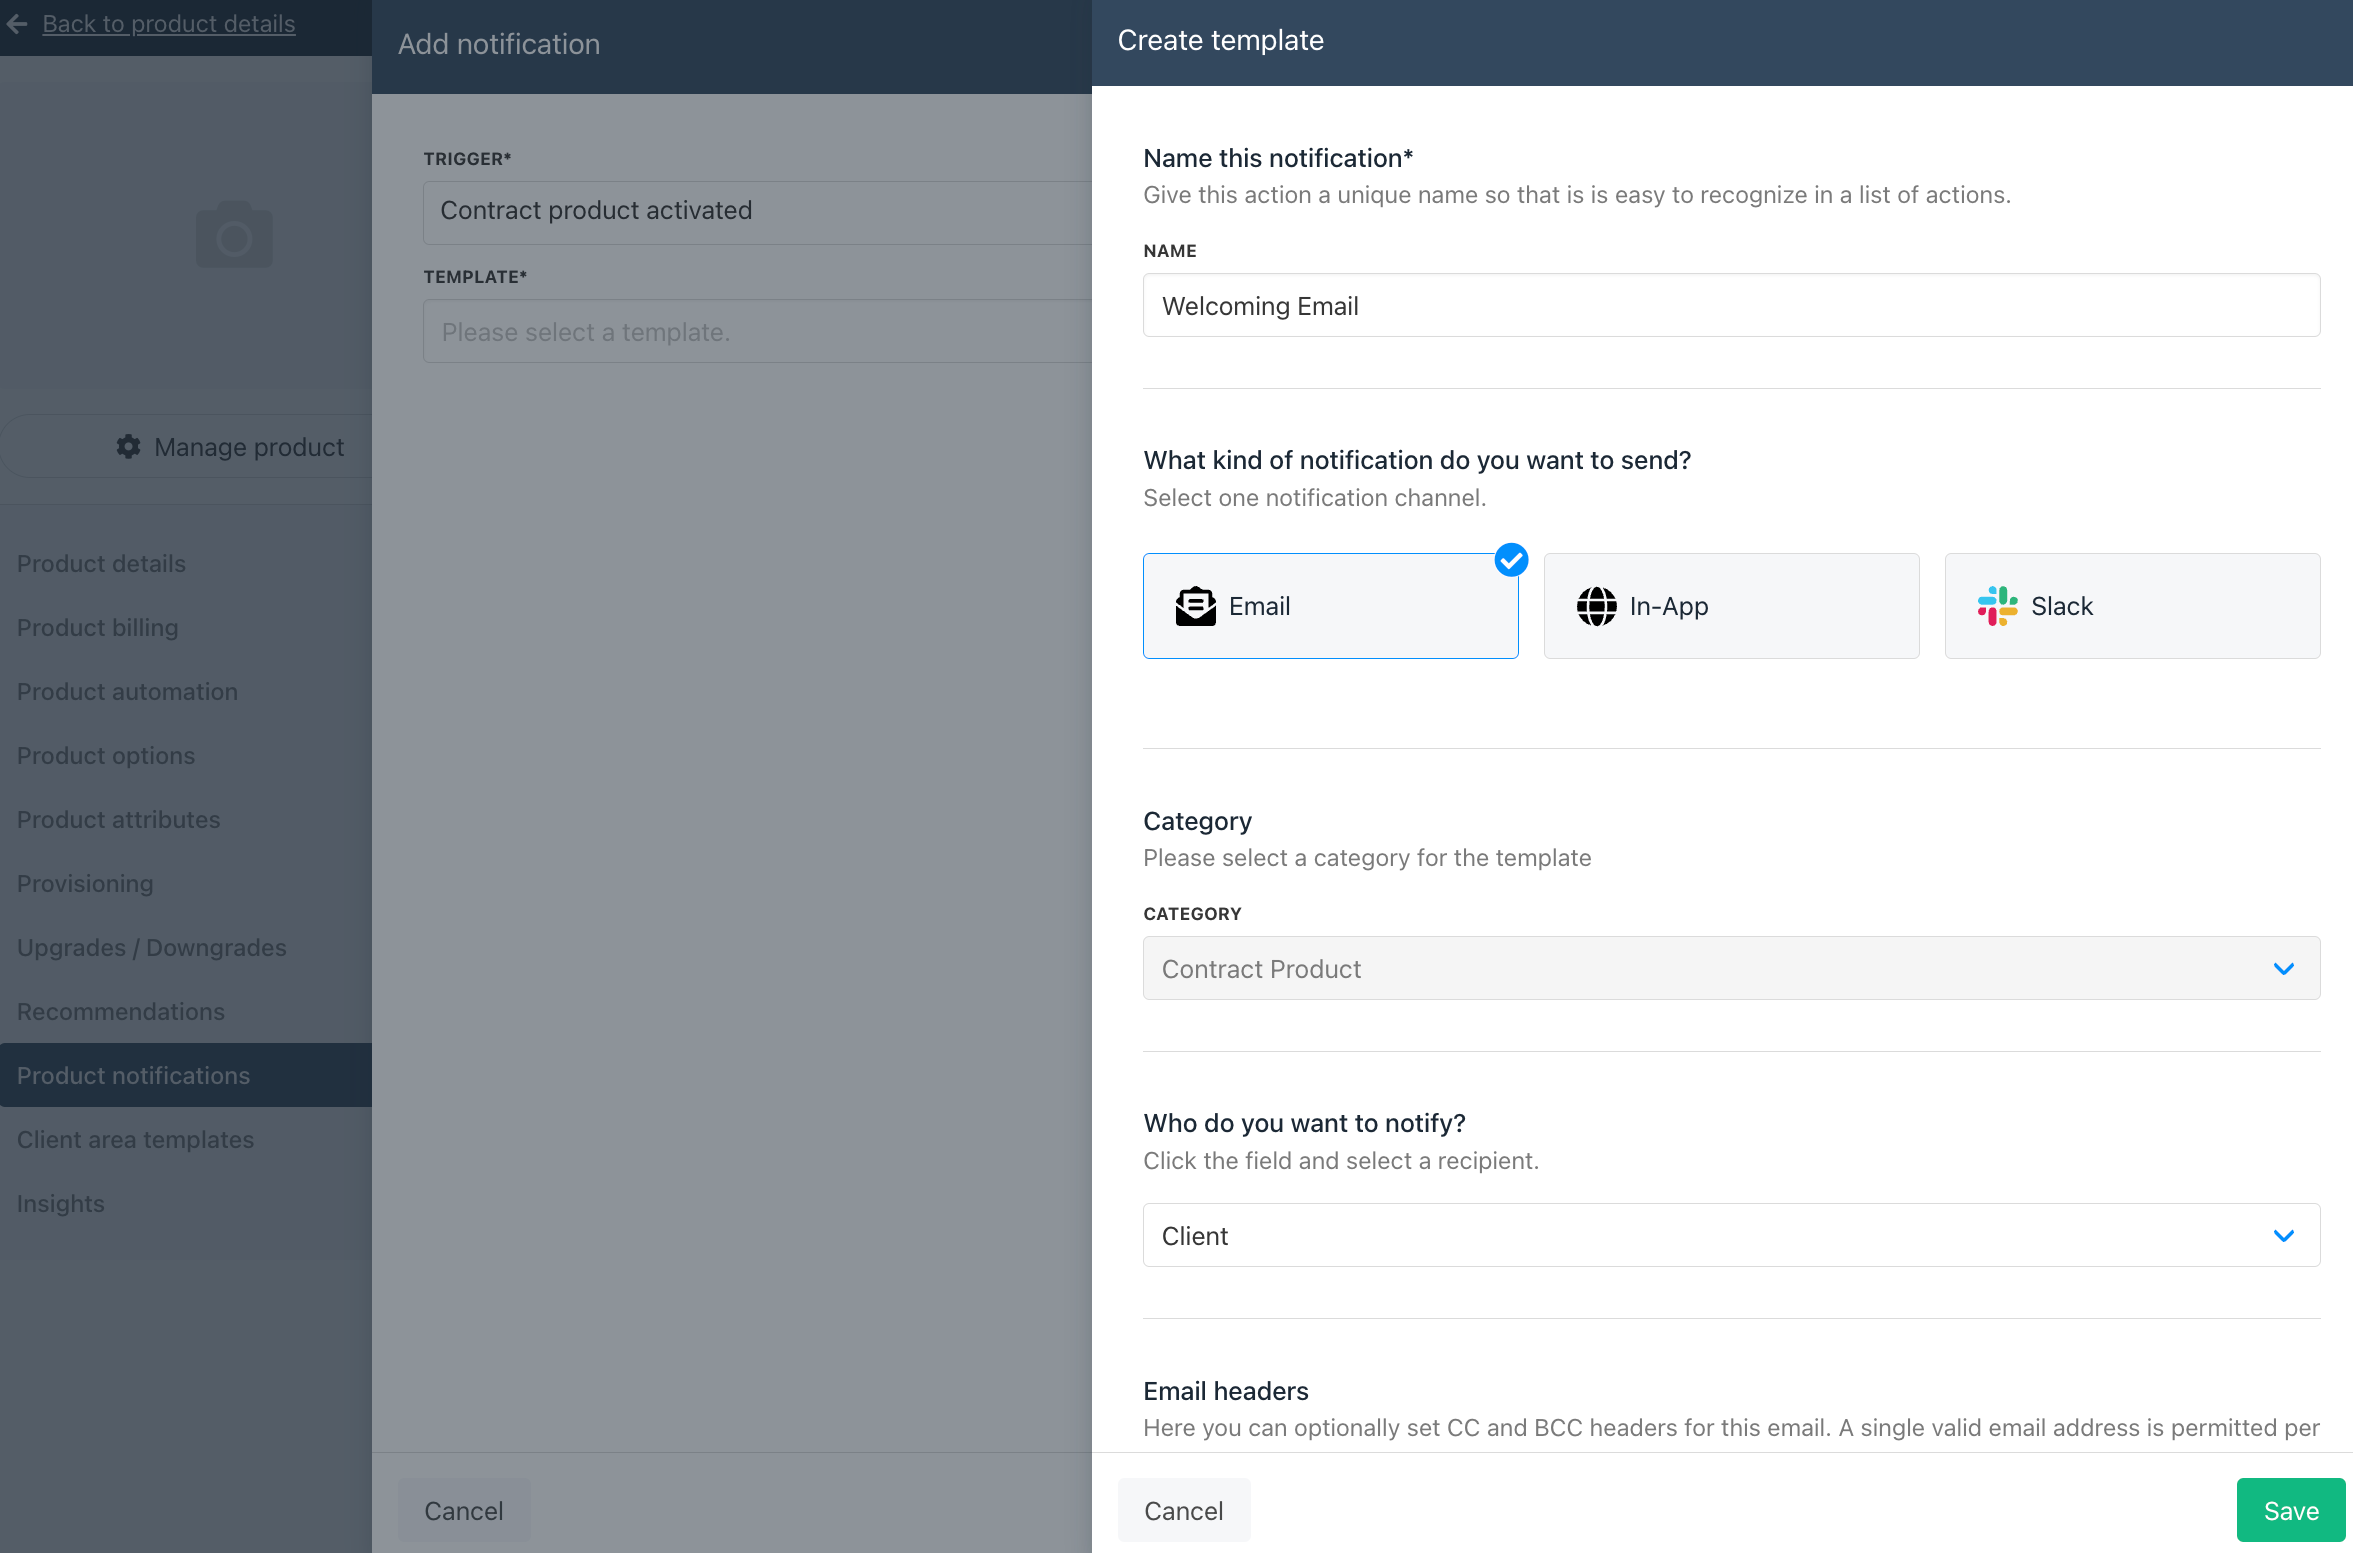
You can then choose to add a new notification. Select the trigger Contract product activated

Below we paste an example generic email you can use for a web hosting (cPanel) welcome email.
Dear {{ client.first_name }},<br ><br >

Thank you for ordering your new {{ brand.name }} hosting package. Your account is all set up and ready to go!<br ><br >

This email contains all the information you will need in order to get started.<br ><br >

<strong>Hosting account name:</strong> {{ contracts_product.product_name }}<br>
<strong>Domain:</strong> {{ contracts_product.service_identifier }} <br>
<strong>Server Hostname:</strong> {{ contracts_product.provision_field_values.data_server_hostname }}<br><br >

<strong>Getting Started</strong><br><br>

Your hosting package is now live. You can log in through your <a href="https://{{ brand.customer_portal_domain }}/products/{{ contracts_product.contract_id }}/{{ contracts_product.id }}/manage" target="_blank">client area</a> under Products & Services > {{ contracts_product.product_name }} ({{ contracts_product.service_identifier }}) > Login to Control Panel.<br><br>

You can also log into your control panel directly at:<br><br>

{% if contracts_product.provision_field_values.data_reseller %}
<strong>WHM Reseller login page:</strong> <a href="https://{{ contracts_product.provision_field_values.data_server_hostname }}/cpanel" target="_blank">https://{{ contracts_product.provision_field_values.data_server_hostname }}/whm</a><br>
{% else %}
<strong>Hosting login page:</strong> <a href="https://{{ contracts_product.provision_field_values.data_server_hostname }}/cpanel" target="_blank">https://{{ contracts_product.provision_field_values.data_server_hostname }}/cpanel</a><br>
{% endif %}

<strong>cPanel username:</strong> <strong>{{ contracts_product.provision_field_values.username }}</strong><br>
<strong>cPanel password:</strong> <em><a href="https://{{ brand.customer_portal_domain }}/products/{{ contracts_product.contract_id }}/{{ contracts_product.id }}/manage" target="_blank">Set your cPanel password via the {{ brand.name }} client area</a></em><br><br>

<strong>Your domain name</strong><br><br>

If you have requested a domain name during sign up, please keep in mind that your domain name may not be visible on the internet instantly. This process is called DNS propagation and can take up to 24 hours though usually just a few minutes. Until your domain has propagated, your website and email will not function. Once is has propagated, your domain name can also be used interchangably with {{ contracts_product.provision_field_values.data_server_hostname }}.<br><br>

<strong>Pointing External Domains</strong><br><br>

If your domain name is registered elsewhere, you need to update your domain nameservers to point it to your new hosting with us. Our nameservers are:<br><br>

{{ contracts_product.provision_field_values.data_ns1 }}<br >
{{ contracts_product.provision_field_values.data_ns2 }}<br >
{% if contracts_product.provision_field_values.data_ns3 %}{{ contracts_product.provision_field_values.data_ns3 }}<br >{% endif %}
{% if contracts_product.provision_field_values.data_ns4 %}{{ contracts_product.provision_field_values.data_ns4 }}<br >{% endif %}
<br>

Alternatively, you can update your A record to point to our server IP which you can find in your hosting panel under 'Shared service IP'.<br ><br >

Once your domain has propagated, you may also use https://www.{{ contracts_product.service_identifier }}/cpanel/<br><br >

The username and password above can be used with the hostname {{ contracts_product.provision_field_values.data_server_hostname }} or your domain ({{ contracts_product.service_identifier }}) for FTP or SSH. Your website files are stored within the public_html directory.<br><br>

<strong>Email Settings</strong><br><br >

Once you've logged into your hosting control panel you can create e-mail accounts under the 'Email Accounts' icon. You can then add them to your email program by using the following details:<br ><br >

Incoming Server Hostname: mail.{{ contracts_product.service_identifier }} (or {{ contracts_product.provision_field_values.data_server_hostname }})<br >
Incoming Server Port: 993<br >
Incoming Server Type: IMAP<br ><br >

Outgoing Server Hostname: mail.{{ contracts_product.service_identifier }} (or {{ contracts_product.provision_field_values.data_server_hostname }})<br >
Outgoing Server Port: 465<br ><br >

Username: The full email address you have created (e.g. you@{{ service_identifier }}).<br >
Password: The mailbox password you entered when creating the mailbox<br ><br >

When configuring your mail client please ensure you enable SMTP Authentication with the same username and password as above. 'SPA' should be disabled.<br ><br >

<strong>Client Portal</strong><br ><br >

Everything else you may need is accessible via our client area at {{ brand.customer_portal_domain }} - this is also where you can manage your invoices, billing and support queries.<br ><br >

Thank you for choosing {{brand.name}} and if you need any help or assistance with anything, please don't hesitate to get in touch.<br ><br >

Kind Regards<br ><br >

{{brand.name}}
Updated 11 months ago