
How to Manage Account Security as an Admin/Staff
Important steps to secure your account
Upmind offers a comprehensive suite of security features for both admins and clients. This guide will give an overview of user-level security protections. It covers:
- IP Whitelisting
- Extra Client Functionalities
- Login Attempts
- Two-factor Authentication
- Password Resets
- Secure Link Sharing
- File Upload Types
- General Security Settings
Security menu access
- Admins and staff: Log in, go to
Settings, and select Security under theBranding and Customisationsection.
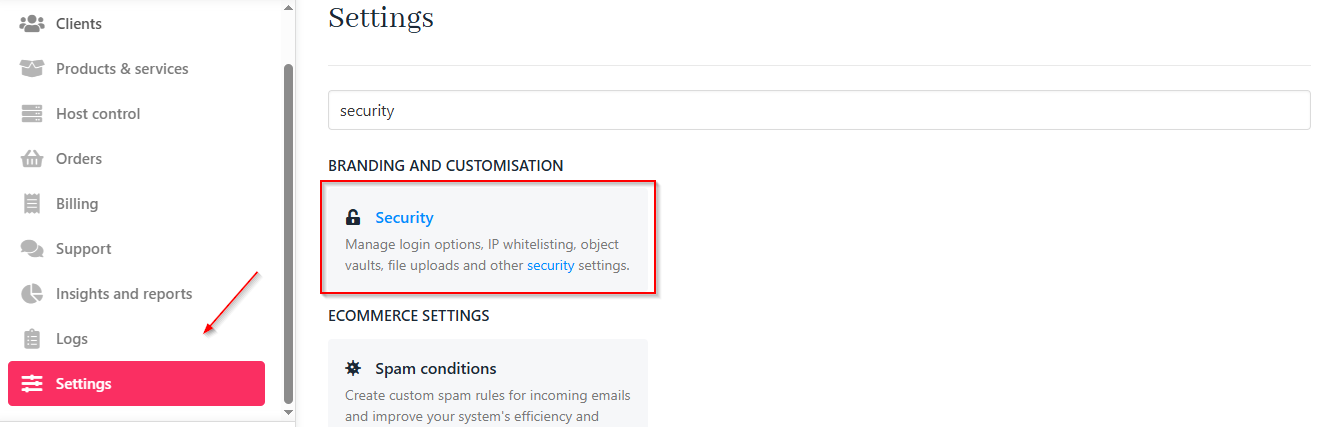
Settings > Security
- Clients: Access security options through My Account > Security.
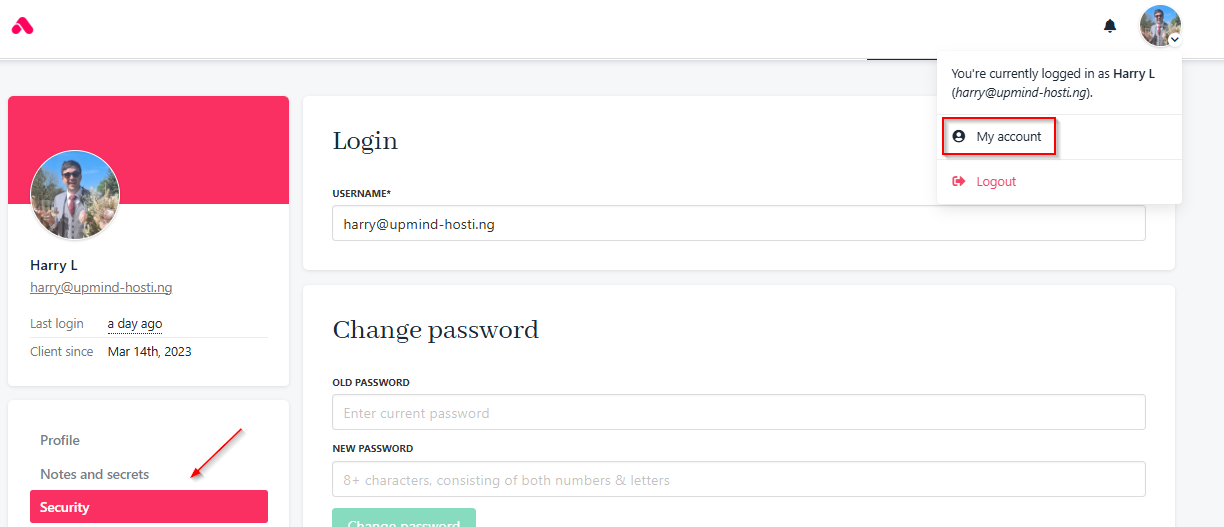
My account > Security
Restrict access by IP (IP whitelisting)
You can control which IP addresses can access your organization’s admin area and the client area to restrict access to trusted sources. Upmind supports static IPs, staff-specific whitelists, and CIDR ranges.
Avoid dynamic IPs to prevent accidental lockouts.
IP whitelisting from admin
To add an IP whitelist entry from admin, enter the IP address (required) and a Description (optional).
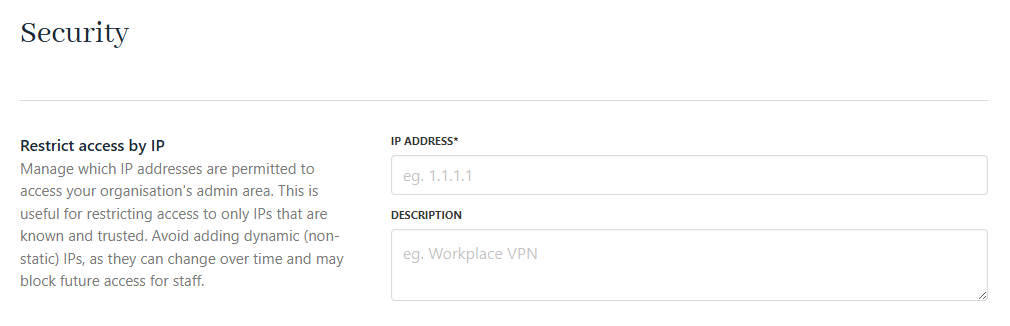
Restrict access by IP from Admin (Setting > Security)
IP whitelisting for staff
For staff, IPs can be set on a per-user basis in the staff control panel or per API token. This overrides global settings.
- As an admin, you can add a staff user under Settings > Staff Users.
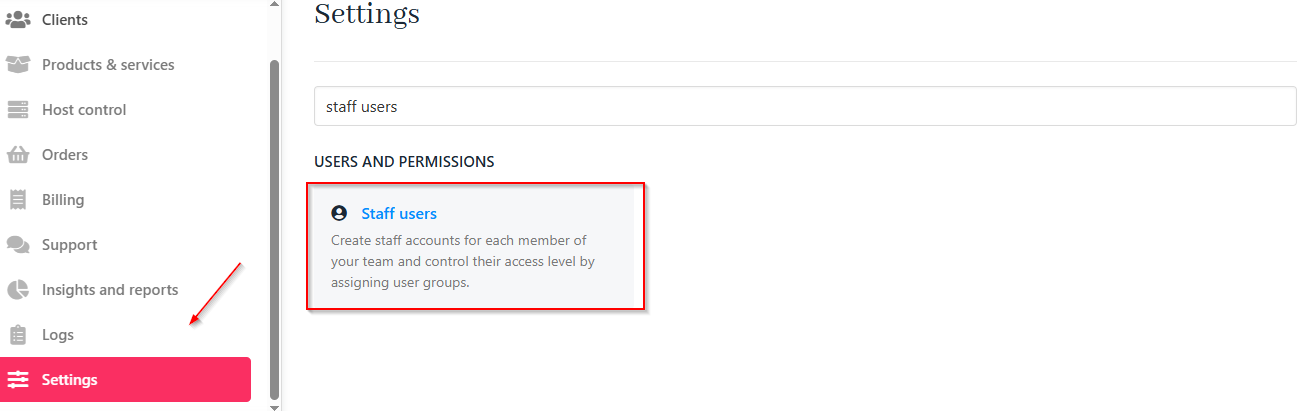
Settings > Staff users
- Click Create user.
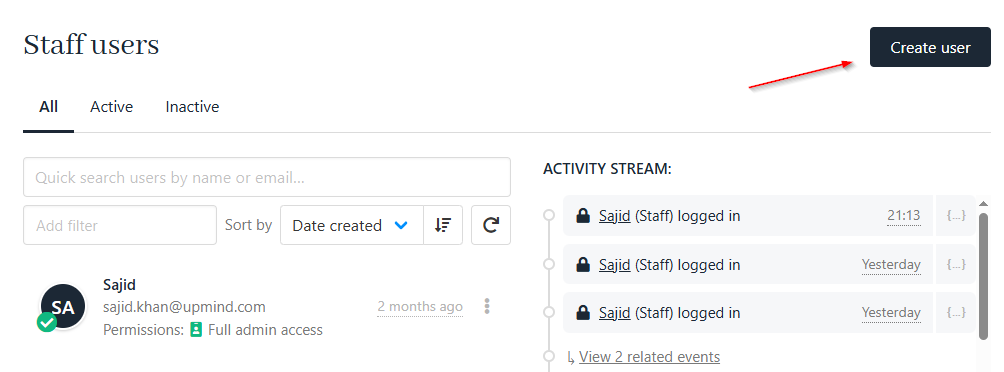
Create user
- Secure with whitelist IPs.
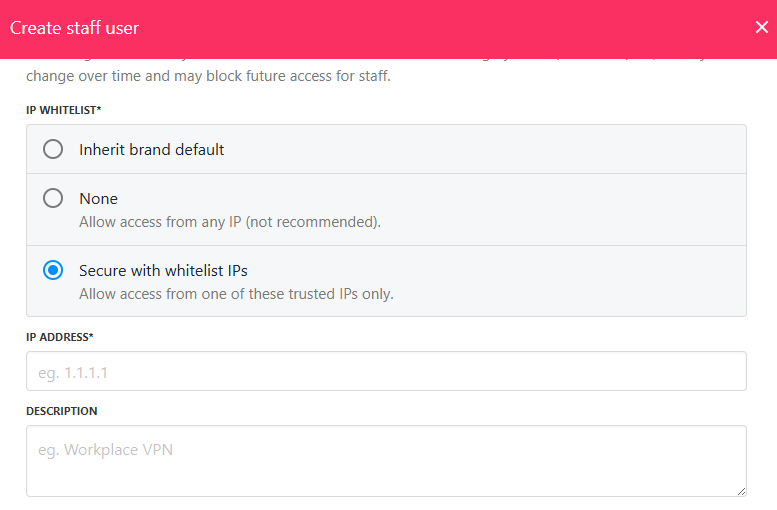
Secure with whitelist IPs for staff
For more on IP whitelisting, watch this video.
For clients, you can restrict access by IP under Security. For more information, follow this guide.
How to find out my IP address
Visit https://ip.me.uk to check your current IP.
Extra client functionalities
You can enable or disable the secure vault for notes and secrets at the client, lead, and contract product levels. Both staff and clients can access the vault, with all actions logged for security.

Enable/disable client/brand notes and vault
How to manage login attempts
The section Passwords & Login allows you to configure login security and attempts.
| Field Name | Description |
|---|---|
| Allow client login by any email address | If enabled, clients can login using any email address in their account settings. |
| Allow client login by any active service identifier | If enabled, clients can login using any active service identifier, such as a domain name. |
| Max failed attempts | Control the number of failed login attempts before lockout. |
| Max failed 2FA attempts | Set maximum failed attempts for passwords and 2FA. |
| Lockout minutes | Define lockout duration in minutes. |
How to manage two-factor authentication as staff/admin
Upmind offers two-factor authentication to clients for added security, protecting your account with both a password and a time-sensitive code. By default, it is disabled. Admin/Staff can impersonate a client to activate it by following these steps:
- Go to My Account > Security.
- Find Two Factor Authentication and click Enable.
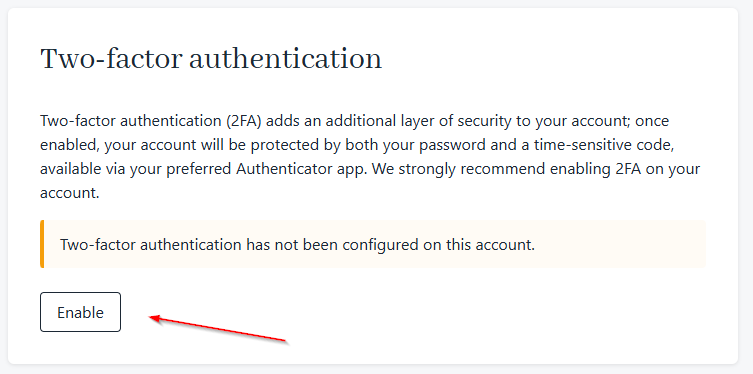
Enable 2FA
- Scan the barcode with an authenticator app or use the provided link from your phone.
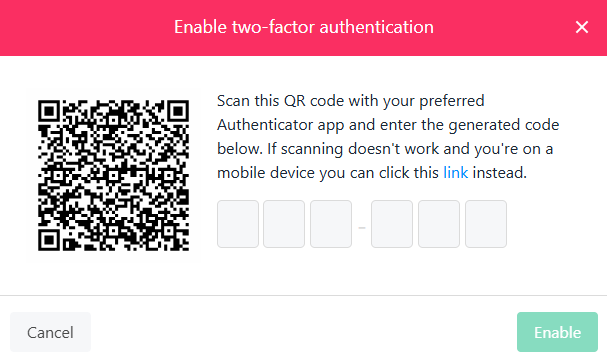
Scan barcode
- Enter the generated code to activate 2FA.
For more information, follow this guide.
How to reset the 2FA if you have lost the authenticator
If you lose your 2FA code, another account administrator can reset your access. If no administrators are available, raise a ticket to contact Upmind support to assist with advanced authentication.
How to reset a password as staff/admin
If you want to change your password:
- Go to My Account > Security.
- Enter your current and new password (minimum 8 characters, at least one letter and one number).
- Save changes.
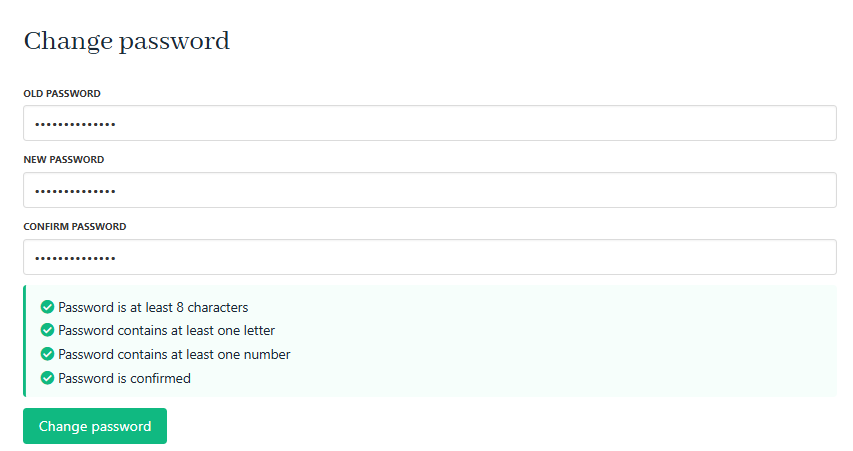
Reset password
If you forgot your password and can’t log in to Upmind, you can request a password reset on the login page:
- On the login page, click Forgot your password?
- Enter your email/username and request a reset link.
- Follow the email instructions to set a new password.
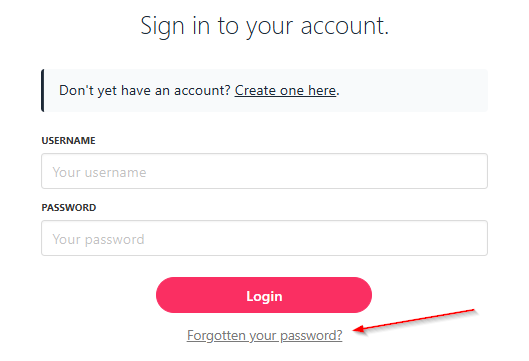
Forgotten password
If 2fa is enabled, you will need to provide the code when resetting your password.

2FA code required
Secure link sharing
You can manage shared resource links. Set default expiration (in days) for shared links to protect sensitive resources.

Secure links
How to manage upload file types
This relates to support tickets and allowed file types for attachments. Although all attachments are virus-scanned and flagged if issues arise, it’s best to restrict attachment types to those you expect to receive.
- Go to Settings > File Uploads.
- Select which file types are permitted for uploads in the client area (enable Denied Download by Scan Status by ticking the boxes).
- All uploads are virus scanned and suspicious files are flagged.
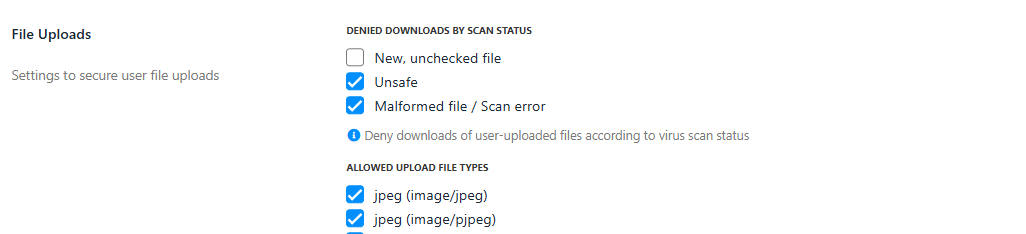
Select file upload types
General security settings
You can control various access restrictions:
- Limit viewing of client profiles and resources to users with a valid support PIN or linked tickets (non-admins only).
- Set the duration (in hours) for which access is granted after PIN entry or ticket assignment.
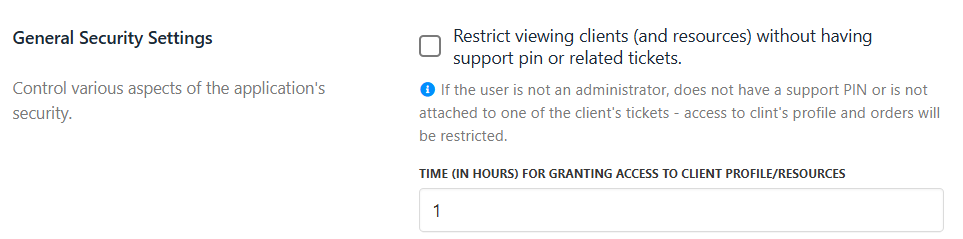
Control application security
Updated 7 months ago