
Supported Event Types
Types of events tracked and reported by Upmind
Upmind supports tracking of key ecommerce and user interaction events through two main methods:
- Google Tag Manager (GTM) for client-side tracking: For an easy, no-code setup that reliably tracks user interactions and ecommerce events while avoiding issues with ad blockers.
- Measurement Protocol for server-side tracking: When you require backend event tracking for enhanced data accuracy and integration.
It’s important to choose one method to ensure consistent and accurate data collection.
This guide explains how to set up GA4 e-commerce tracking using Google Tag Manager. For Measurement Protocol instructions, refer to Google's documentation.
Setting up GA4 ecommerce tracking with Google Tag Manager
You can use Google Tag Manager for client-side tracking to ensure accurate 'purchase' event recording despite ad or cookie blockers and eliminate extra script tags.
To know how to set up Google Tag Manager with Upmind, see this guide.
Upmind pushes the following recommended GA4 events:
- view_item
- purchase
- remove_from_cart
- add_payment_info
- add_to_cart
- sign_up
Additional Upmind custom events
Upmind also pushes several 1st party events prefixed with upmind, which help track specific user actions within the platform:
- upmind.logout
- upmind.actor_identified
- upmind.modal_open
Configuring Google Tag Manager
To send e-commerce transactions to Google Analytics, add tags and triggers in Google Tag Manager to fire tags for all recommended e-commerce events, enabling data collection for item views, cart additions, checkouts, purchases, and other actions.
Recommended triggers to add to Google Tag Manager
| Triggers Name | Event Type |
|---|---|
| GA4 add_payment_info | Custom Event |
| GA4 add_to_cart | Custom Event |
| GA4 login | Custom Event |
| GA4 purchase | Custom Event |
| GA4 remove_from_cart | Custom Event |
| GA4 sign_up | Custom Event |
| GA4 view_item | Custom Event |
| UPM actor_identified | Custom Event |
| UPM logout | Custom Event |
| UPM modal_open | Custom Event |
Recommended tags to add to Google Tag Manager
| Tags Name | Type | Firing Triggers |
|---|---|---|
| GA4 Event 'add_payment_info' | Google Analytics: GA4 Event | GA4 add_payment_info |
| GA4 Event 'add_to_cart' | Google Analytics: GA4 Event | GA4 add_to_cart |
| GA4 Event 'login' | Google Analytics: GA4 Event | GA4 login |
| GA4 Event 'purchase' | Google Analytics: GA4 Event | GA4 purchase |
| GA4 Event 'sign_up' | Google Analytics: GA4 Event | GA4 sign_up |
| GA4 Event 'view_item' | Google Analytics: GA4 Event | GA4 view_item |
| GA4 Event 'remove_from_cart' | Google Analytics: GA4 Event | GA4 remove_from_cart |
| UPM Event 'upm_actor_identified' | Google Analytics: GA4 Event | UPM actor_identified |
| UPM Event 'upm_logout' | Google Analytics: GA4 Event | UPM logout |
| UPM Event 'upm_modal_open' | Google Analytics: GA4 Event | UPM modal_open |
Setting up e-commerce tracking and creating triggers and tags in Google Tag Manager
Create GA4 property in Google Analytics
- Log in to
Google Analyticswith your Google account or create one if needed. - Click Admin, select Property, then go to
Property Details.
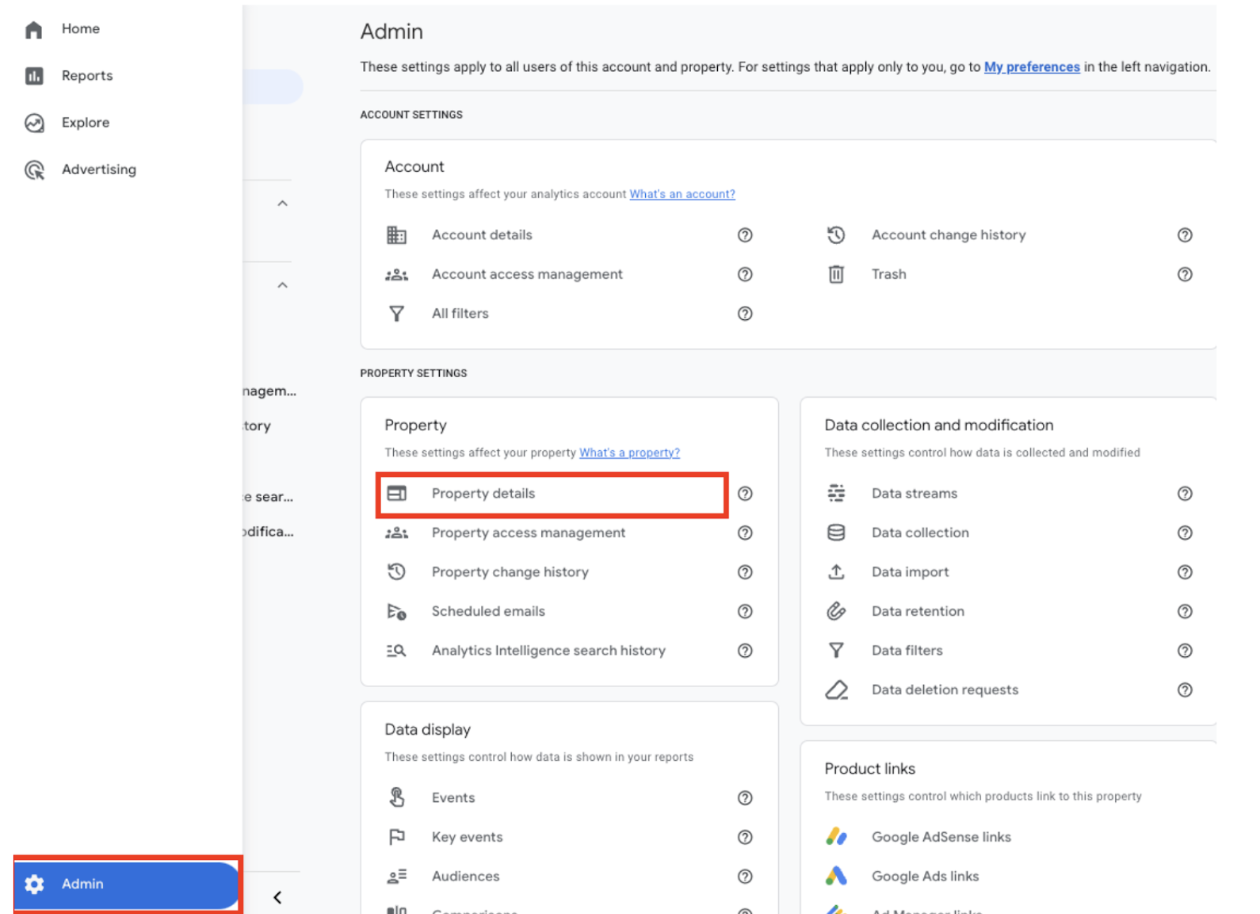
Admin > Property details
- Enter a property name, industry category, reporting time zone, and currency.
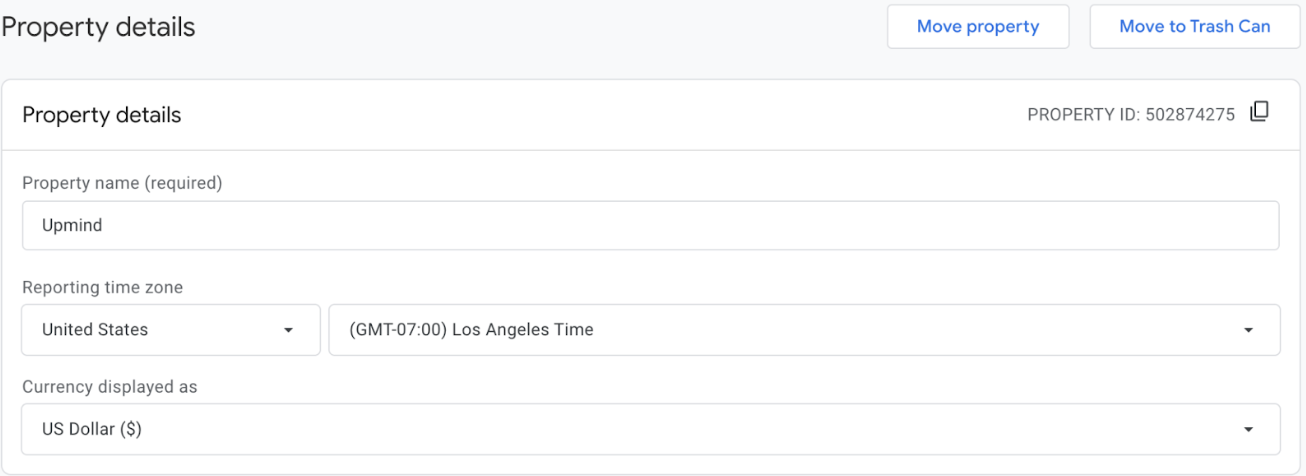
Enter details
- Click Create.
Create triggers in Google Tag Manager
- Log in to Google Tag Manager and select the container to connect with Google Analytics.
- Click Triggers in the left menu, then New.
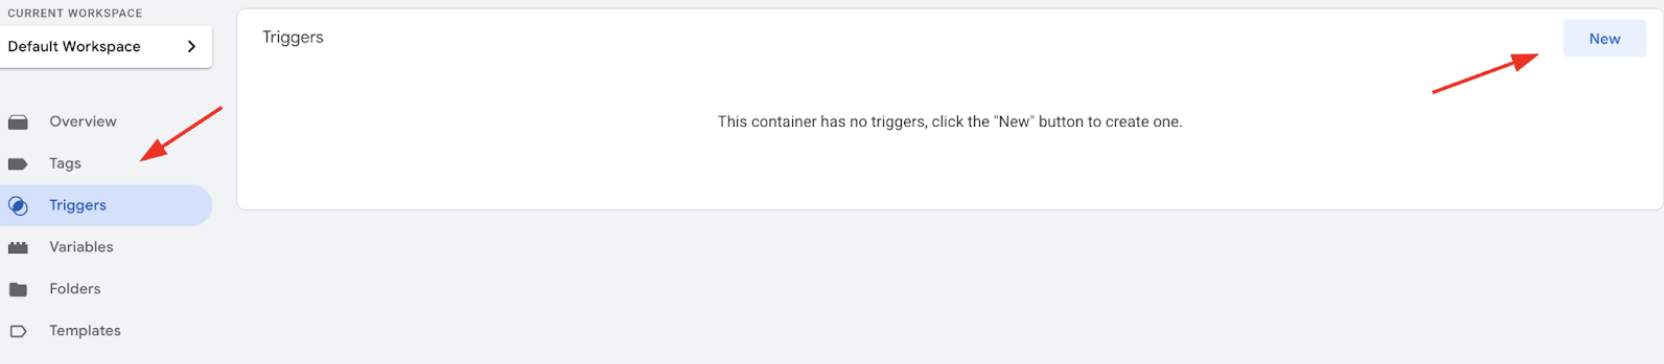
Triggers > New
- Set Trigger Configuration to Custom Event and enter each recommended GA4 event as the Event Name.
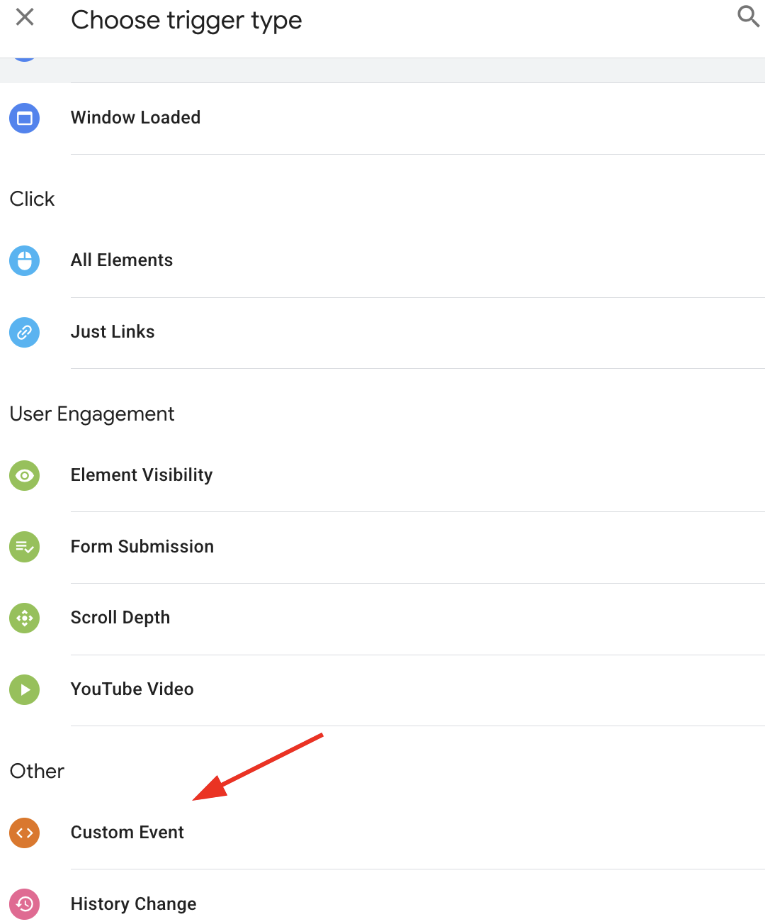
Custom event
- Click Save and repeat to add all recommended triggers, including UPM modal_open.
Create tags in Google Tag Manager
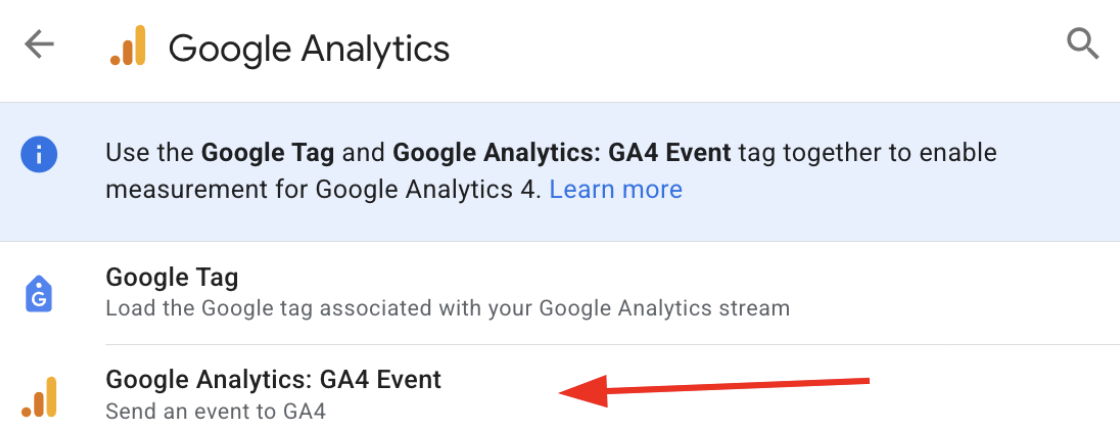
- In the left menu, click Tags, then New to create a tag that sends data to Google Analytics for each trigger.
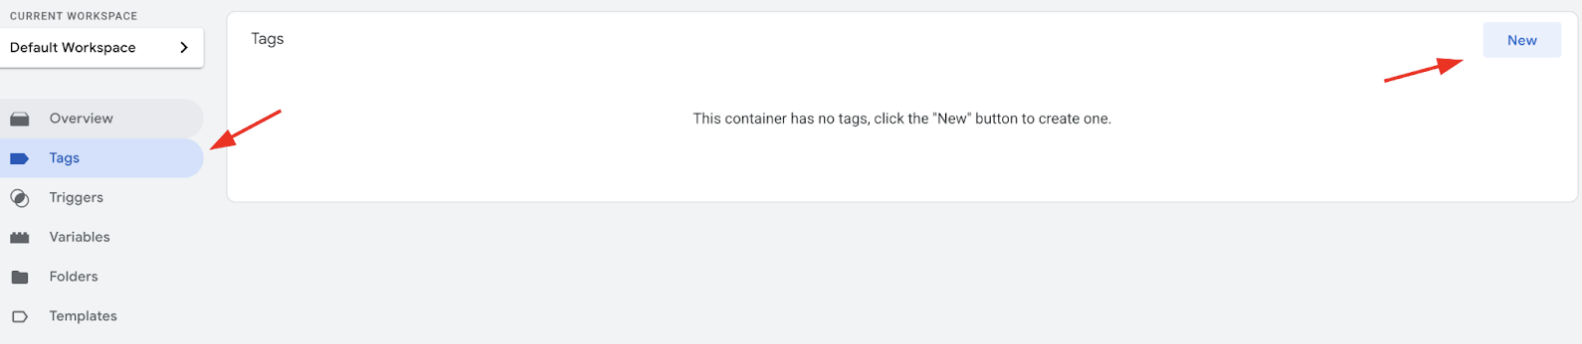
Tags > New
- Enter your Google Measurement ID and add each recommended GA4 event name individually.
Add Google measurement ID
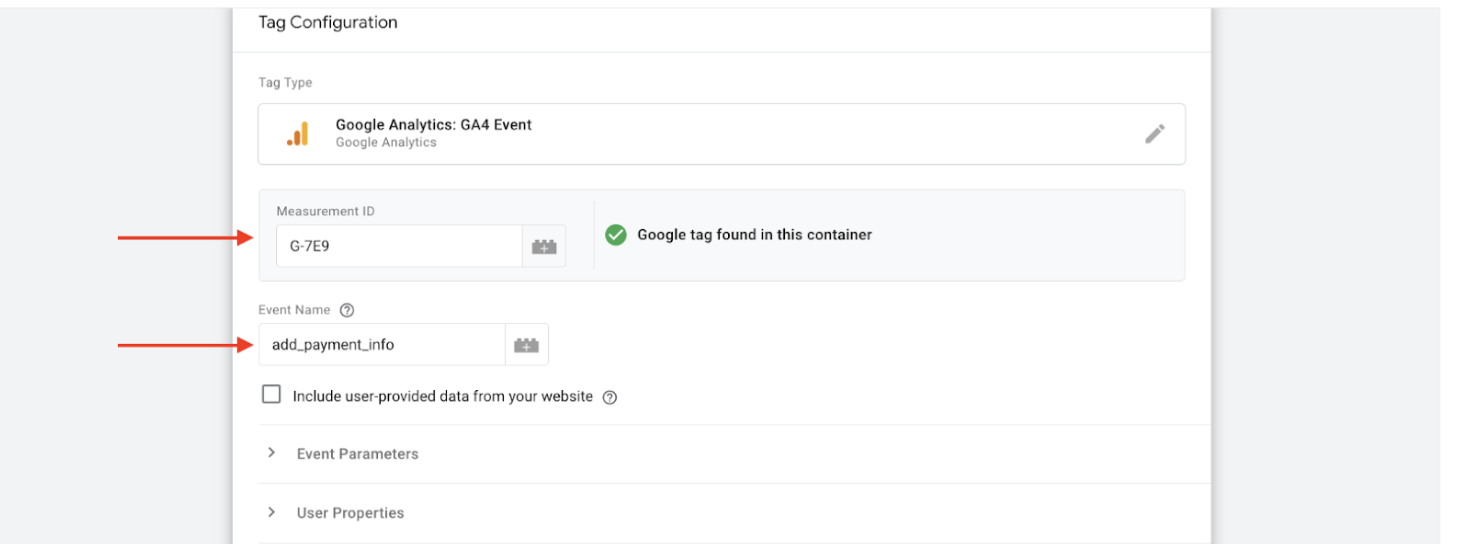
Add event name
- Under More Settings, check Send E-commerce Data and select Data Layer as the source to send all e-commerce details automatically.
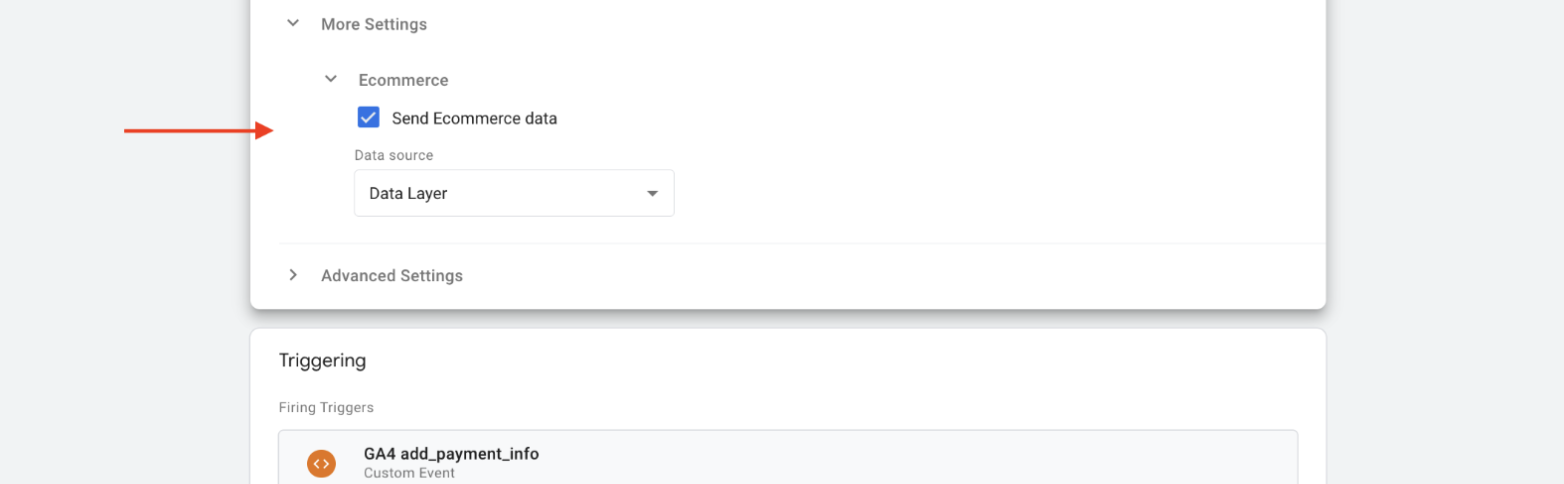
Configure more settings
- Assign the corresponding trigger for each event, such as GA4 add_payment_info for the add_payment_info event.
- Click Save and repeat to add all recommended tags, including the UPM event upm_modal_open.
Review, test, and publish
- Review triggers and tags for correct configuration.
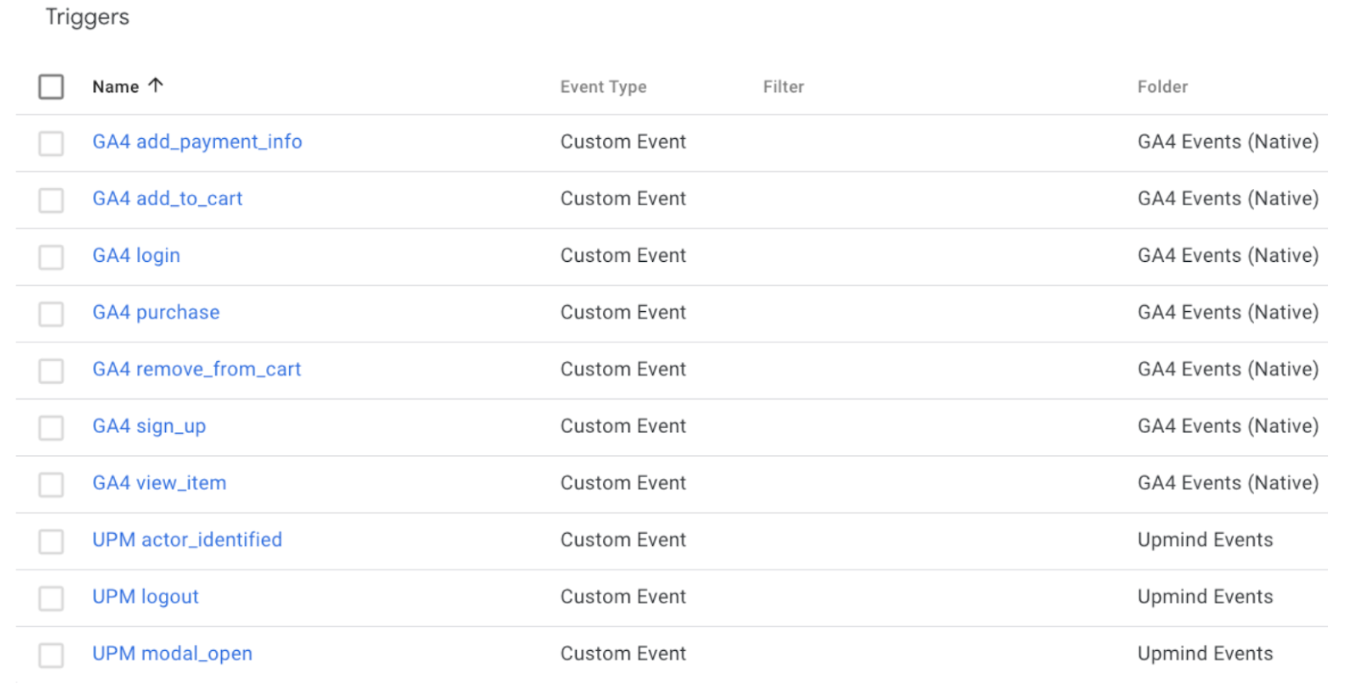
Review triggers
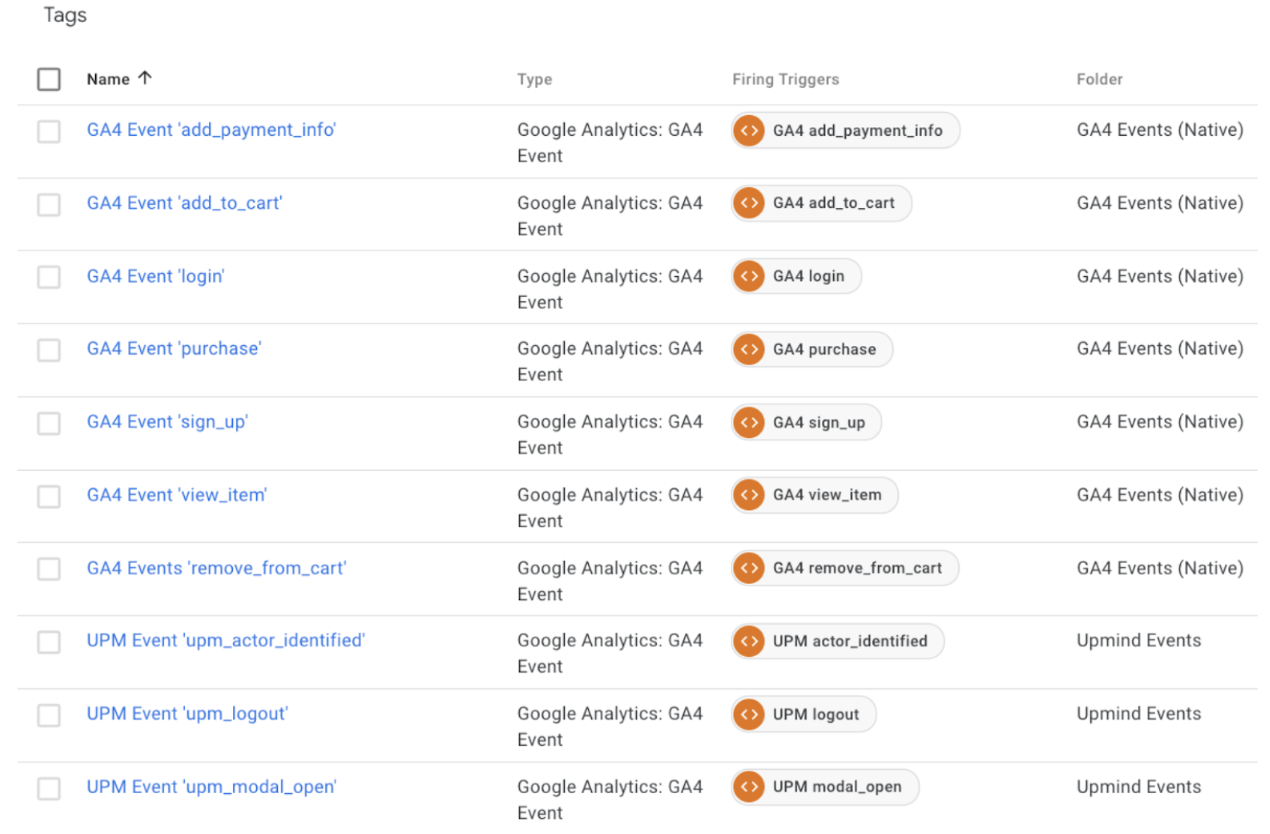
Review tags
- Use Preview mode to test, then click Submit to activate the tag.
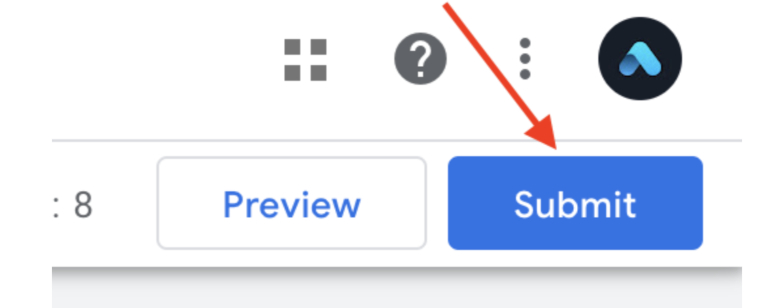
Submit
- Add a version name and description (e.g., GA4 Purchase Event Setup), then click Publish.
Add credentials to Upmind
You can add Google Tag Manager and Google Analytics credentials to Upmind:
- Log in to your Upmind account.
- Go to Settings > Analytics and Tracking.
- Enter your GTM Container ID, Google Measurement ID, and API Secret.
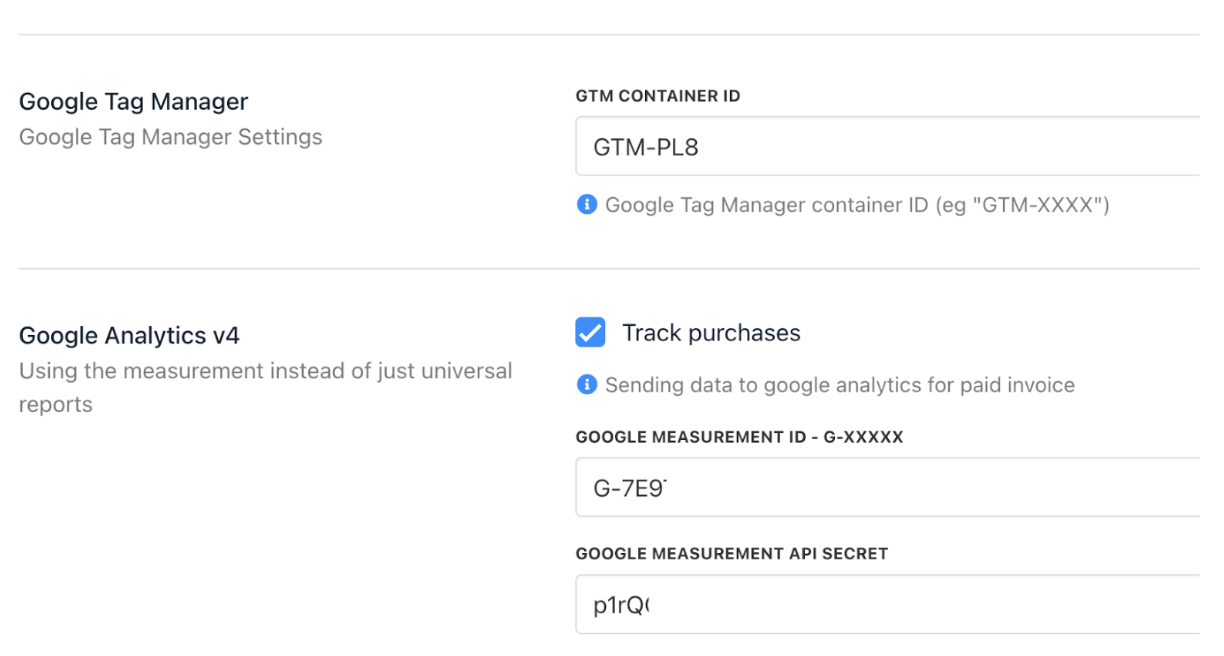
Add details
Verify tracking by making test purchases and monitoring Google Analytics event reports.