Create a trigger
- Log in to the Upmind dashboard.
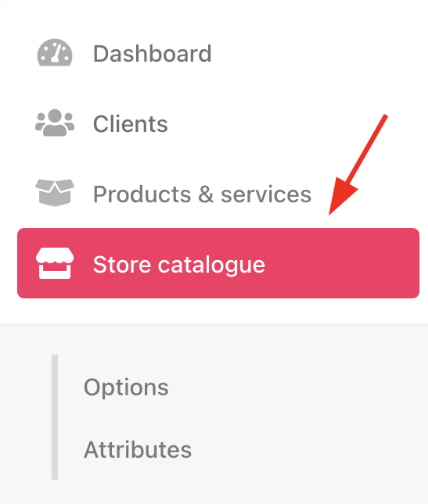
- Access it from the dashboard by clicking on Store Catalogue.
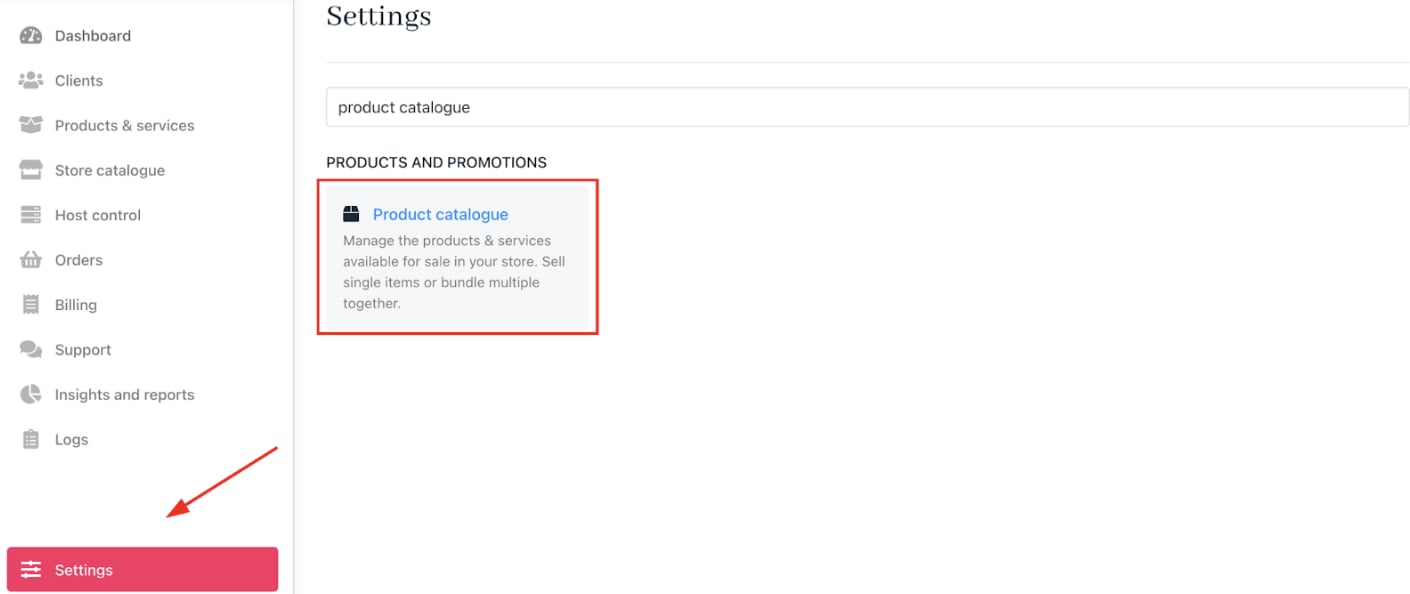
- You can also click Settings and select the Product Catalogue tile under Products and Promotions.
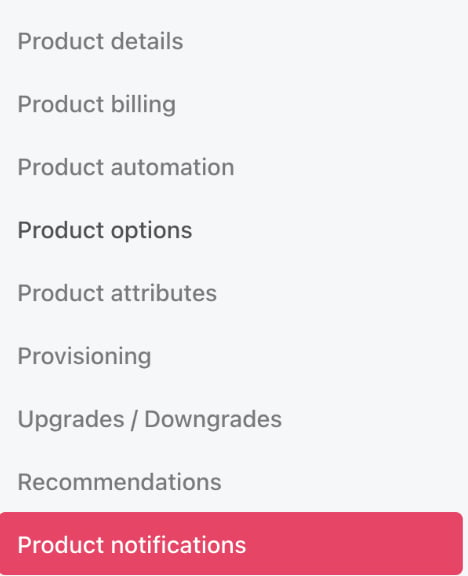
- Choose a product and click Product notifications on the product details page.
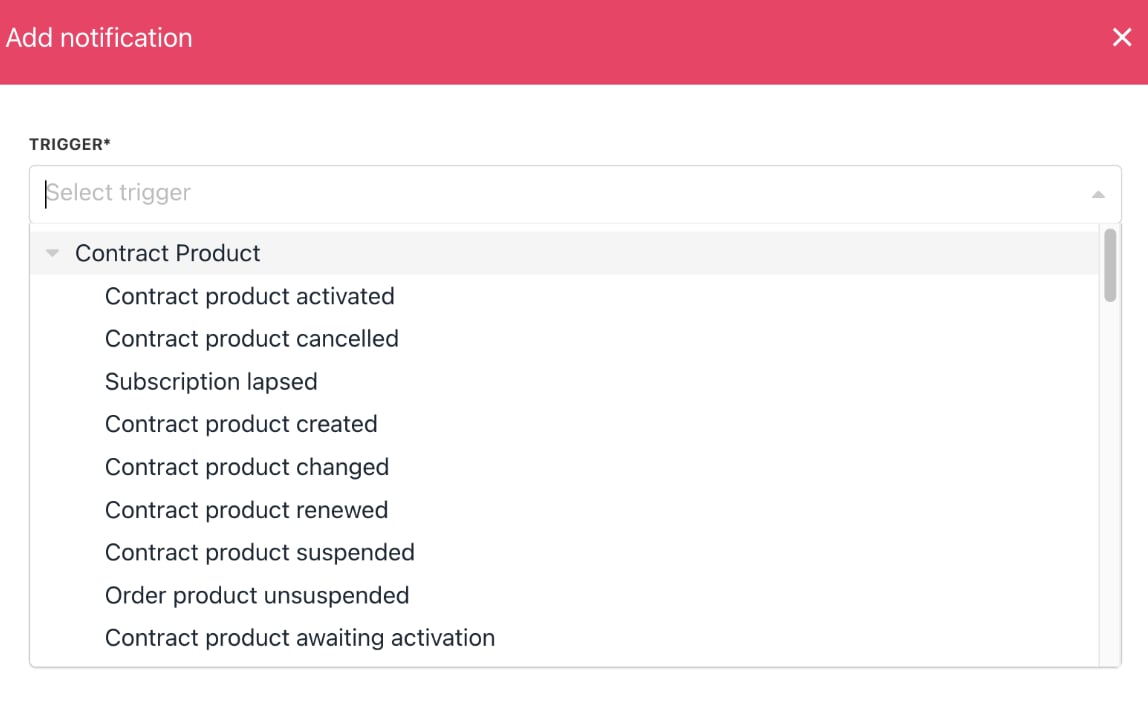
Select a trigger
- Click Add to create a notification.
- Click the Trigger field and select the event that will activate this notification (e.g. product purchased, subscription renewed).
Create the notification message
- Enter a unique Notification Name (internal use only).
- Choose the Message Type: email, in-app, or Slack (depending on what is enabled).

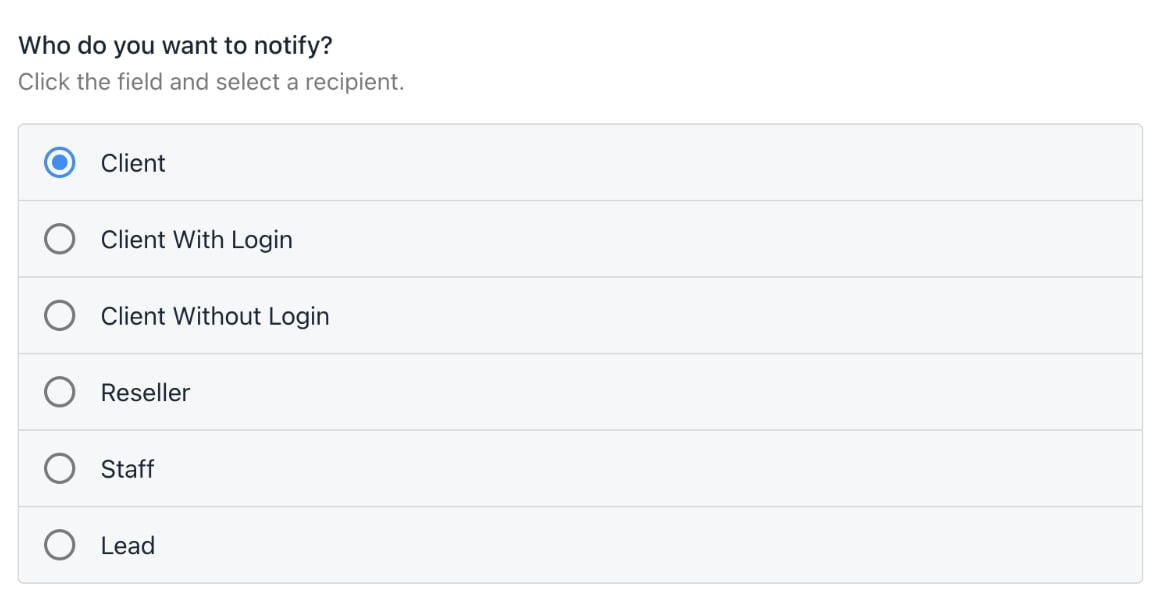
- Select the recipient group (clients, staff, etc.).
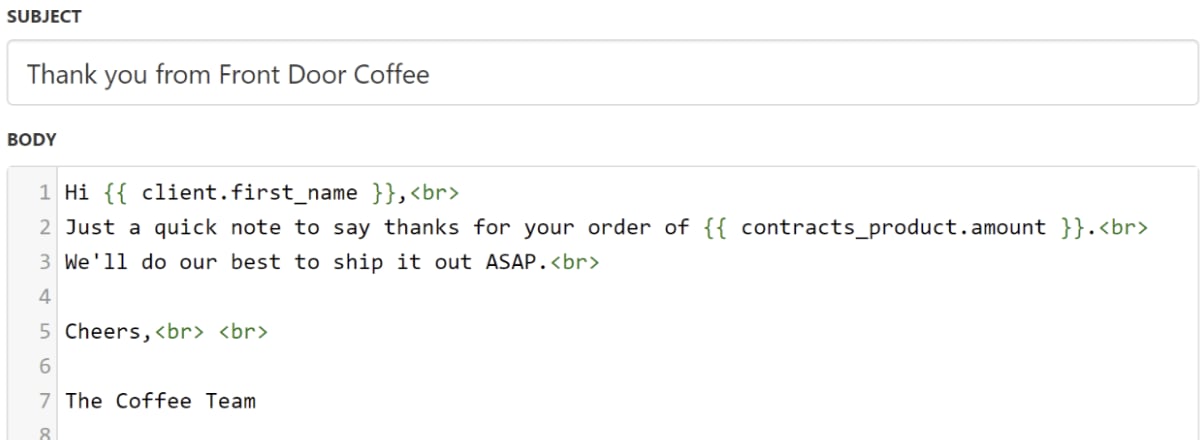
- Compose the message subject and body using text and Twig code snippets for dynamic content.
Save and manage notifications
- Click Save, then Create to finalise setup.
- Notifications will be sent automatically when triggers occur.
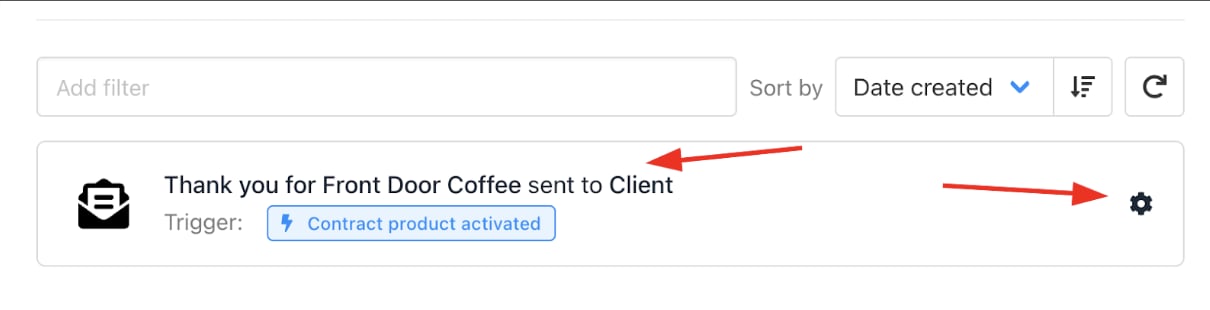
- To edit a notification, click its name in the list.
- To delete, use the gear icon.
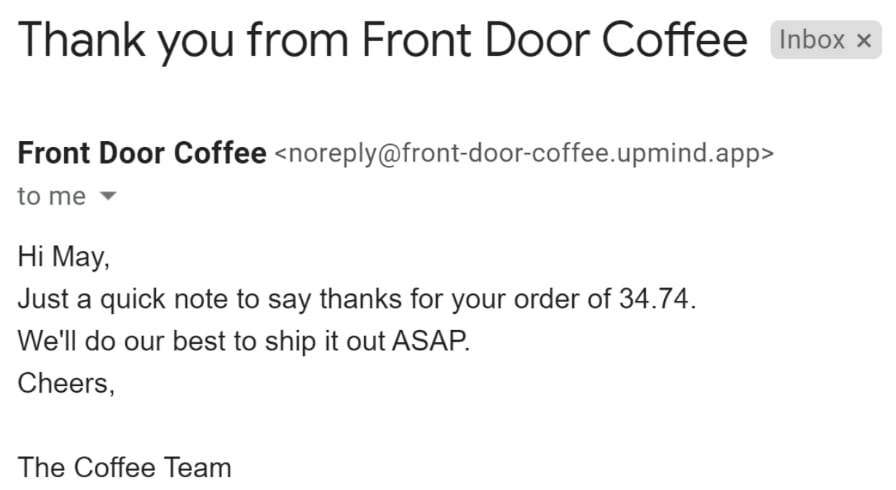
Customer view
Example: A Thank You email sent automatically after product purchase improves communication without manual intervention.