
Creating a ticket
- Open the Upmind dashboard.
- Click Support on the left menu.
- Click Create new ticket.

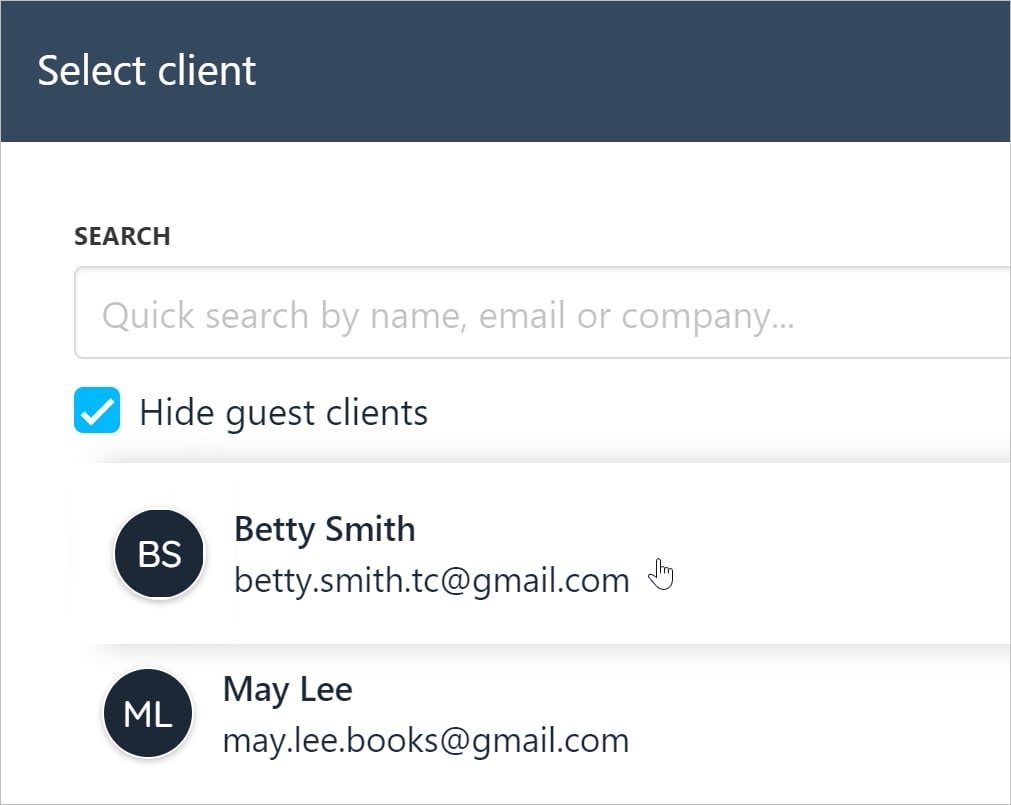
- Scroll through the list and select a client on the side panel.
- Use the Search tool to locate a client name. (optional)
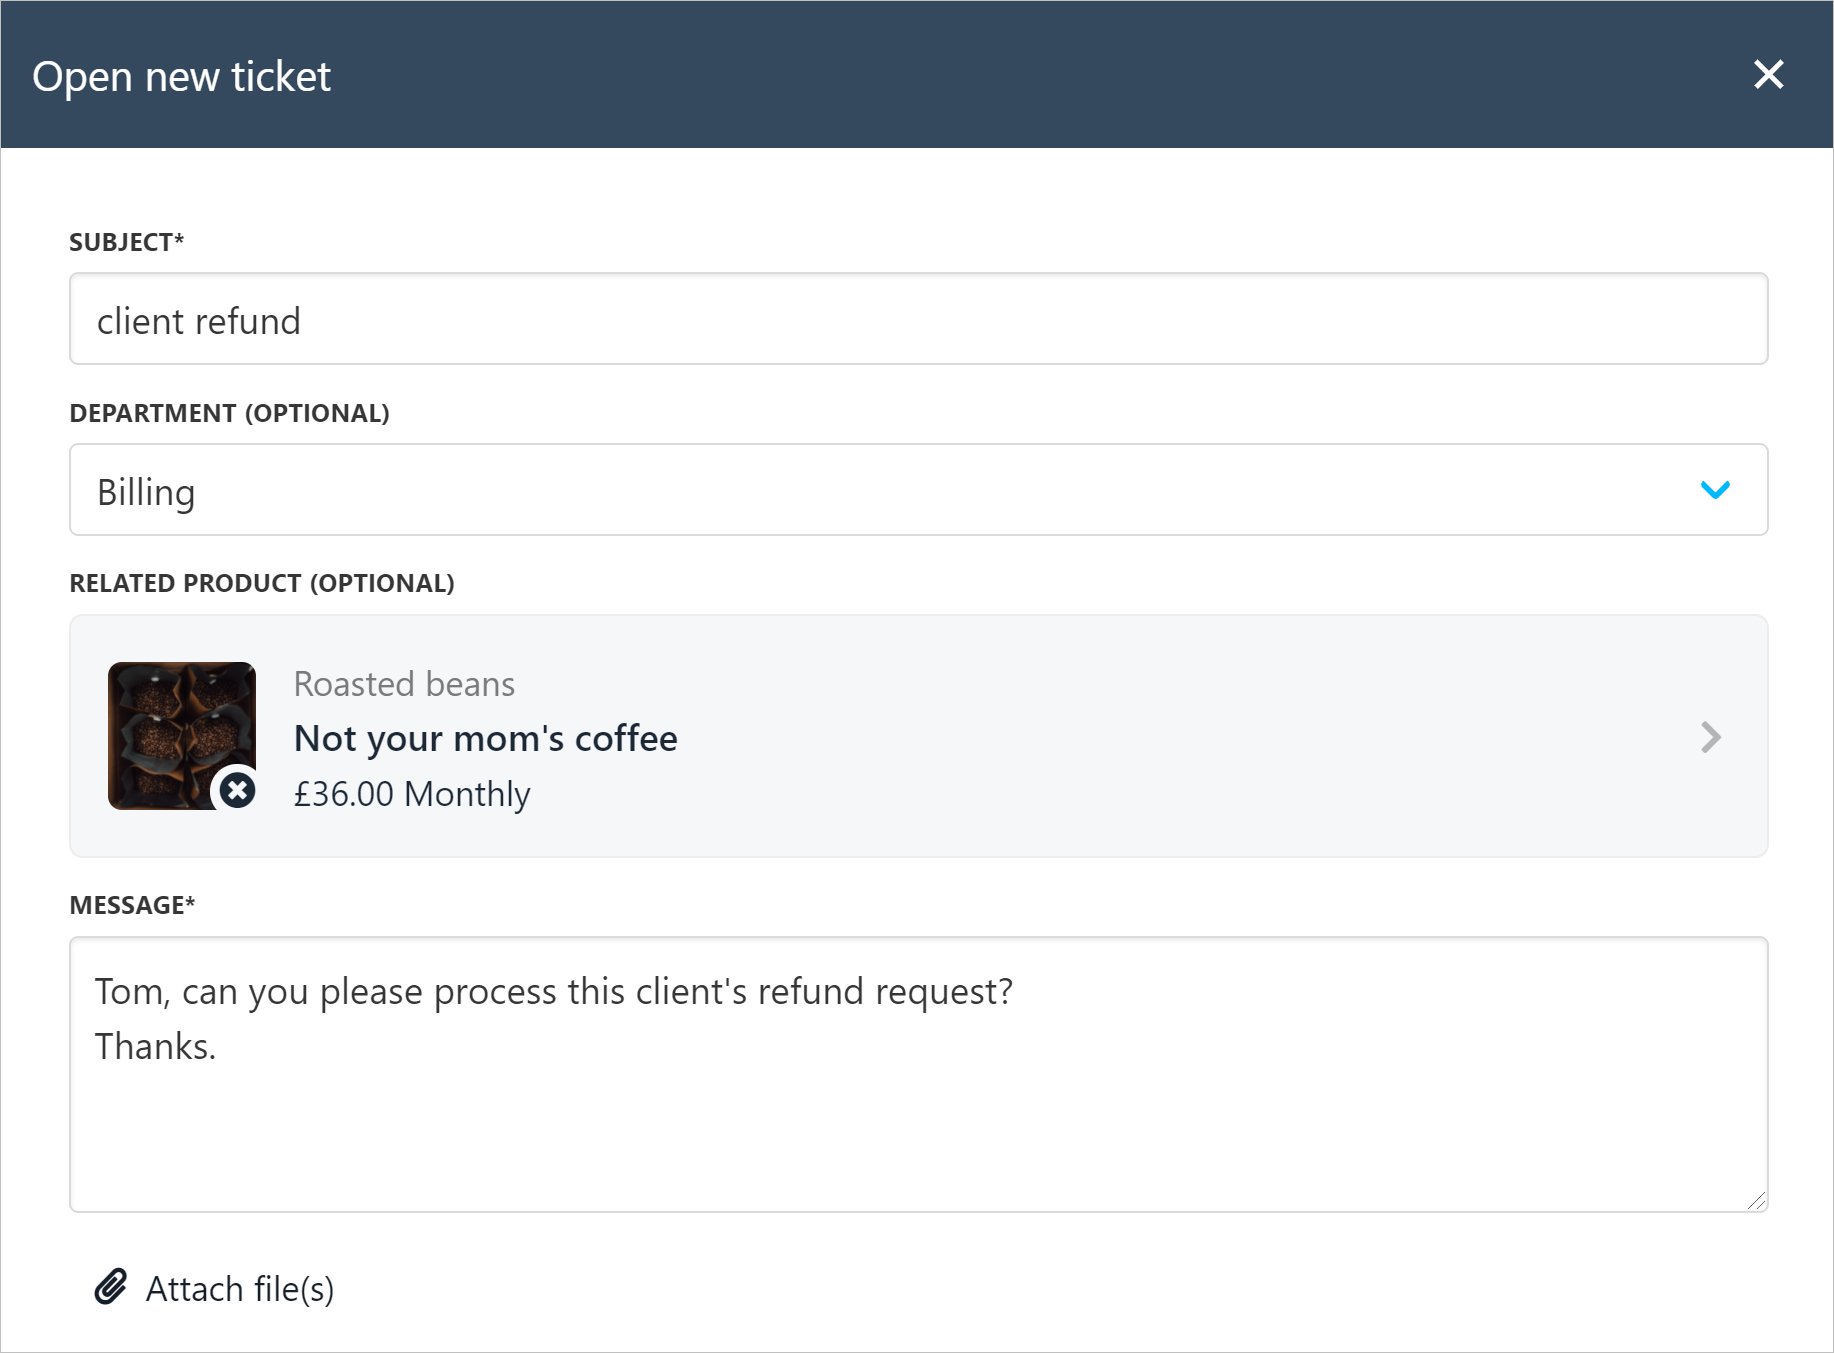
- Fill the fields.
- Attach files. (optional)
- Click Create ticket.
Ticket communication
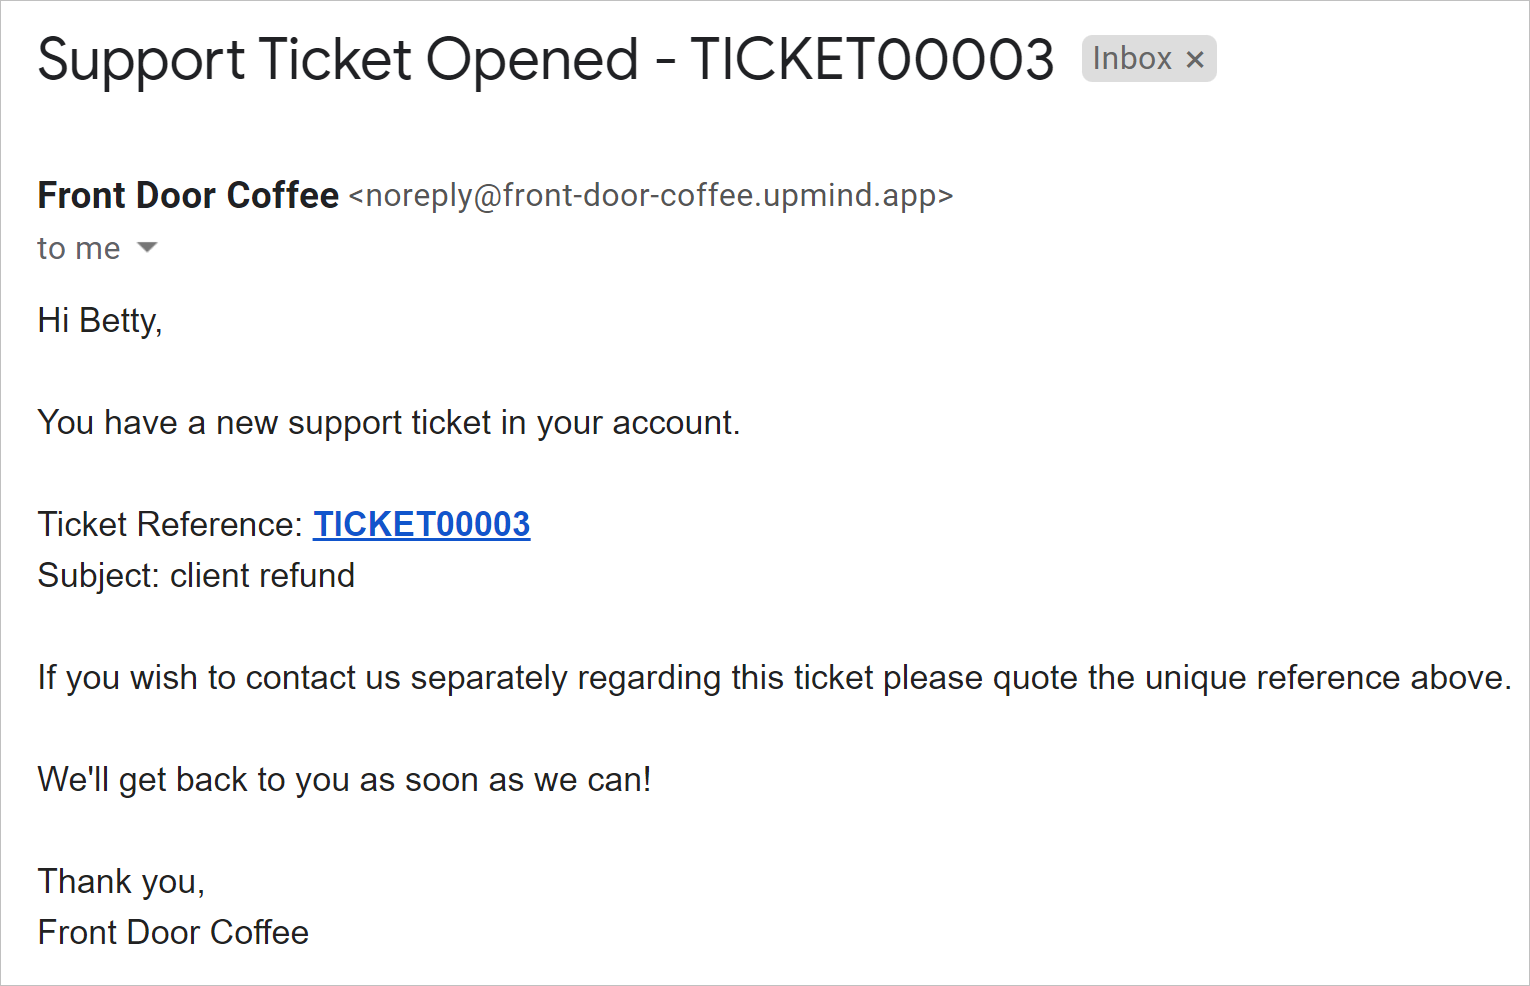
After a user creates a ticket, Upmind generates two actions.- The client receives an email notification about the open ticket. The client can click a link to read the ticket.
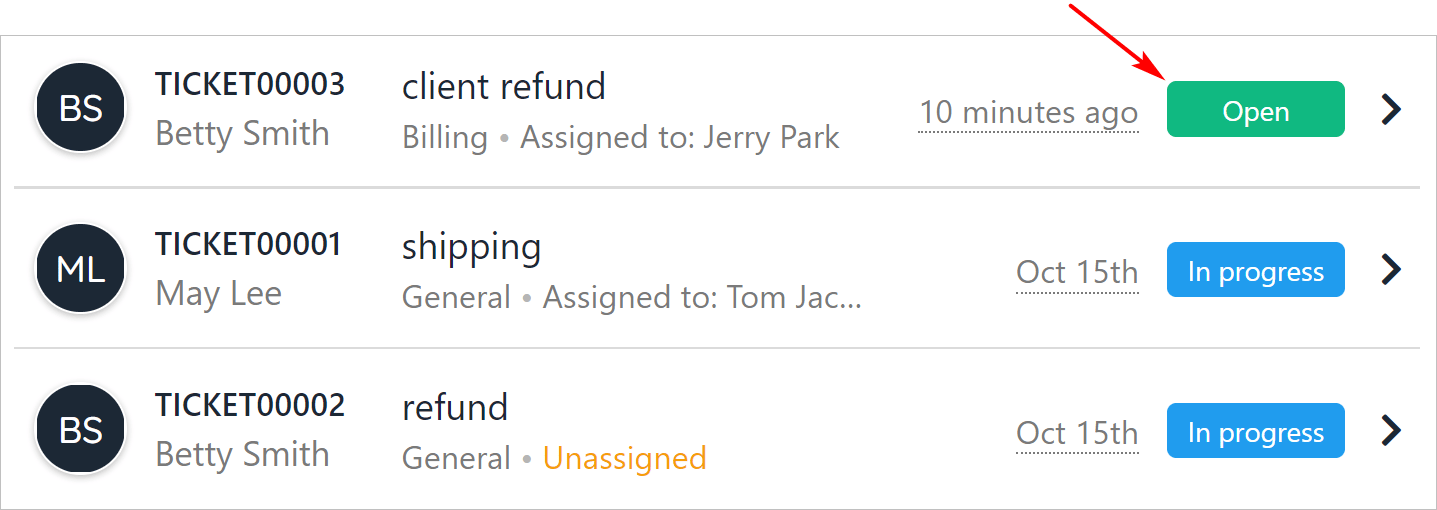
- Upmind opens a ticket on the Support page.
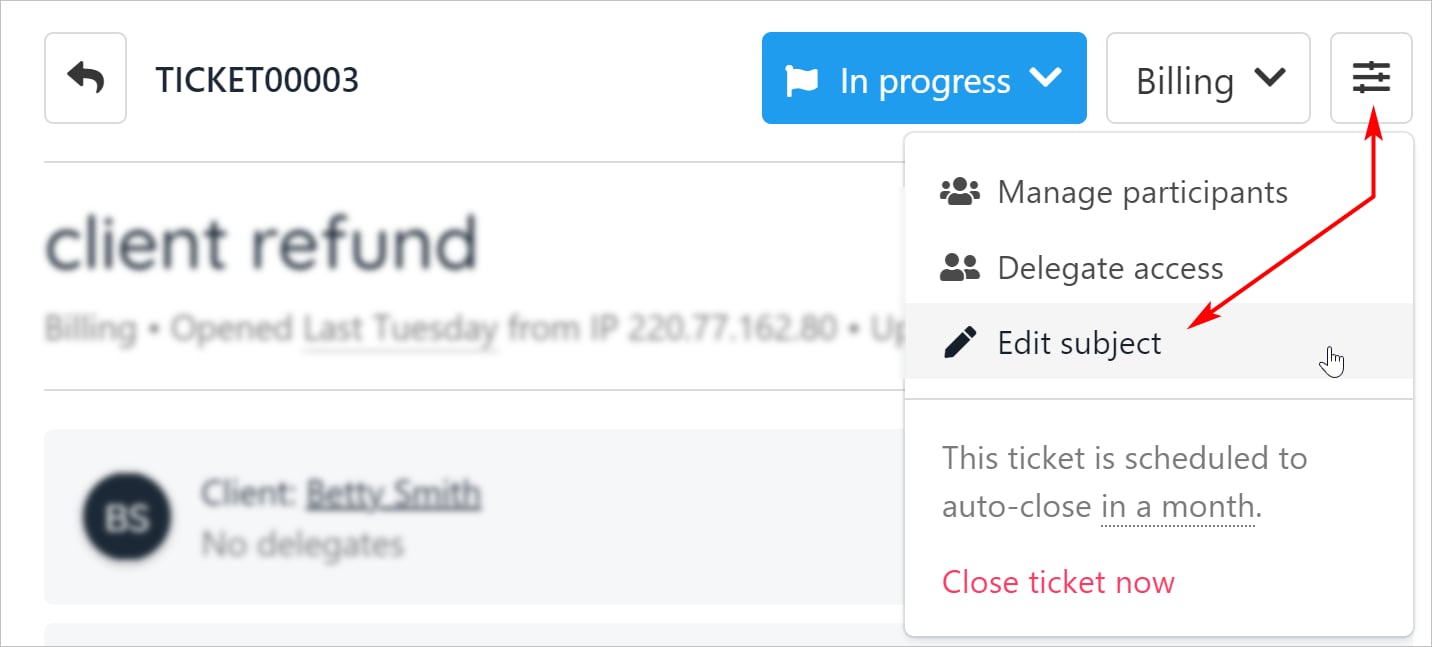
Editing the ticket subject line
- Open a ticket.
- Click the three-bar icon.
- Click Edit subject.
- Change the text.
- Click Save.
Editing the ticket message
- Scroll down to the ticket text.
- Click the three-dot icon.
- Click Edit.
- Change the message.
- Click Save.

Assigning a ticket
By default, Upmind assigns the ticket to the user who creates the ticket. You can change the assignment.- Click Support on the left menu.
- Scroll through the list and click the ticket you want to edit.
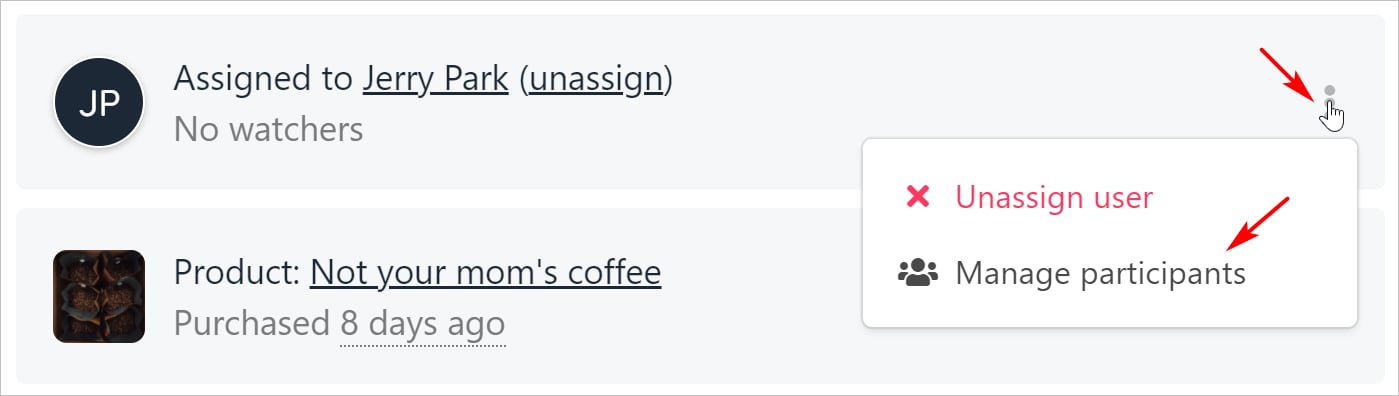
- On the right side of the screen, click the three-dot icon.
- Click Manage participants.
- Click the X icon to remove an assigned user.
- Click the Add button to assign a user to the ticket.
- Click Save.
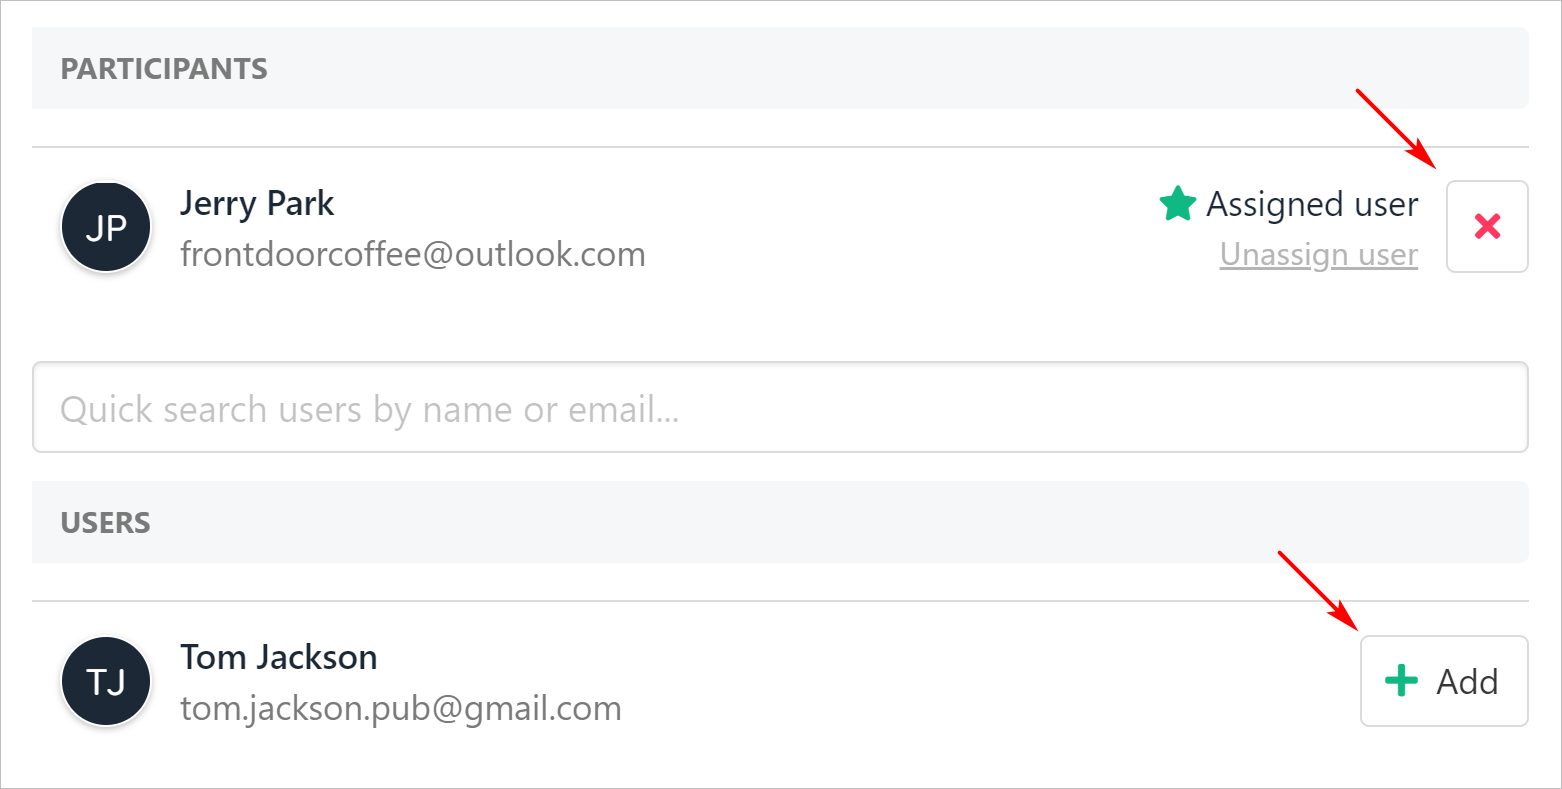
- Upmind updates the name of the assigned user.
