
Only admins can manage staff permissions and impersonate another staff member. Any staff member can be made an administrator by another Admin.
Review current users
To see a list of current users:- Go to the Admin dashboard.
- Click Settings > Staff users under Users and Permissions.
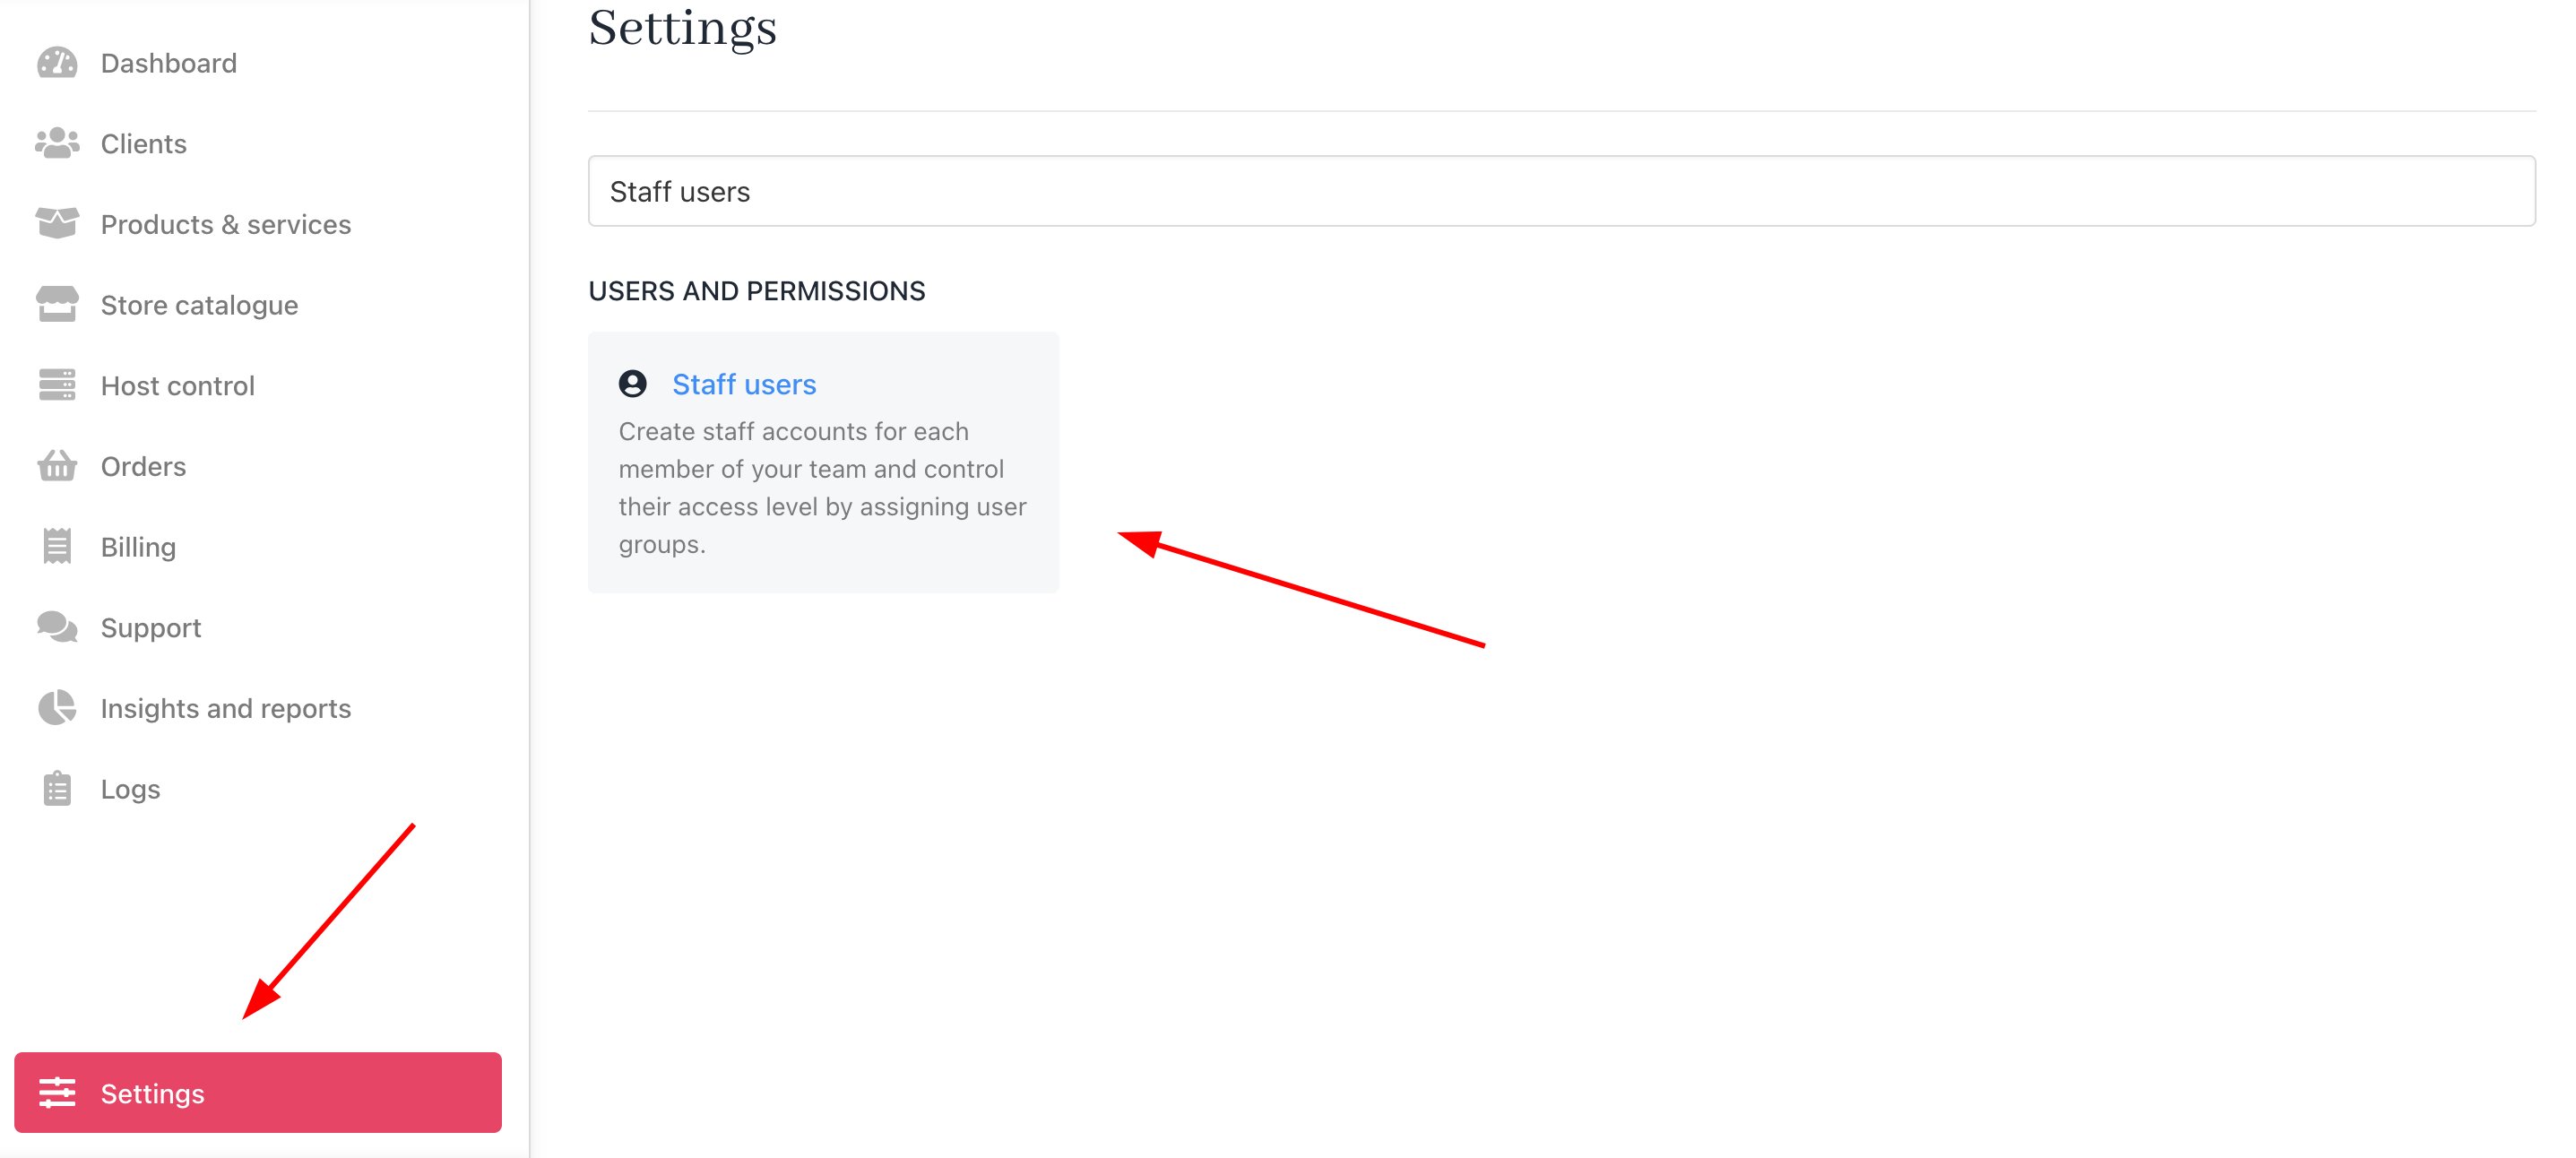
Settings > Users and Permissions > Staff users
Upmind displays a list of names on the Staff users page.
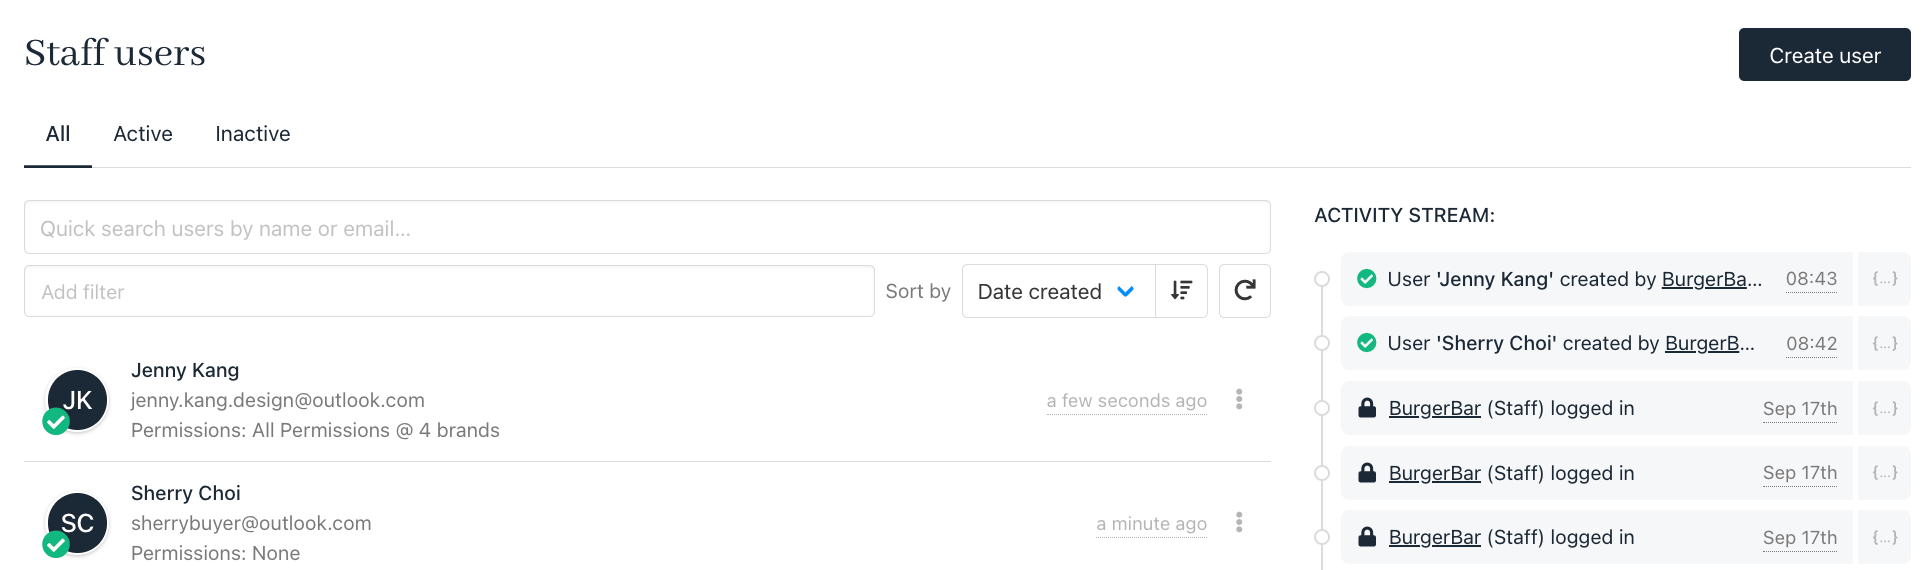
Staff Users page
Creating staff users
- Click the Add user button on the Staff users page.
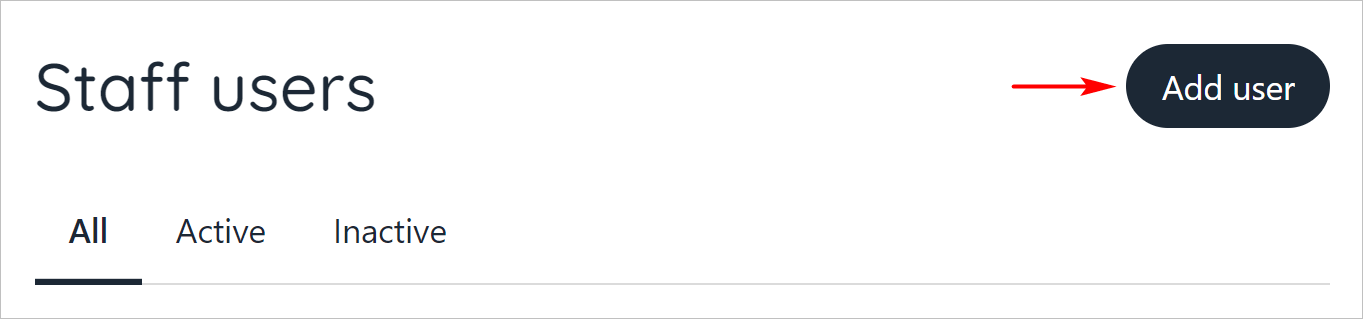
Click Add user
- Fill in the fields.
- Click Save.
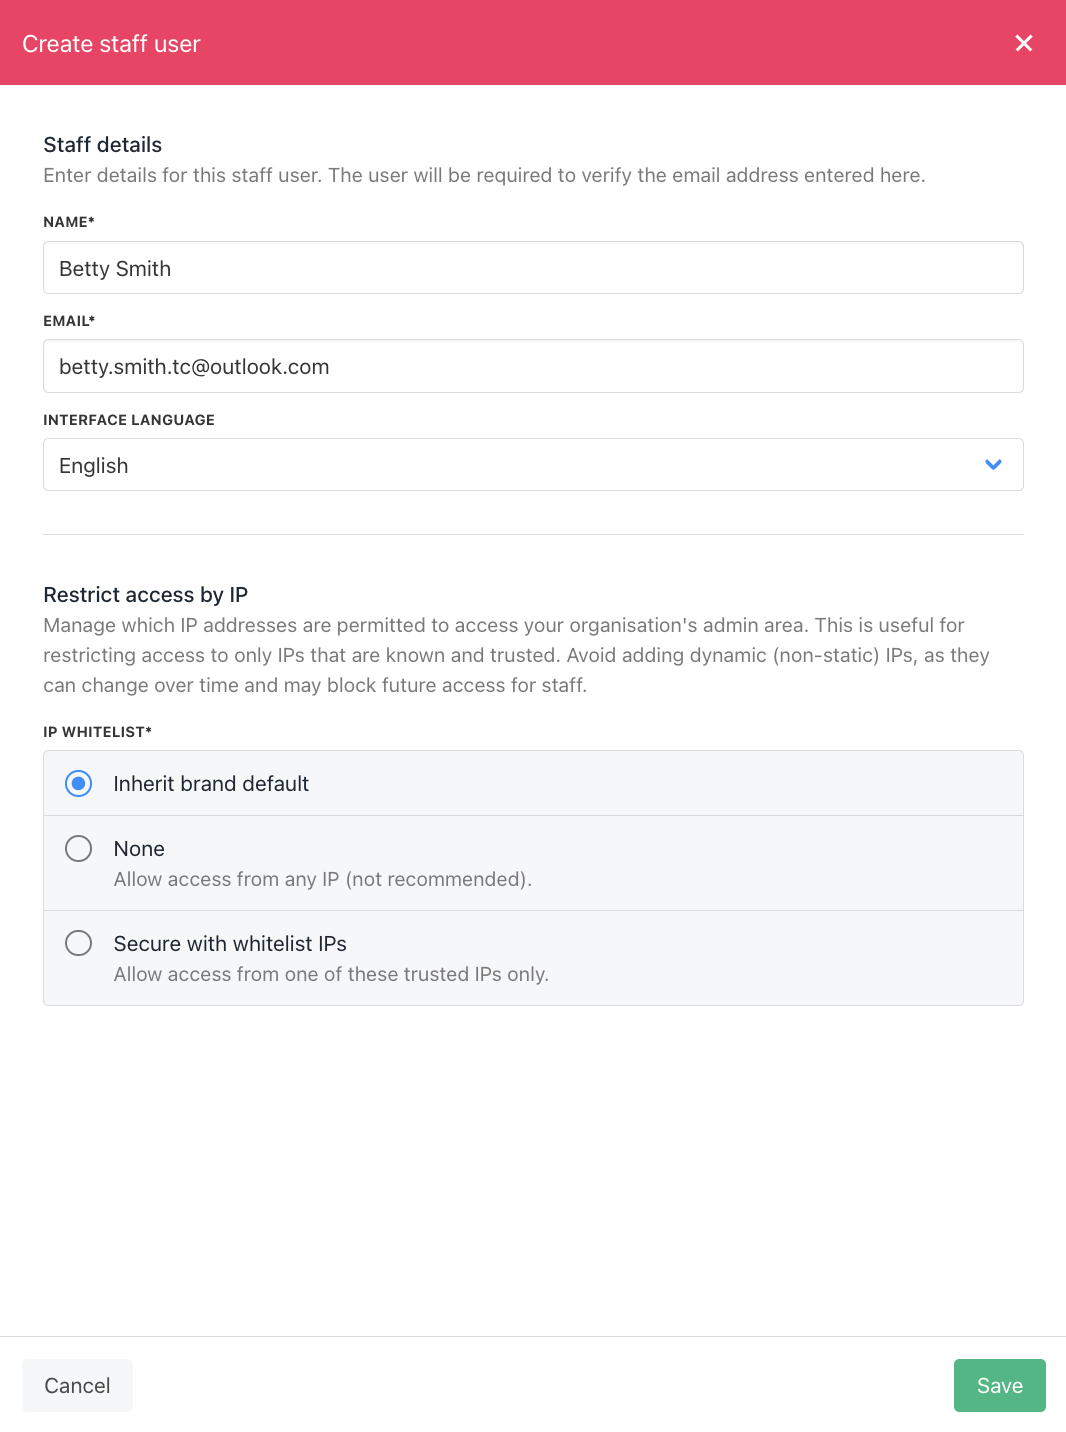
Add Staff Details and Restrict Access by IP
Managing a user
After you create a user, Upmind displays the Staff Overview page. Here you can manage user information and set brand access.- You can also click a name on the Staff users page to open the Staff overview page.
Account password
Click this account button to force the user to change their password. Upmind sends the user an email with a link to change their password.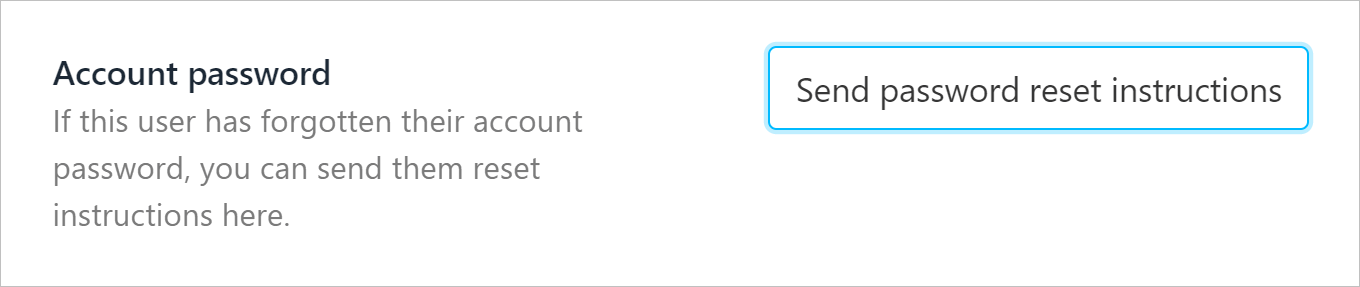
Reset account password
User permissions
- Click a toggle switch to enable or disable user access to a brand. By default, the toggle is in the
OFFposition.
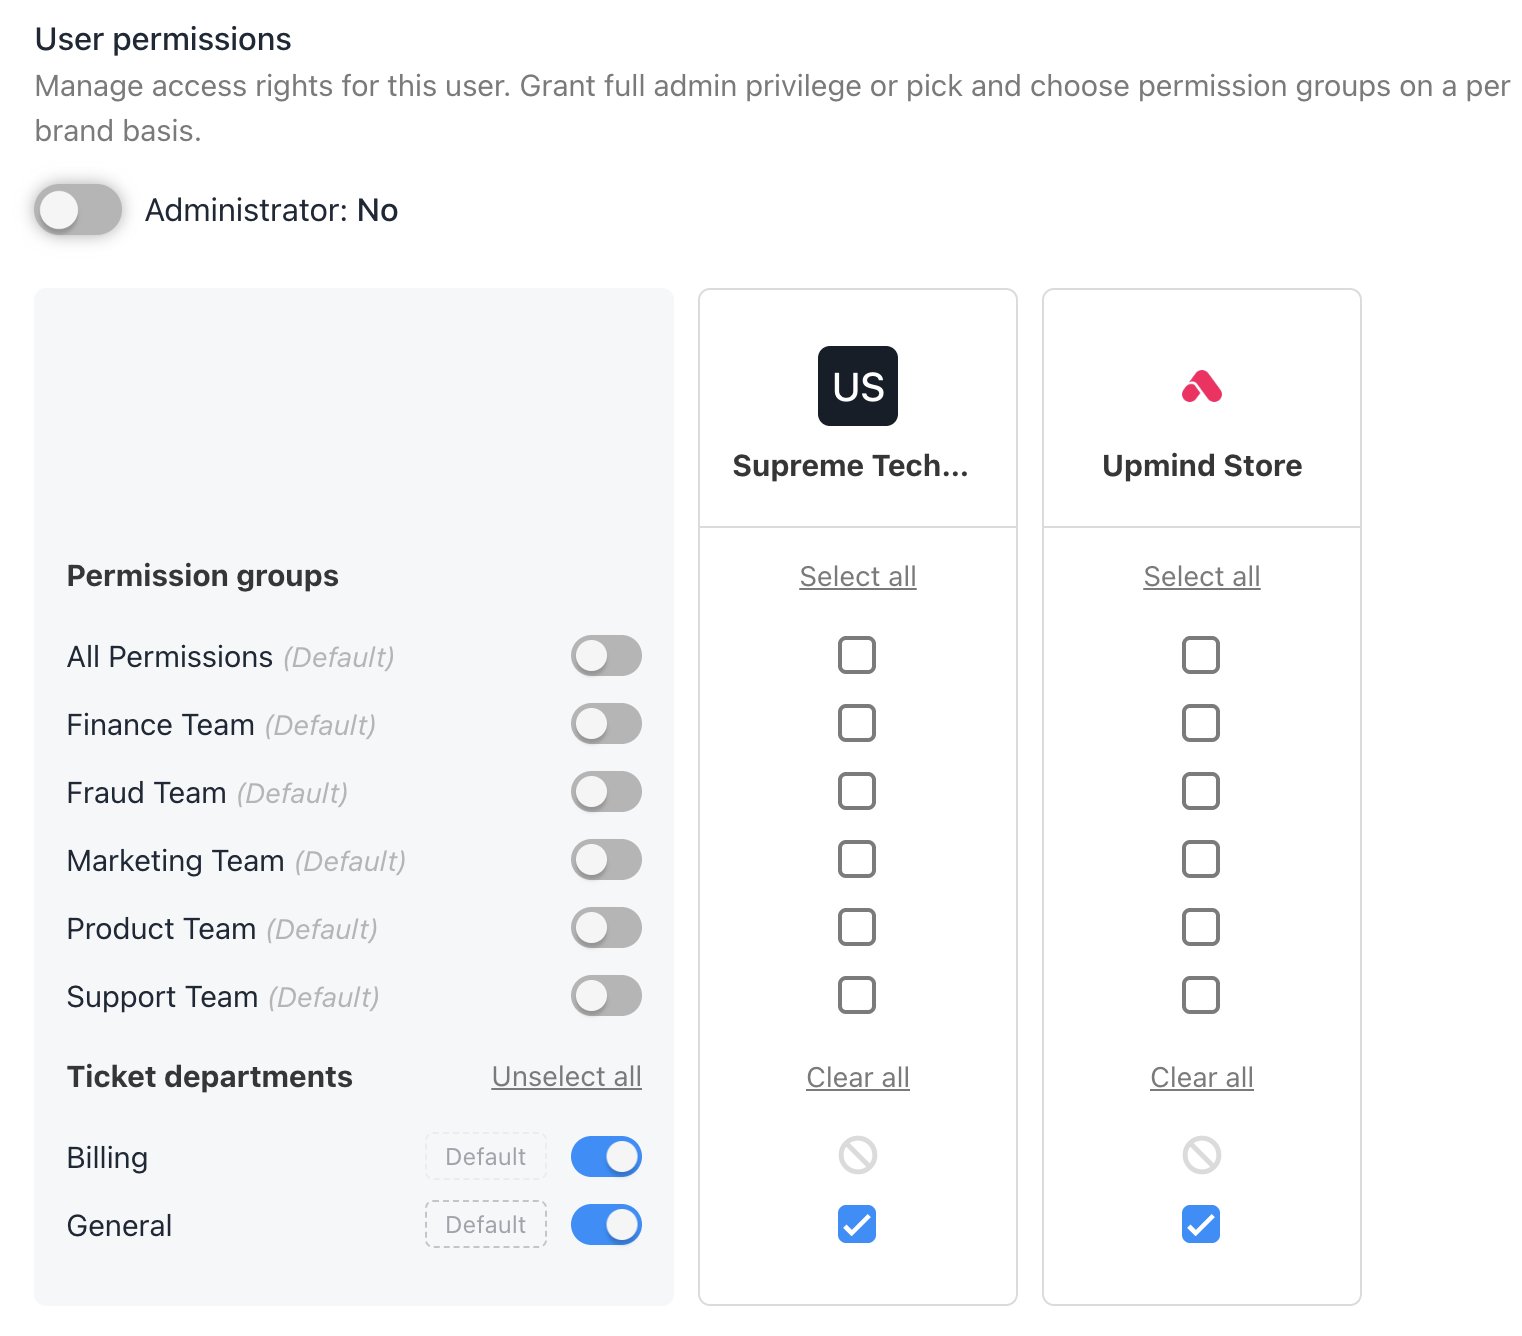
Set user permissions
- If you created one or more user groups, use the checkboxes to control access at a granular level.
- Click the Administrator toggle switch to the
Yes(blue) position and assign admin permissions. That means full access to all brands. By default, the toggle is in theNoposition.
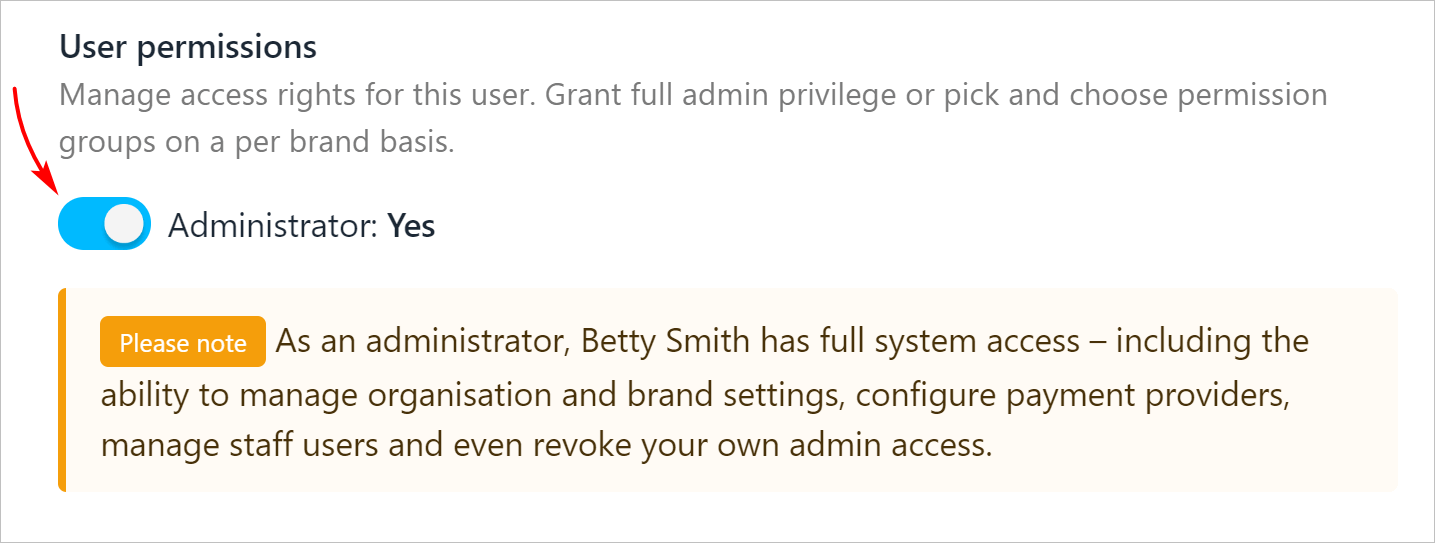
Add Admin user
- Click Save.
User gear icon options
- Open the Staff users page.
- Click the three dots icon.
- When you click the gear icon next to a staff user, you’ll see these options:
- Manage User: Edit the user’s permissions and access.
- Impersonate User: Log in as this staff member (Admins only).
- Delete: Remove the staff user from the organisation.
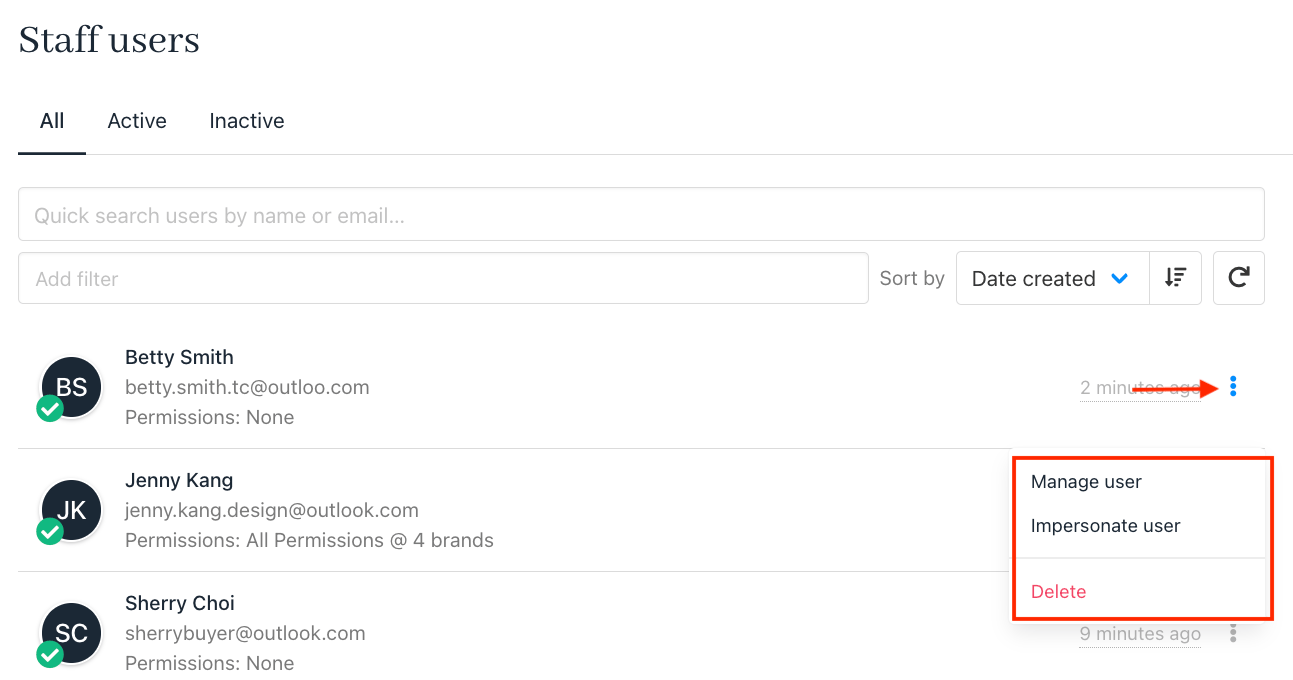
User Gear Icon
- When you impersonate a staff member, you’ll see the system from their point of view, based on the permissions you’ve given them. To stop impersonating, just click End Impersonation at the top of the screen.
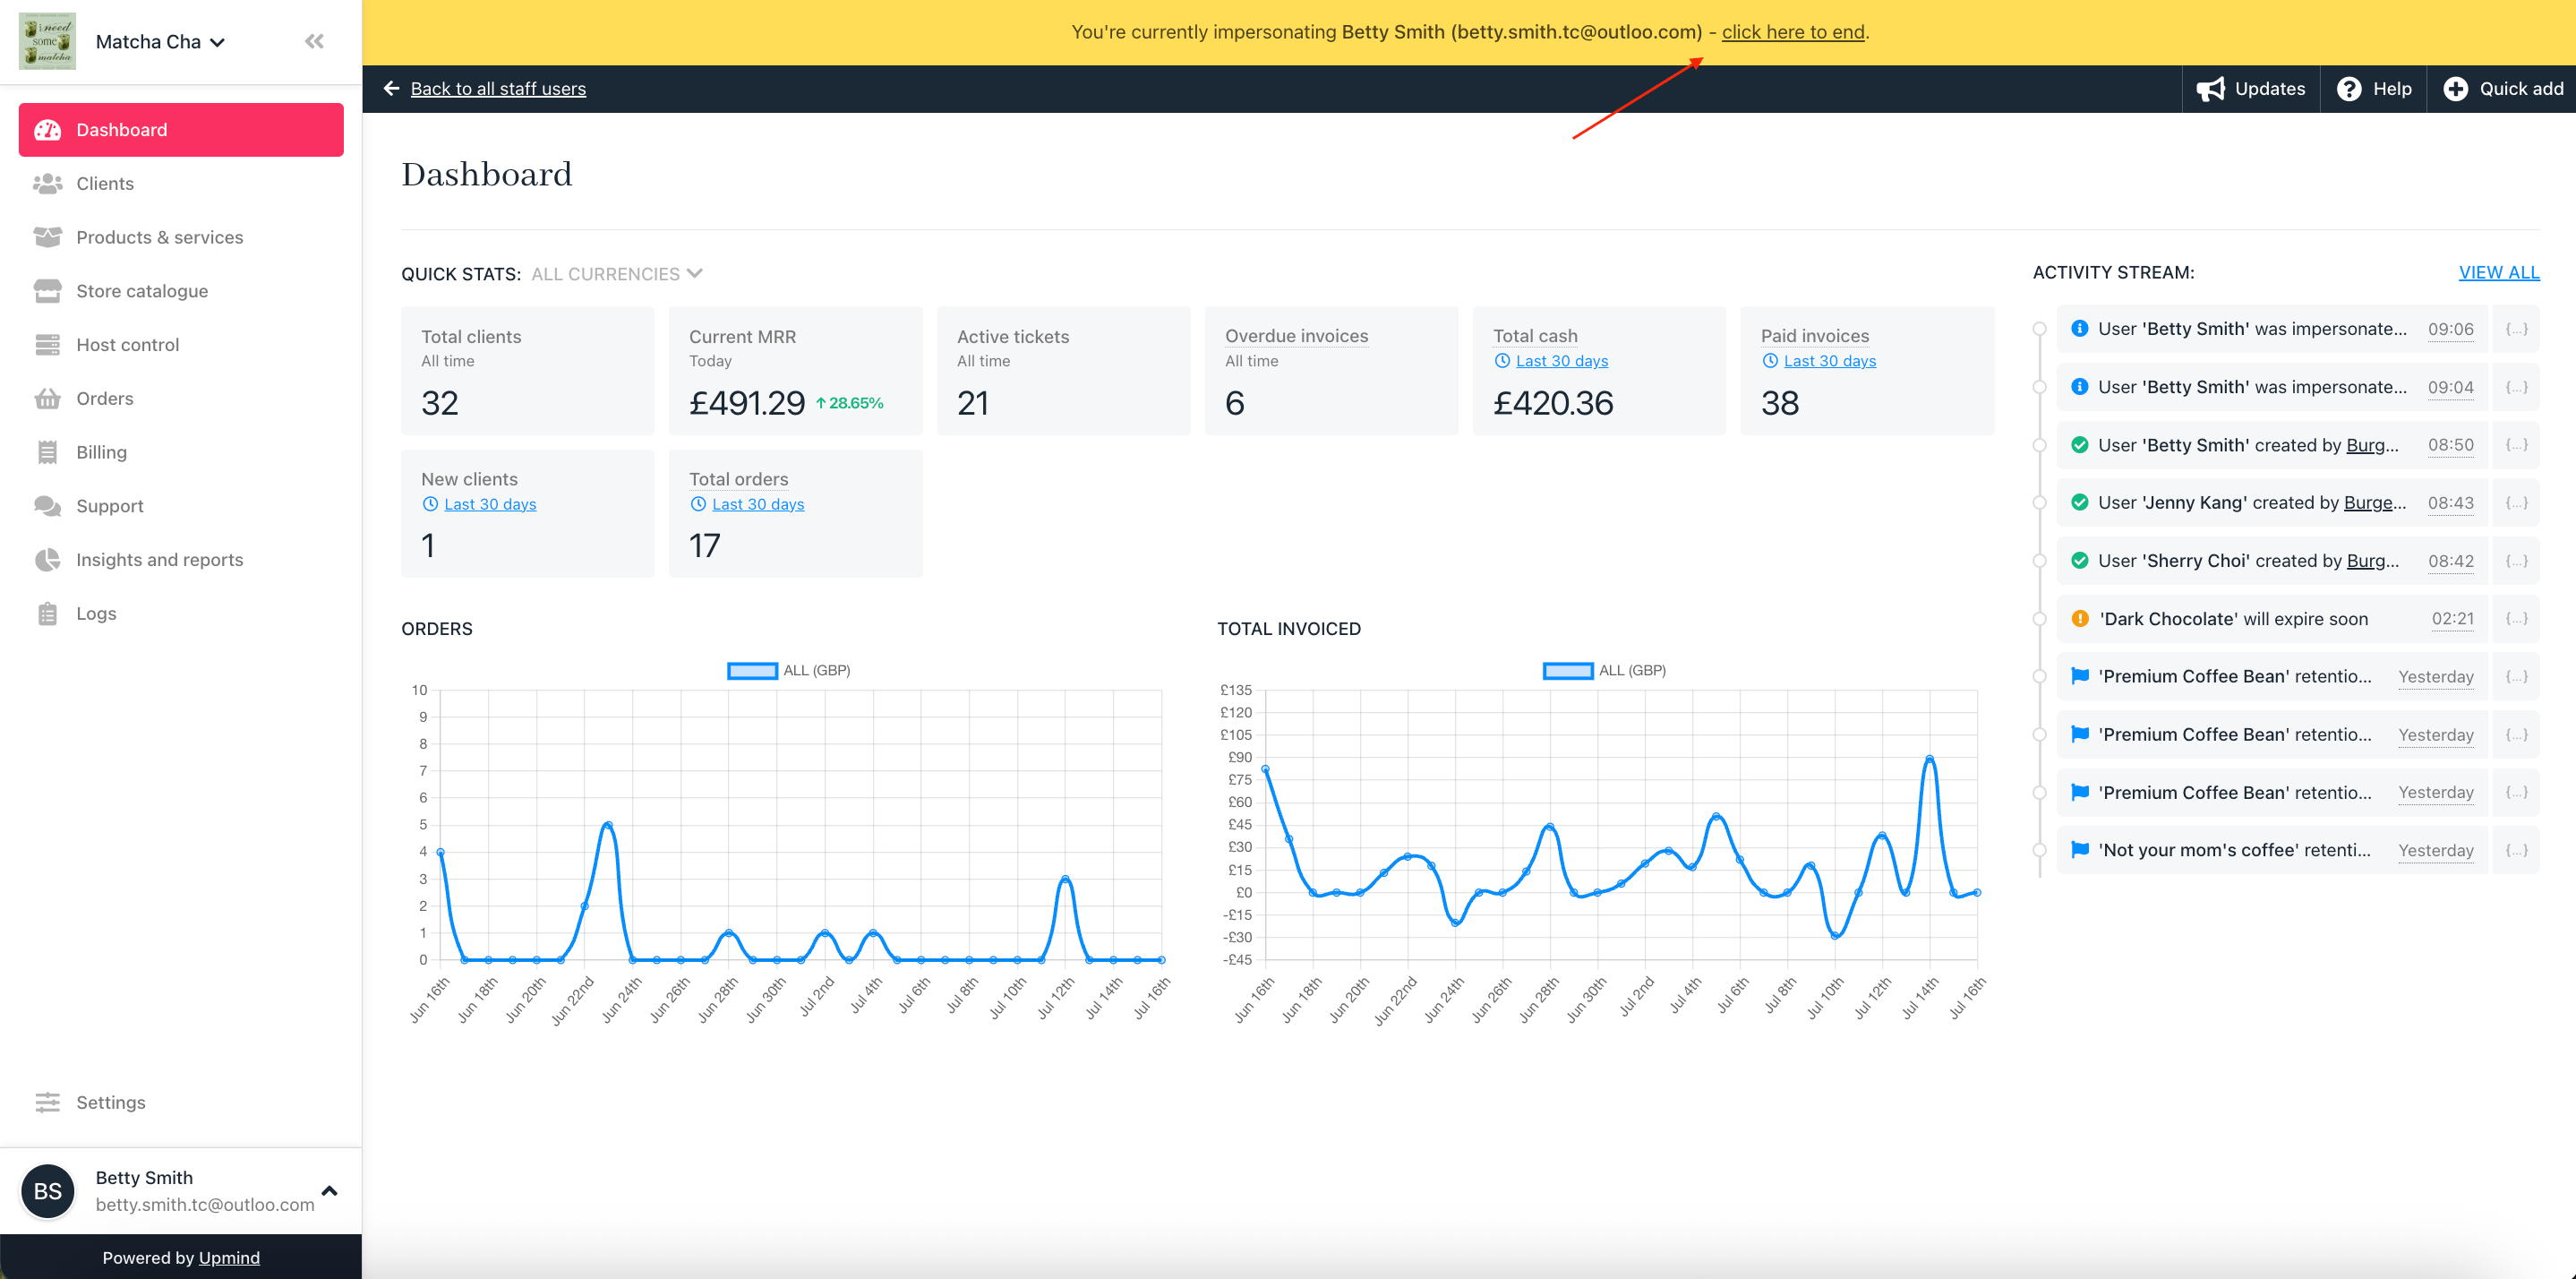
Impersonate a Staff Member
Managing staff user details
Admins and users can manage additional details from the Manage User panel. To access it, go to Settings > Staff Users, click the three dots next to the staff member, and select Manage User.Notification preferences
Admins and users can configure which notifications they receive. Inside the Manage User panel, navigate to the Notifications tab to view and update their notification preferences.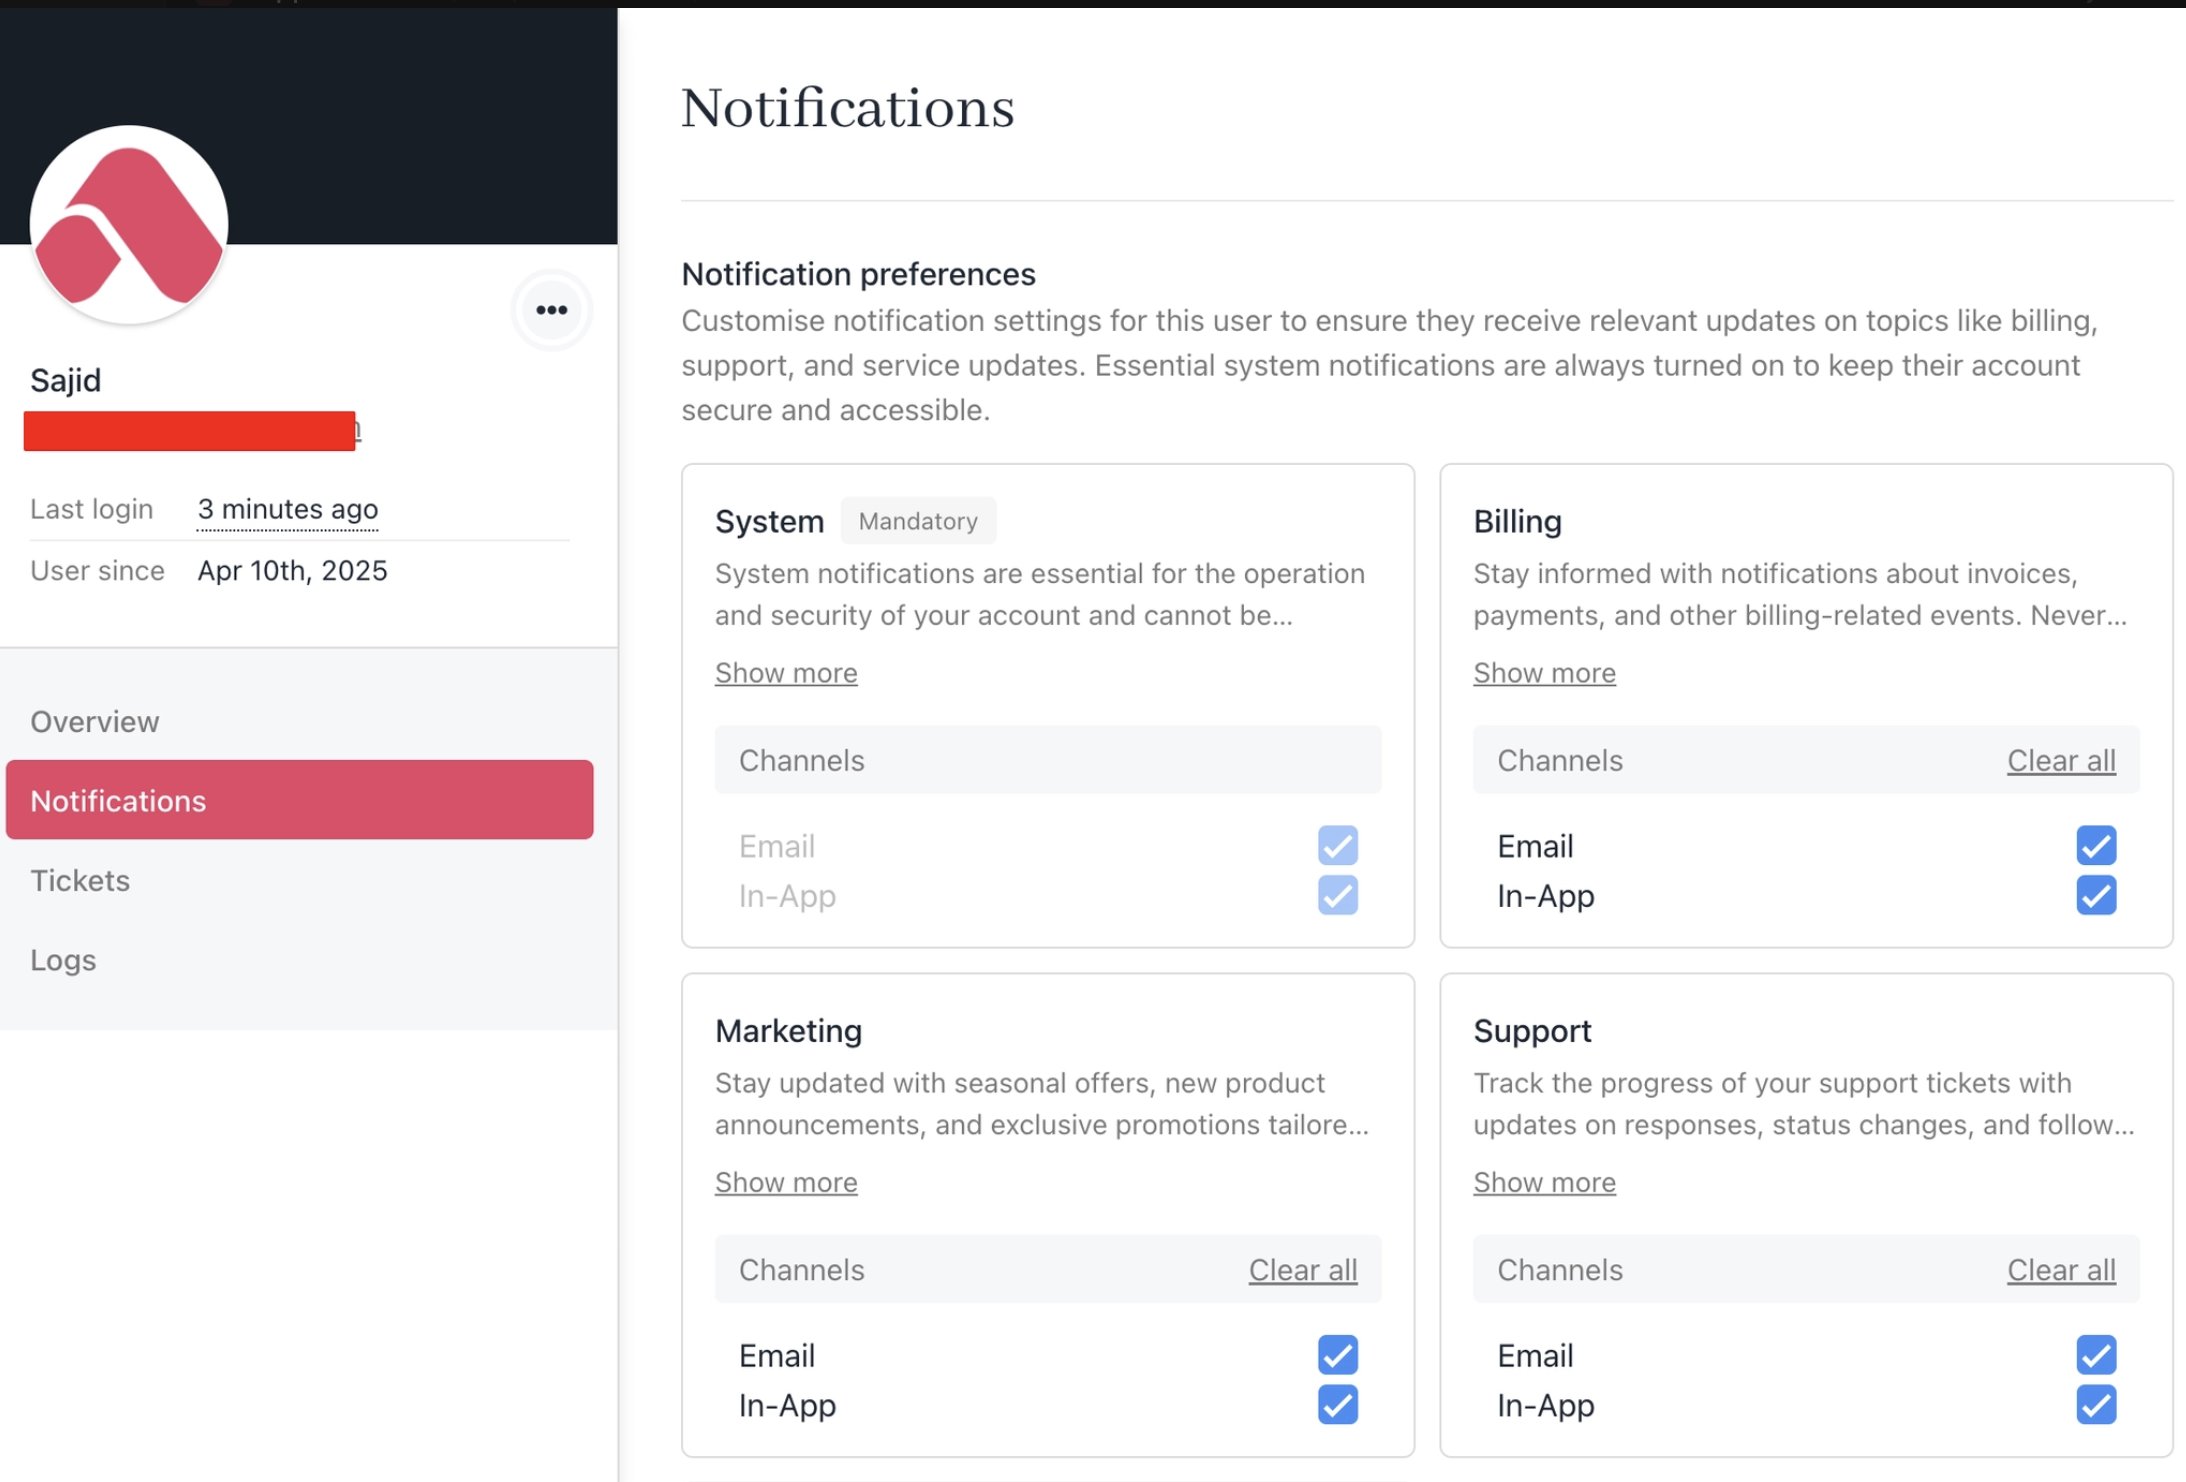
Notifications
Tickets
The Tickets tab displays all tickets associated with the staff member, organised into the following views: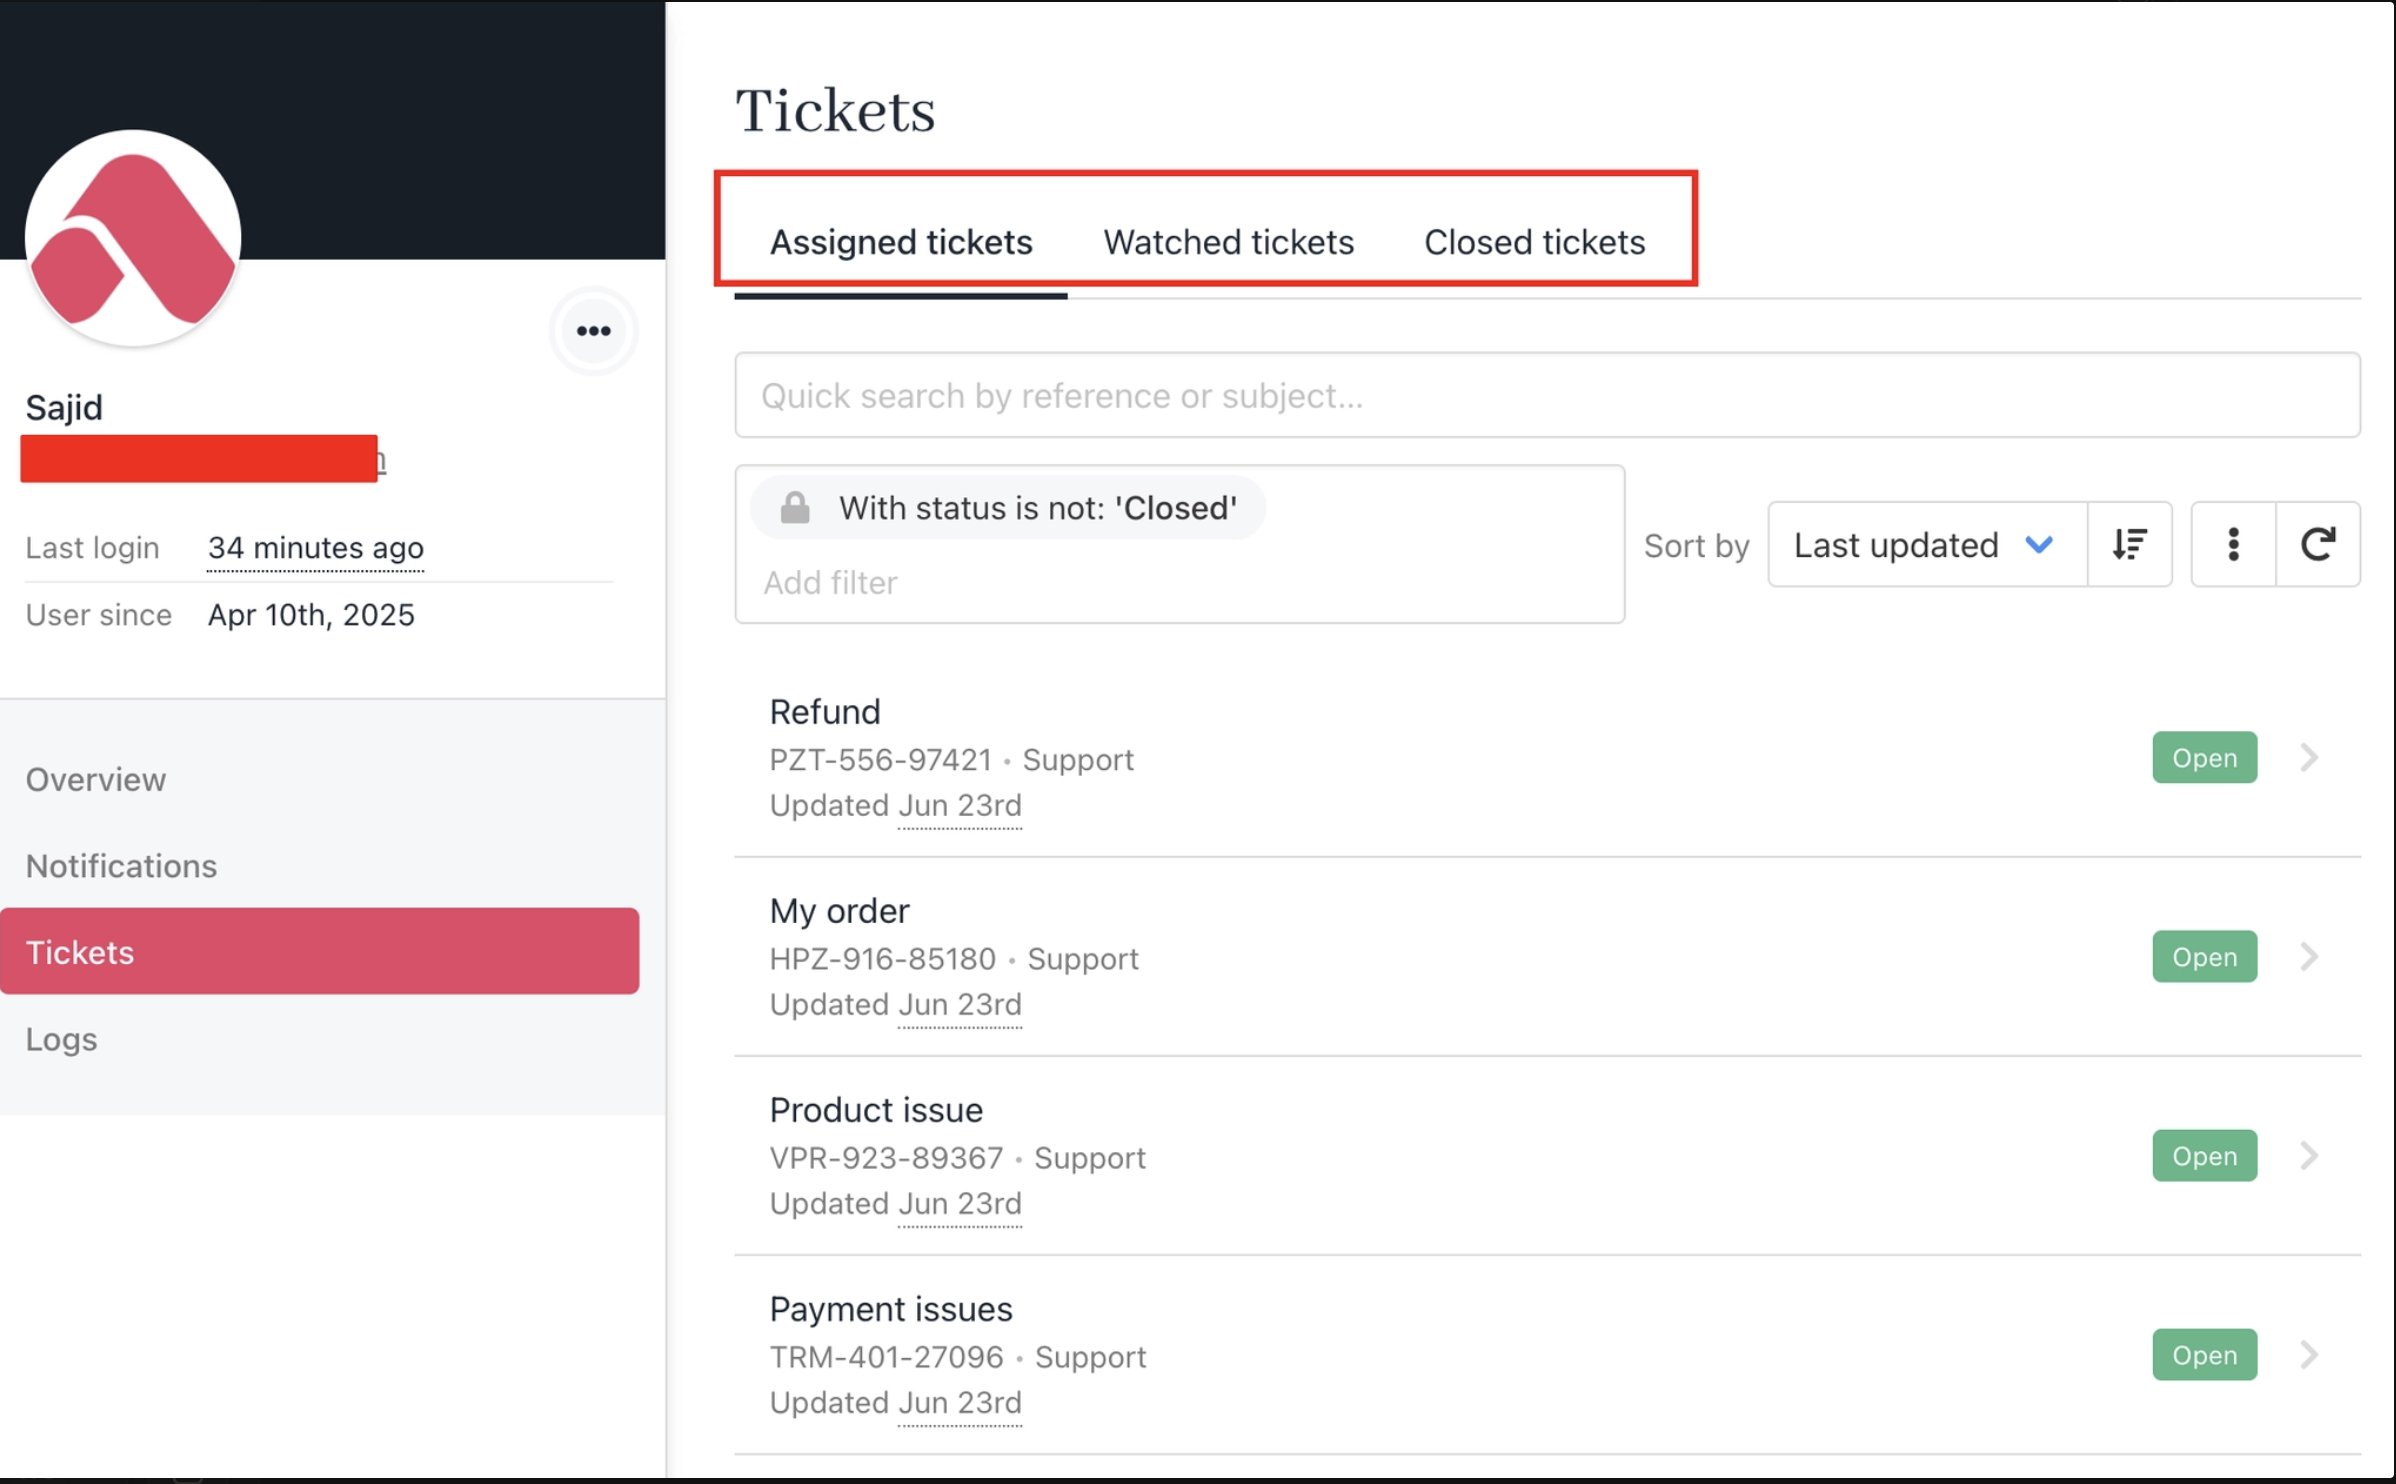
Tickets
- Assigned — Tickets currently assigned to this staff member.
- Watched — Tickets the staff member is watching or following.
- Closed — Tickets that have been resolved and closed.
Logs
The Logs tab provides a full record of the staff member’s activity and login history within Upmind, including login attempt logs for security review, as well as email history logs, which include sent, bounced, and failed emails.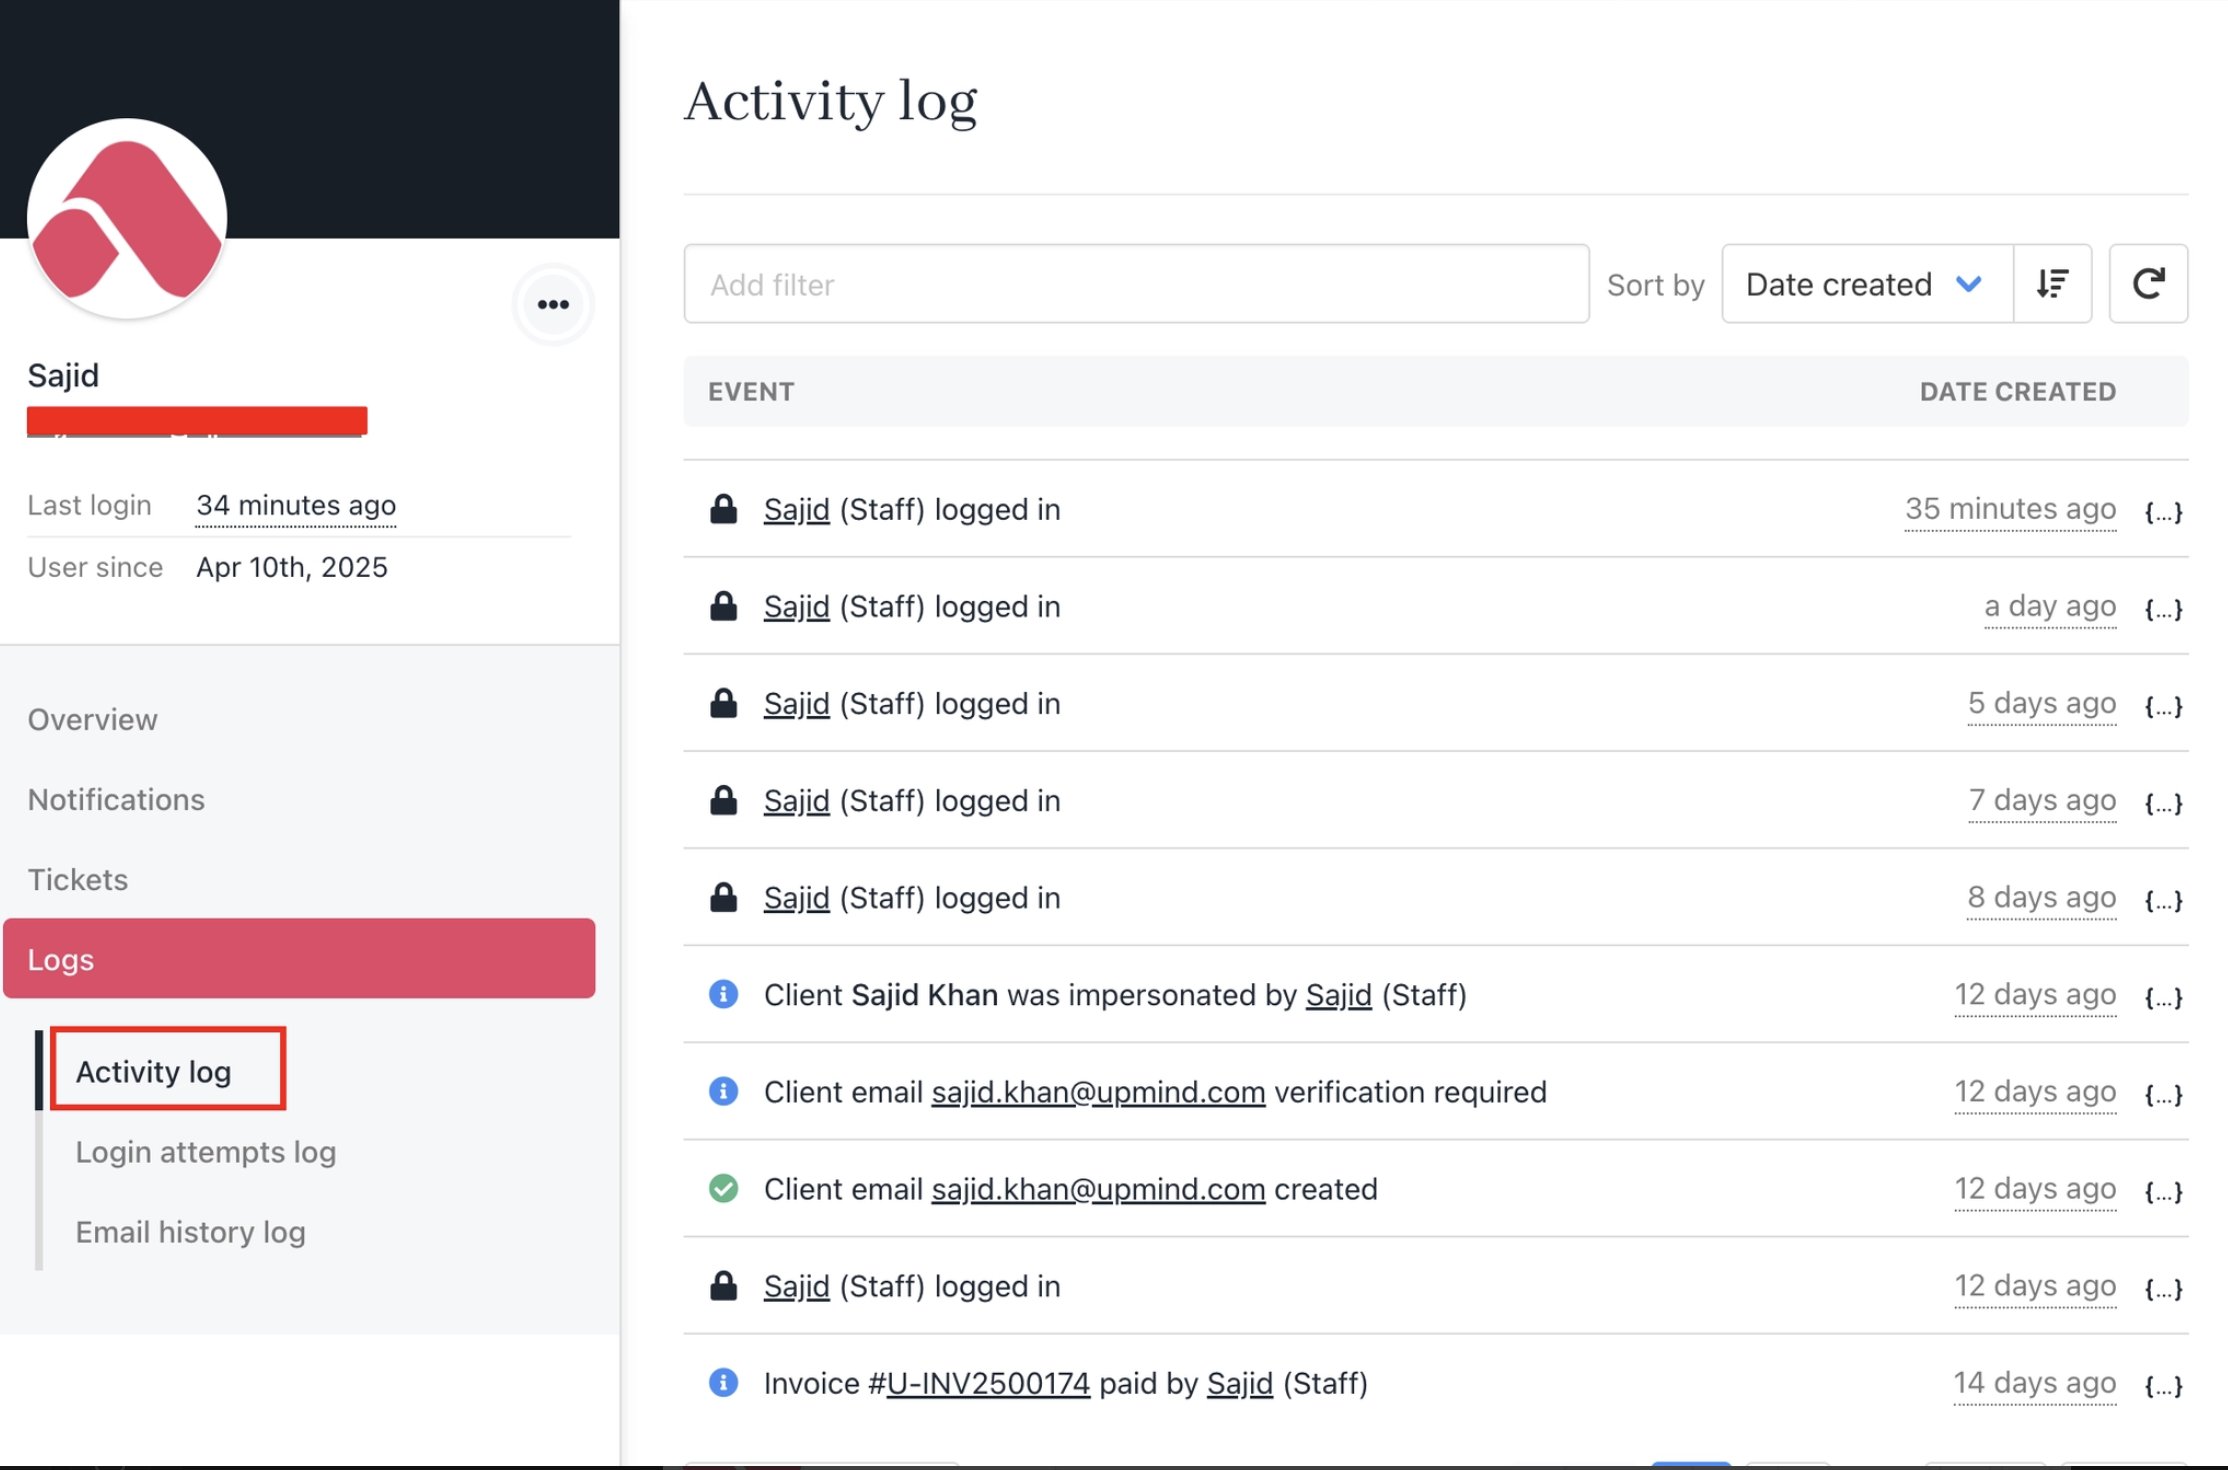
Activity log
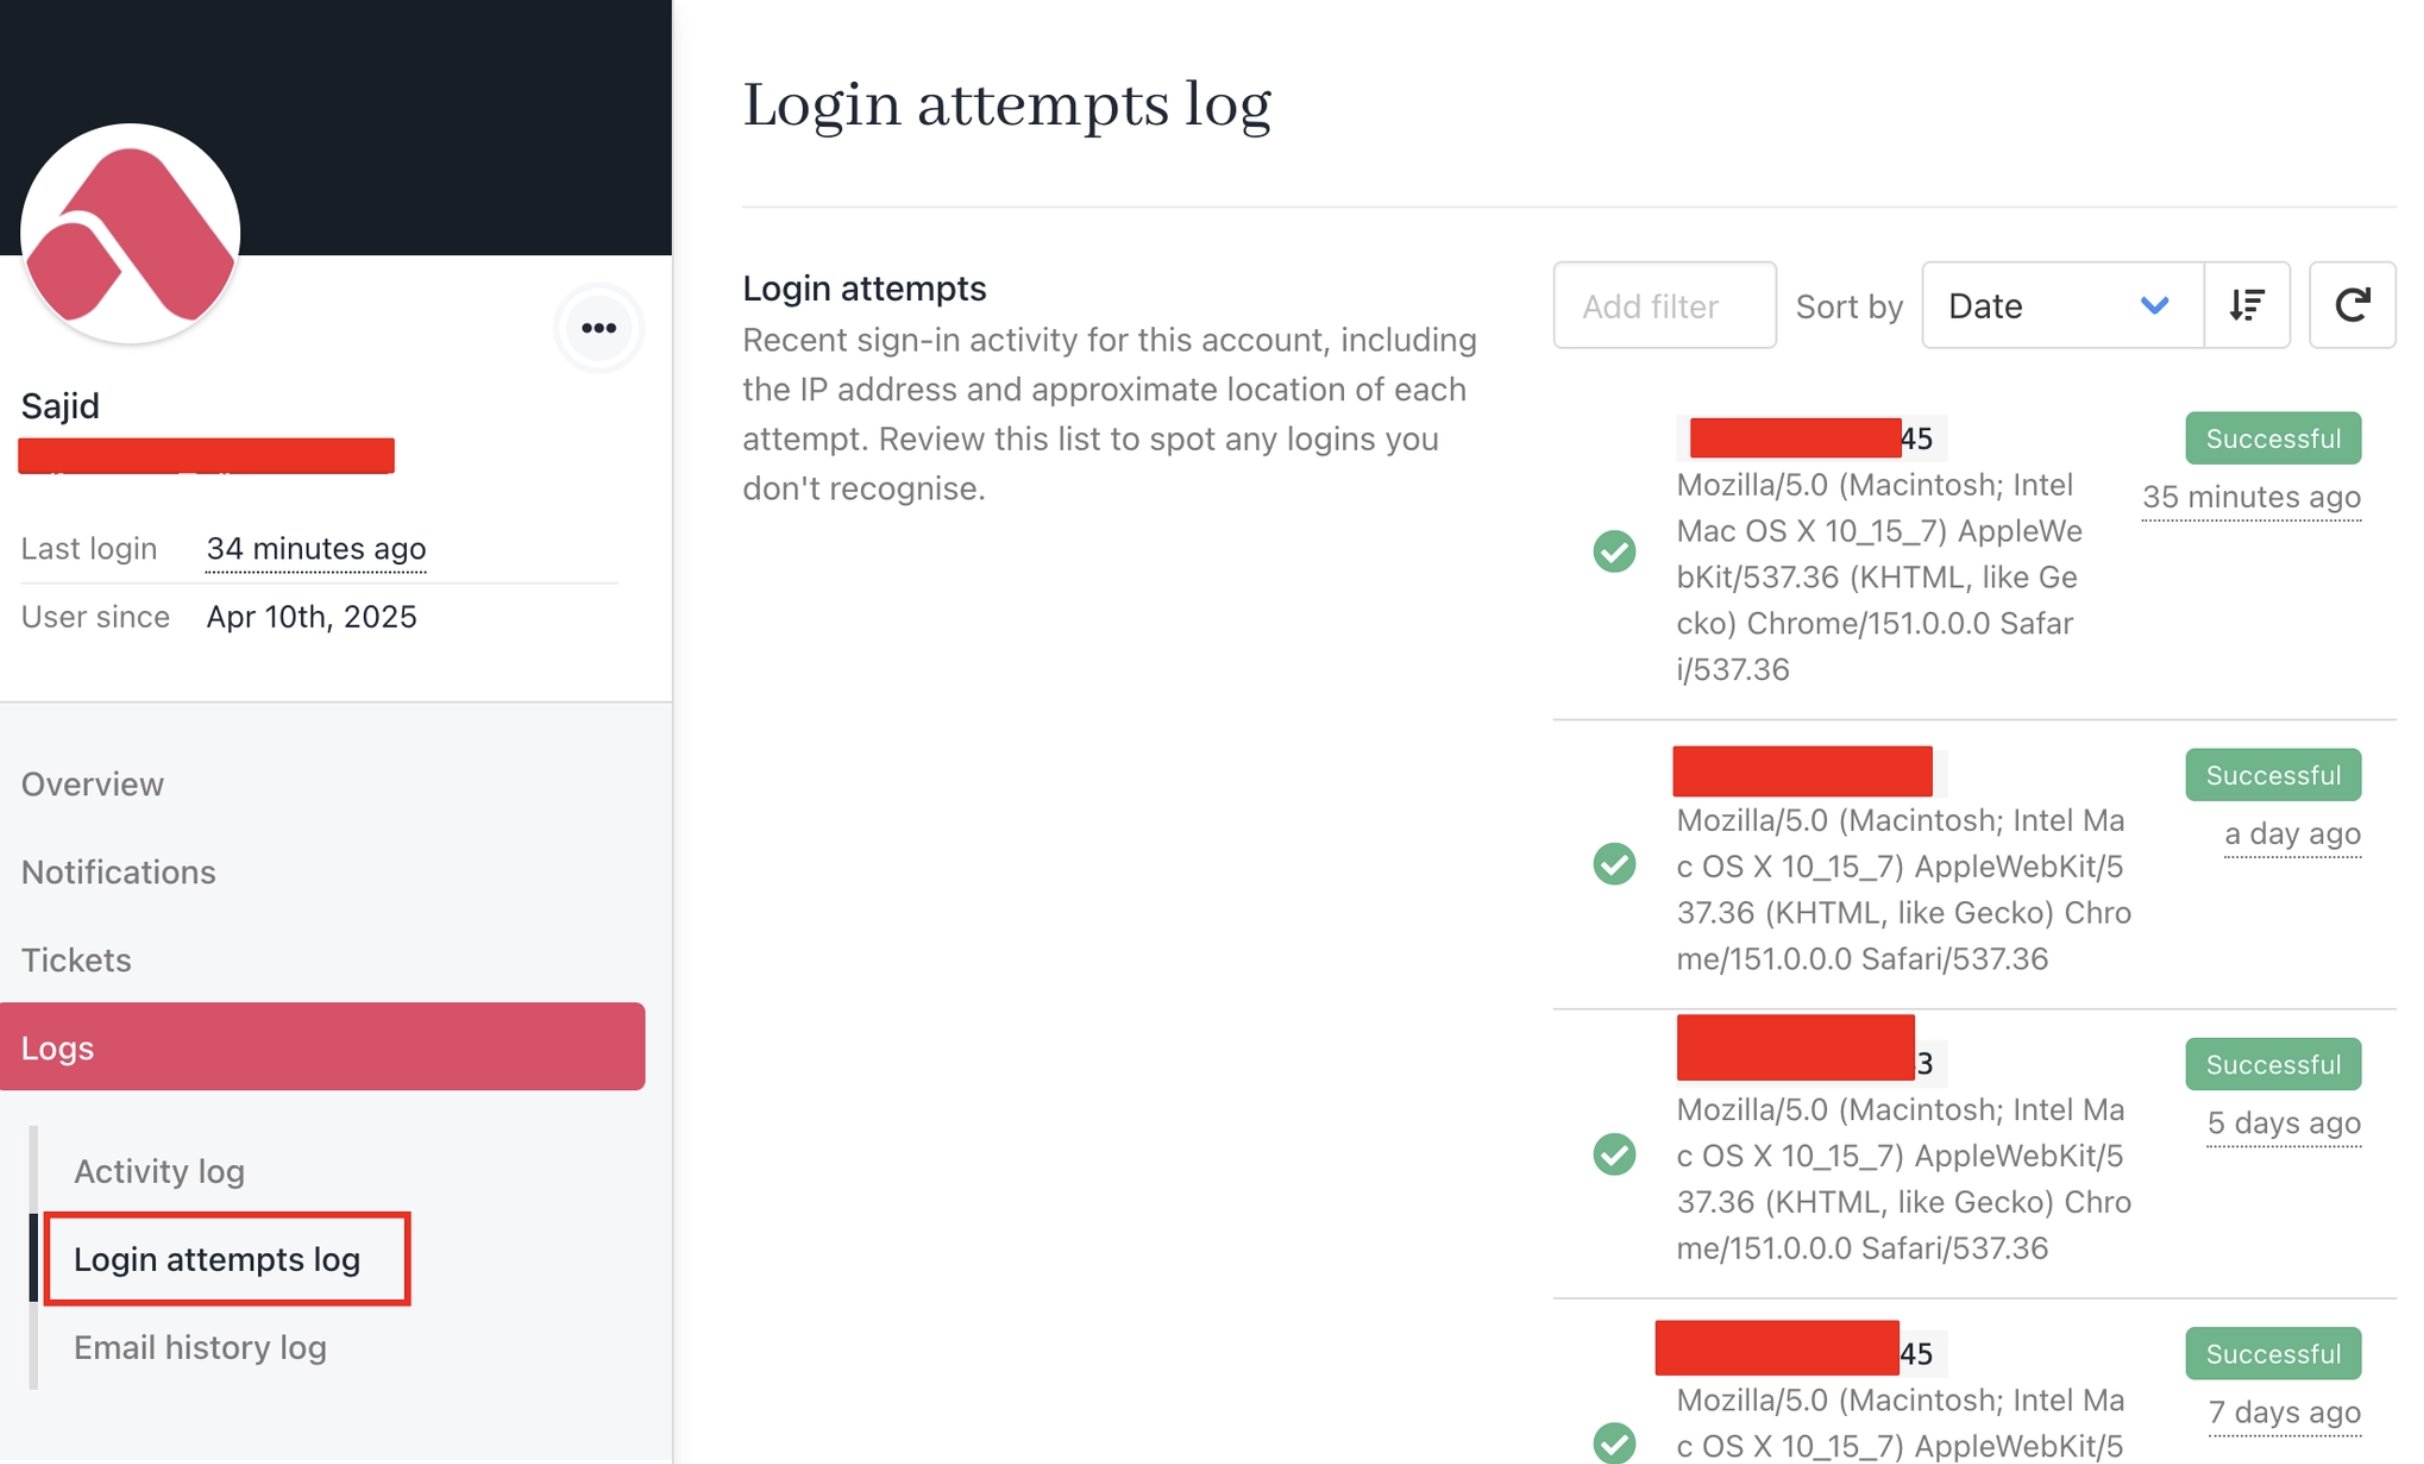
Login attempts log
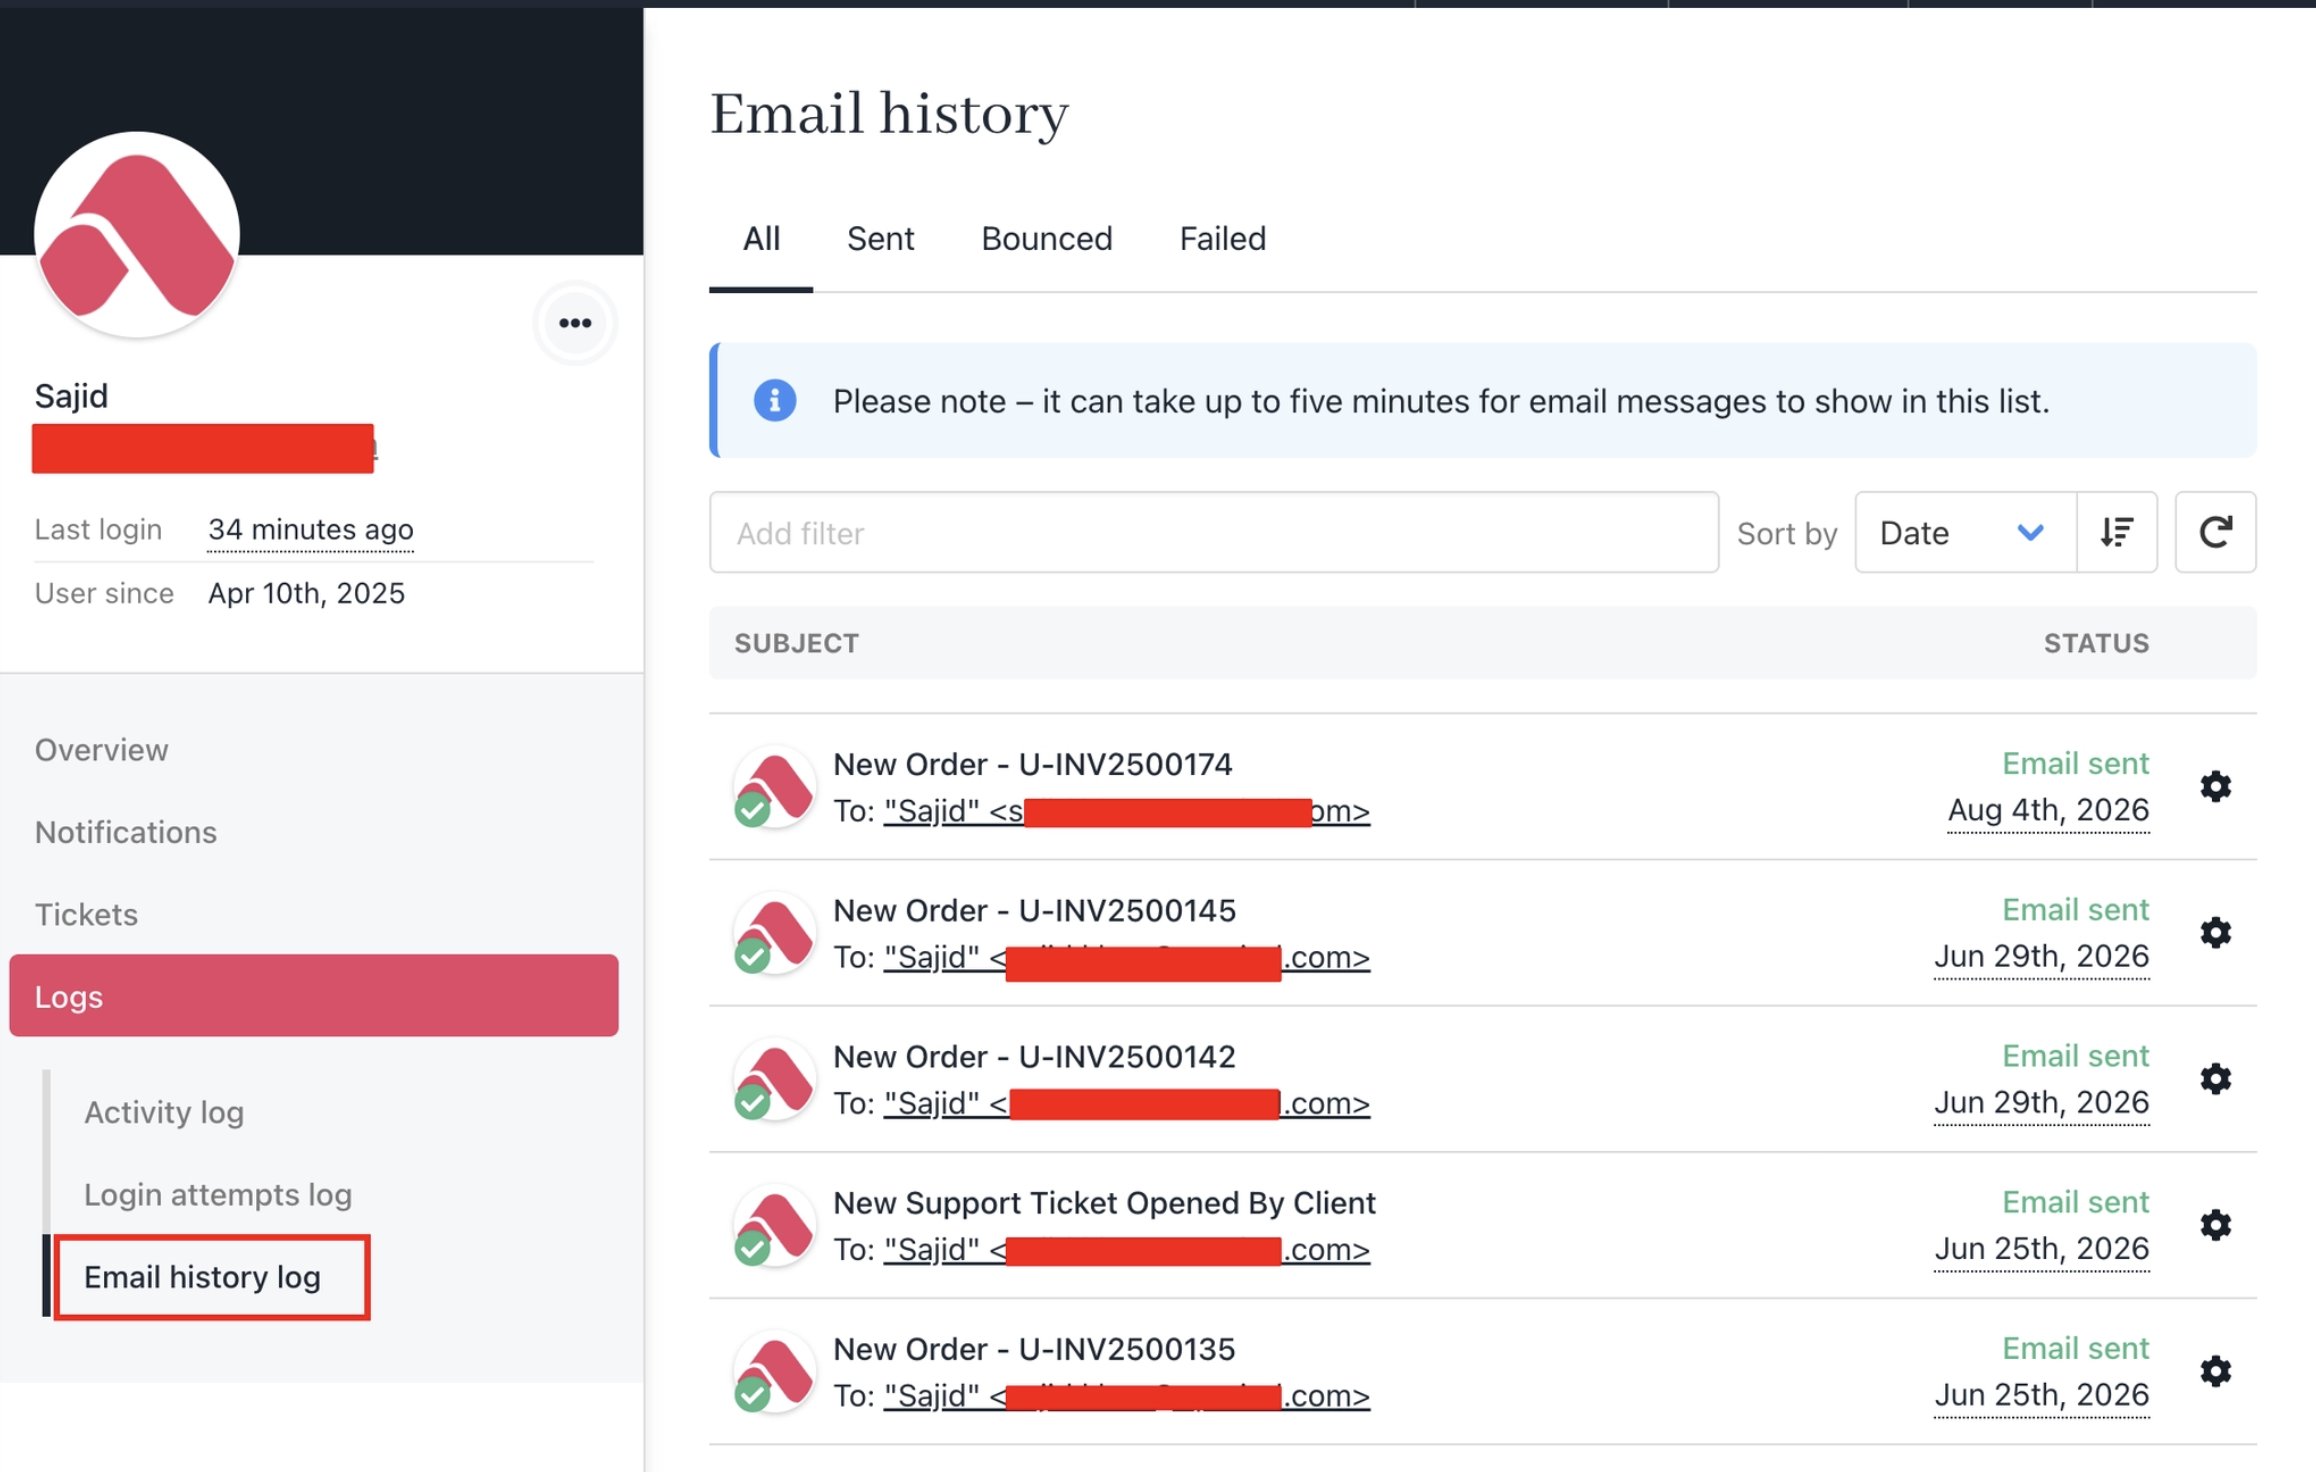
Email history log