
Define message recipients
- Log in to Upmind Admin.
- Go to
Products & Servicesin the left menu. - Select Bulk Notifications.
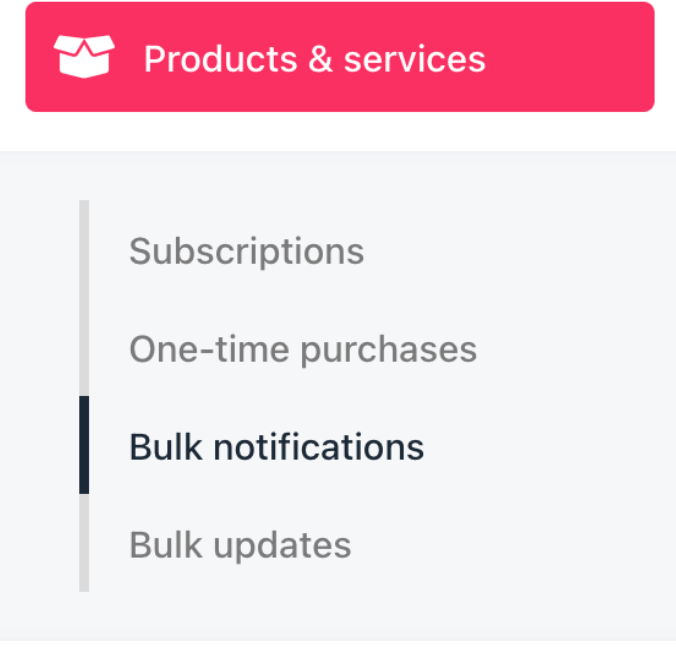
Products & services > Bulk notifications
- Click Add Bulk Action.
- Enter a name for the bulk action.
- Click the Segment field to choose:
- All products & services (default)
- An existing segment
- Create a new segment
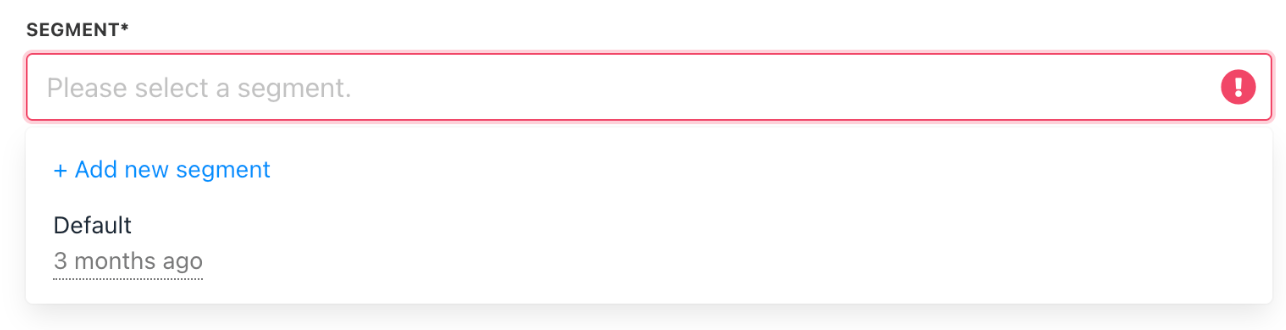
Choose a segment
Creating a new segment
- Select Add New Segment.

Add new segment
- Enter a segment name.
- Set Segment Parameters (e.g., Product, Price, Status, Provision Configuration, Client parameters).
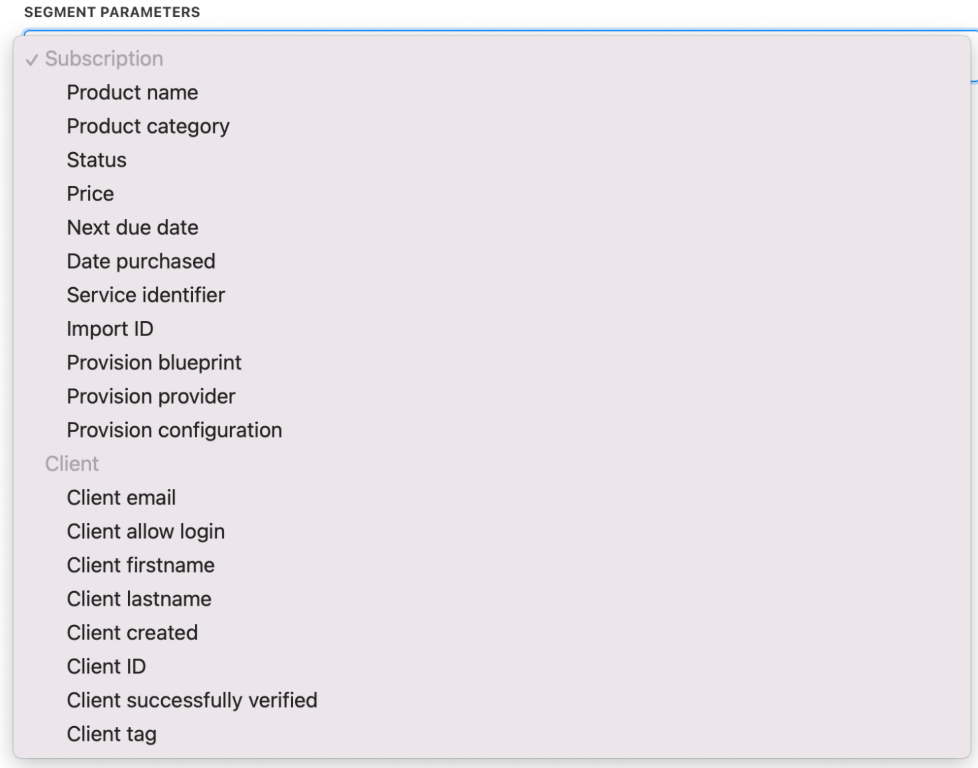
Choose a parameter
- Add rules to refine your segment.
- Click Create.
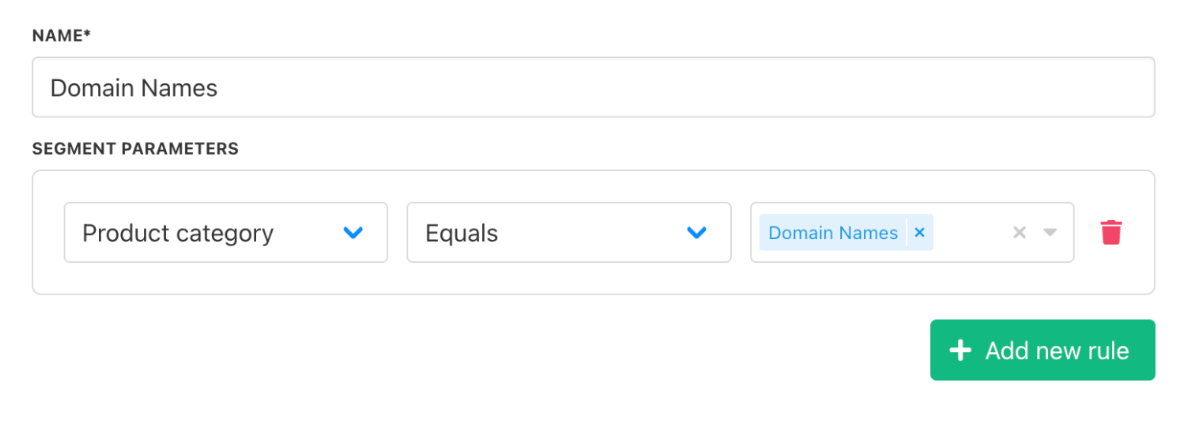
Add rules
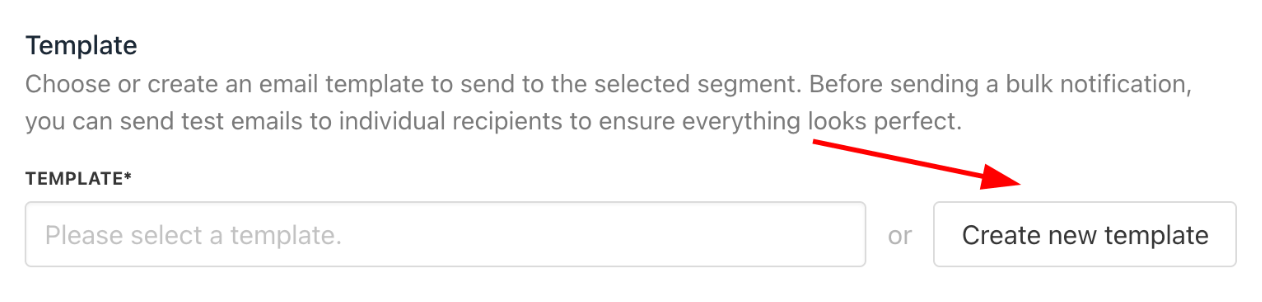
Attach an existing template
- Click the template field.
- Select a template.
- Modify text or code snippets if needed.
Modify existing text
- Click Save.
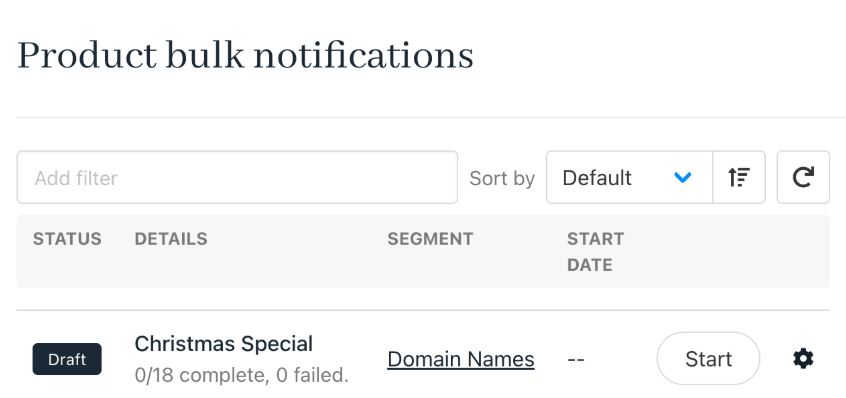
Product & Services bulk actions page.
Template saved
Create a new template
- Click Create Template.
Create new template
- Enter a template name.
- Choose the recipient type.
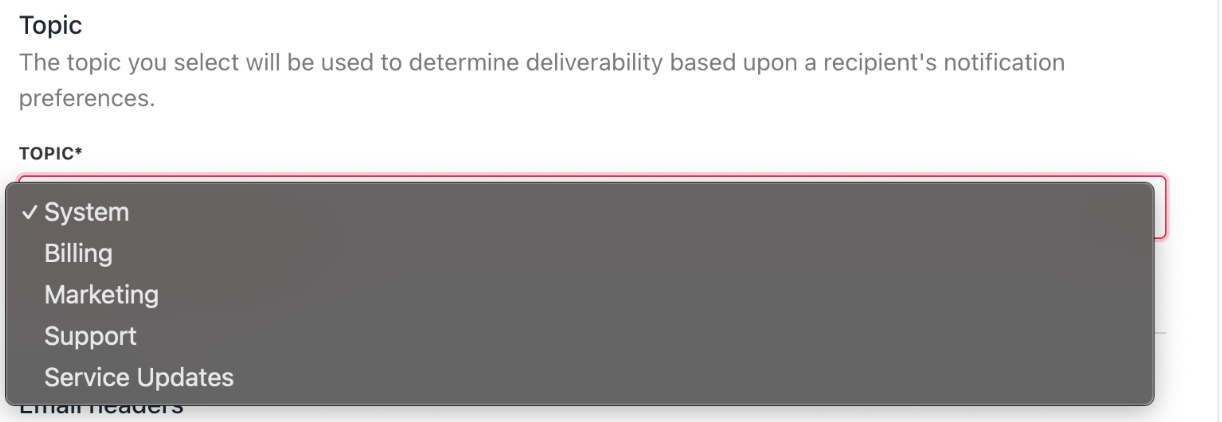
Choose the recipient type to notify
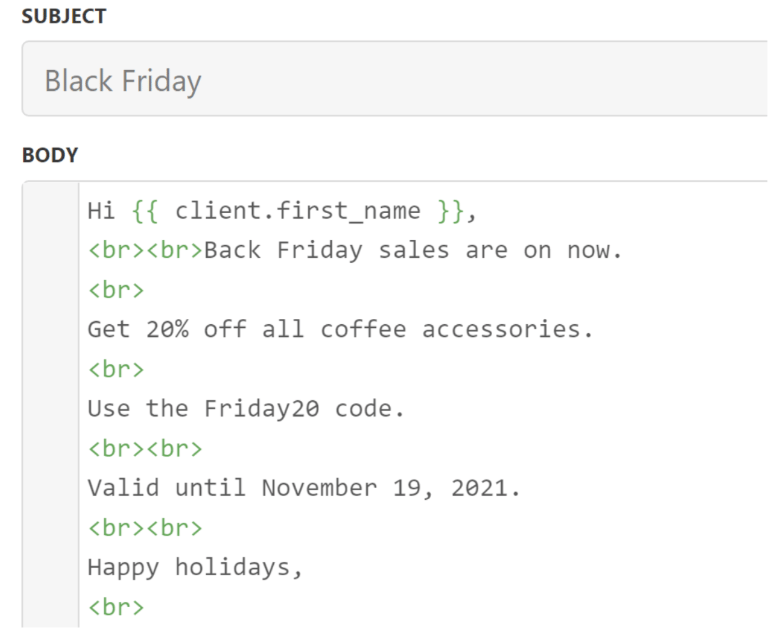
- Fill in the Subject and Body fields.
Adding dynamic fields
Code snippets dynamically insert content into emails when opened by the recipient. To insert a snippet:- Click a menu tab to view available snippets. Each tab contains a distinct collection of related code snippets.
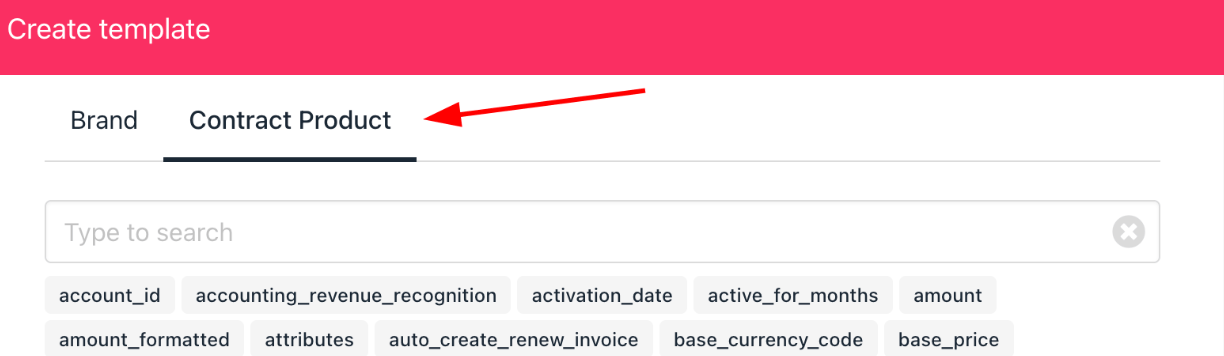
Click menu tab
Learn more about template syntax.
- Copy and paste snippets into the template.
- Use HTML for formatting.
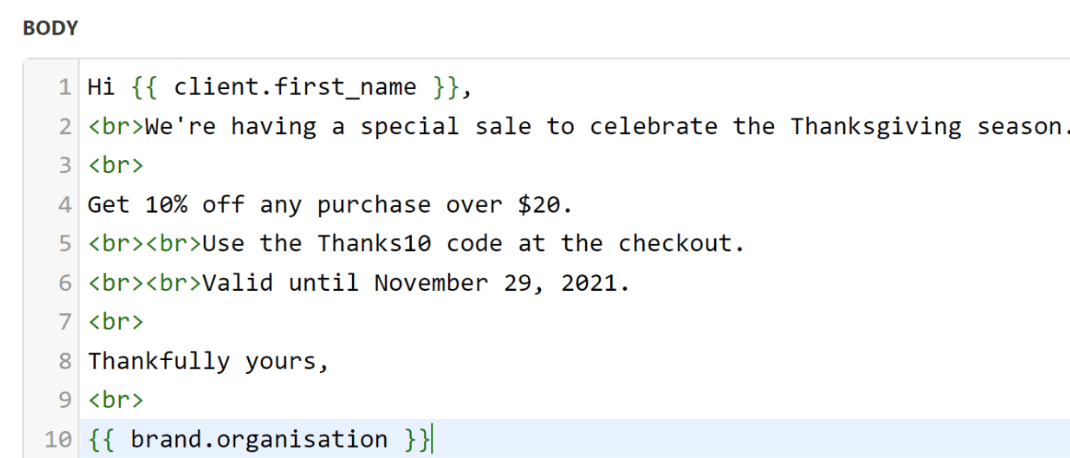
Paste the code into the template
Email templates are built with Twig code.
- Click Save.
Edit bulk messages
- Go to the Product & Services Bulk Actions page.
- Select a message.
- Update as needed.
- Click Save.
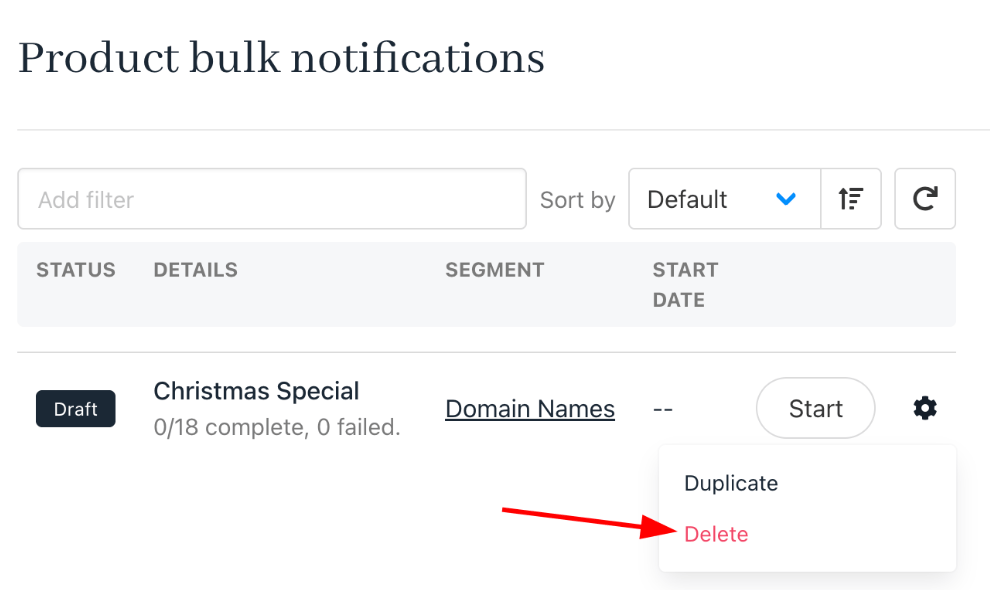
Delete bulk messages
- Click the gear icon next to the message.
- Select Delete.
Delete a message
Send or schedule bulk messages
- On the Product & Services Bulk Actions page.
- Find your message.
- Click Start.

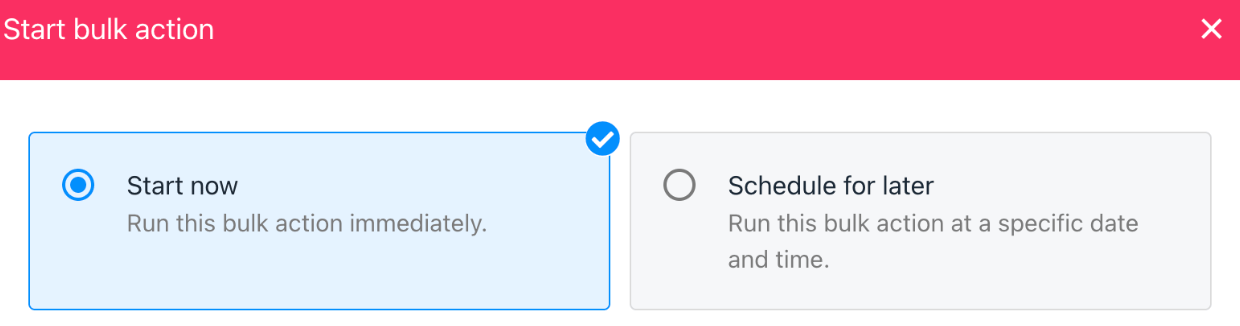
Click start
- Choose Start Now to send immediately, or Schedule for Later to pick a date and time.
Choose start now or schedule for later
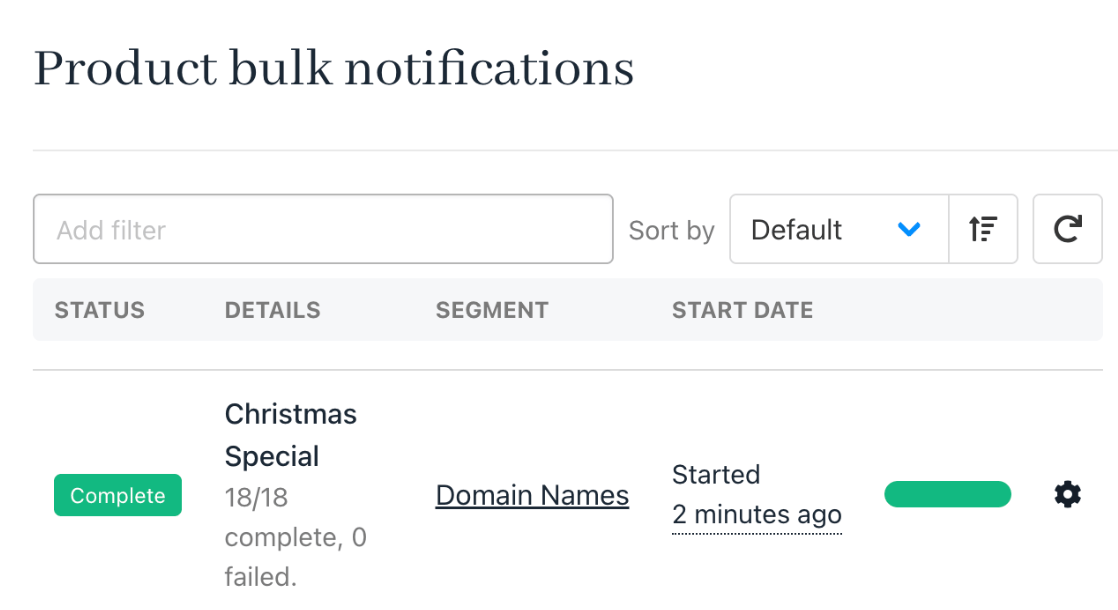
Review results
Upmind displays email results on theProduct & Services bulk actions page. You can view delivery statistics, segment info, and template details when you click on a bulk message.
Email results displayed