
Opening the ticket page
From the main dashboard, there are two ways to open the tickets page.- Click the Active tickets tile. Or
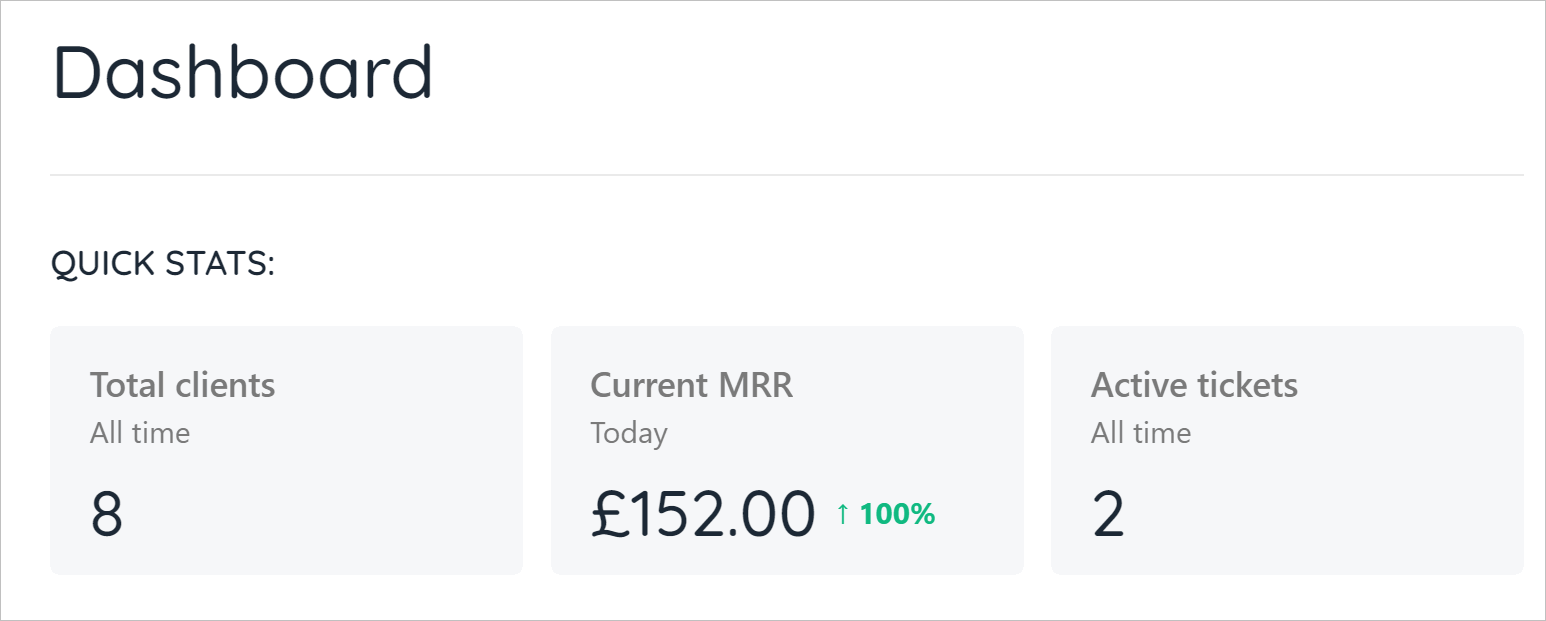
Click Active tickets tile
- Click Support on the left menu.
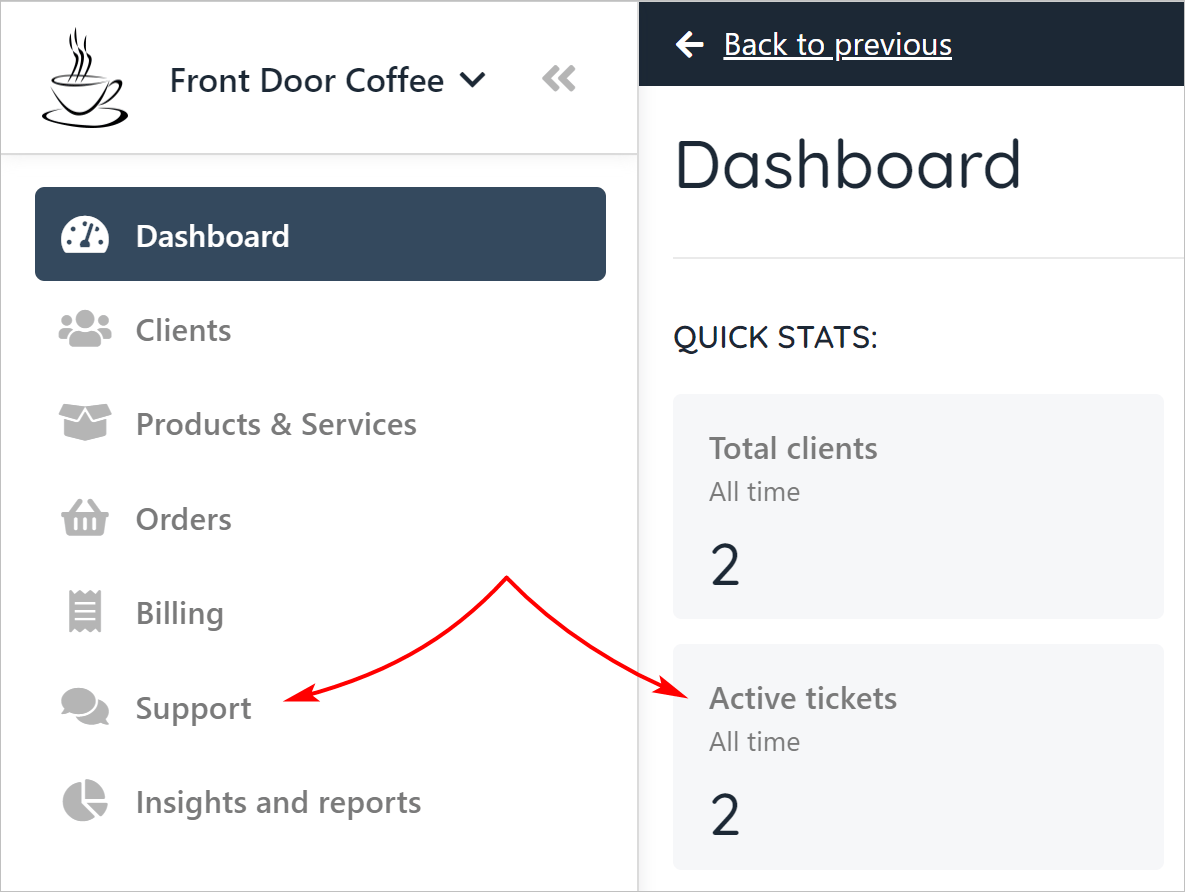
Active tickets
- The Tickets page displays.
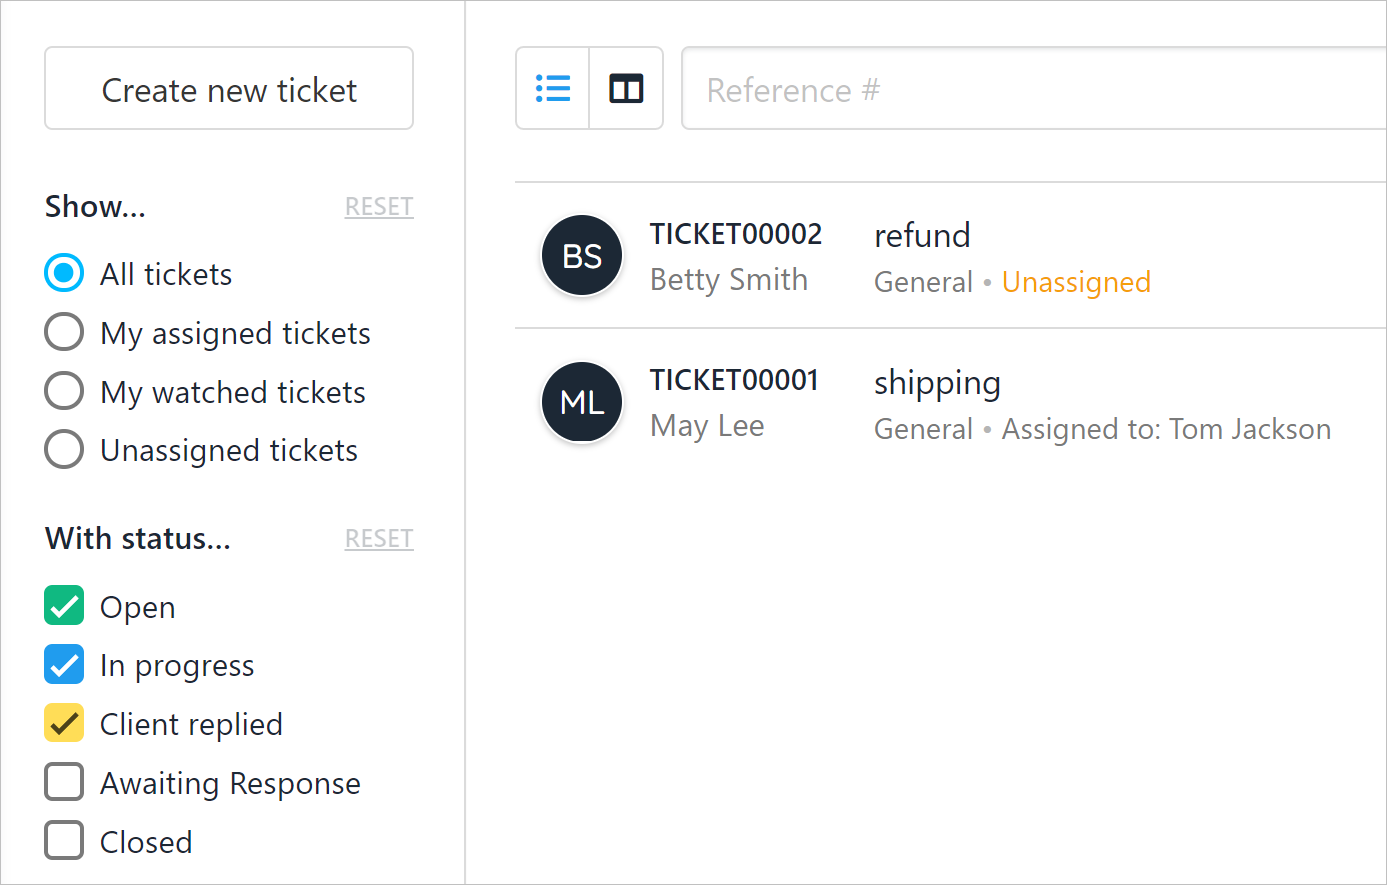
Tickets page
Sorting tickets
On the left menu, Upmind gives you five filters to sort tickets:- label
- status
- department
- open time
- spam filter
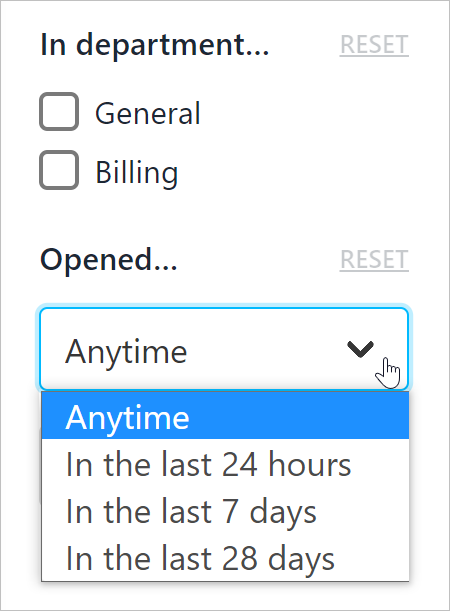
Filter tickets
Opening a ticket
The centre window displays a list of tickets and summary information. The page also provides display options. To review a ticket in detail, click a ticket name.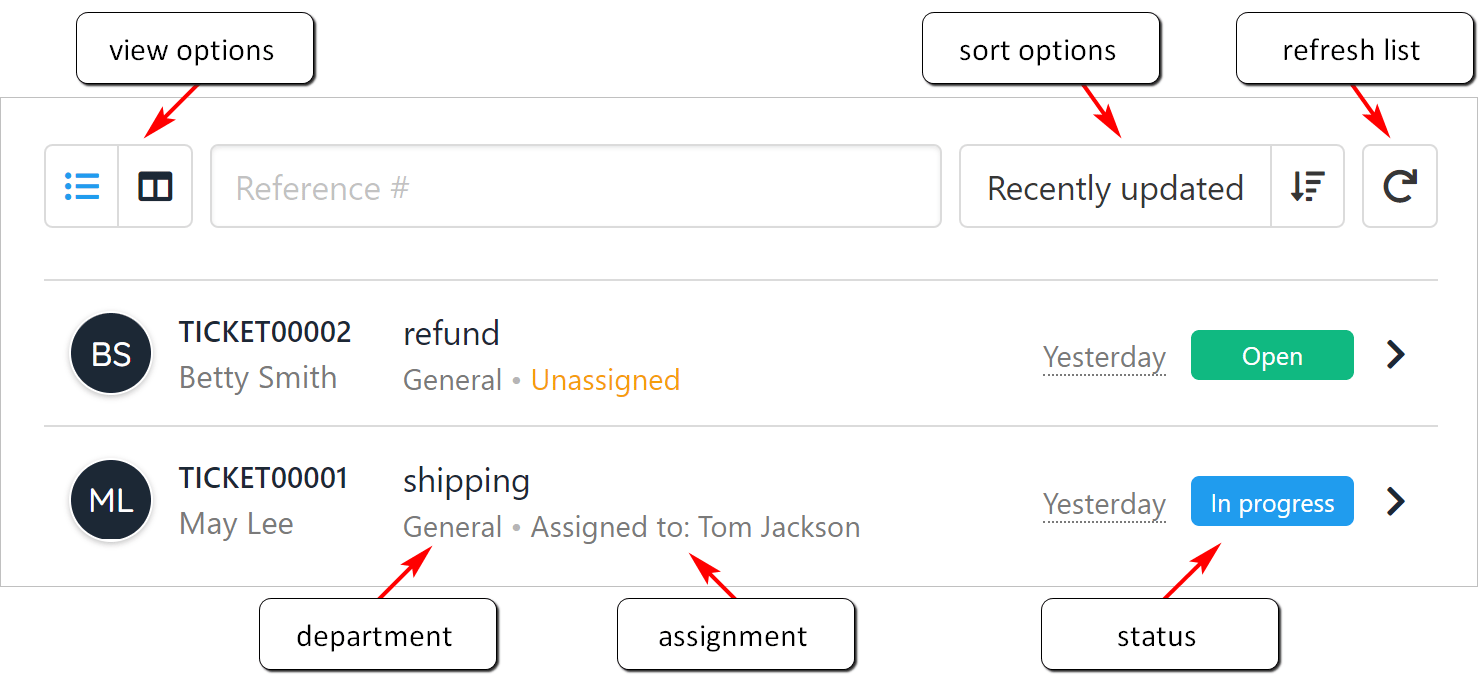
Ticket status
Assigning a ticket
Every ticket needs a participant (the person responsible for taking action on a ticket). An admin user can become the participant by clicking the Take ticket button.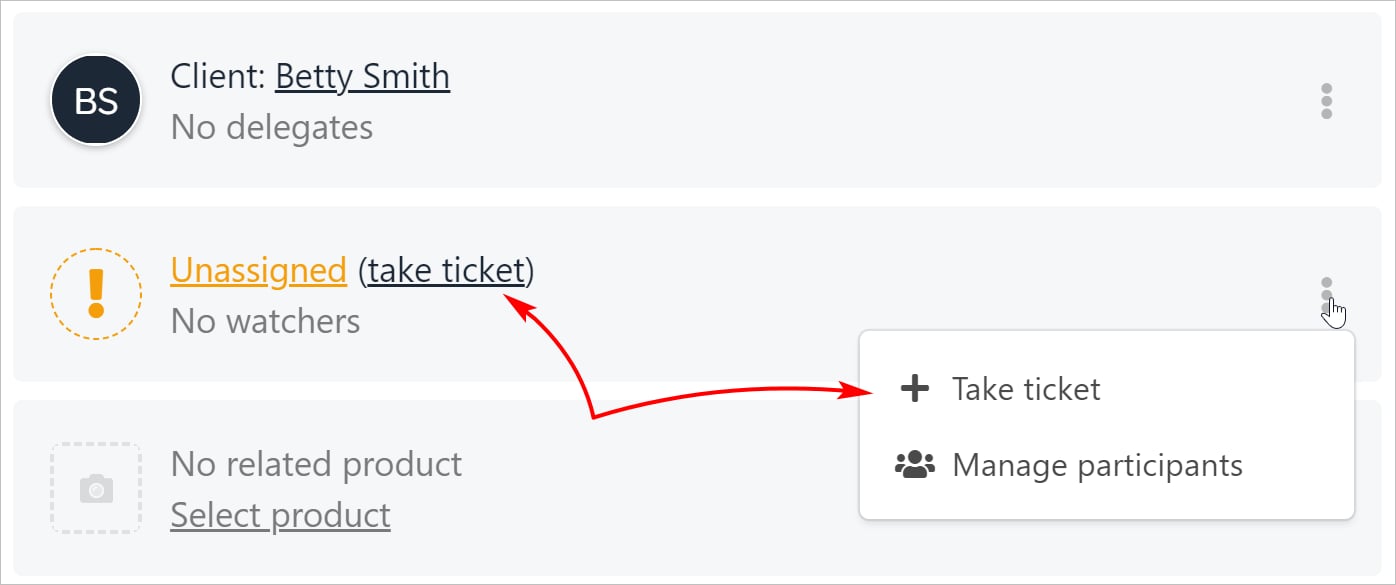
Take ticket button
- Click the three-dot button and select Manage participants.
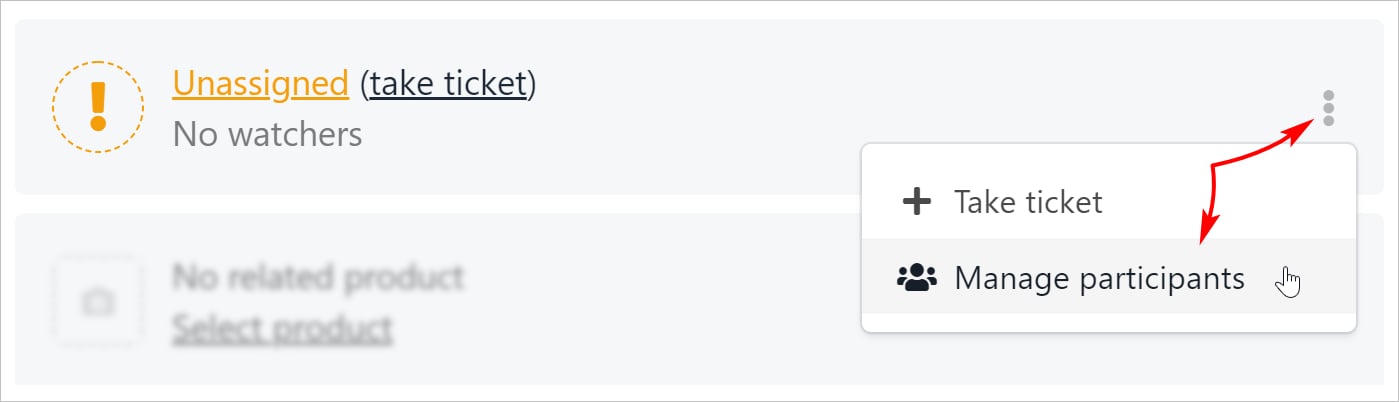
Manage participants
- On the list of Users, locate the participant and click the Add button.
- Click Save.
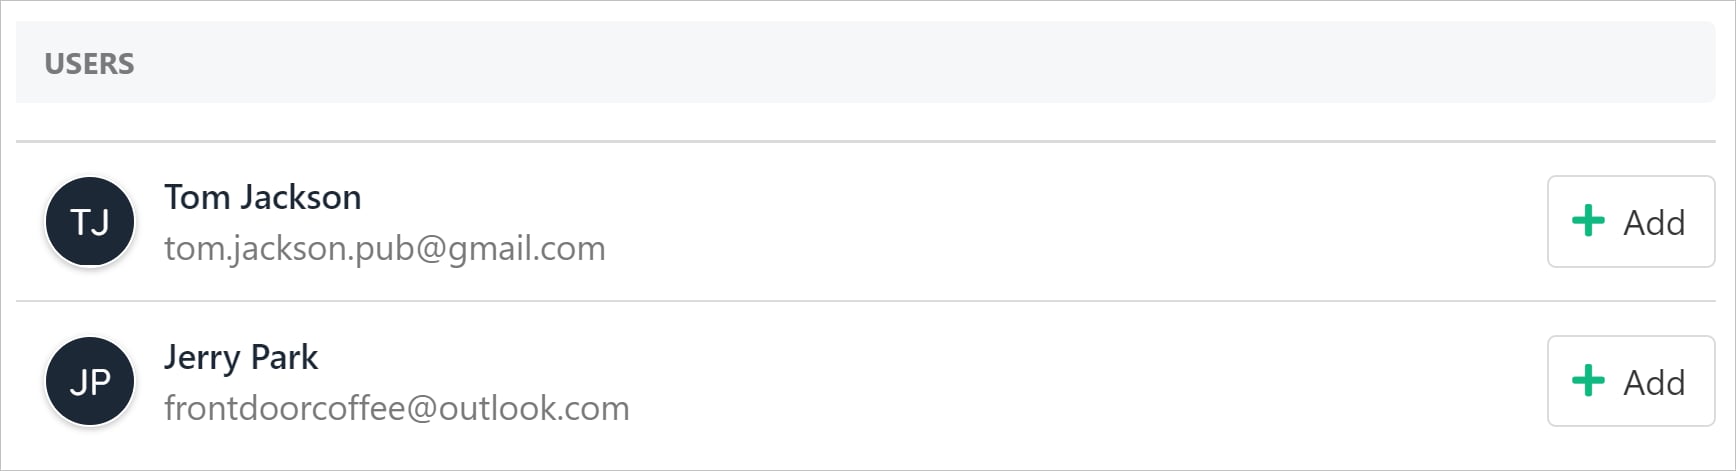
Click Add button
Removing an assigned participant
To remove a participant from a ticket:- Click the ticket in the centre window.
- Click the three-dot icon.
- Click Unassign user.
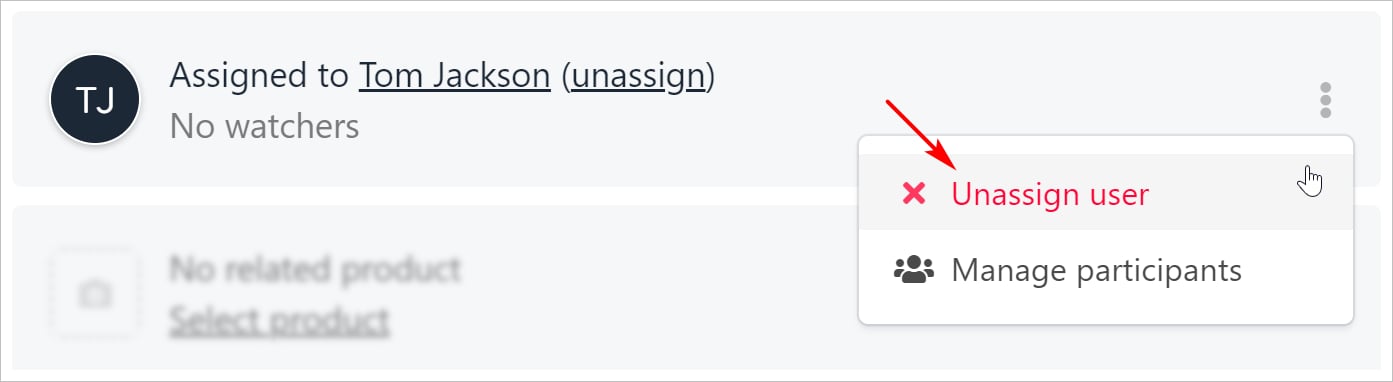
Unassign user
Reading a ticket
The ticket thread starts in the bottom right corner of the screen. Click the Attachment or Notes menu tabs to view additional information (if available).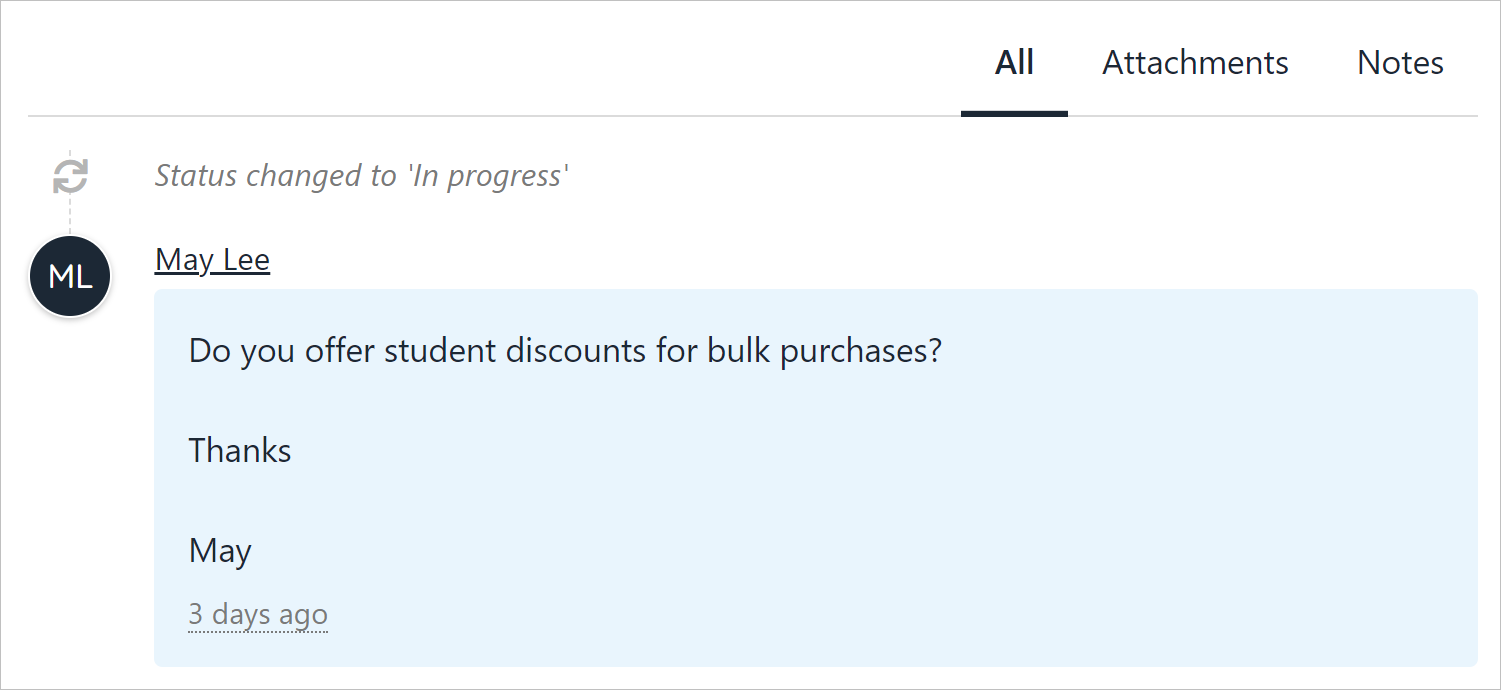
Ticket thread
Posting a reply
- Write a reply in the blank field in the ticket thread.
- Click Post reply to send a response to the client and add the message to the ticket thread.
- Click Attach files to attach images or documents. (optional)
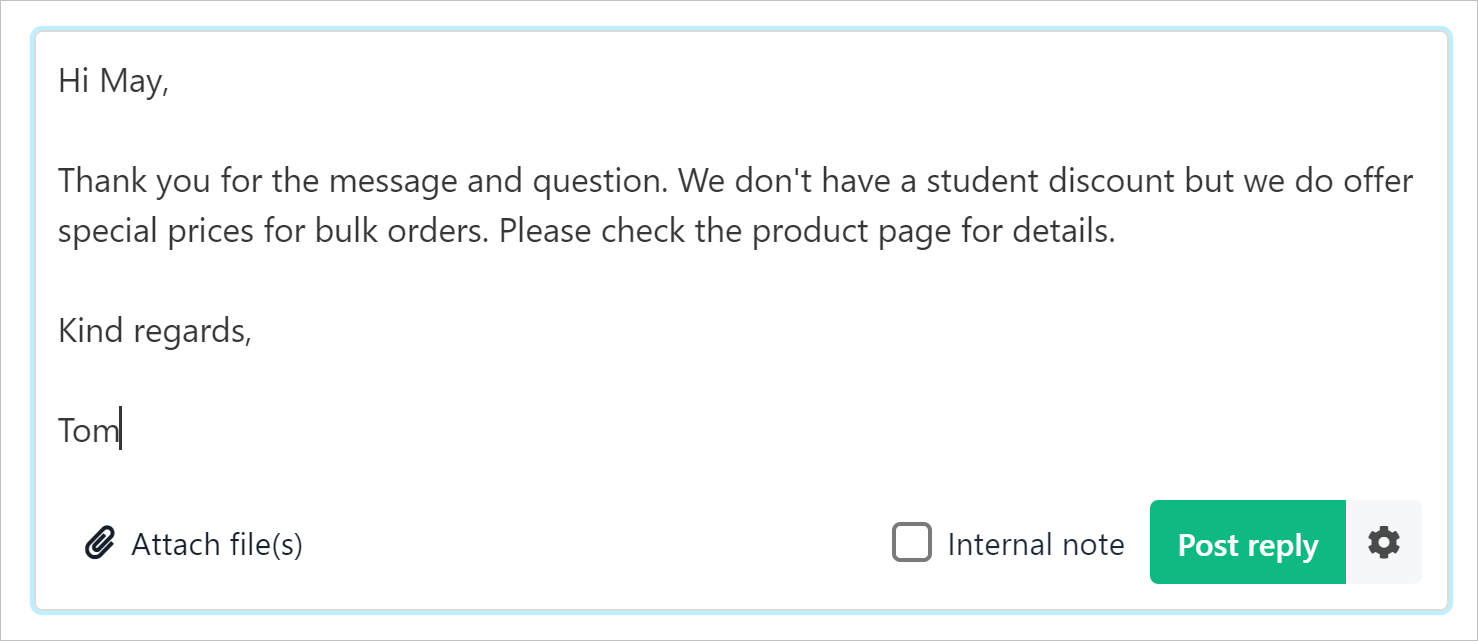
Post reply
- Upmind sends the reply to the client.

Ticket reply
Adding a note
Users can add notes to a ticket thread. The client can read these internal comments.- Enter text in the field.
- Check the Internal note box.
- Click the Add note button.
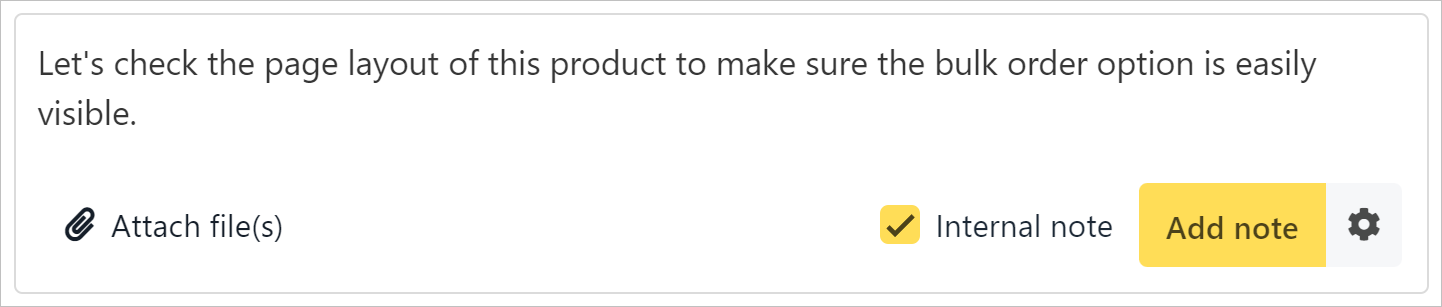
Add note
Editing a note
- Click the three-dot icon.
- Click Edit.
- Change the text.
- Click Save.
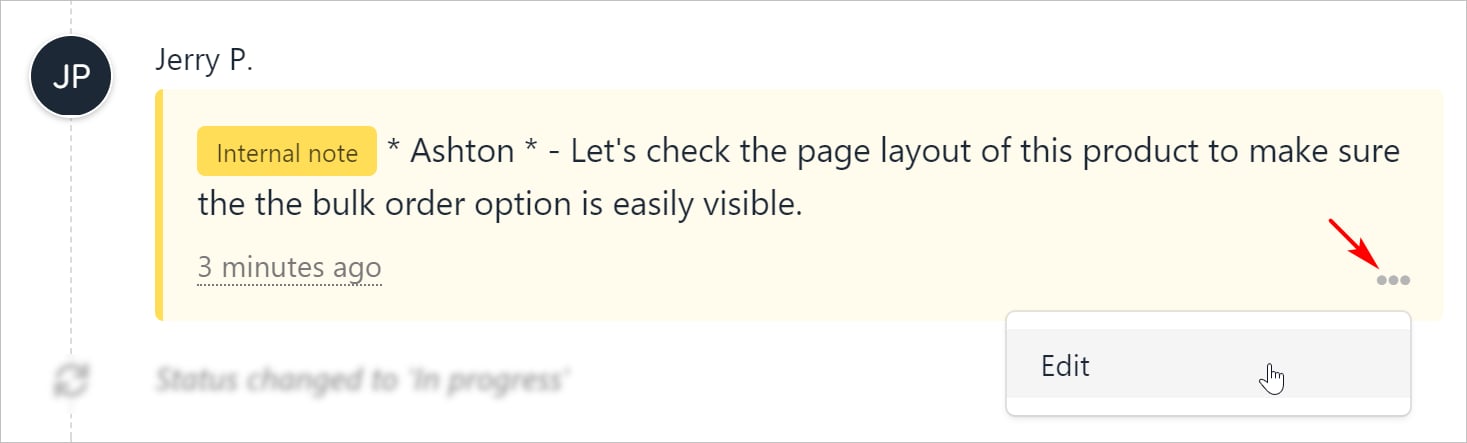
Edit internal notes
Changing ticket status
Participants can manually change the status of a ticket.- Go to the top of the screen.
- Click the status button.
- Select the correct status on the drop-down menu.

Change ticket status