
Getting Micropayment credentials
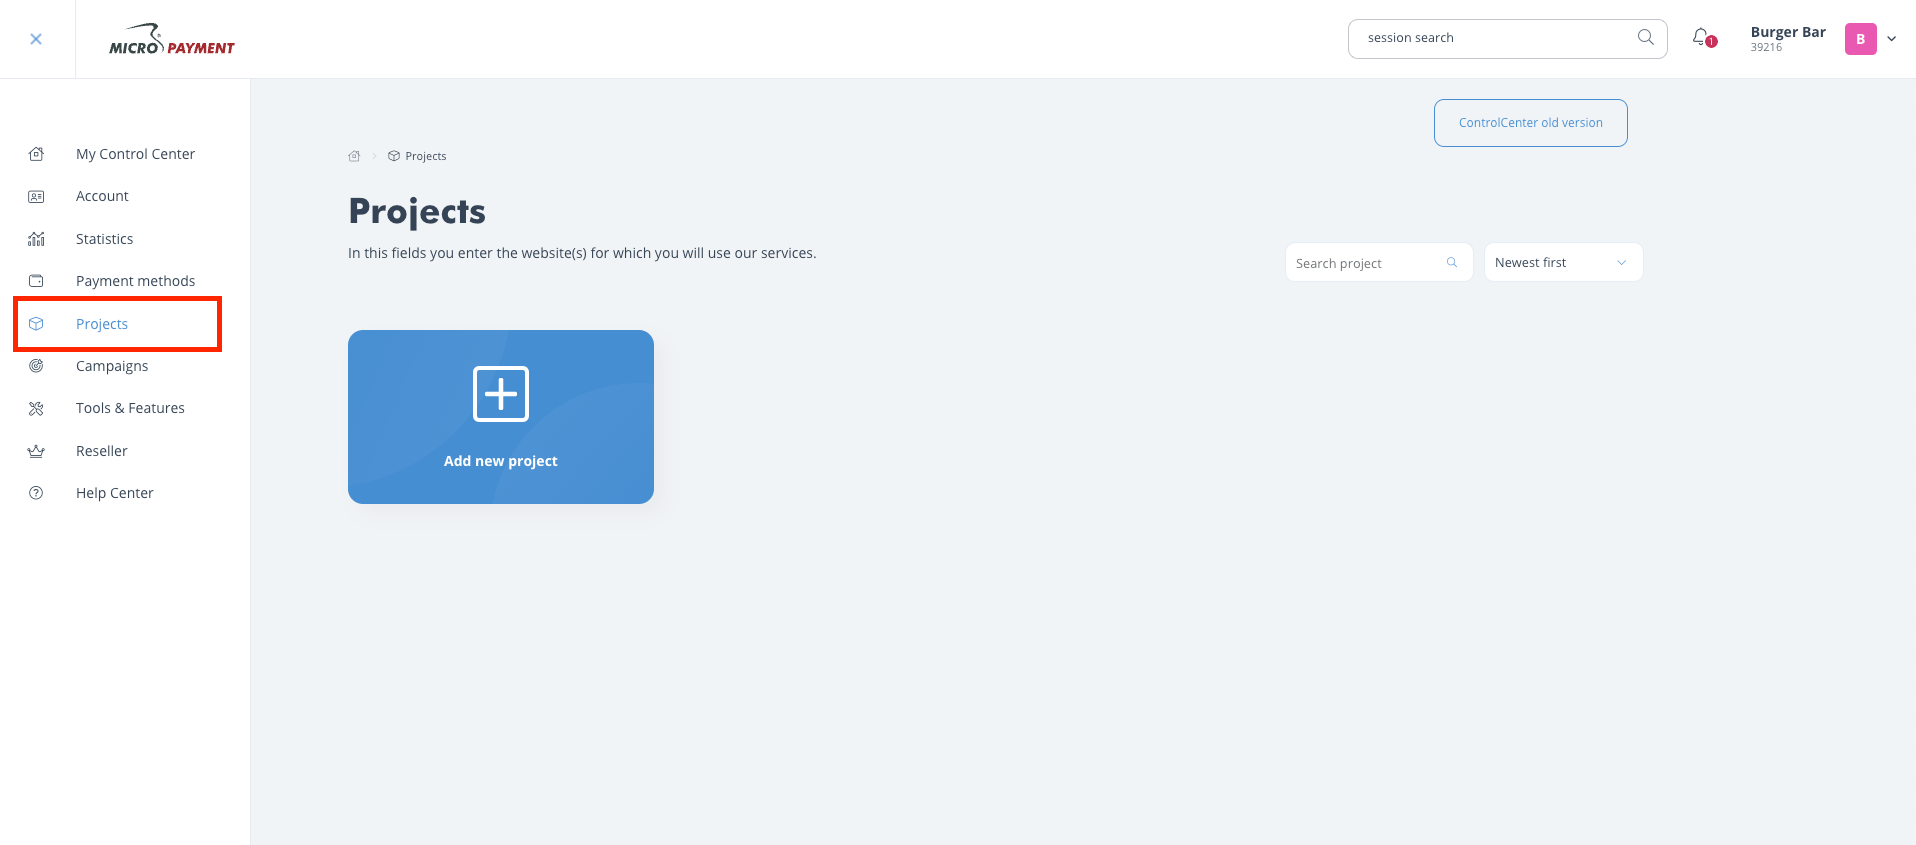
- Register and create a project in your Micropayment dashboard under Projekte/Project.
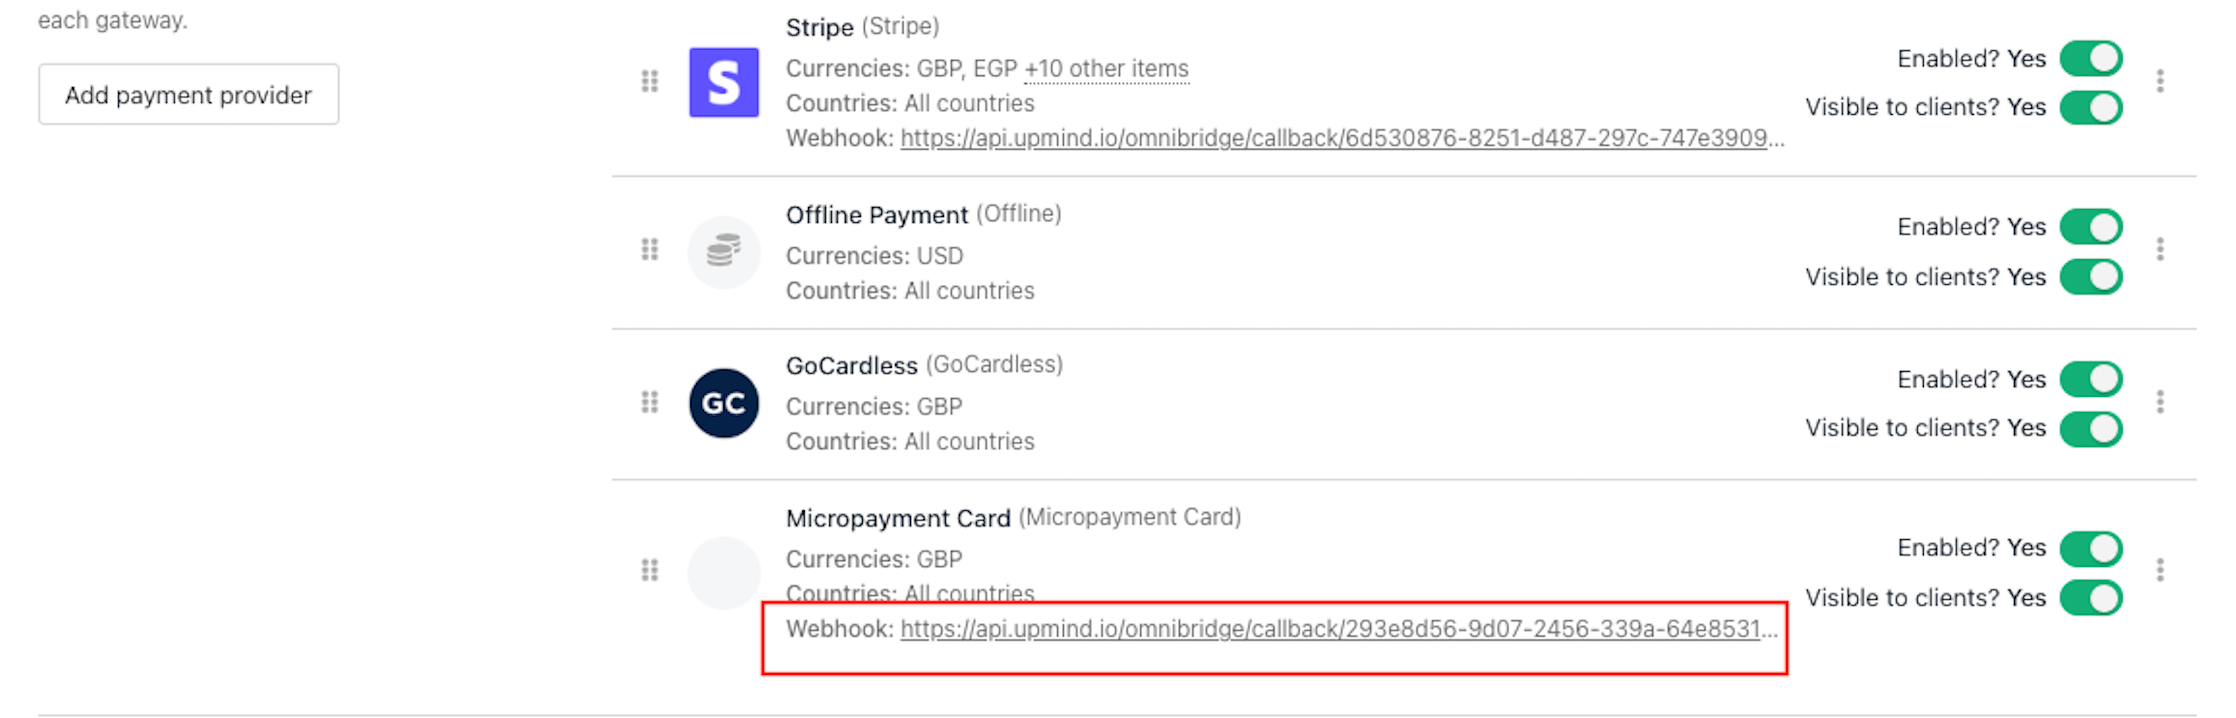
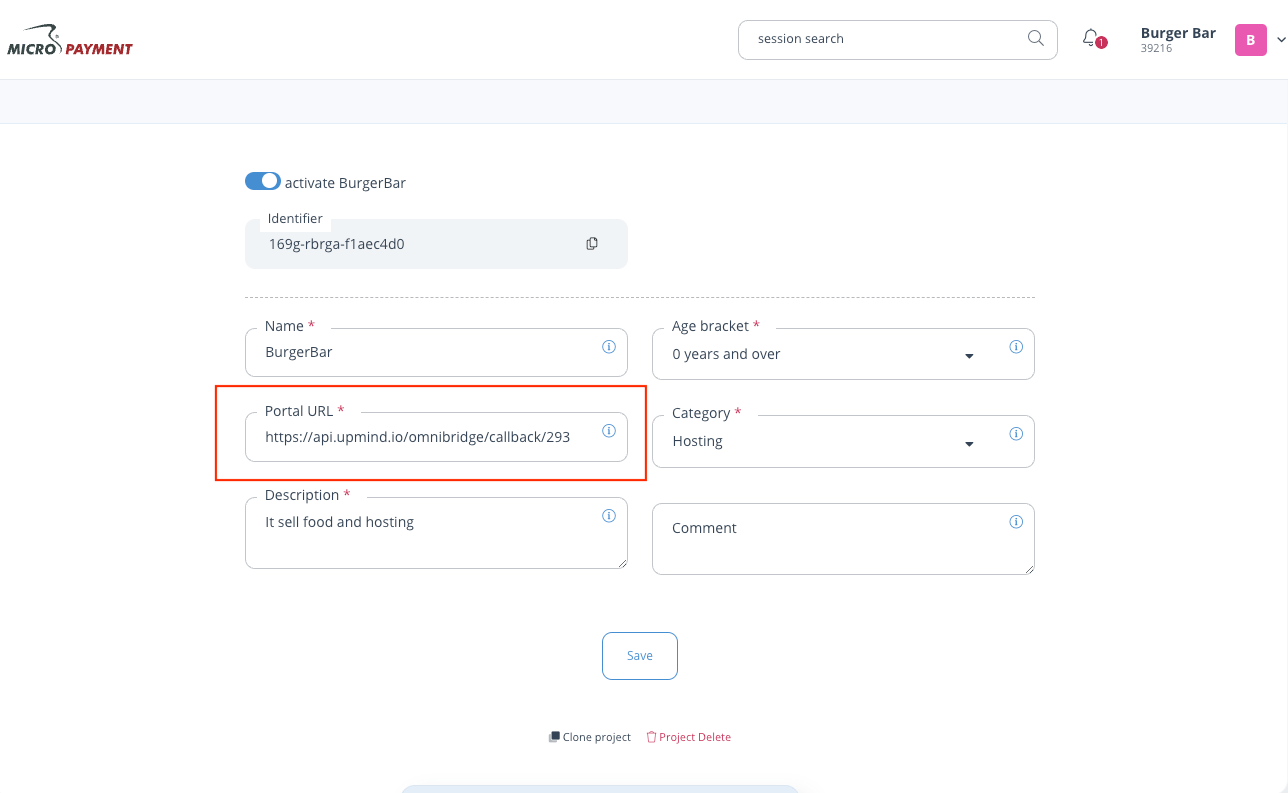
- Copy the provider webhook URL from Upmind and paste it into the Portal URL field in Micropayment. This can be adjusted later.
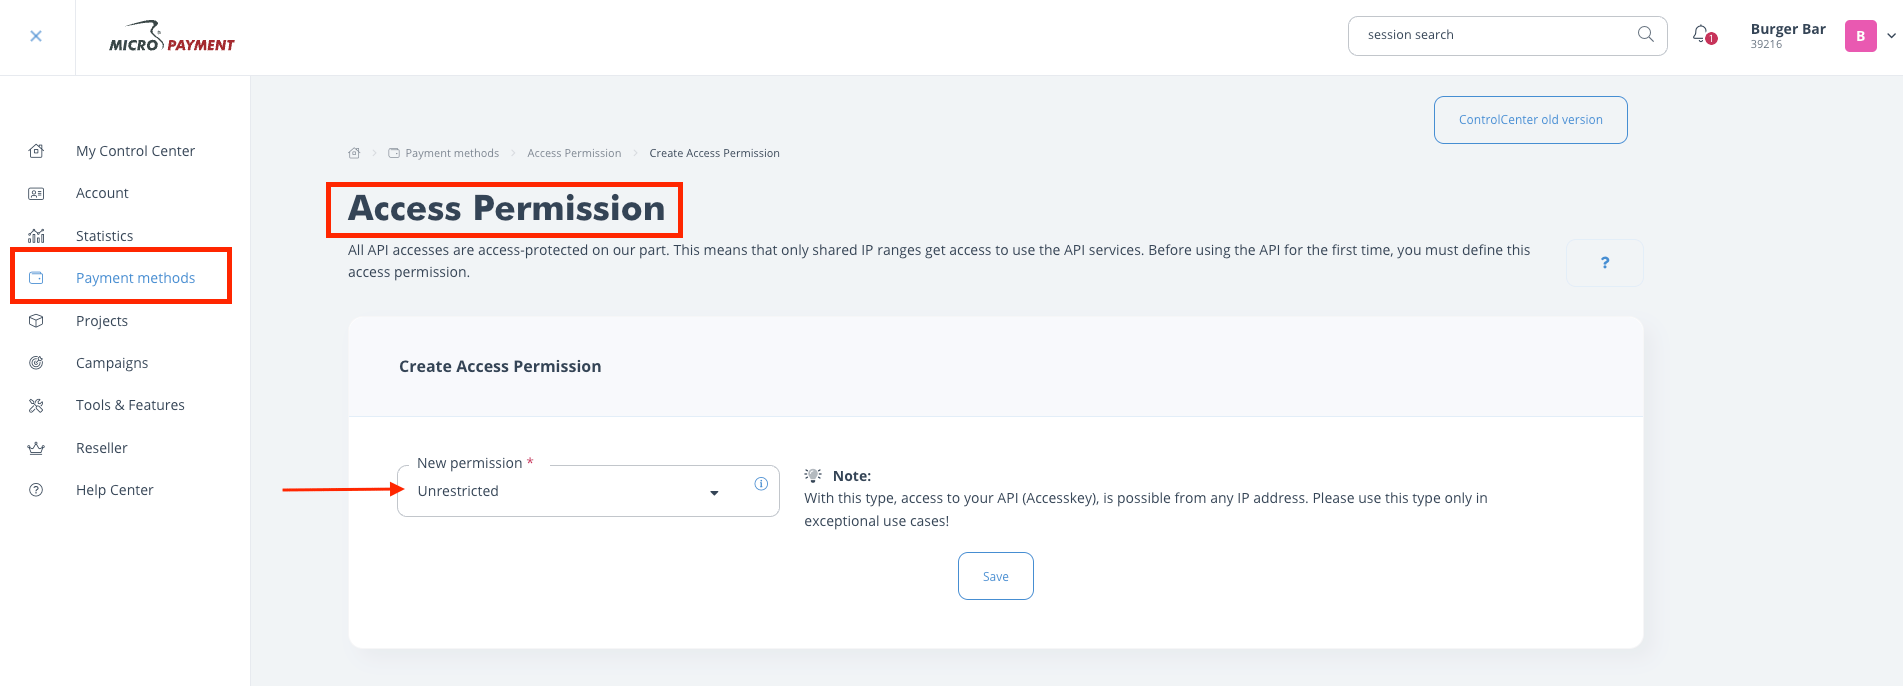
- Go to Payment Methods > Access Permission and click Create Permission. Choose Unrestricted.
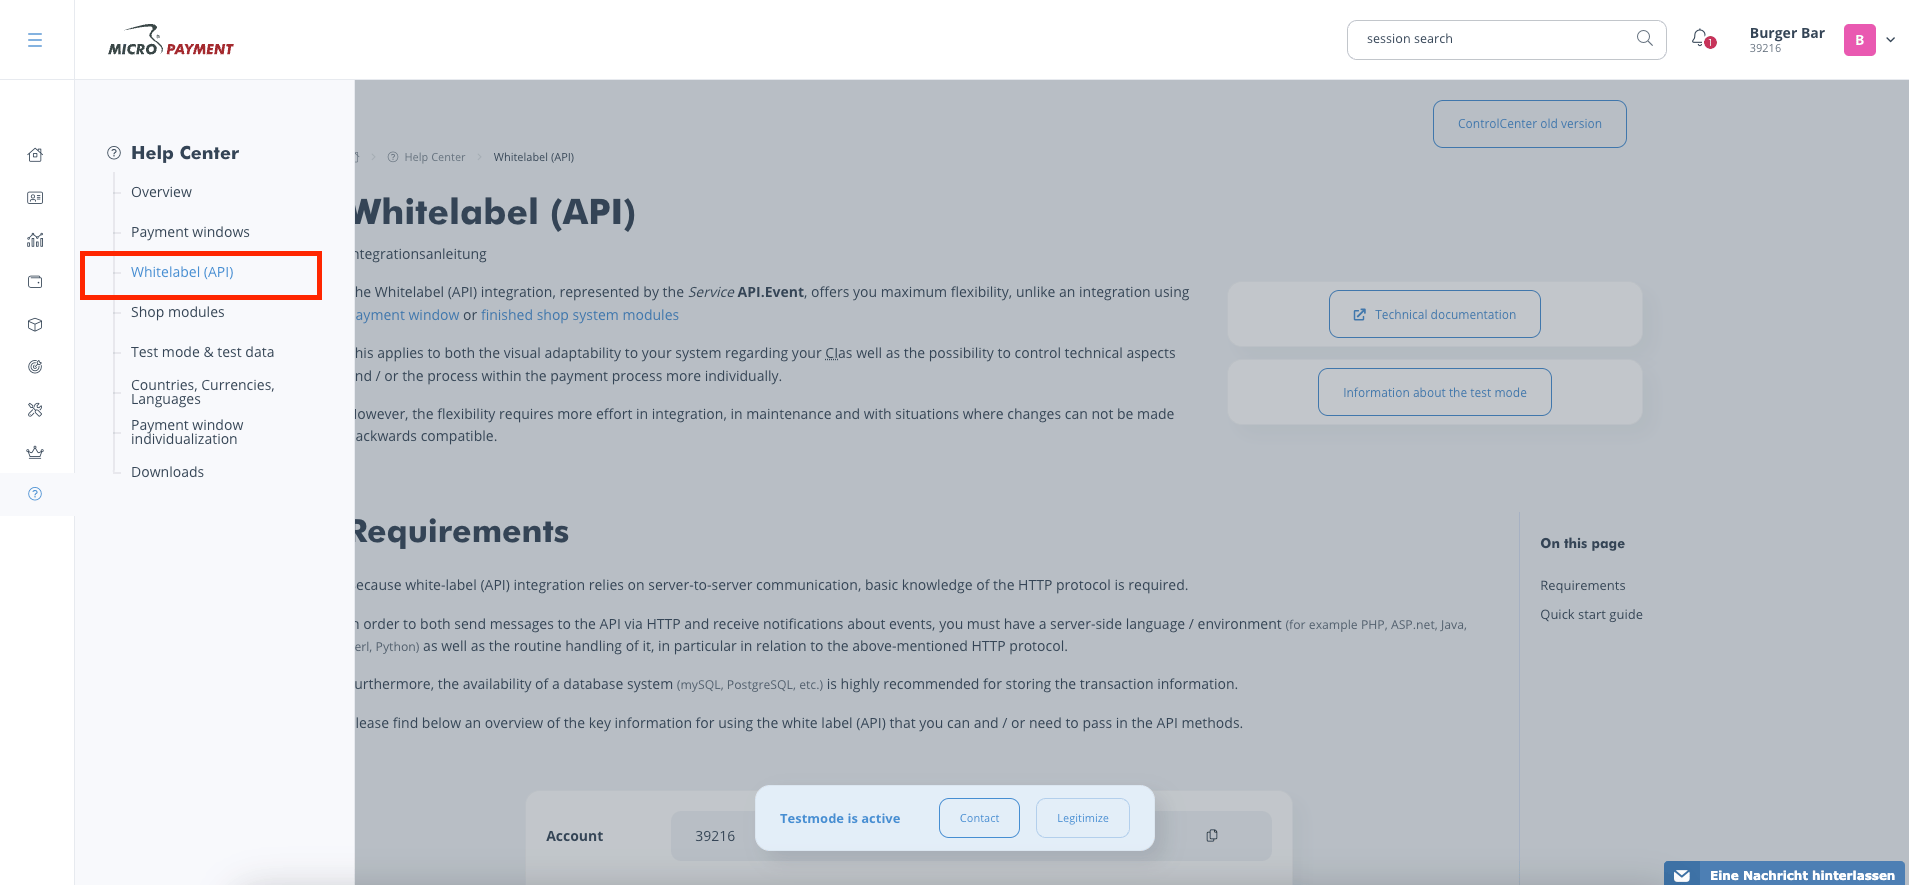
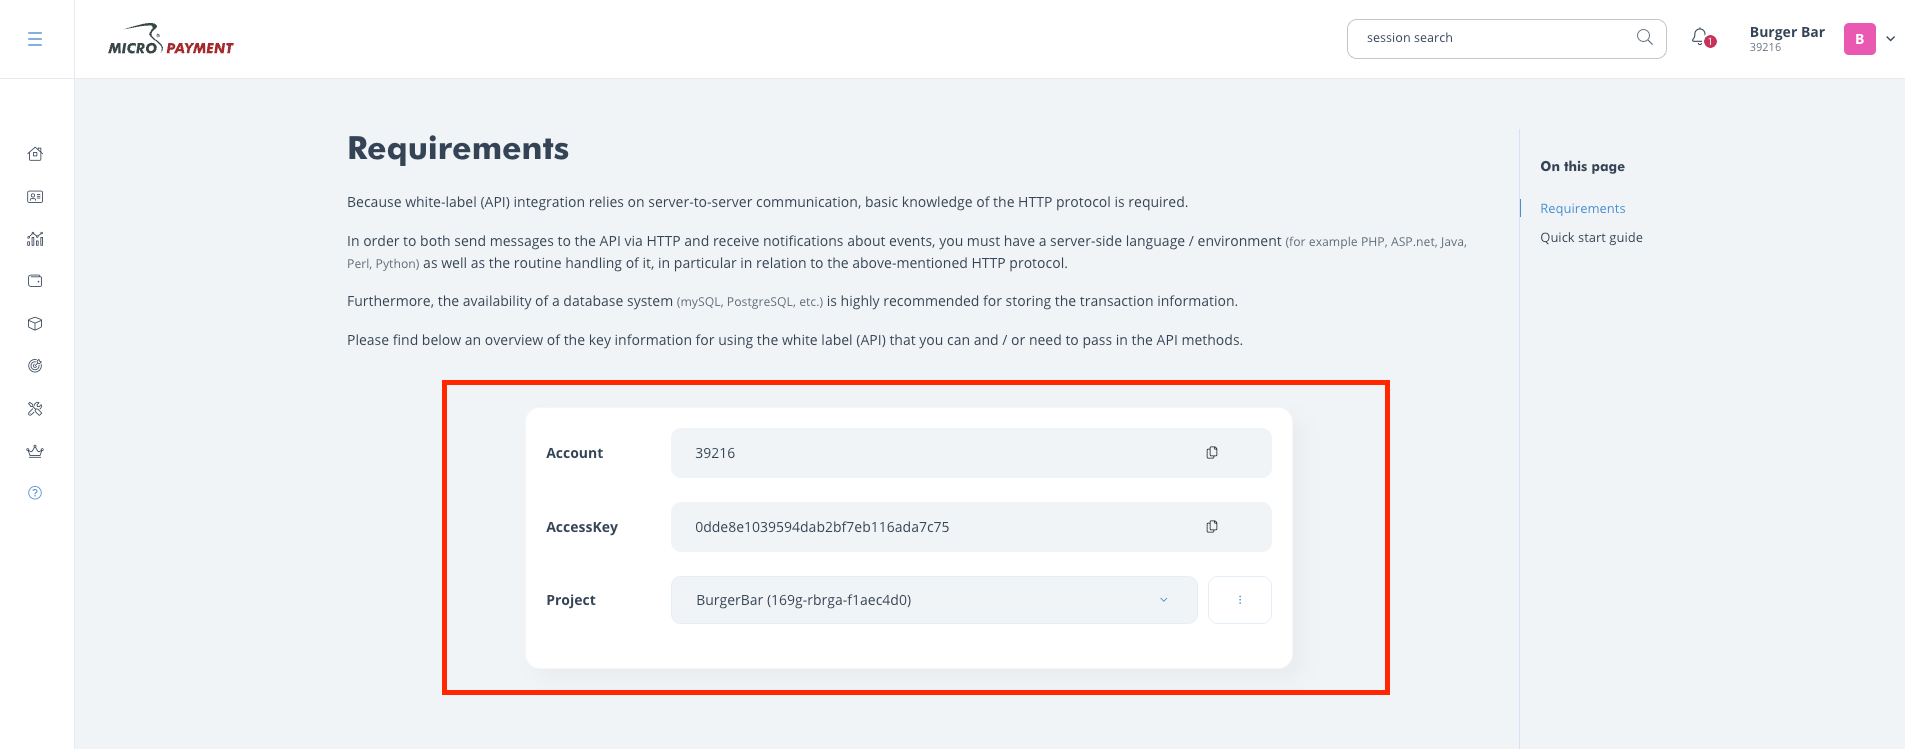
- Find your Account, Access Key, and Project in Help Center > Whitelabel (API).
Callbacks
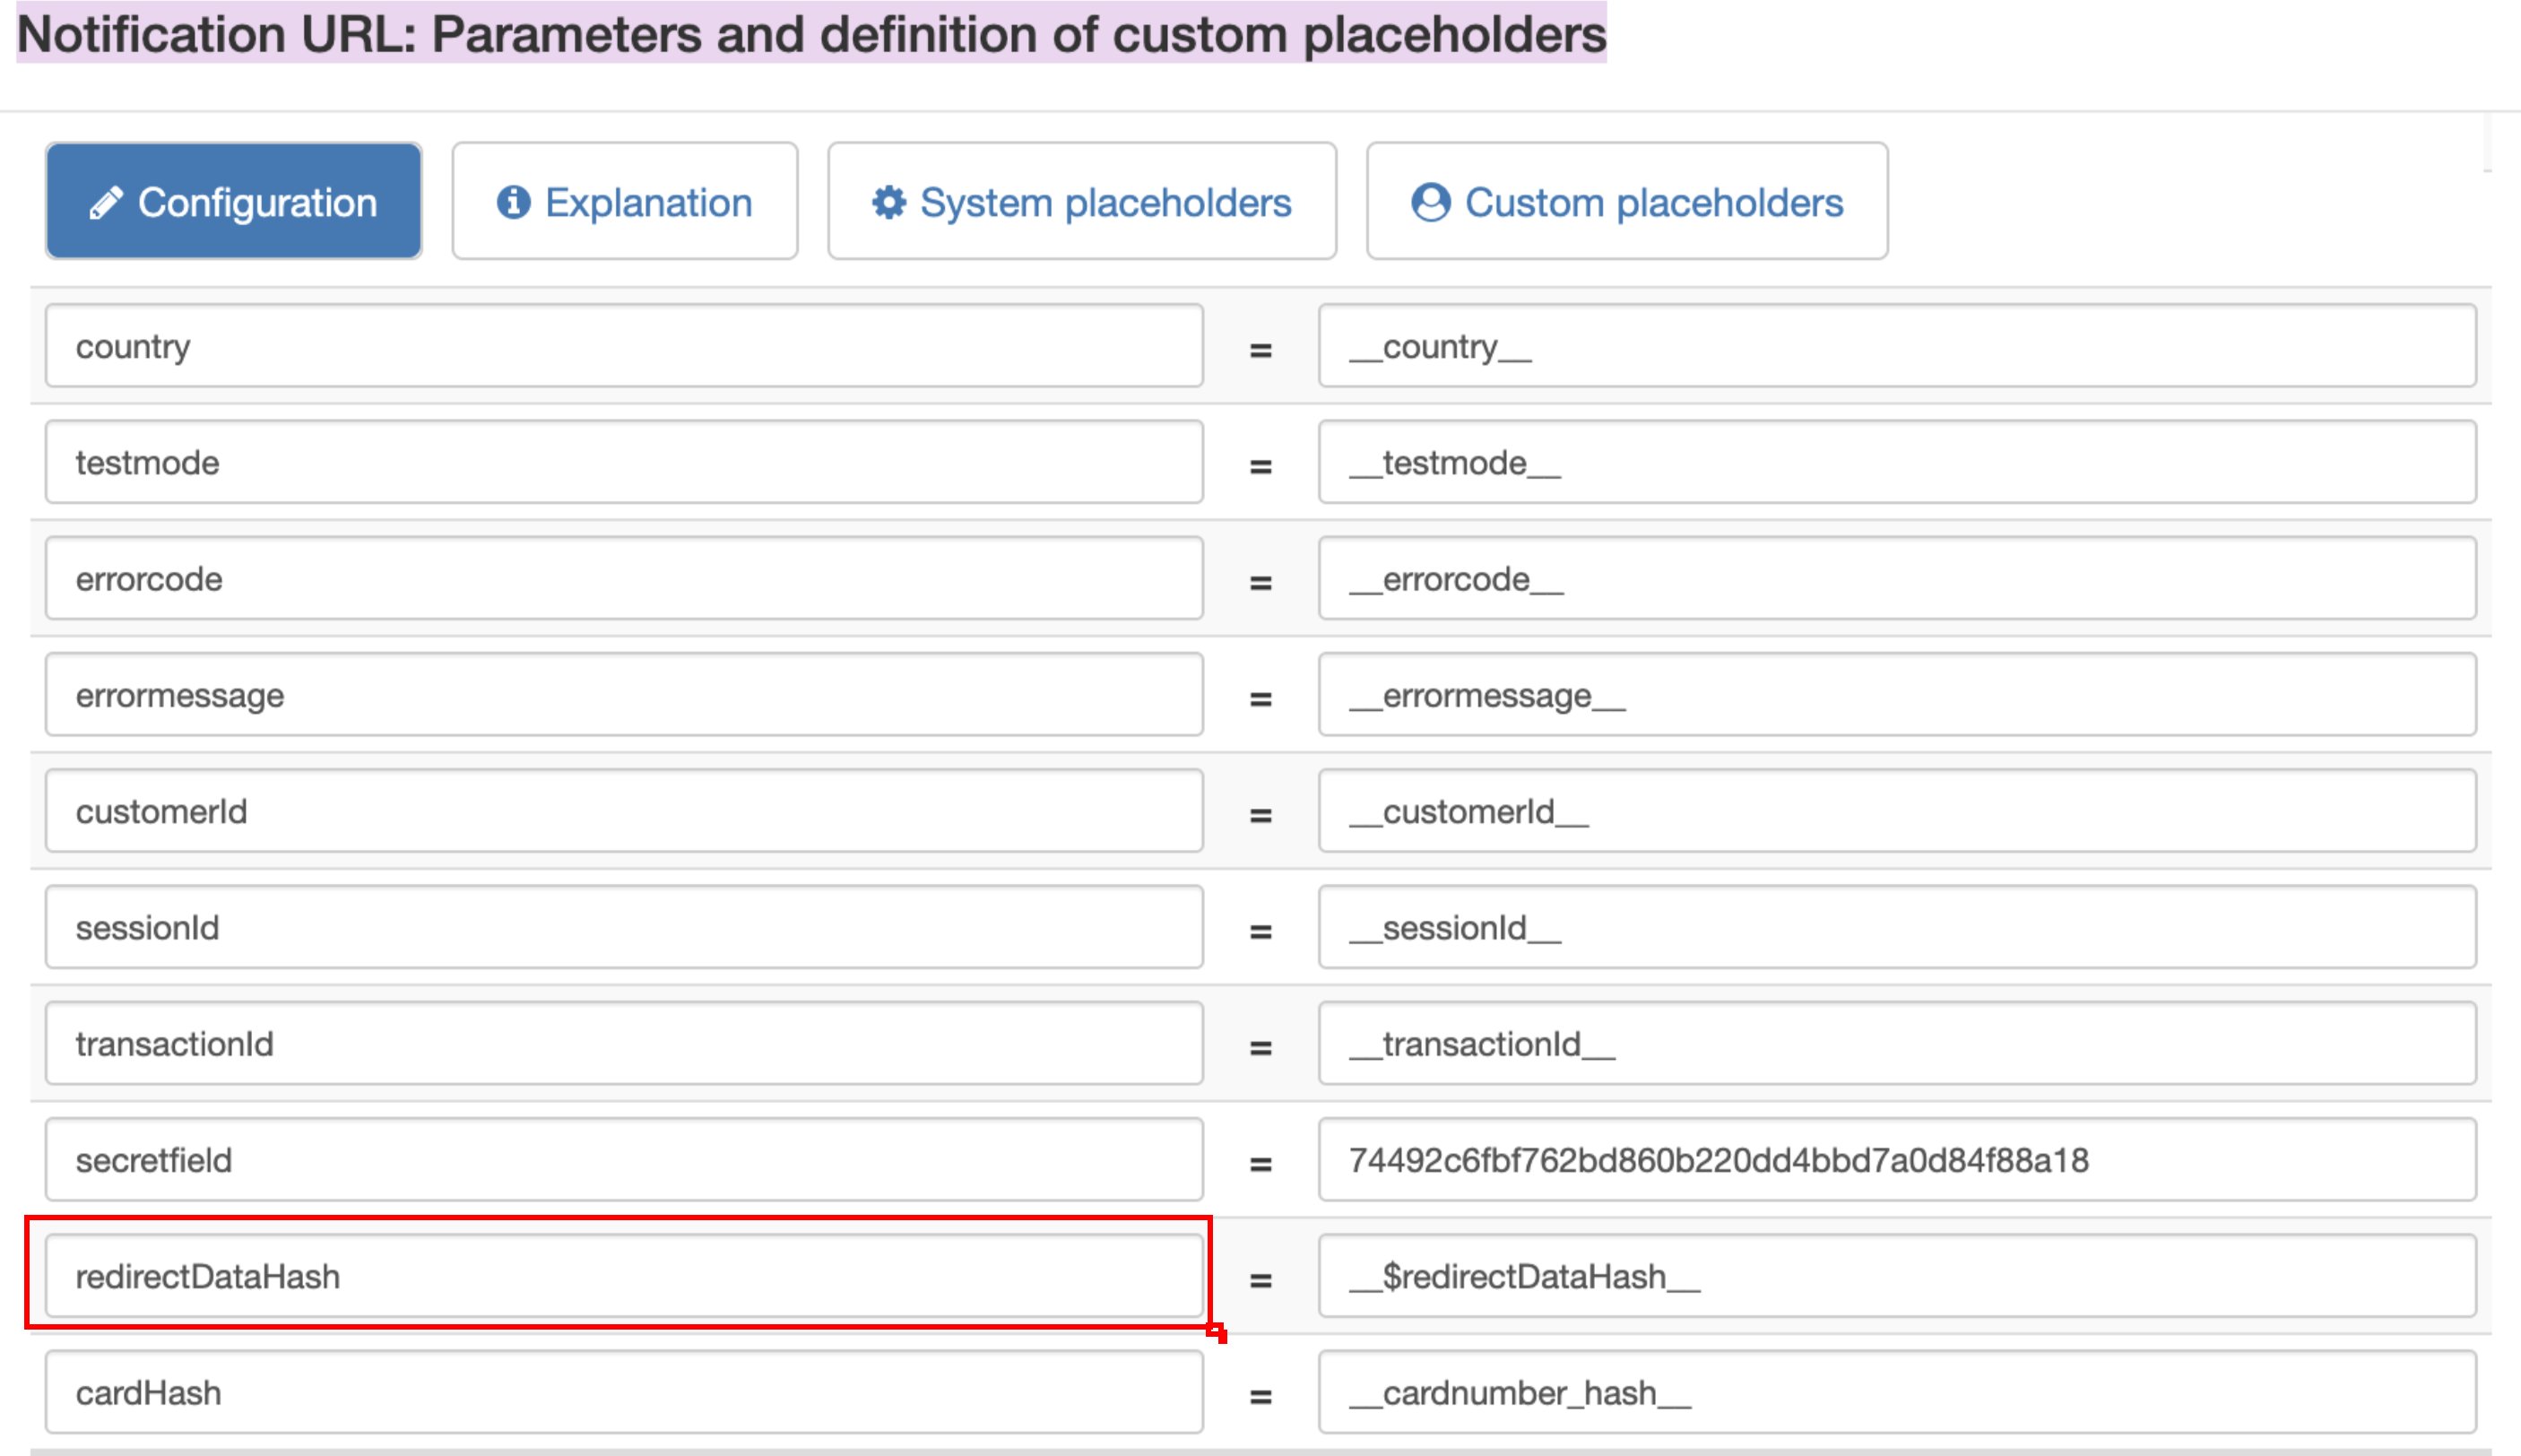
For callbacks to work, the Micropayment admin must set theredirectDataHash additional param for notifications.
- Log in to the Micropayment Dashboard.
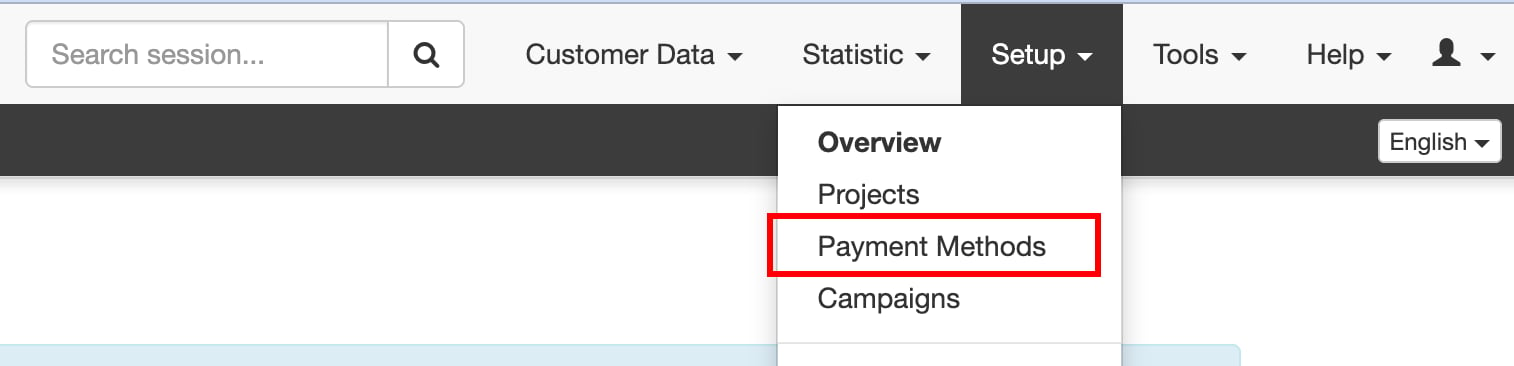
- From the top right, select Setup > Payment Methods.
- Click on CreditCard Event > Edit
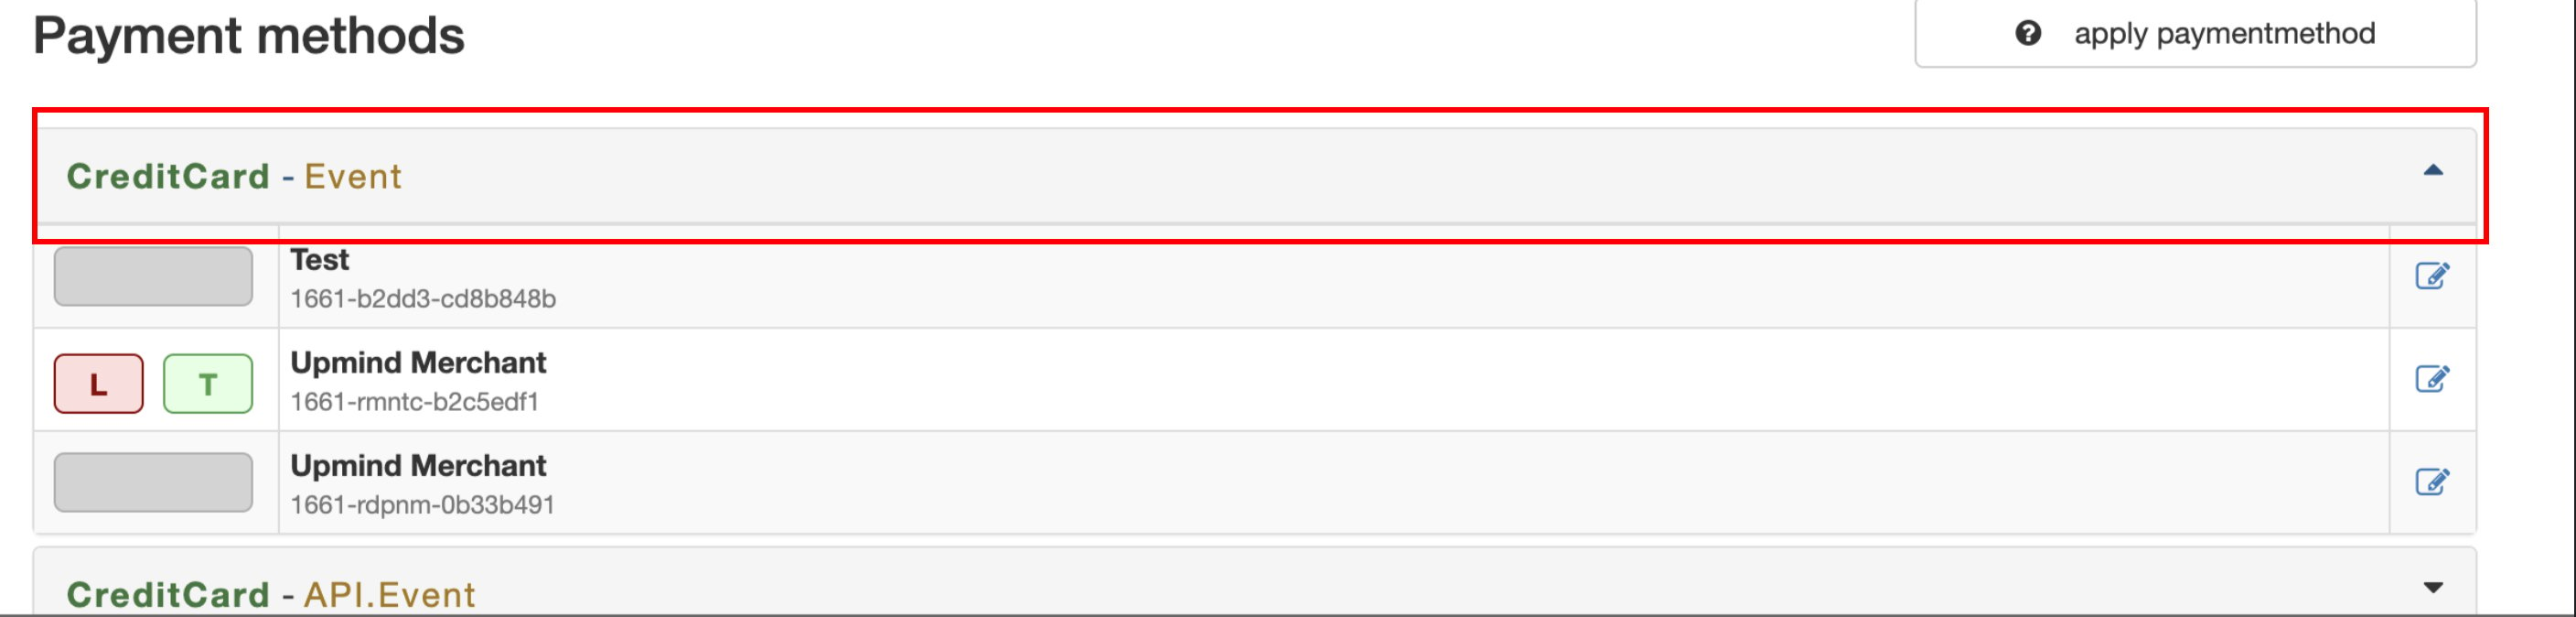
- Then on Parameters: Notification URL > Edit.

- Whitelist Upmind’s IP addresses on your Micropayment instance to allow access from Upmind:
- 91.240.229.1
- 91.240.229.2
- 91.240.229.3
Adding Micropayment in Upmind
- Go to Settings > Payment Providers in your admin area.
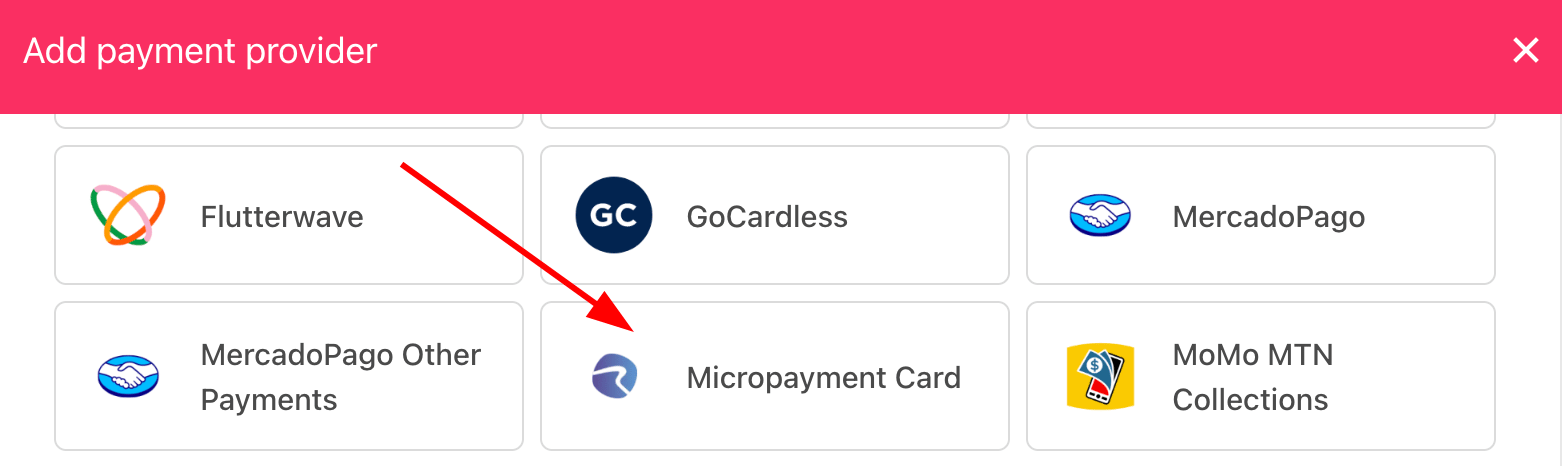
- Click Add Payment Provider and select Micropayment.
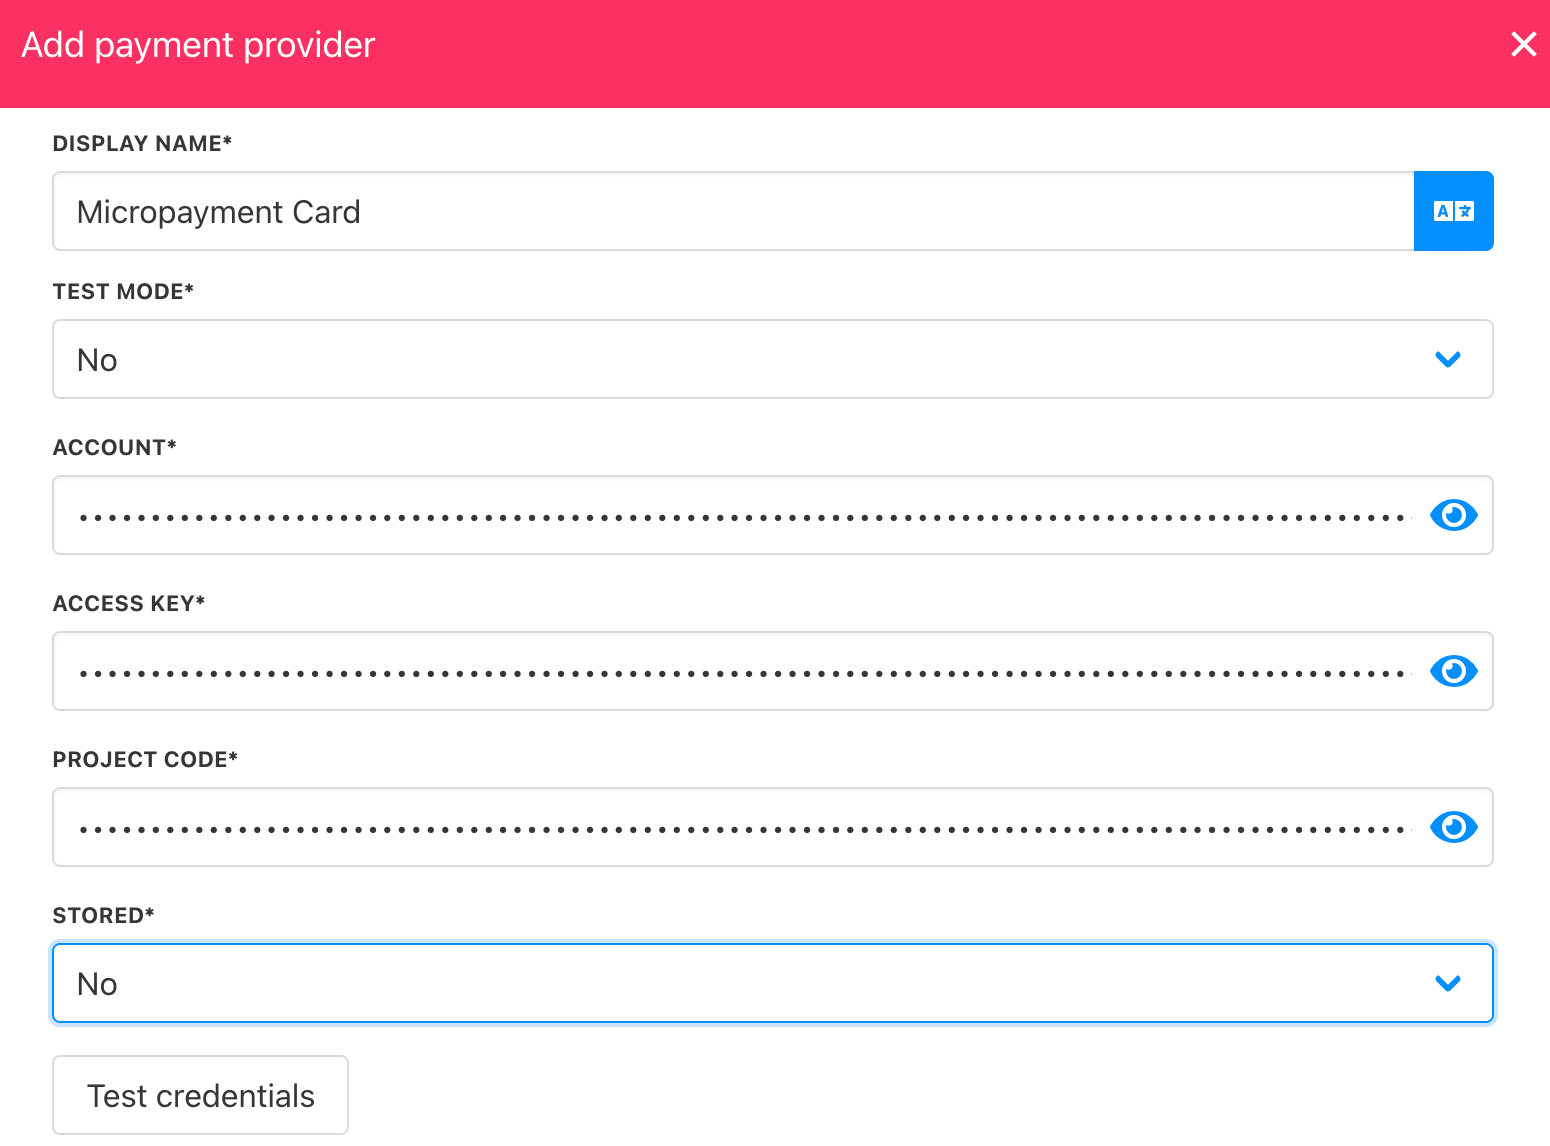
Configure details
- Enter a display name. We suggest Micropayment Card.
- Select the appropriate Test Mode option.
- Enter your Account, Access Key, and Project.
- (Optional) Click Test Credentials to verify.
- (Optional) Add supported currencies.
- (Optional) Enter payment instructions.
- Click Create.
Editing the payment method
To update, go to Settings > Payment Providers, click the three dots next toMicropayment, and select Edit.