- Set up default and custom outbound email
- Connect your own external SMTP mailbox
- Send bulk email through Upmind
- Configure incoming email piping
Outgoing email
This section covers all transactional, bulk, and manual emails sent from Upmind to customers, leads, and staff.Default email configuration
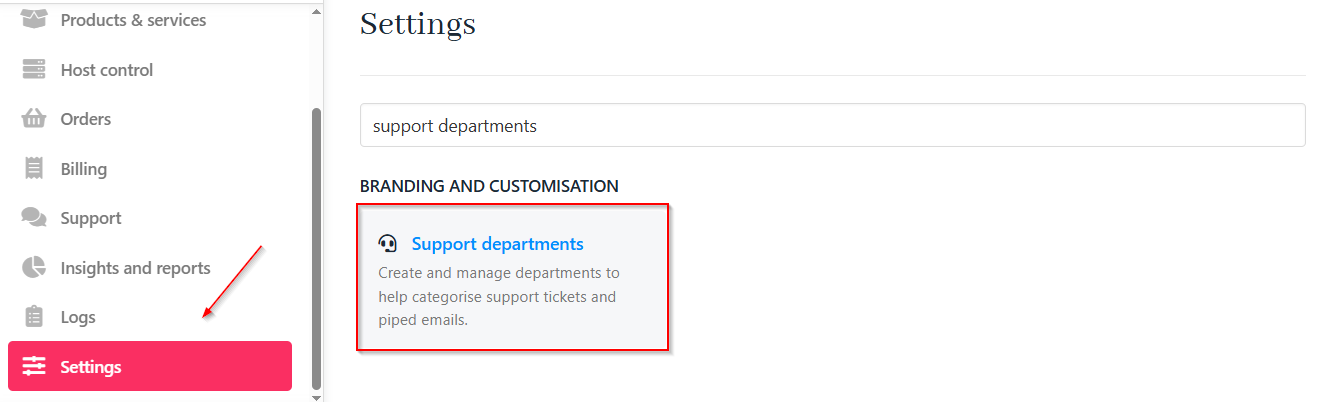
Once registered, you can create a defaultsupport department email (e.g., support@randomstring.upmind.app). This can be accessed from Settings > Support Departments under Branding and Customisation.
support@randomstring.upmind.app, if needed.
Adding a custom SMTP server
Upmind can send emails through your own SMTP-enabled mail server, including third-party providers like Mailgun, MailChannels, or SpamXperts. To configure your custom mailserver:- Navigate to Settings > Notification Channels under Automation.

- Under
Email Channel, select Use Custom SMTP.

- You must specify a From Email and From Name. While these don’t require authentication and can be any name or email, it’s best to use the email linked to your SMTP server.
- Fill in the information as needed, which can usually be obtained from your email provider (e.g., cPanel, Microsoft 365):
- SMTP Server Hostname
- Username
- Password
- Port
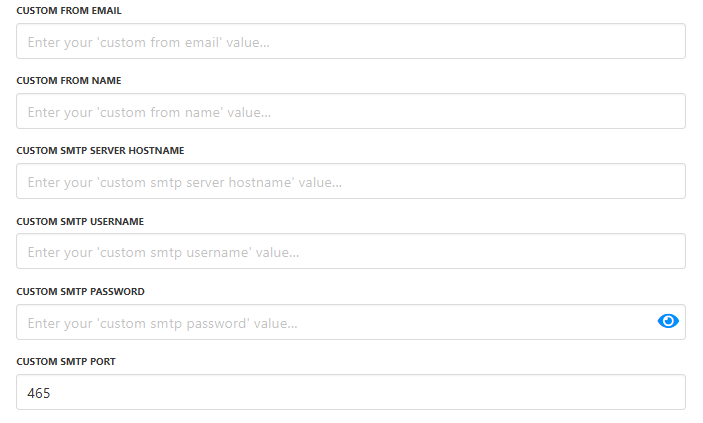
- Save the changes.
- If you want to send a test email to a client, you can do it manually by choosing the client first.
- Then go to Overview > Quick Actions and click on Send Email.
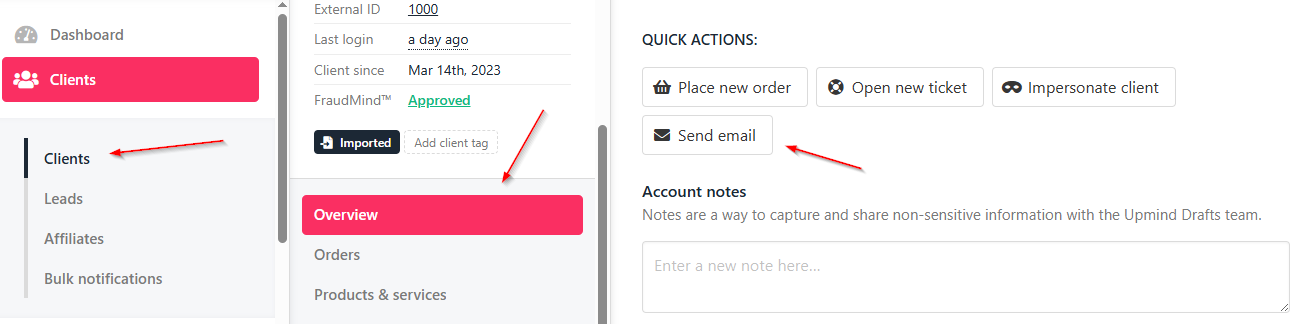
Support.
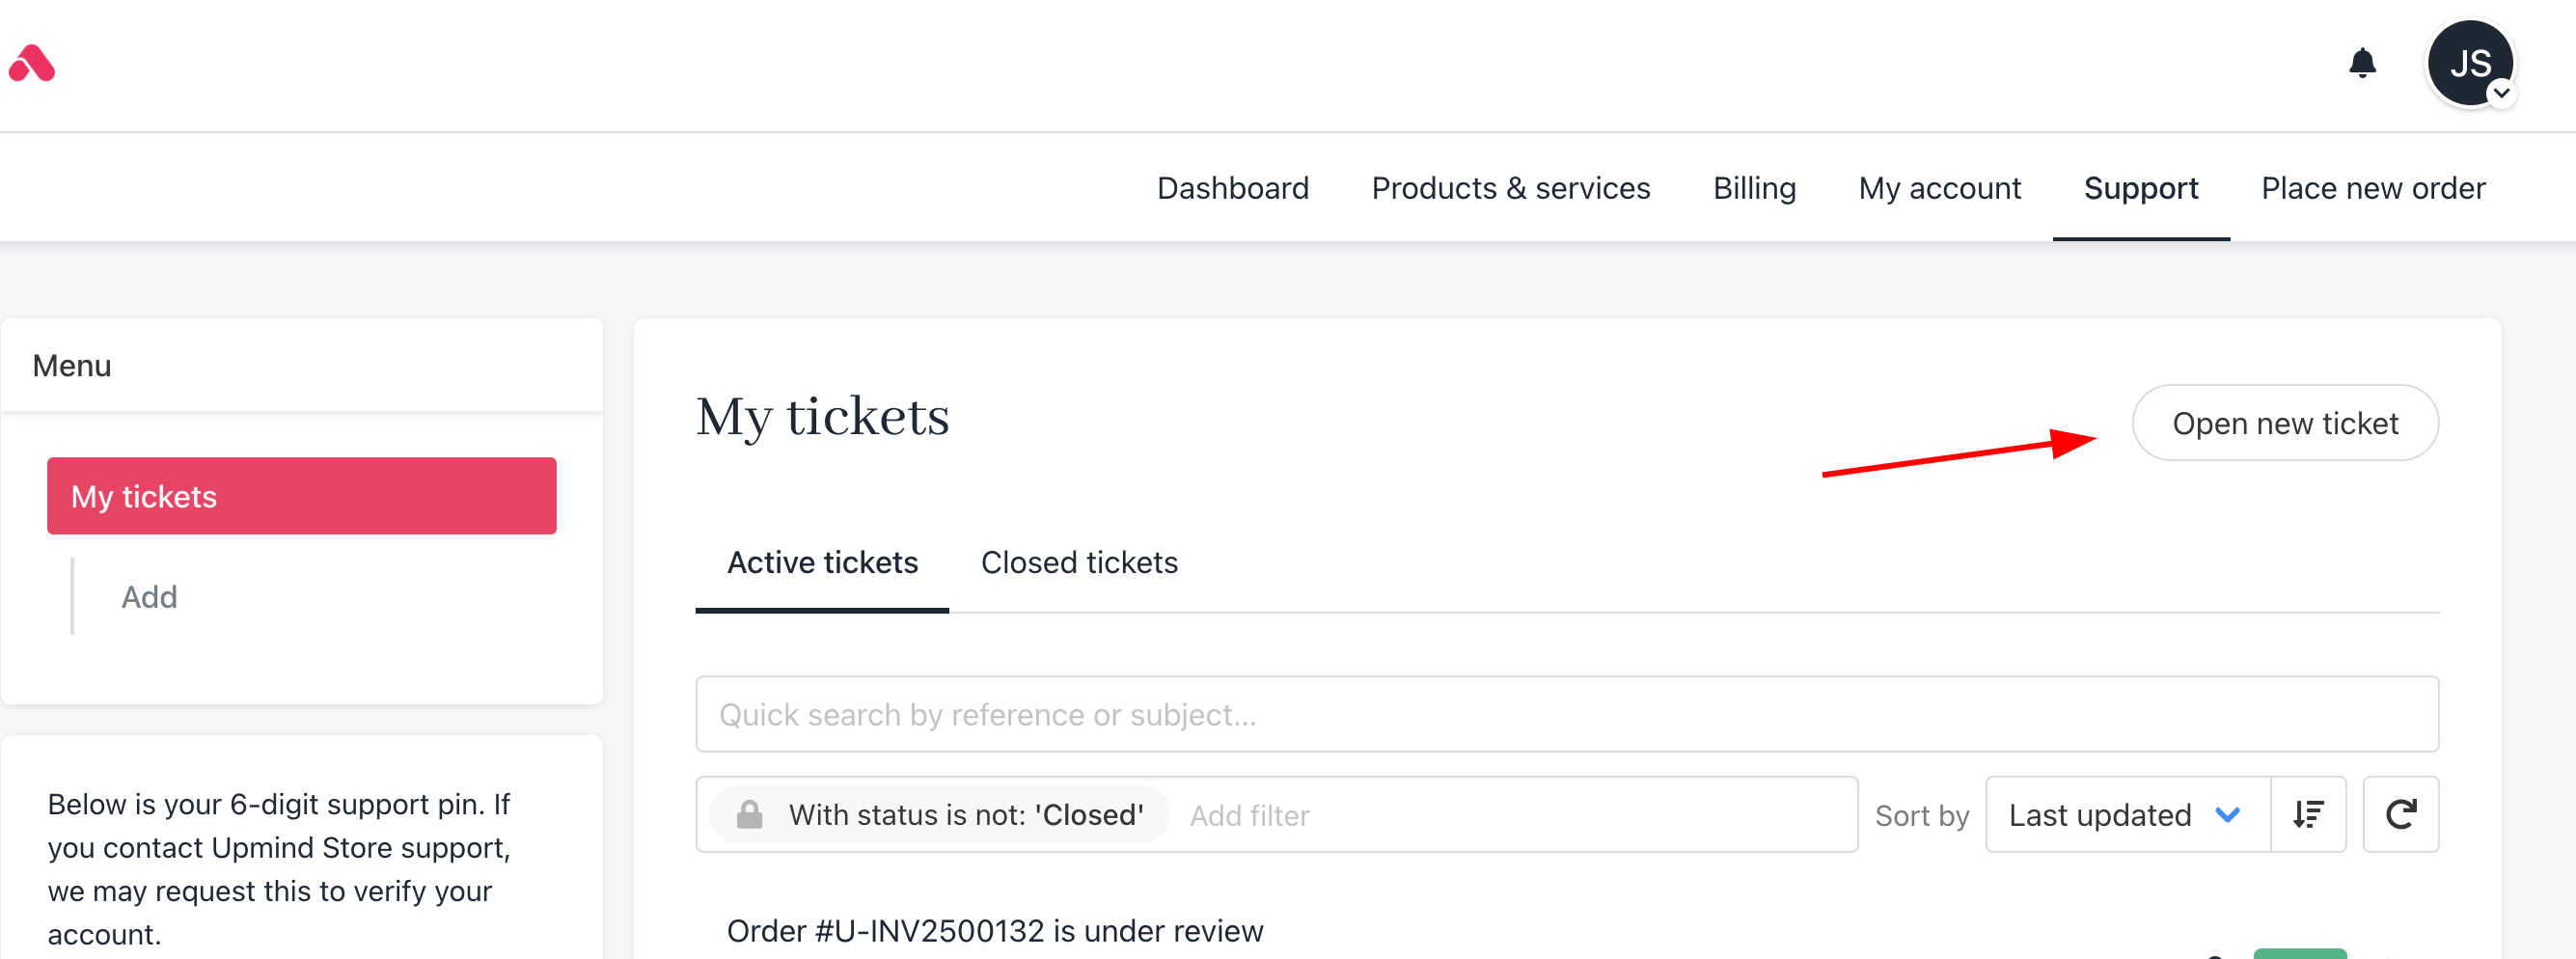
Sending bulk email through Upmind
Announcements and newsletters can be sent through Upmind under Client > Bulk Notifications. This feature is meant for quick client updates, not as a full replacement for tools like Mailchimp or CampaignMonitor.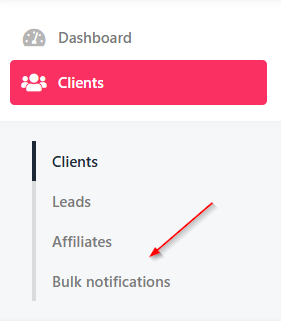
Incoming email
This section covers emails from customers and leads to Upmind, including new sales or support inquiries and replies to support tickets.Incoming email piping
Clients can reply to Upmind-generated emails using the default outbound SMTP configuration or send new messages to any address at your Upmind dashboard domain (e.g.,support@randomstring.upmind.app). Incoming emails are automatically converted into support tickets.
You can configure the process in the following way:
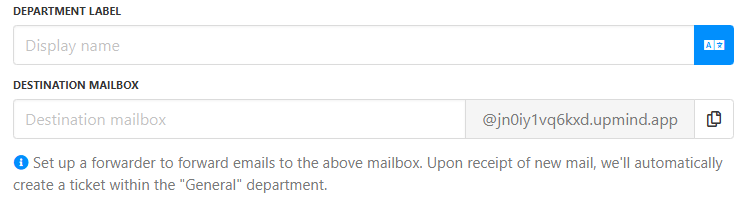
- Create a support department and a support department email from Settings > Support Department. You can follow this guide.
- With your domain provider, configure and set up an email forwarder from your branded address (e.g.,
support@yourcompany.com) to the Upmind destination mailbox (support@randomstring.upmind.app). - To pipe emails from a custom SMTP, set up an email forwarder that relays messages from your address (e.g.,
support@yourcompany.com) to the matching Upmind mailbox (e.g.,support@randomstring.upmind.app).
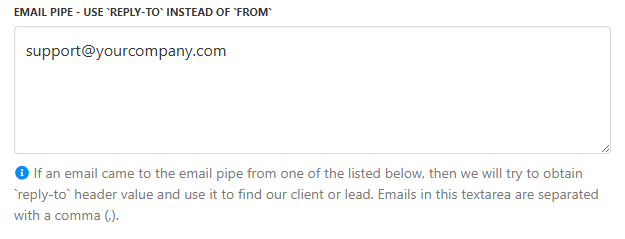
Website contact forms
If your website’s contact form creates support tickets by sending emails, you can make sure that replies to those emails go directly to the client’s email address, not just a generic support address. You can do this by setting it to use the client’s email as the reply-to address. To achieve this in Upmind, enable the setting Use ‘Reply-To’ Instead Of ‘From’ by navigating to Settings > Branding and Customisation > Service Desk > Tickets. This setting ensures that when your support team replies to a ticket email, their response is sent to the client’s email address (the reply-to), making communication more direct and efficient.