
Configuring webhooks
Create a webhook endpoint
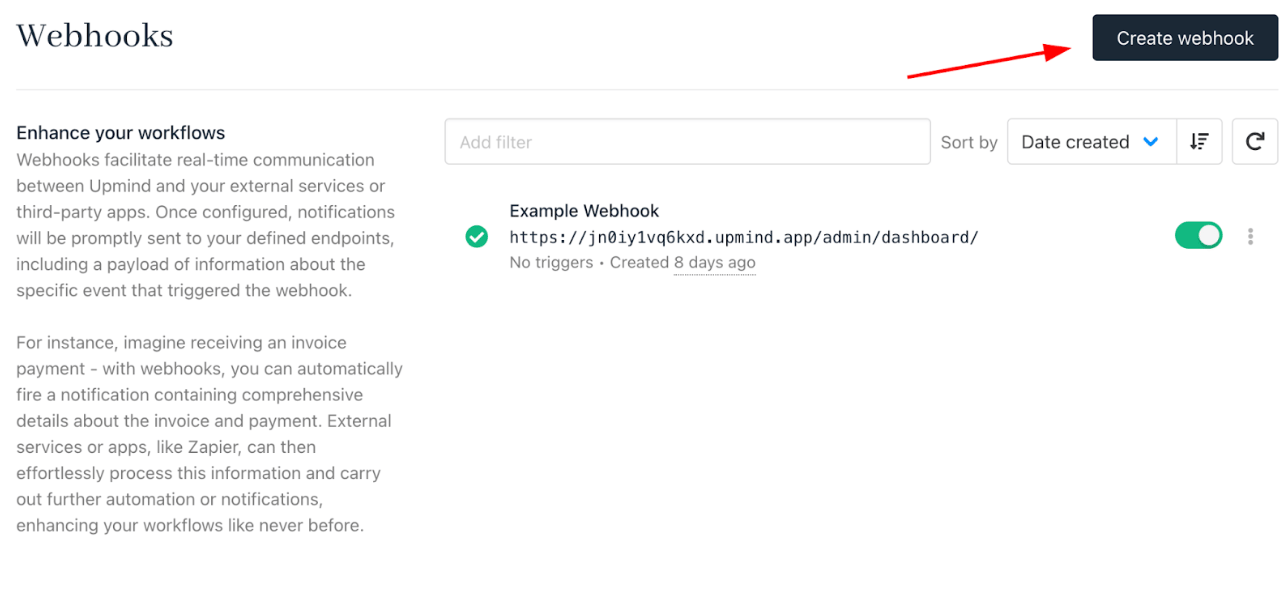
- Go to Settings > Webhooks in the admin area.
- Click Create Webhook.
Create webhook
- Enter a name and the endpoint URL where notifications should be delivered (for example, your app, middleware, or Zapier webhook URL). Multiple endpoints can be configured for different workflows or third-party services.
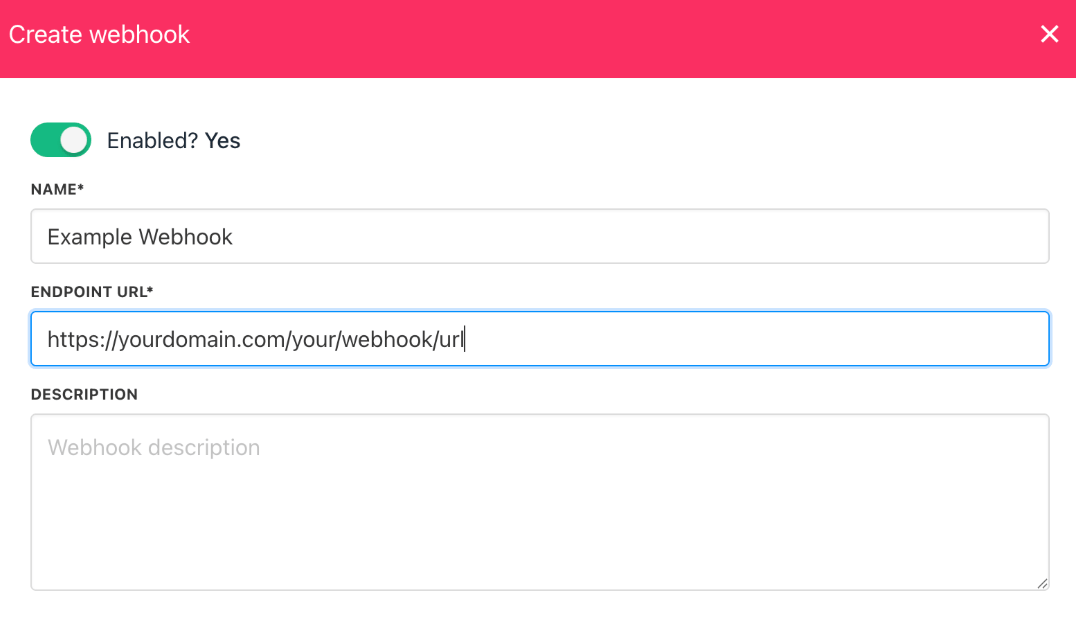
Add webhook endpoint details
Set up event triggers
- In your webhook settings, select Add trigger.
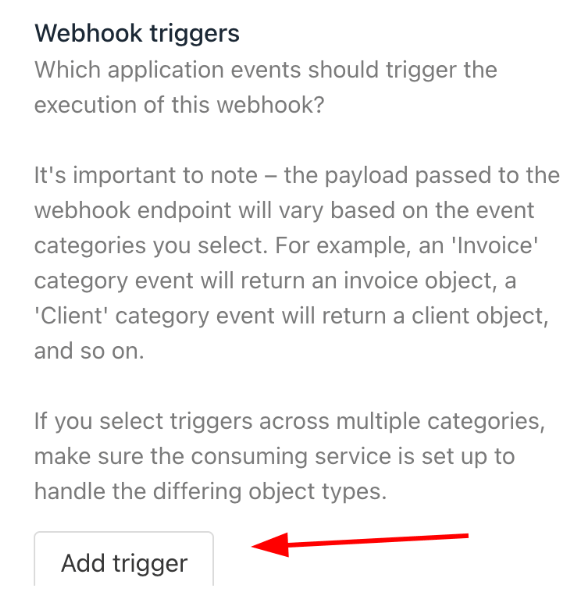
Add trigger
- Choose the specific events (e.g., client registered, order paid, invoice refunded) you want this endpoint to listen for.
- To enable triggers across multiple event categories, save your selections in one category, then repeat for others. Each trigger activates a webhook when its related action occurs in Upmind.
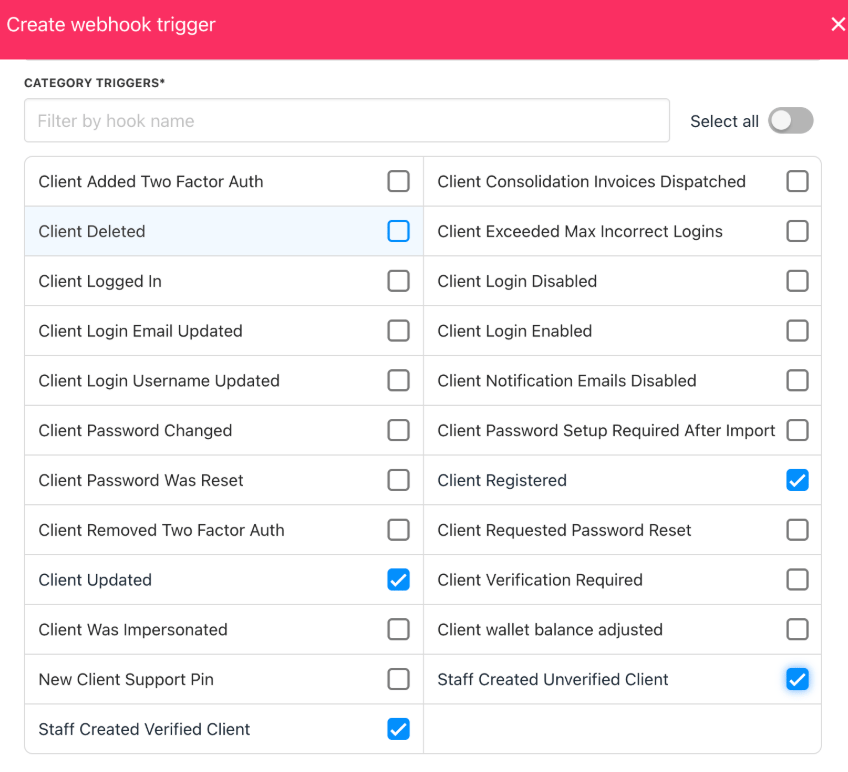
Configure event triggers
Test webhook delivery
- Go to Clients > Add Client in your admin area.
- Add a new test client or edit an existing one (e.g., change their name or update any field tied to a webhook trigger).
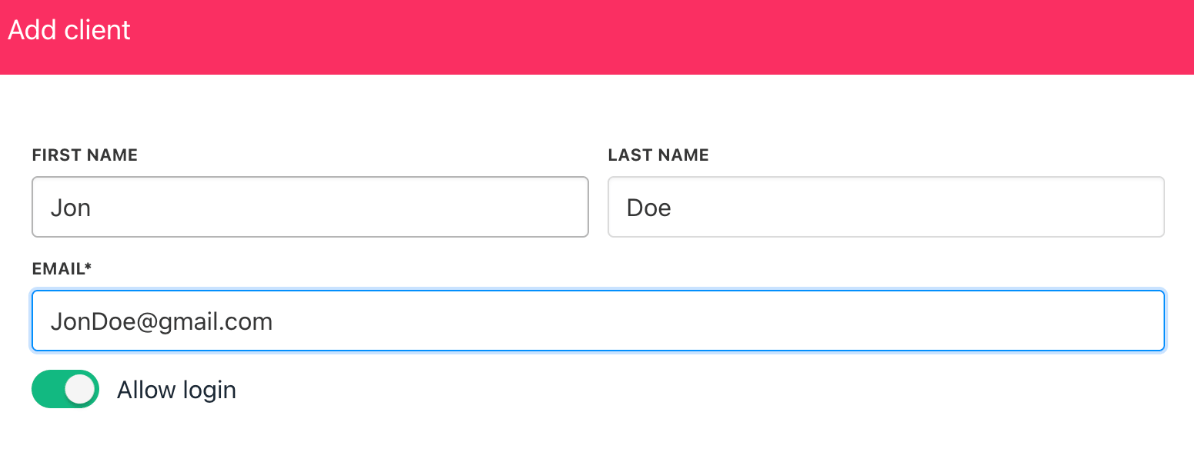
Test the "Client Created" triggers
- View the webhook log under Logs > Webhook events log to confirm reception.
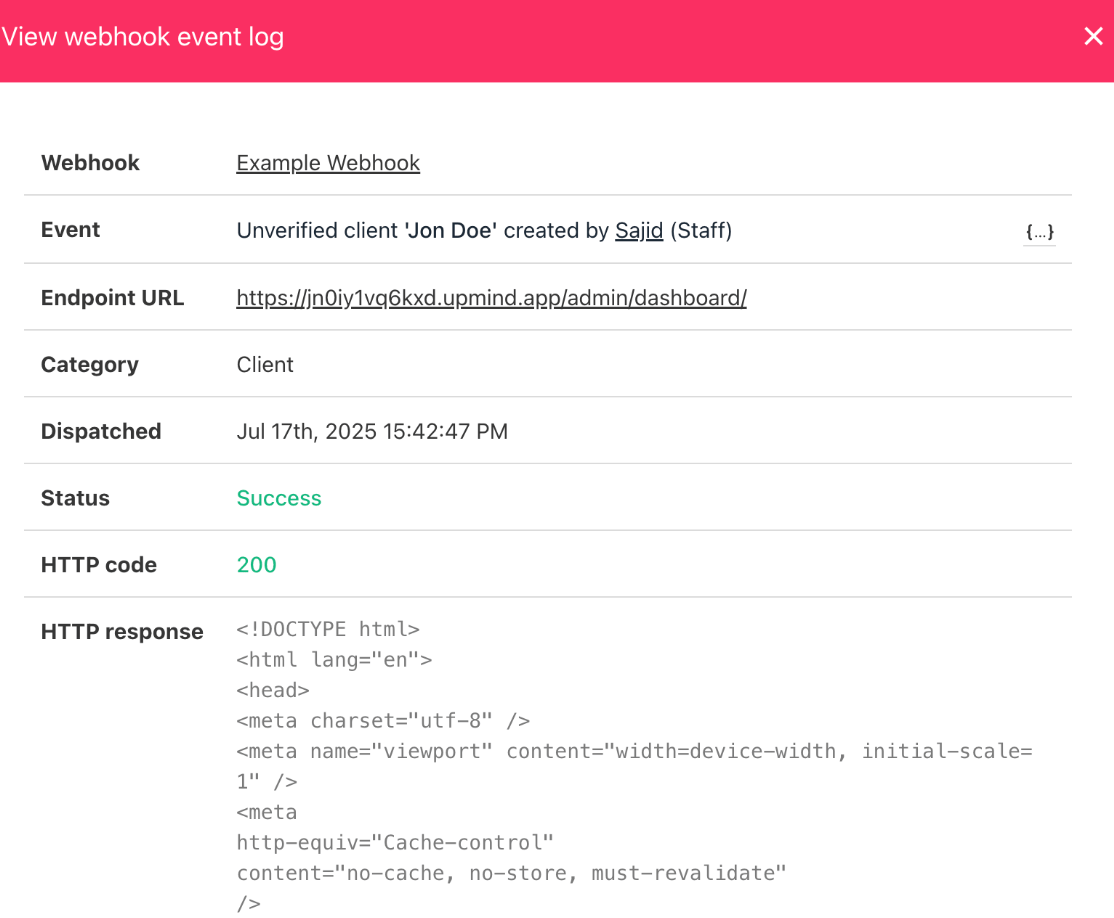
Inspect the webhook event log
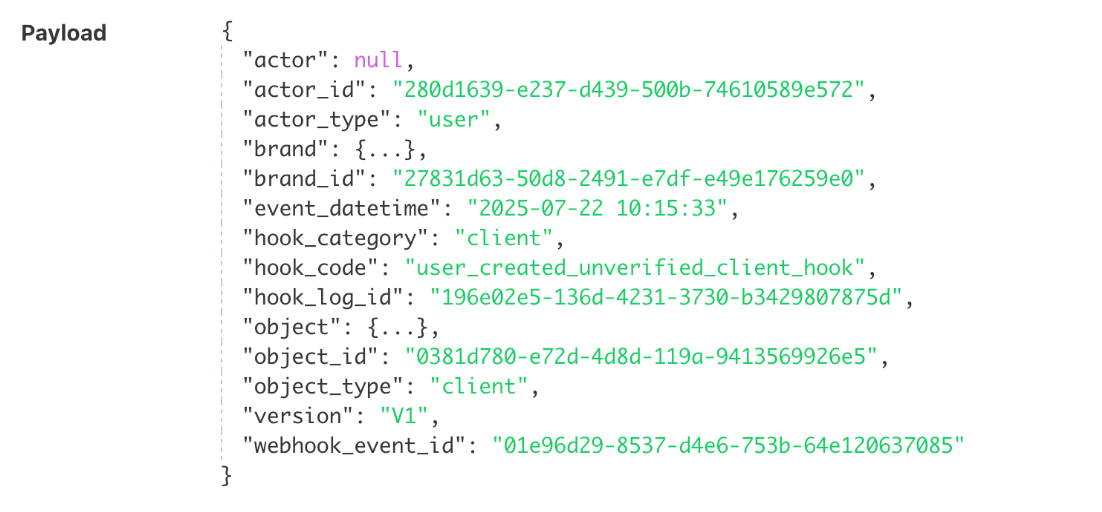
Webhook payload