
How to Integrate and Sell Titan Email Products
Configure Titan products and automate provisioning with Upmind
Titan is a business email service that helps you build stronger relationships with your customers. It offers professional email features with a clean, user-friendly interface tailored for small businesses
Titan can be easily sold and integrated into Upmind.
Credentials you need
You need to have a registered partner account with Titan to integrate Titan with Upmind. Contact them if you do not have one.
Once registered, you’ll receive the API URL, Partner ID, API Secret Key, and Control Panel URL. If you’re unable to get these details, contact Titan’s support to obtain your Partner ID and Secret Key.
In most configurations, you’ll need to set the following URLs:
| Credential Name | Format |
|---|---|
| API URL | https://bll.titan.email |
| Control Panel URL | https://manage.titan.email |
Then, when creating a Titan product in Upmind, you’ll need to configure the provision fields, using the appropriate package name based on the pre-defined plans provided by Titan.
Provision Fields | Details |
|---|---|
Plan Name (The pre-defined plans) |
|
Seat Count | Determines how many mailboxes the customer is allowed to create in their account. |
Configuring Titan in Upmind
Add Titan Credentials
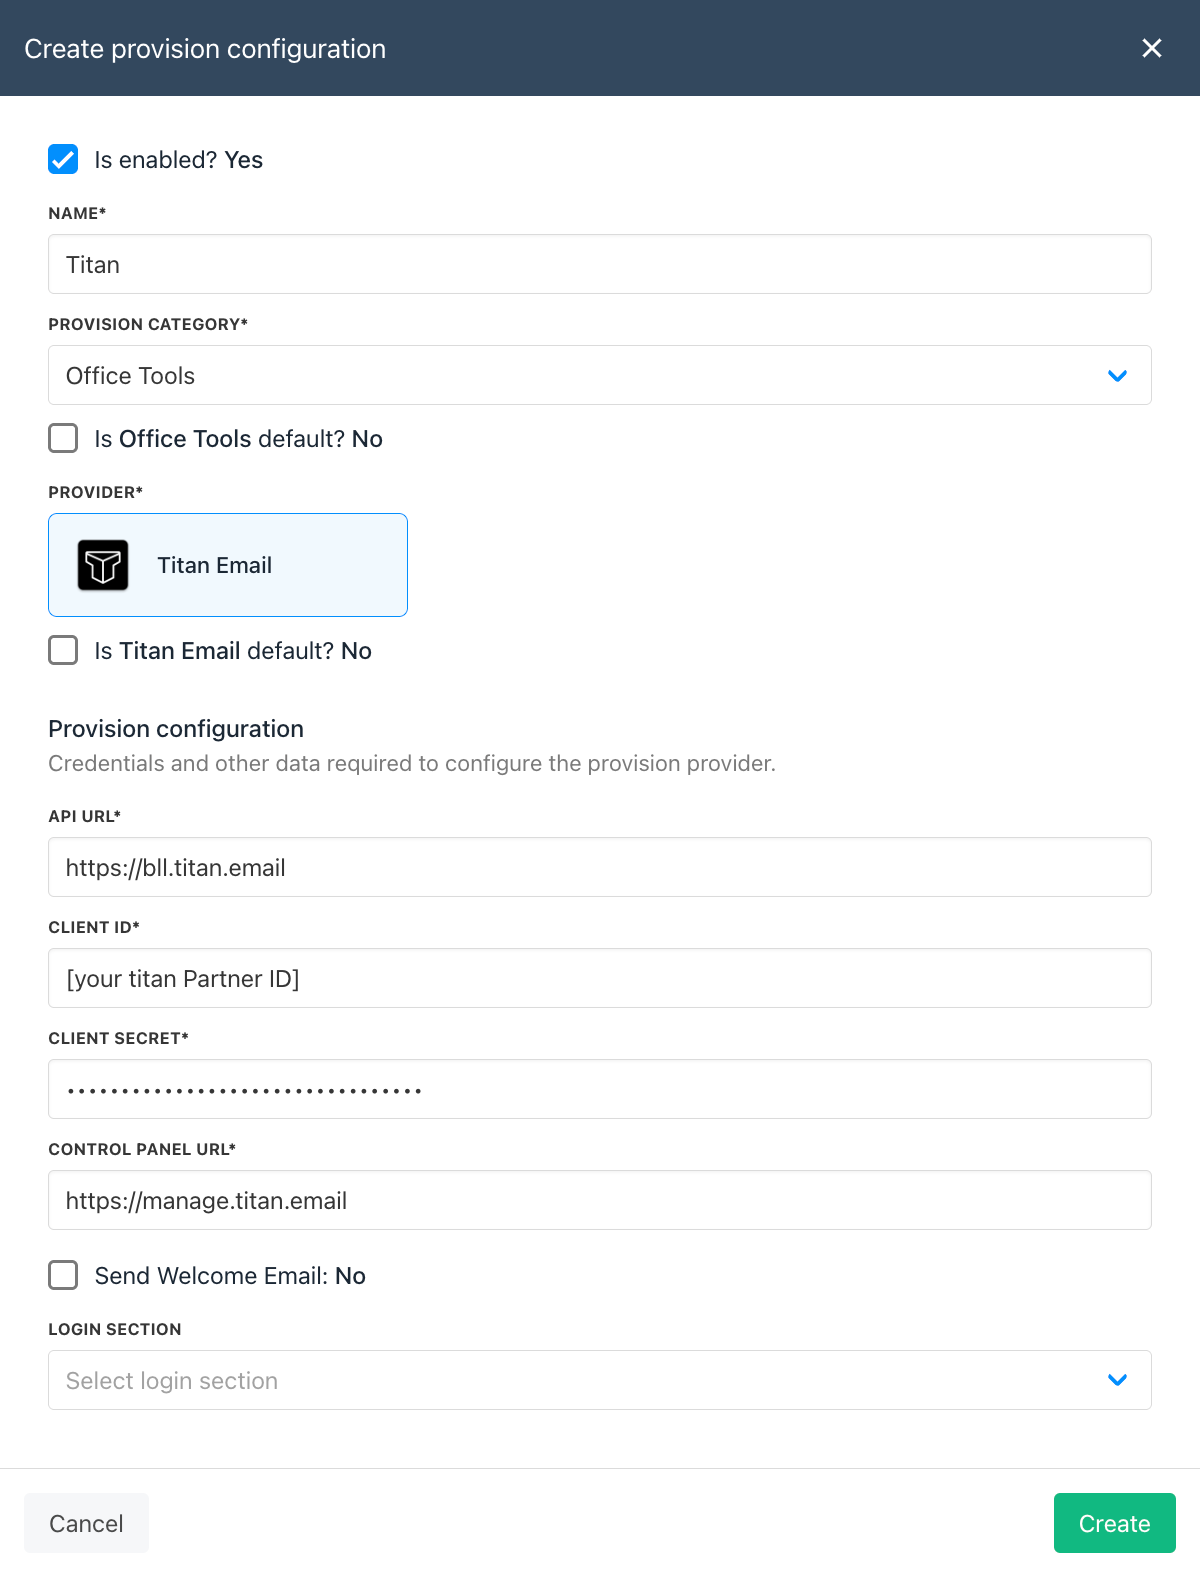
First, add Titan as a provision configuration.
- Go to
Settings > Provision Configurations - Click
Add New Configuration - You can use any name you like, but we recommend using "Titan". If you don’t have multiple standalone Titan setups, you’ll only need to add this configuration once.
- Select
Office Toolsas the Provision category, and choose Titan as the provider. - Fill the fields with the information you gathered earlier. Your Partner ID should go in the "Client ID" field and your Key should go in the "Client Secret" field.
- Click
Create
TitanMail Configurations
Creating Packages
You'll need to create at least one Titan package, usually one for each Titan package you have. Here's how to do it:
- Go to
Settings > Product Catalogue. - Click on Add New. If you don't have a product category yet, you'll need to create one.
- Give your product a name and click Create.
- Set up the product billing.
- Under provisioning tab, select
Office Toolsand save your changes. - Select Titan as the provider, then configure the provision fields for the Plan Name Seat Count.
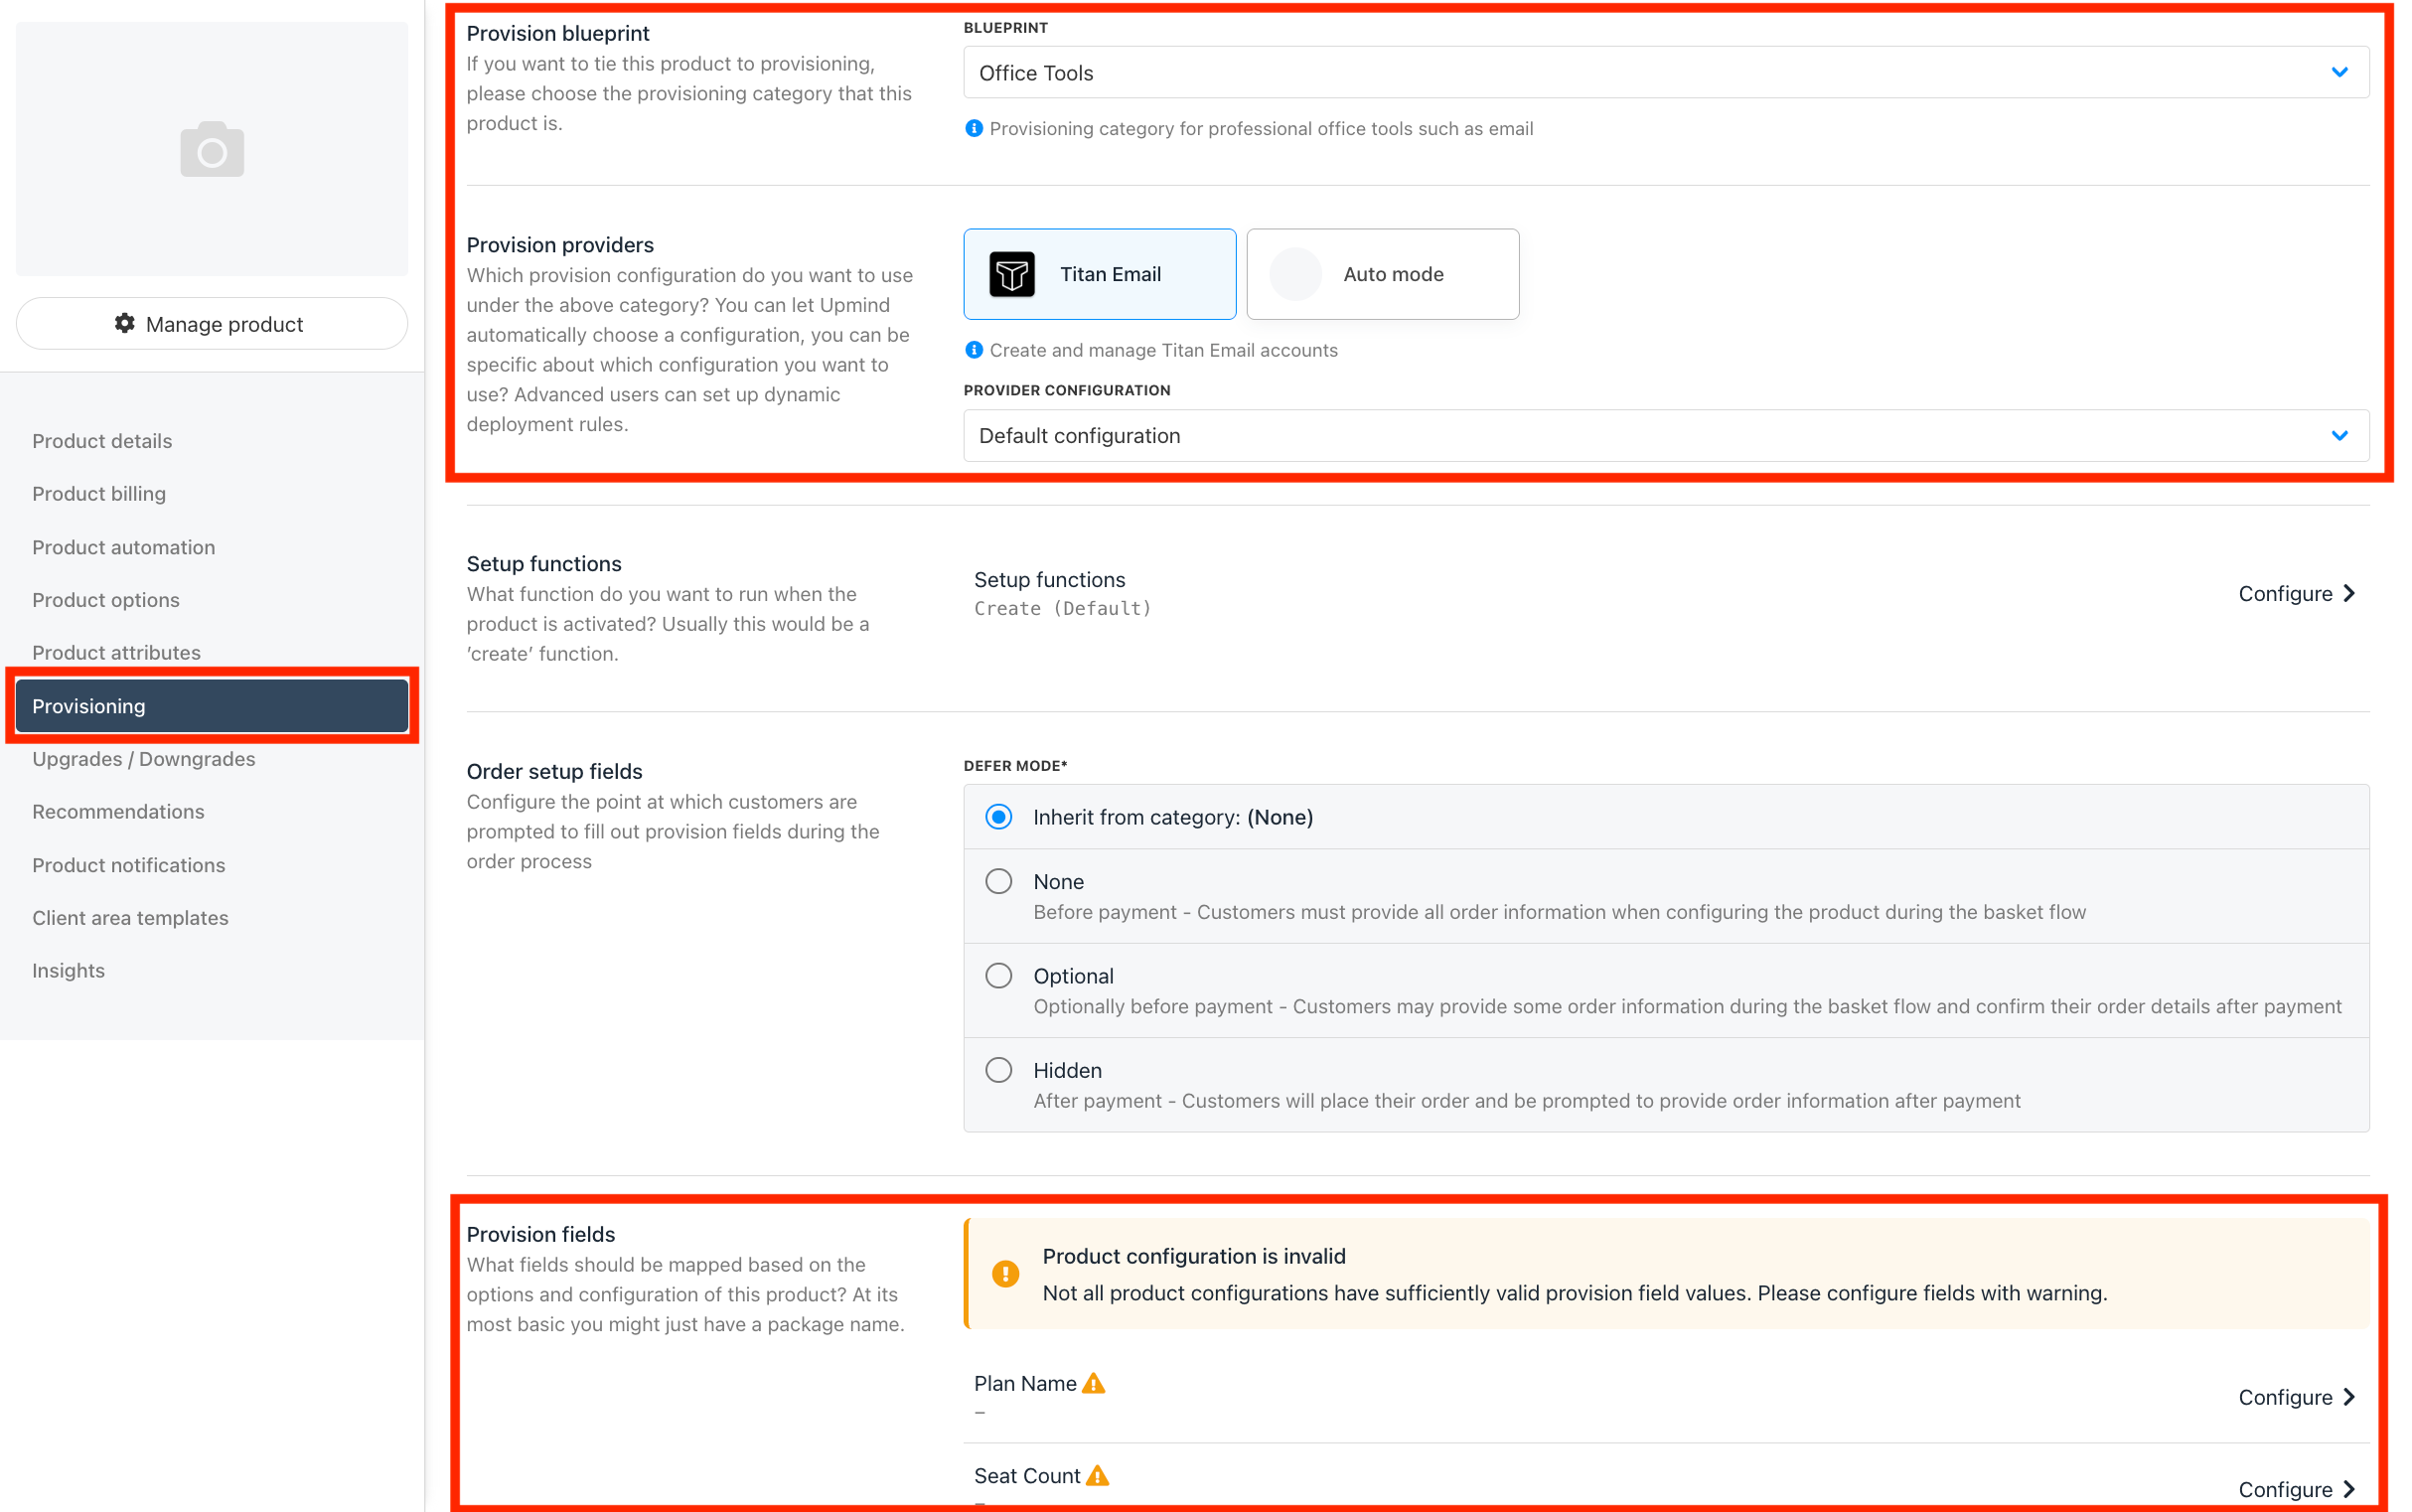
Setting up the provisioning for TitanMail package
That's it! Your Titan product is ready for sale.