

Getting Micropayment credentials
- Register and create a project in your Micropayment dashboard under Projekte/Project.
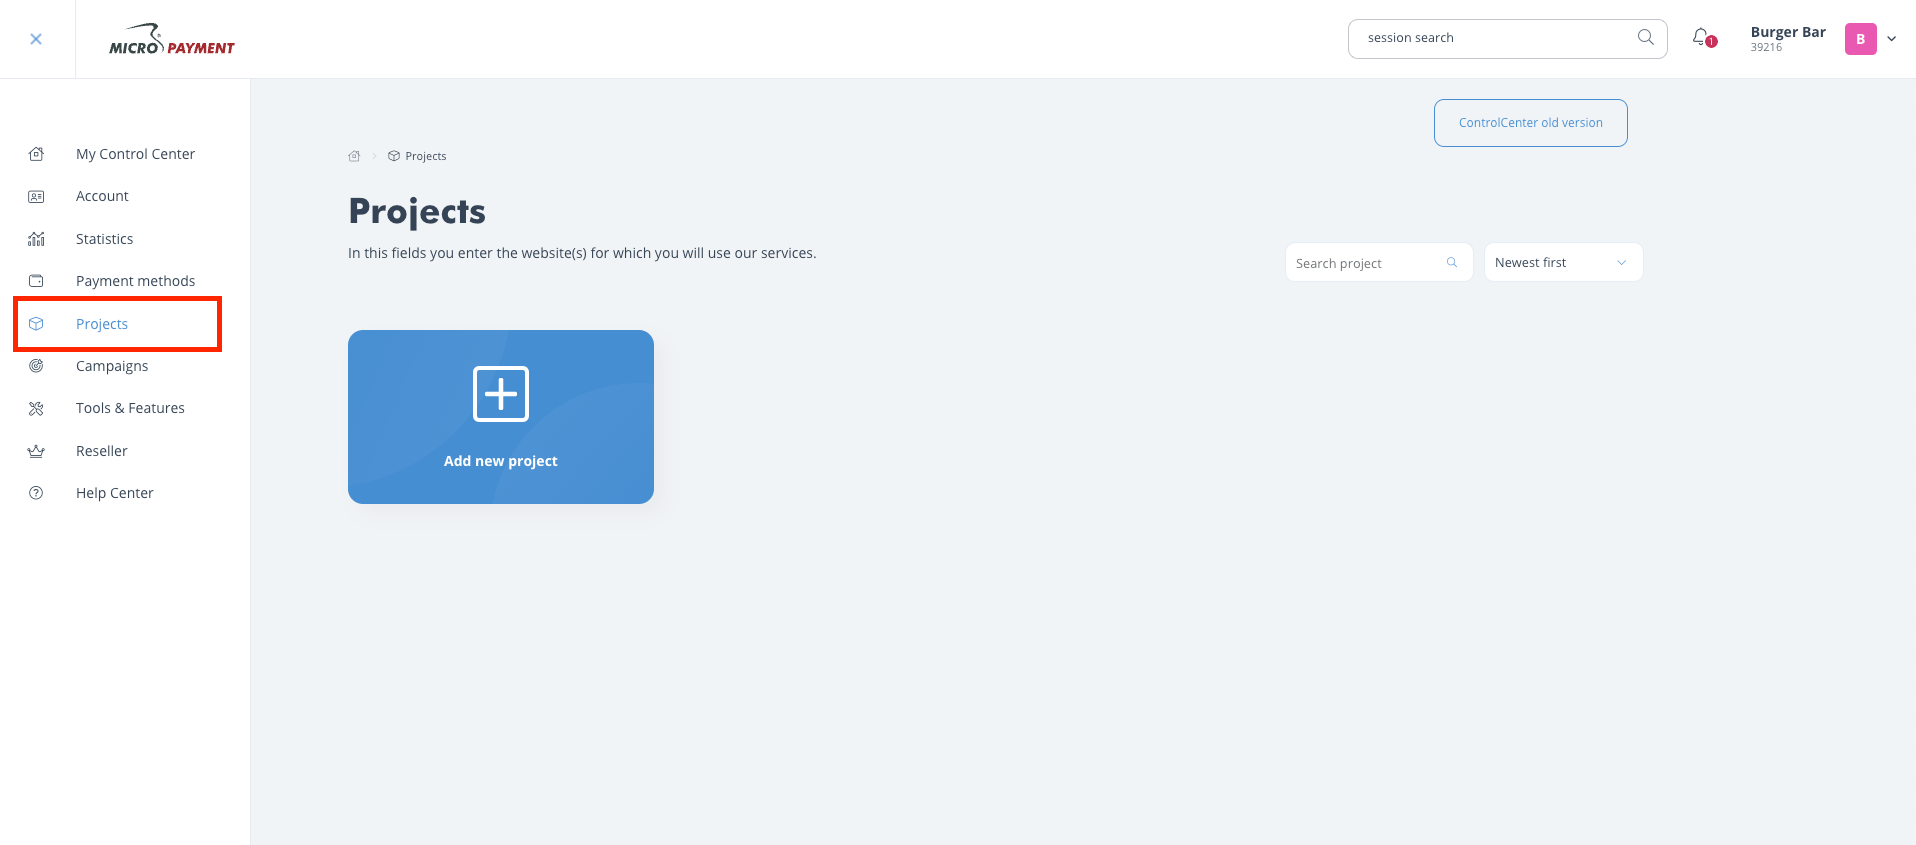
Create project
- Copy the provider webhook URL from Upmind and paste it into the Portal URL field in Micropayment. This can be adjusted later.
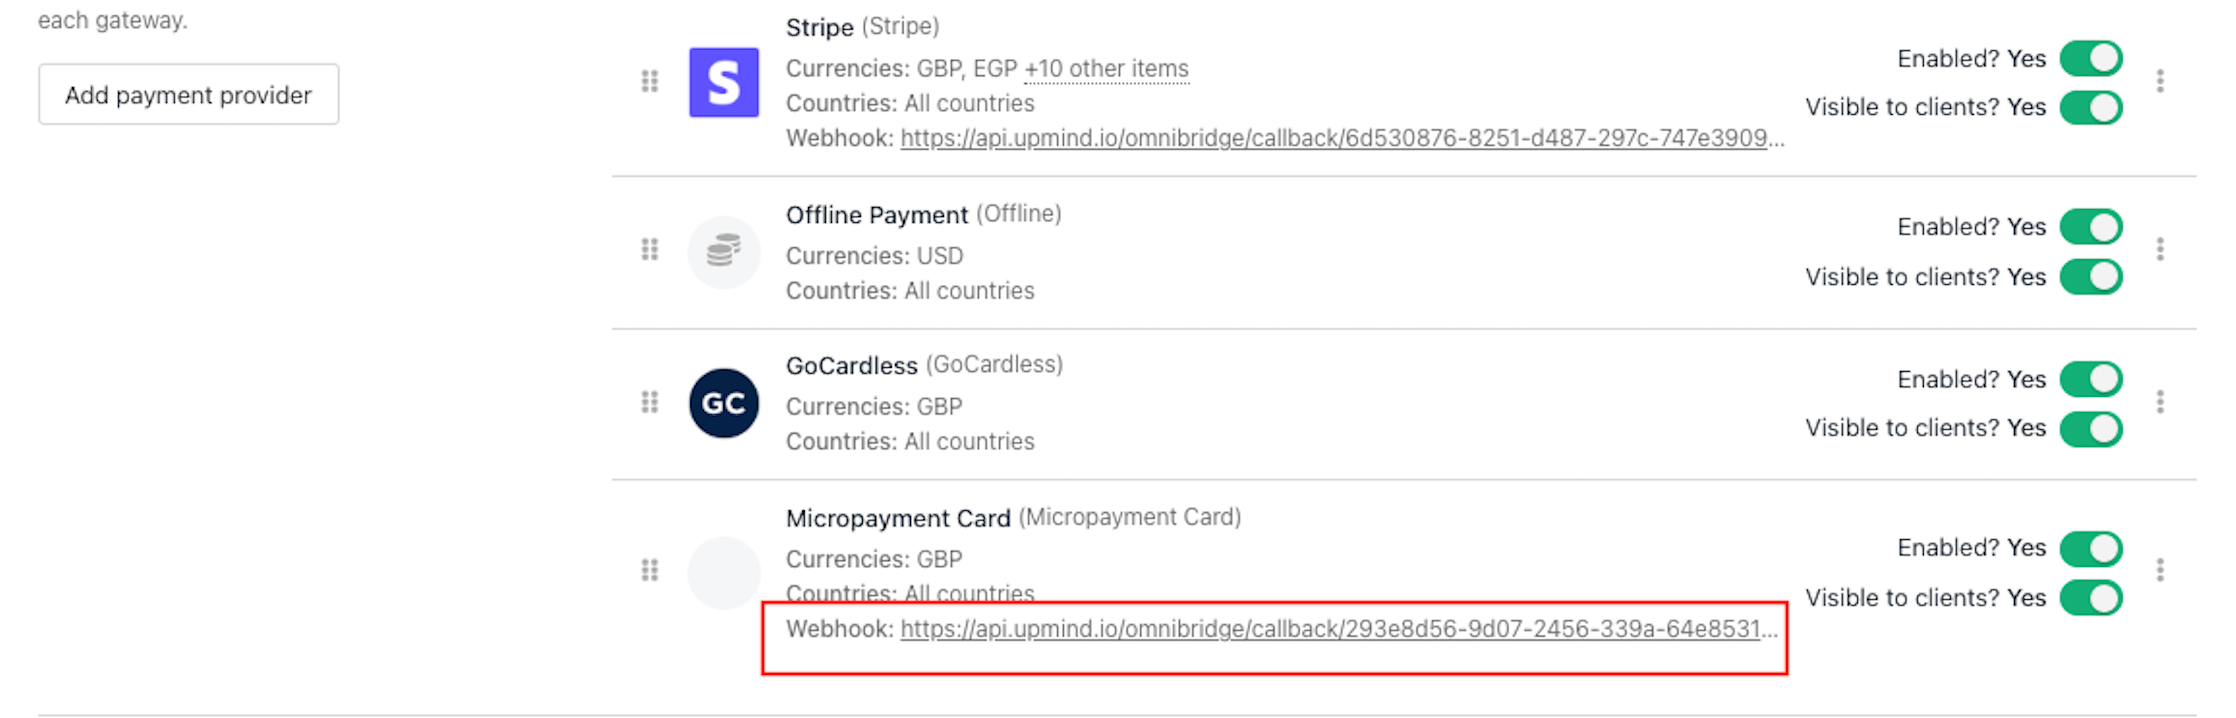
Copy the webhook URL
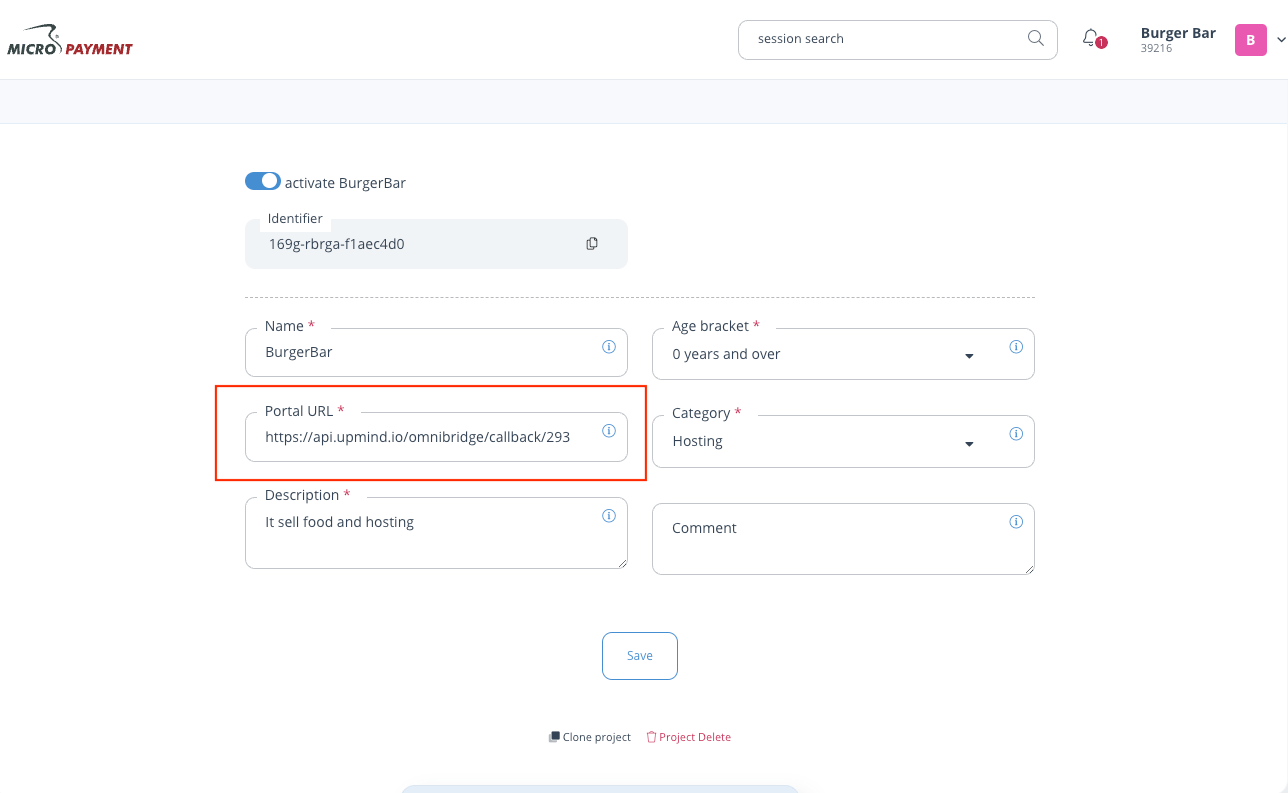
Paste the provider webhook URL
- Go to Payment Methods > Access Permission and click Create Permission. Choose Unrestricted.
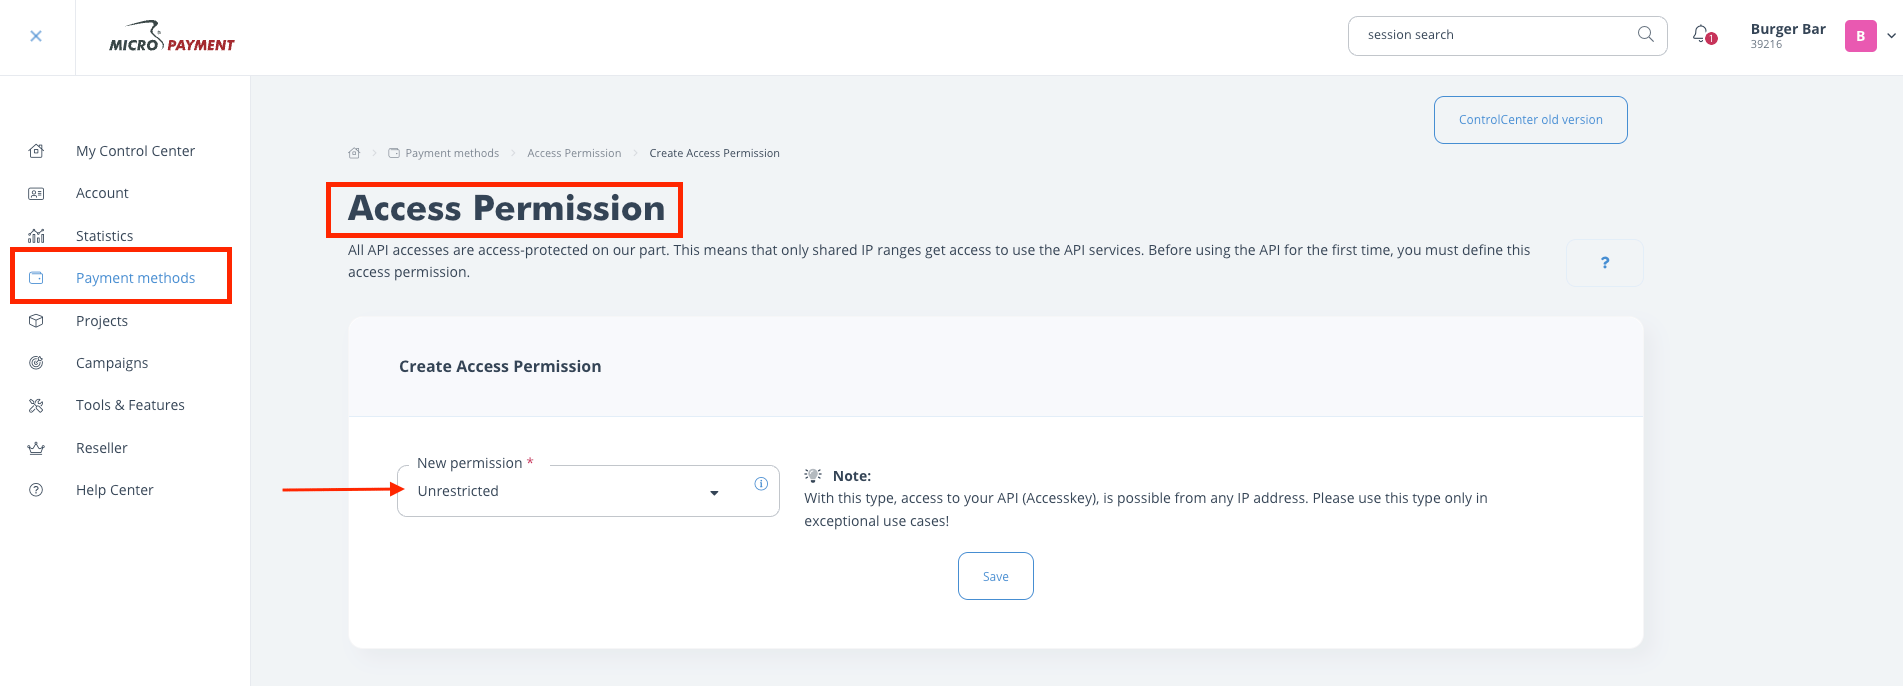
Access permission
- Find your Account, Access Key, and Project in Help Center > Whitelabel (API).
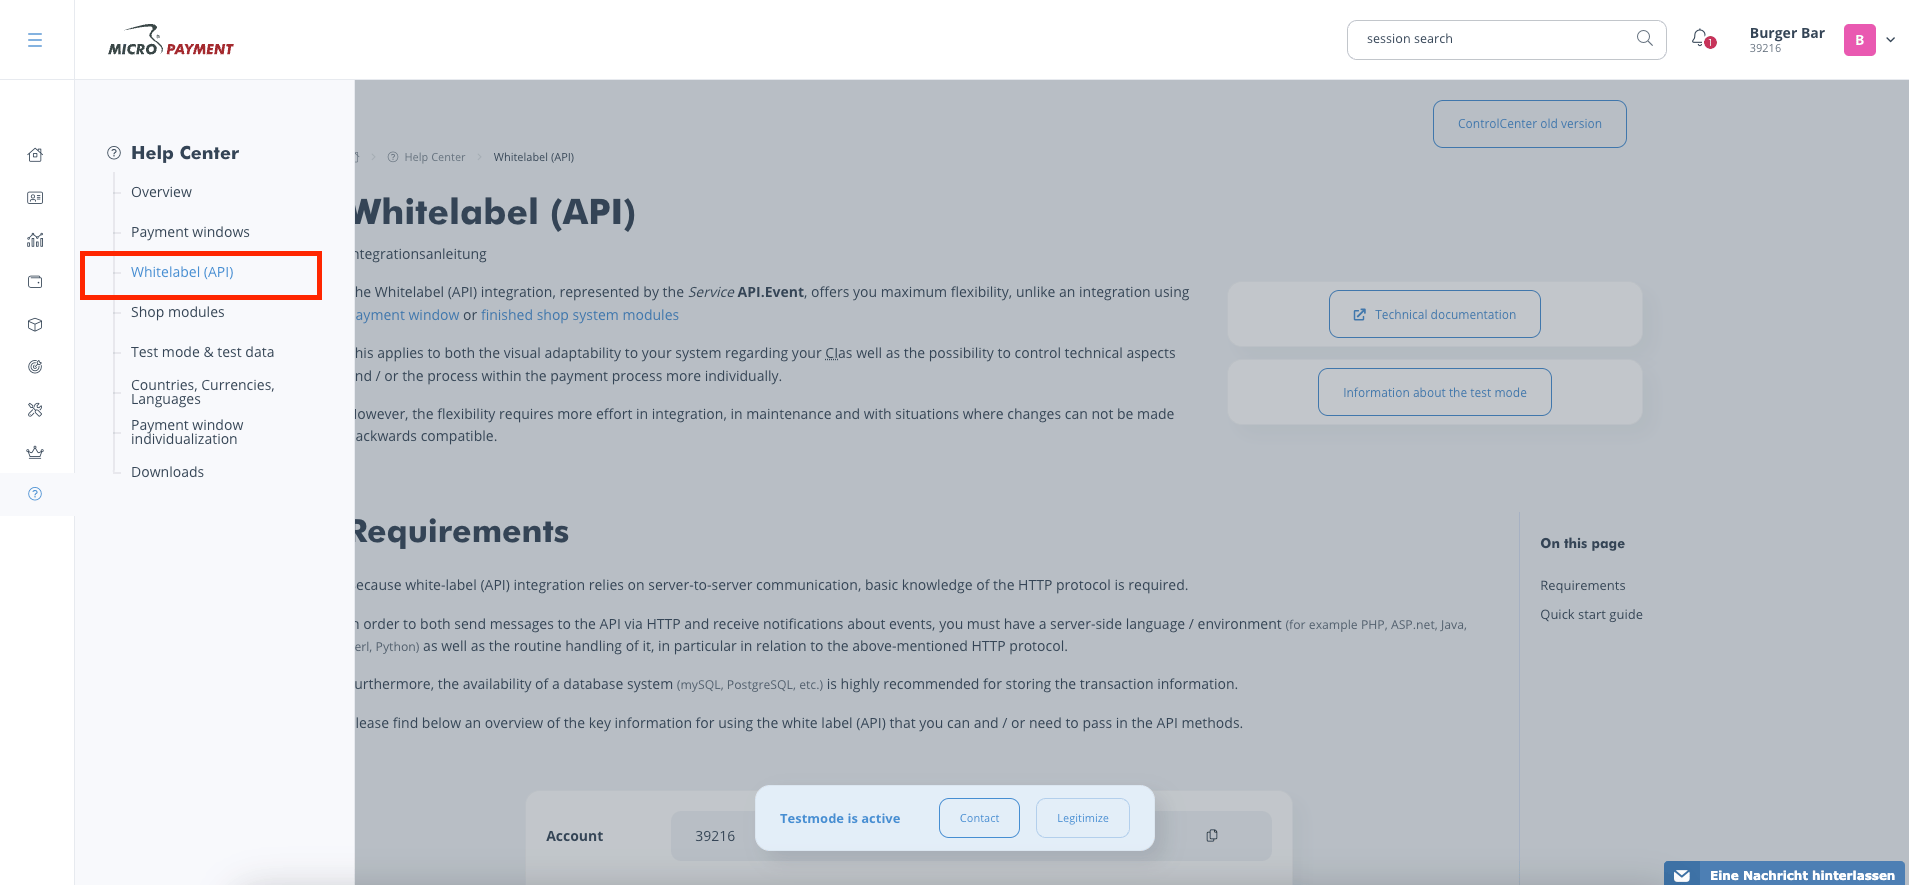
Help center > Whitelabel (API)
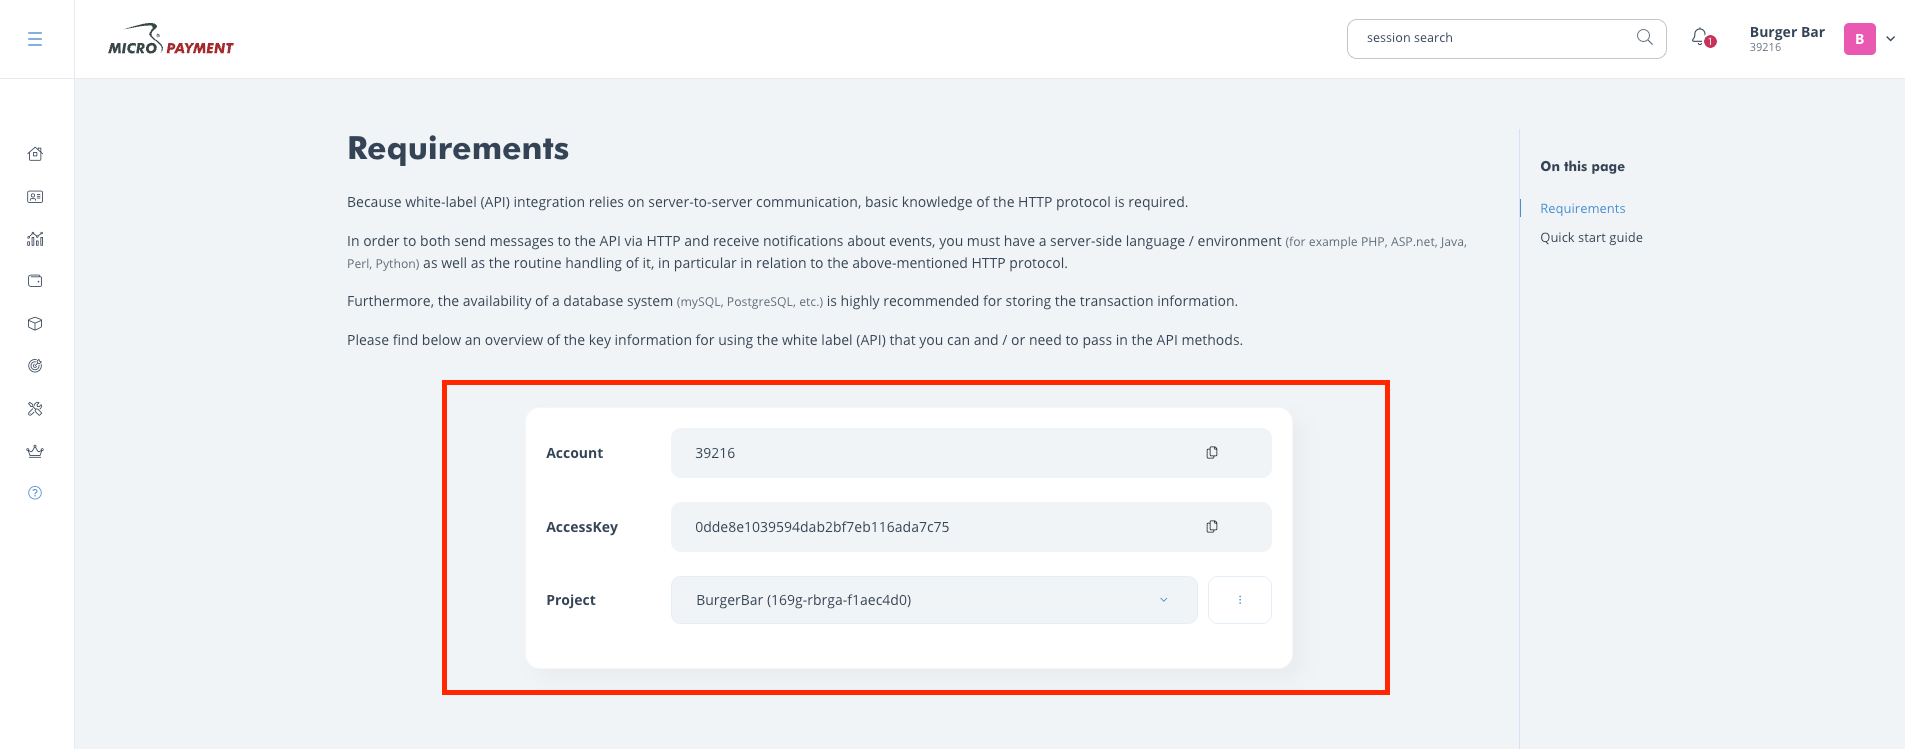
Account, API Key, and Project
Callbacks
For callbacks to work, the Micropayment admin must set theredirectDataHash additional param for notifications.
- Log in to the Micropayment Dashboard.
- From the top right, select Setup > Payment Methods.
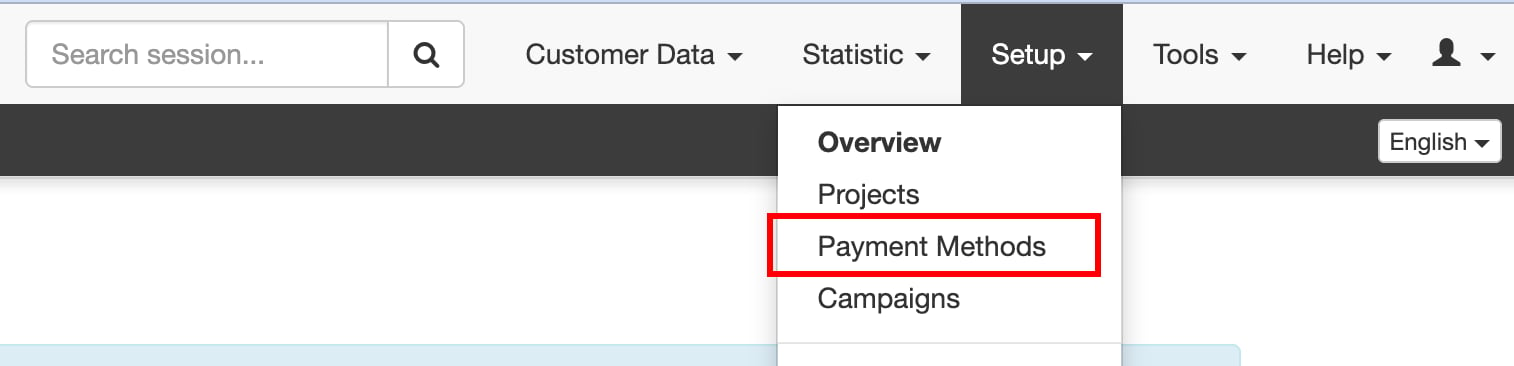
Setup > Payment methods
- Click on CreditCard Event > Edit
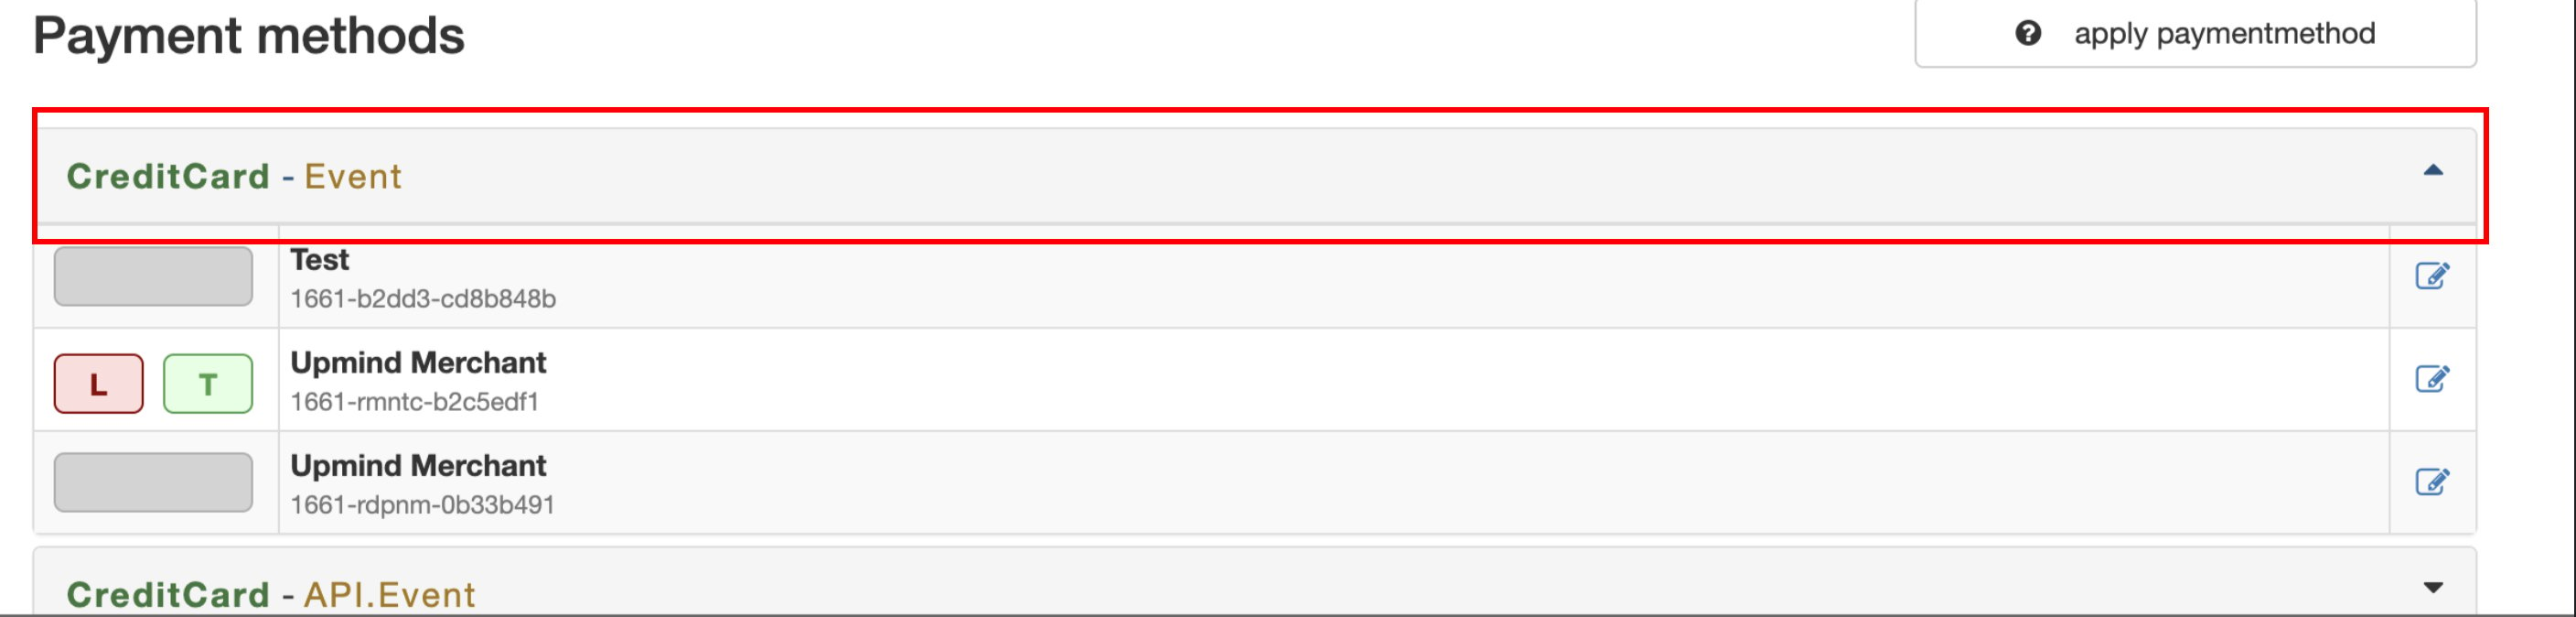
CreditCard Event > Edit
- Then on Parameters: Notification URL > Edit.

Parameters: Notification URL > Edit
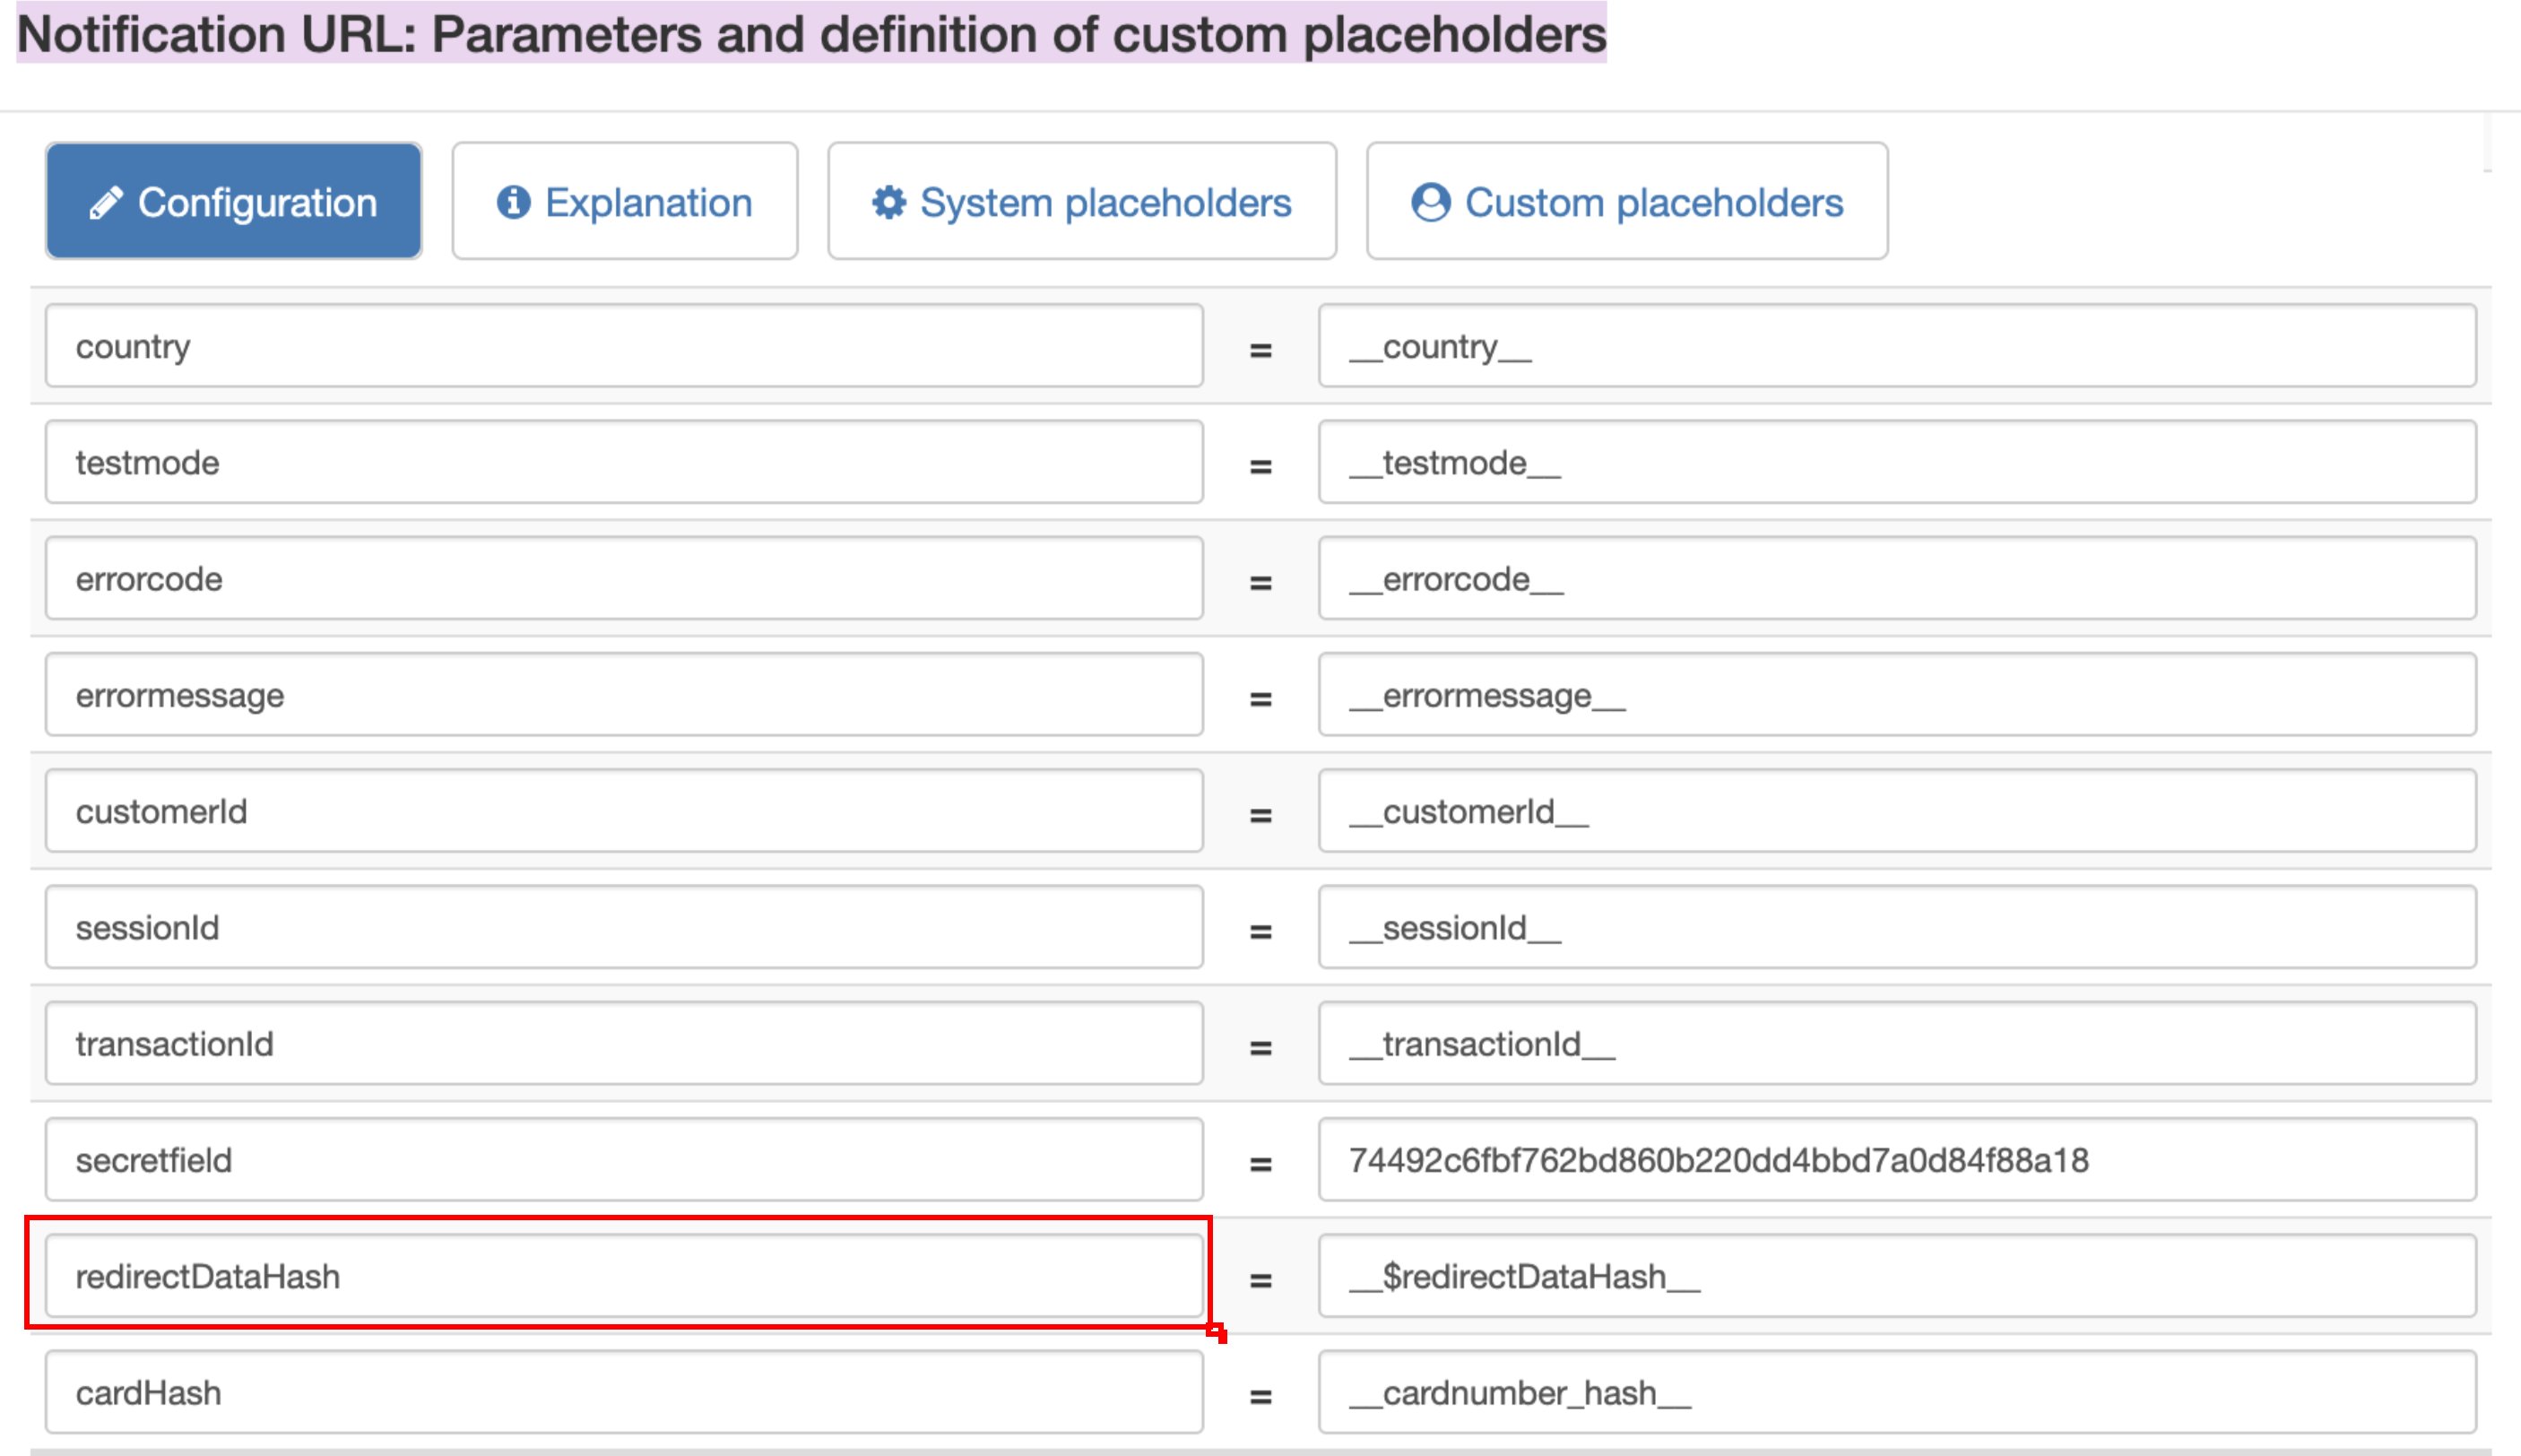
redirectDataHash additional param
- Whitelist Upmind’s IP addresses on your Micropayment instance to allow access from Upmind:
- 91.240.229.1
- 91.240.229.2
- 91.240.229.3
Adding Micropayment in Upmind
- Go to Settings > Payment Providers in your admin area.
- Click Add Payment Provider and select Micropayment.
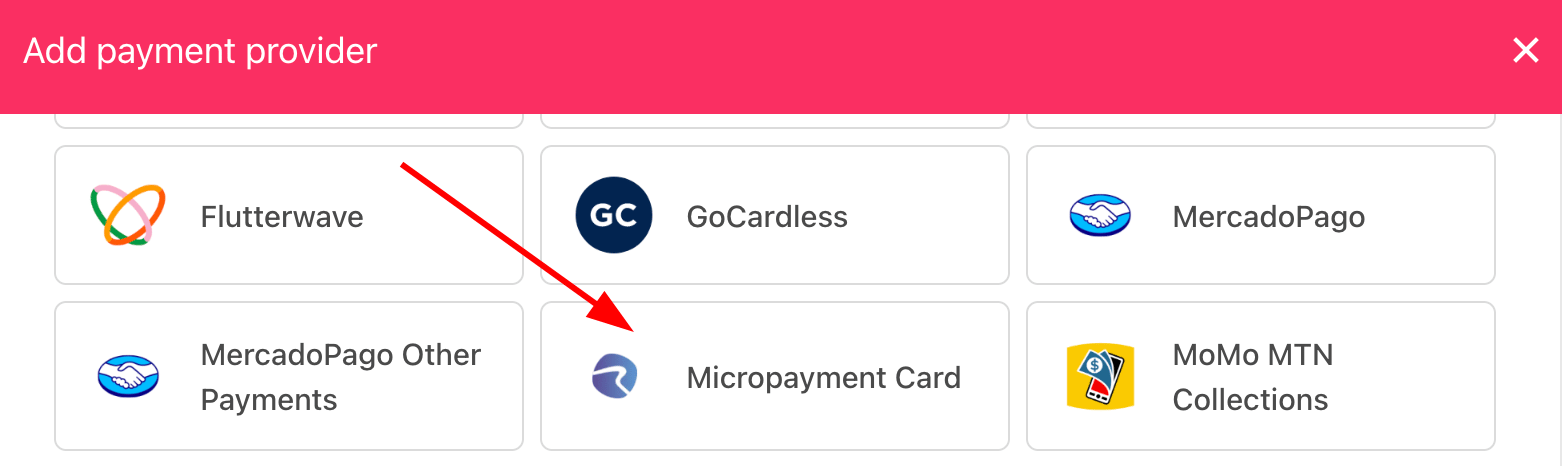
Select payment provider
Configure details
- Enter a display name. We suggest Micropayment Card.
- Select the appropriate Test Mode option.
- Enter your Account, Access Key, and Project.
- (Optional) Click Test Credentials to verify.
- (Optional) Add supported currencies.
- (Optional) Enter payment instructions.
- Click Create.
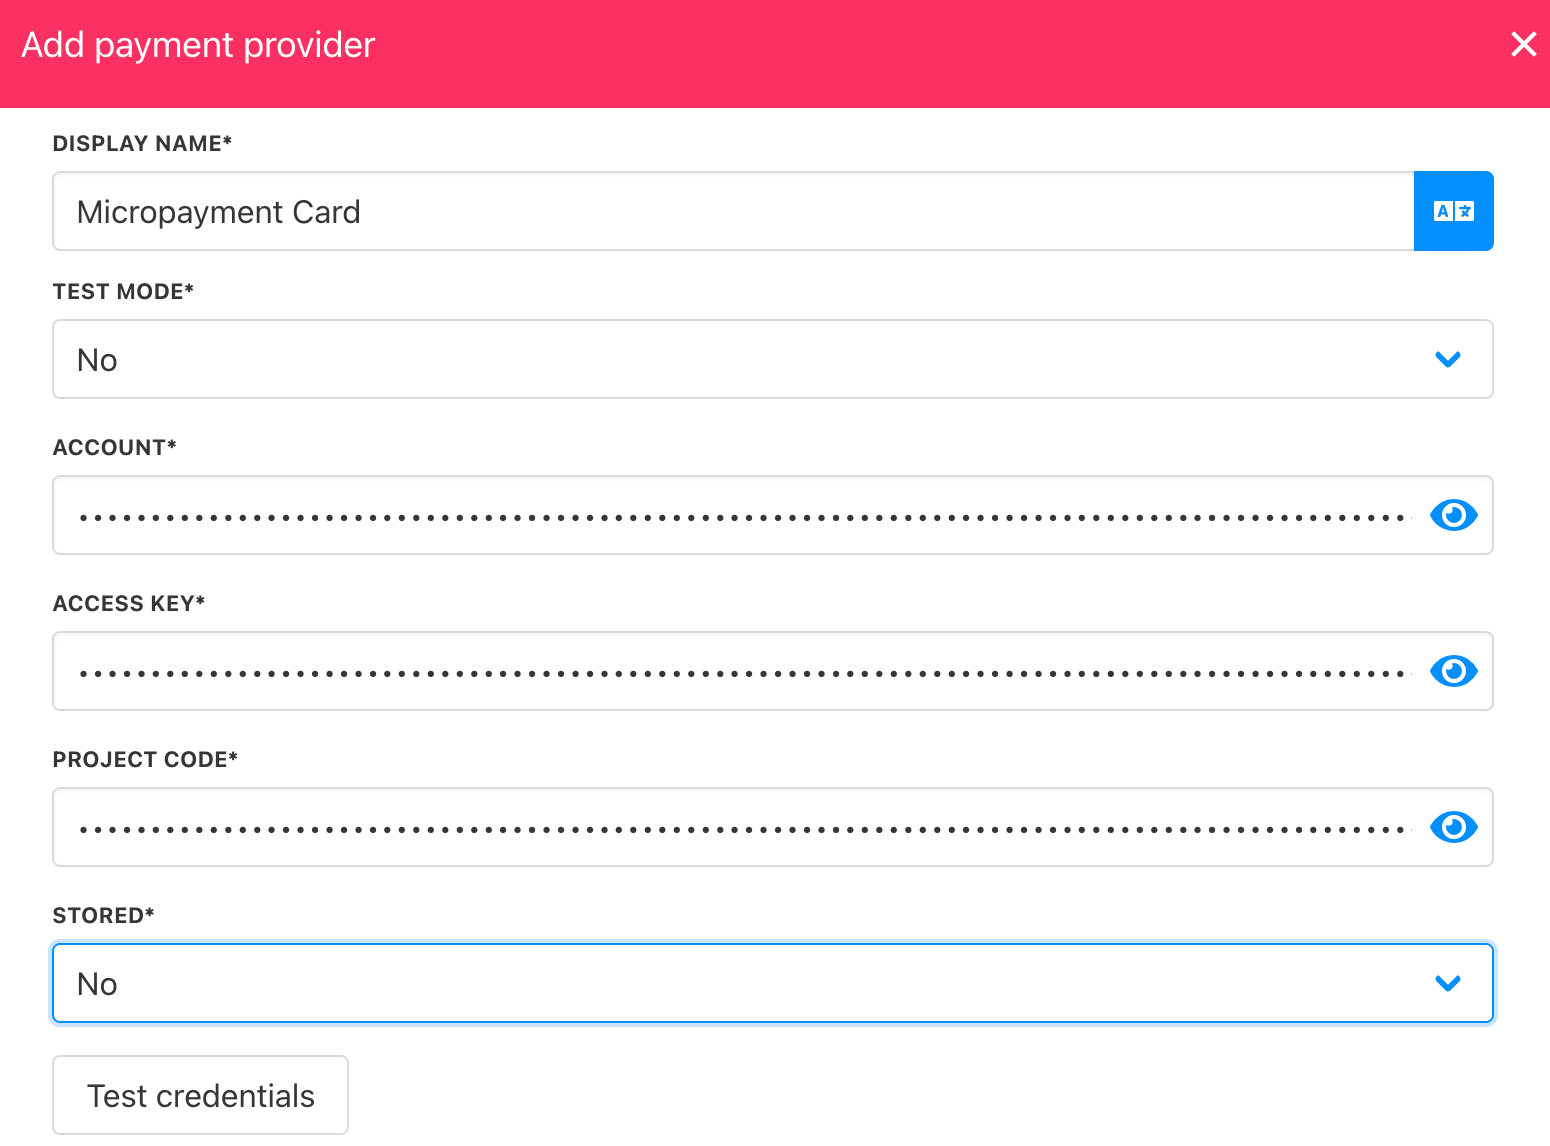
Add details
Editing the payment method
To update, go to Settings > Payment Providers, click the three dots next toMicropayment, and select Edit.