-
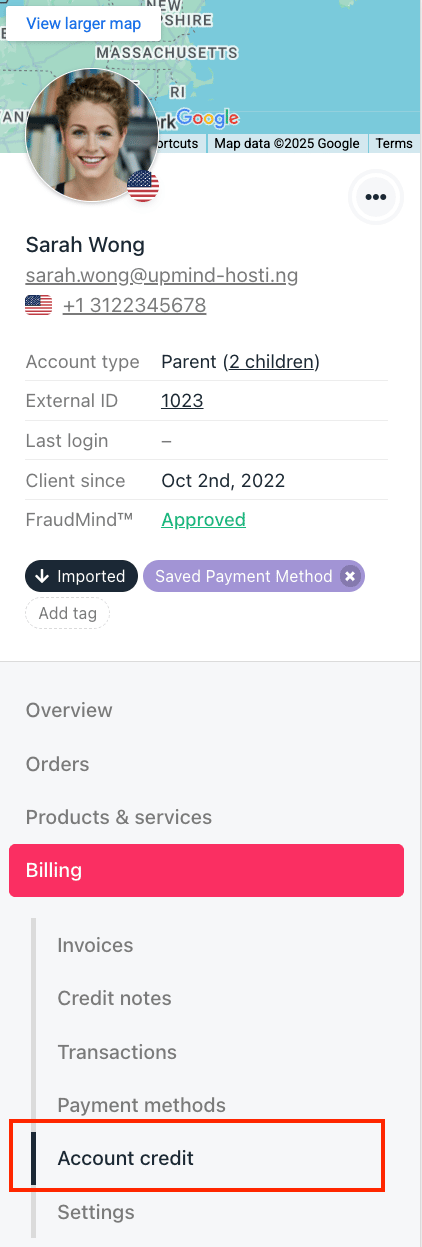
Go to the client’s profile > Billing > Account Credit.
- Click Top Up.
-
In the pop-up window, you’ll see a few options:
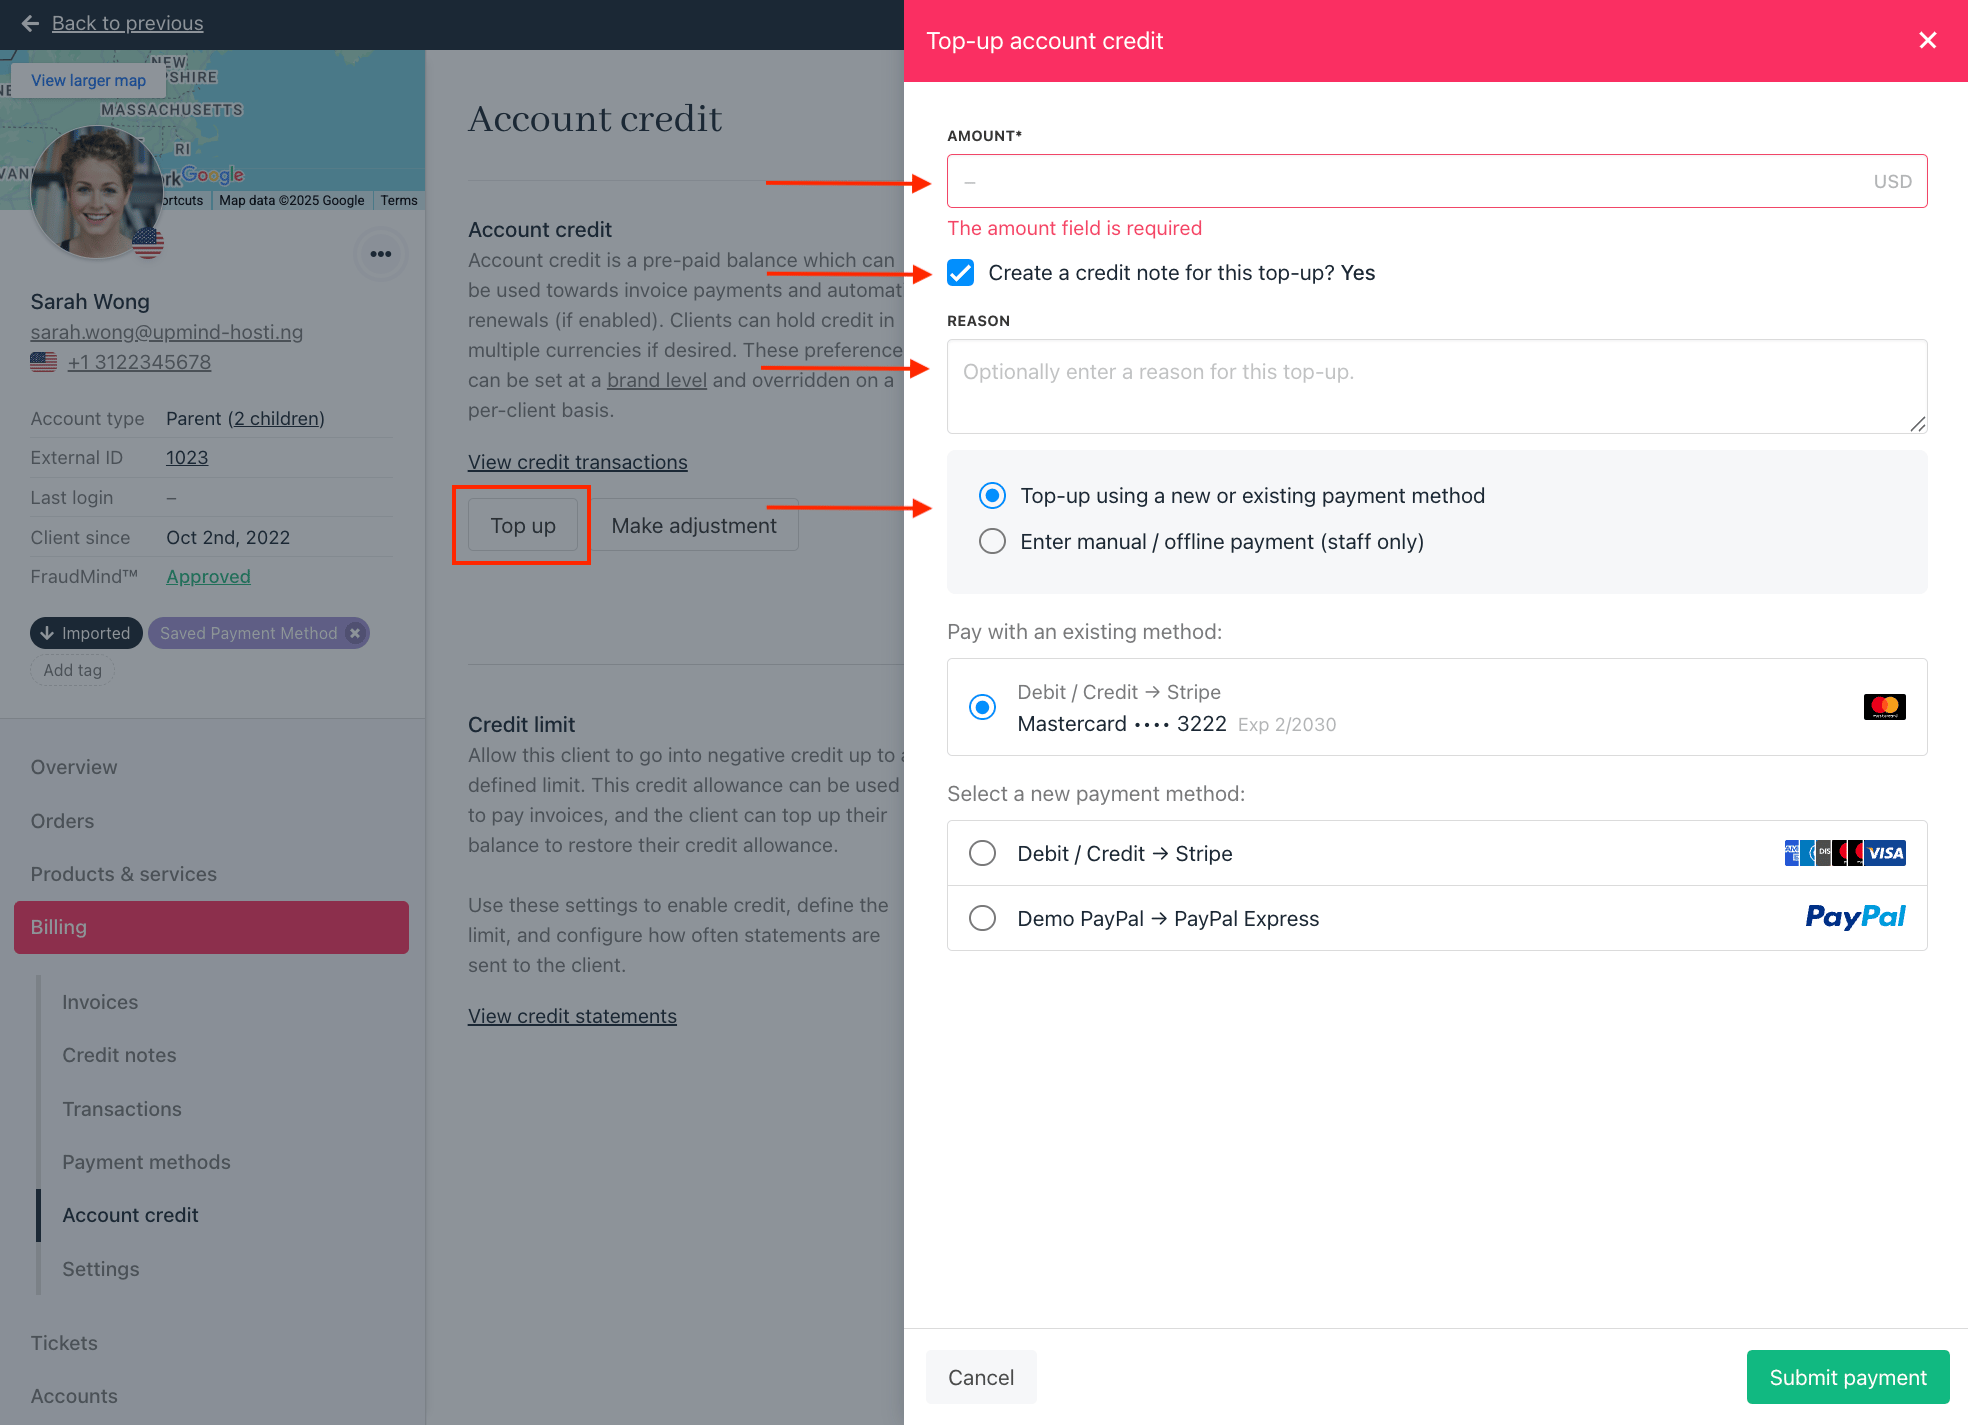
- Enter the amount to top up.
- Choose whether to create a credit note for the top-up and fill in the reason for it.
To enable this as the default option, go to
Settings > Payment Options > Client Wallet > Force Credit Note on Top Up.- Select a payment method: use a new payment method, an existing one, or record a manual/offline payment.
- Click Submit Payment.
Other Account Credit Settings
Besides topping up, you can also manage a client’s account credit with these options: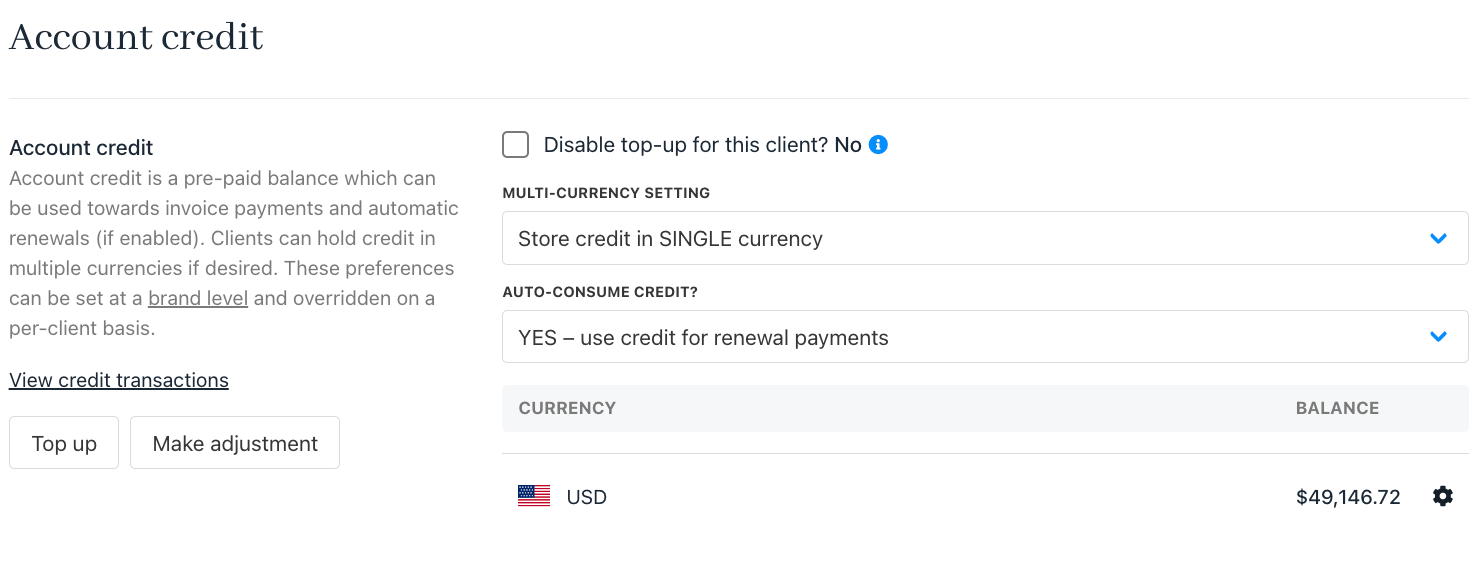
-
Enable or disable top-up for this client.

-
Set up multi-currency options for the client’s account credit.

-
Configure auto-consume credit

If you choose Inherit brand default, you can review the option under
Settings > Payment Options > Client Wallet-
Make manual adjustments to the client’s credit balance.

-
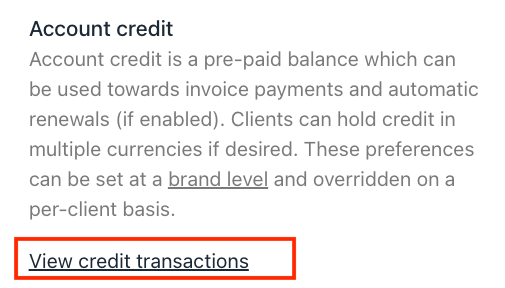
View credit transactions to see the full history of credit usage and changes.