
- Create and configure your Upmind account
- Verify your account
- Log into the admin panel
- Configure your domain
- Change organisation name display
- Set store currency
- Create a web server
- Set up billing and payment processing
- Add hosting products and packages
- Connect domain registrar providers
- Manage client accounts and support
- Launch your online store
- Use analytics and reporting to optimise your business
Create and configure your Upmind account
- Go to Upmind.com.
- Click on Start for free.

- Enter your email and sign up.

Verify your account
- Check your email (and spam) for Upmind’s verification link within 5 minutes.
- Click the link to open your organisation’s admin dashboard. Your account is now live.
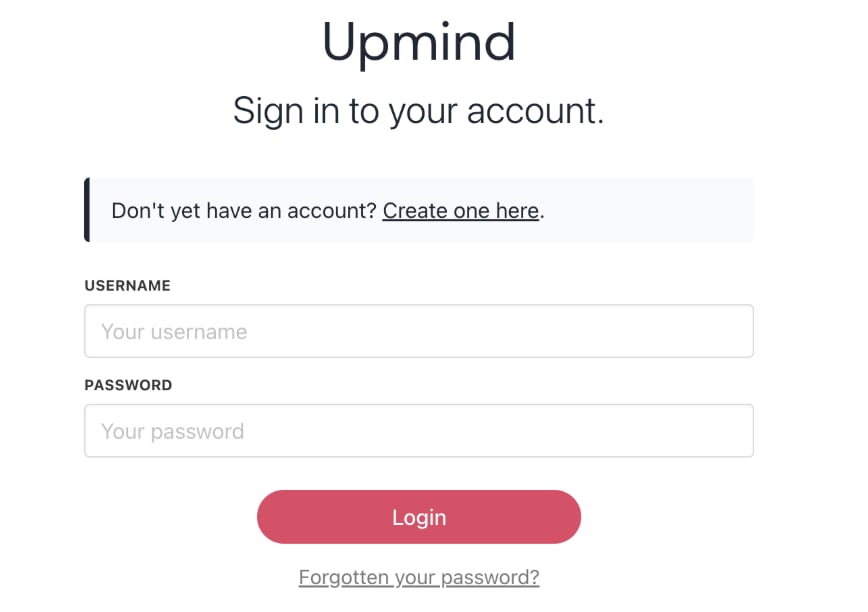
Log into the admin panel
-
Visit your
Admin Panellogin page at https://my.upmind.com/login. - Enter your credentials to log in.
Configure your domain
- Upmind creates a unique subdomain for your store ending with .upmind.app.
- After setup, configure your own domain (e.g., yourdomain.com or clientarea.yourdomain.com).

Change organisation name display
- Go to Settings > Brand Settings under Branding and Customisation.
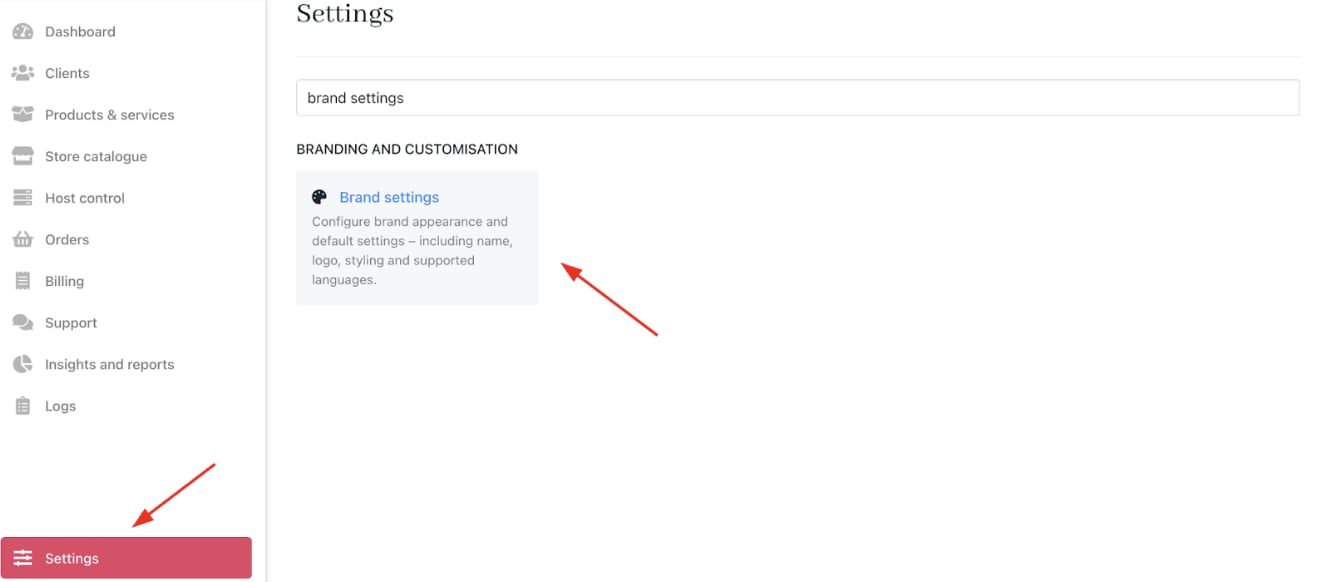
- Enter a new name and click Save.
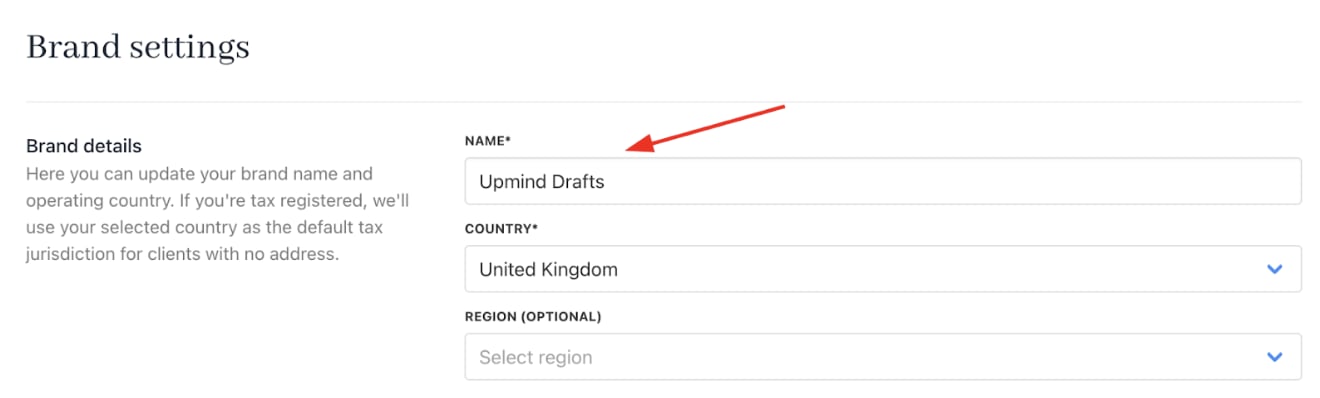
An Upmind account is an organisation that can include multiple brands configured on the brand page. If you manage several businesses under the same legal entity, use multi-brand mode within one organisation. Or you can create separate organisations for distinct legal entities.
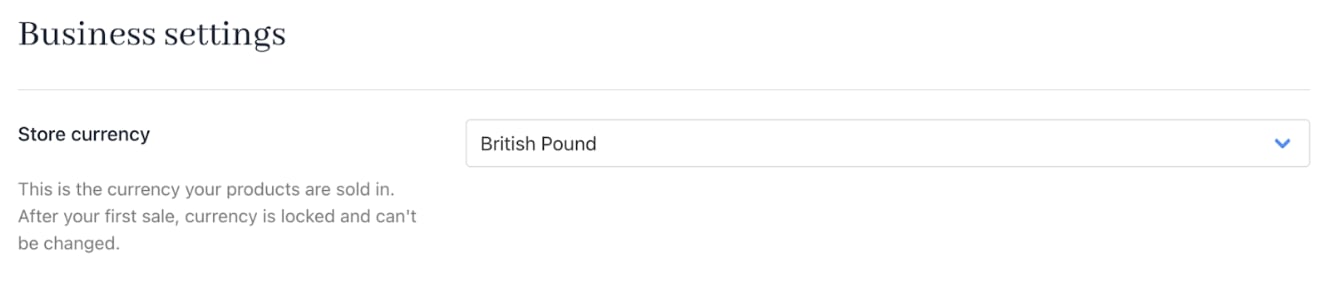
Set store currency
- Go to Settings > Business Settings under E-commerce Settings.
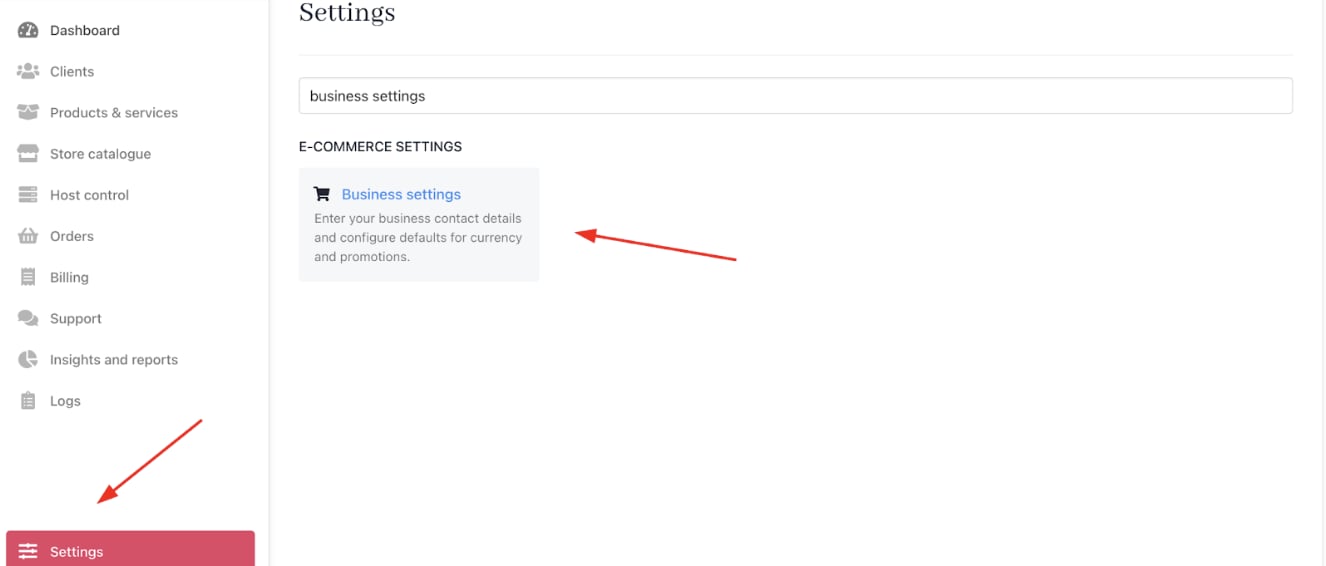
- Set your Store Currency, which will be the primary currency.
Create a web server
- If you don’t already have one, create an account with any web hosting service, such as Plesk.
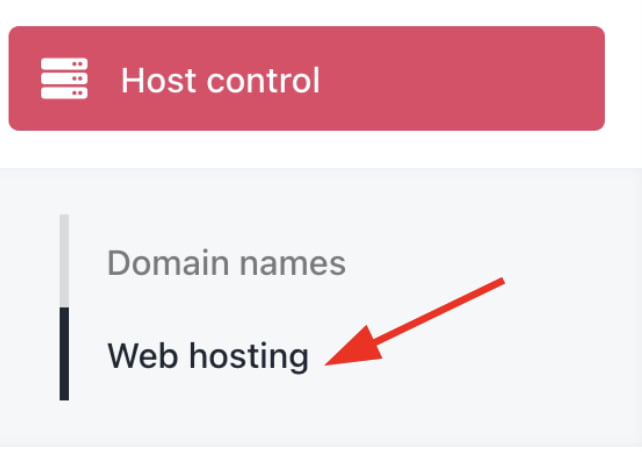
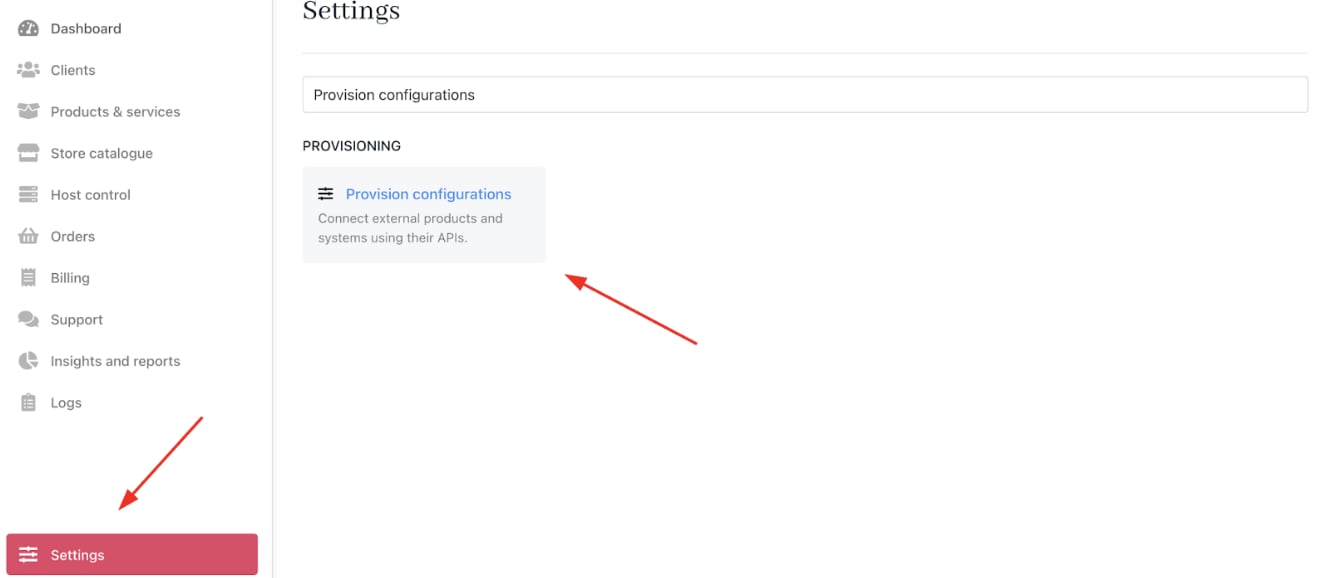
- You can create and provision a Web Hosting service on Host Control > Web Hosting from the Admin Dashboard or Settings > Provision Configurations under Provisioning.
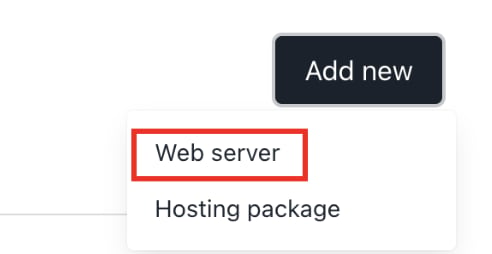
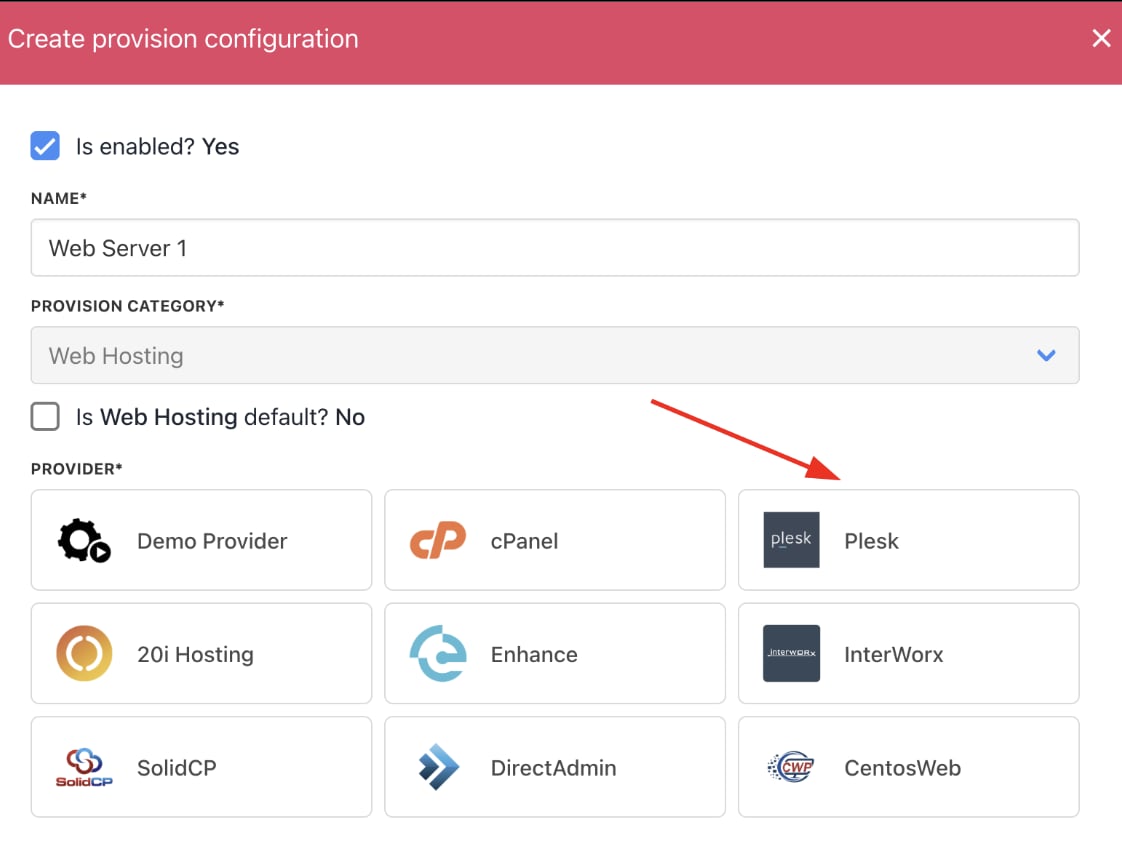
- Click on Add New and select Web Server.
- Type your Web Hosting service name and choose Plesk.
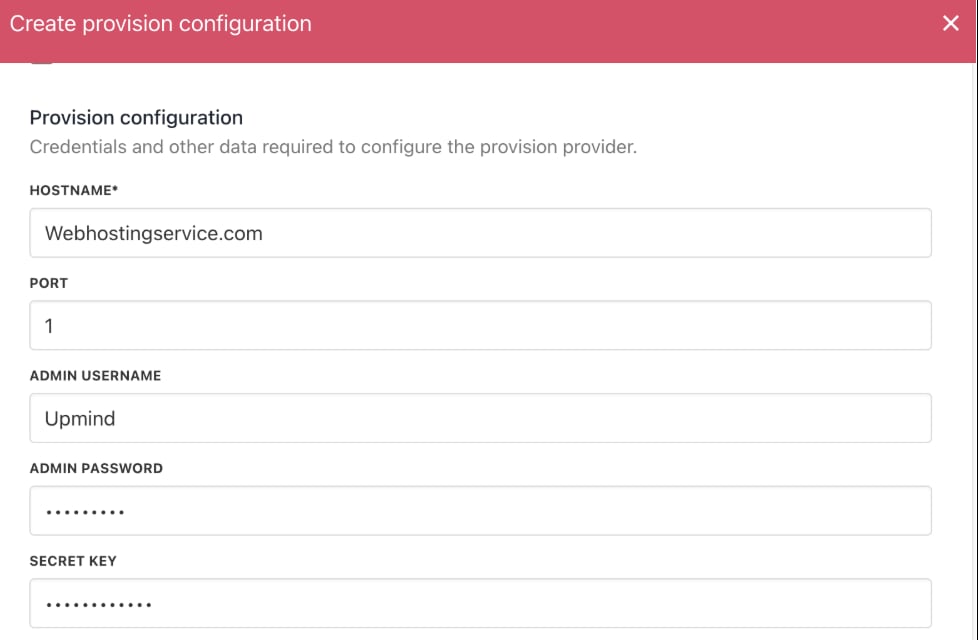
- Add all the necessary Provision Configurations, such as Host Name, Admin User Name, and Admin Password. All of the information can be found on your panel.
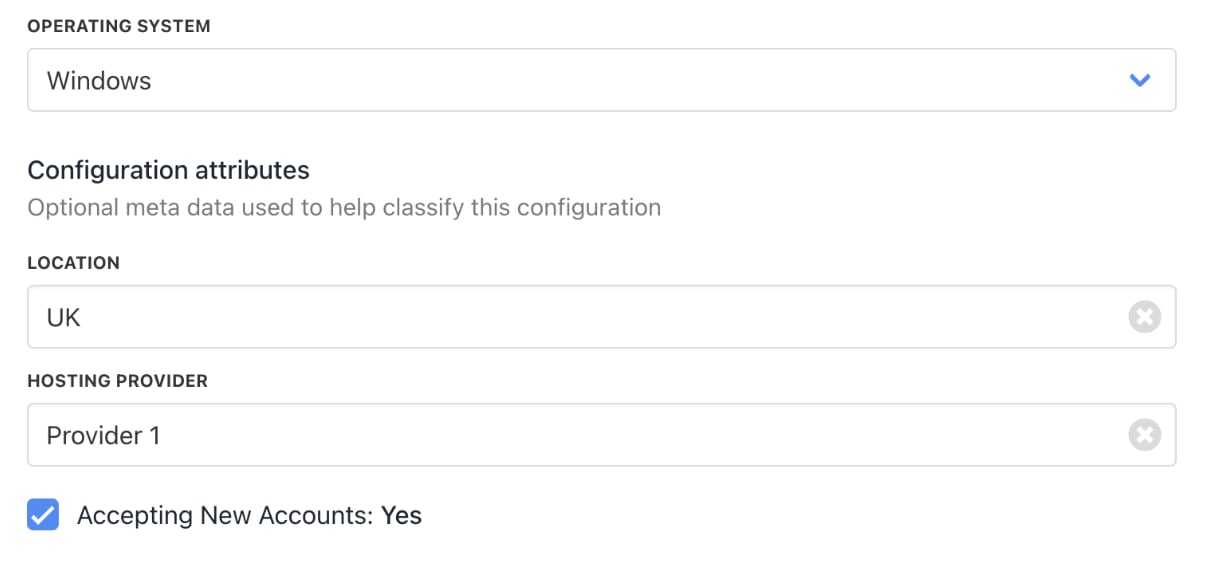
- Afterwards, choose your operating system, fill in the optional configuration attributes, and then click Create.
Set up billing and payment processing
- Go to Settings > Payment Providers under E-commerce Settings.

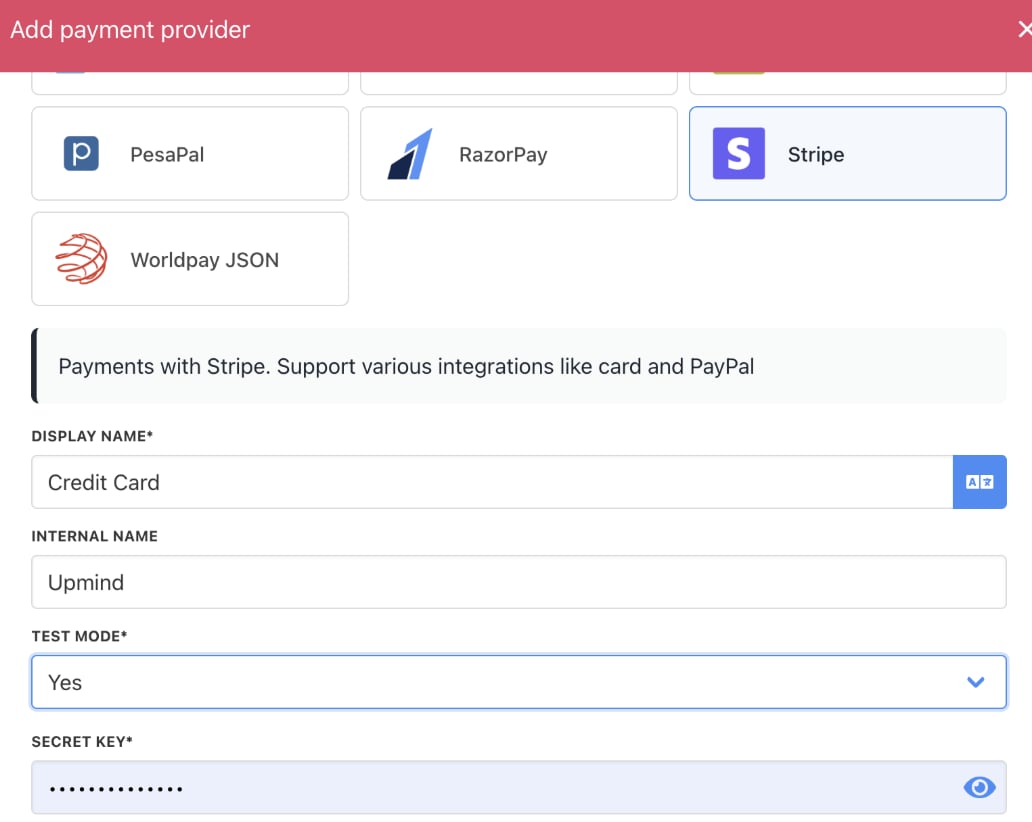
- Click Add payment provider and configure payment gateways like Stripe, PayPal, or offline payment methods.

Add hosting products and packages
- Go to Host Control > Web Hosting > Hosting Packages.
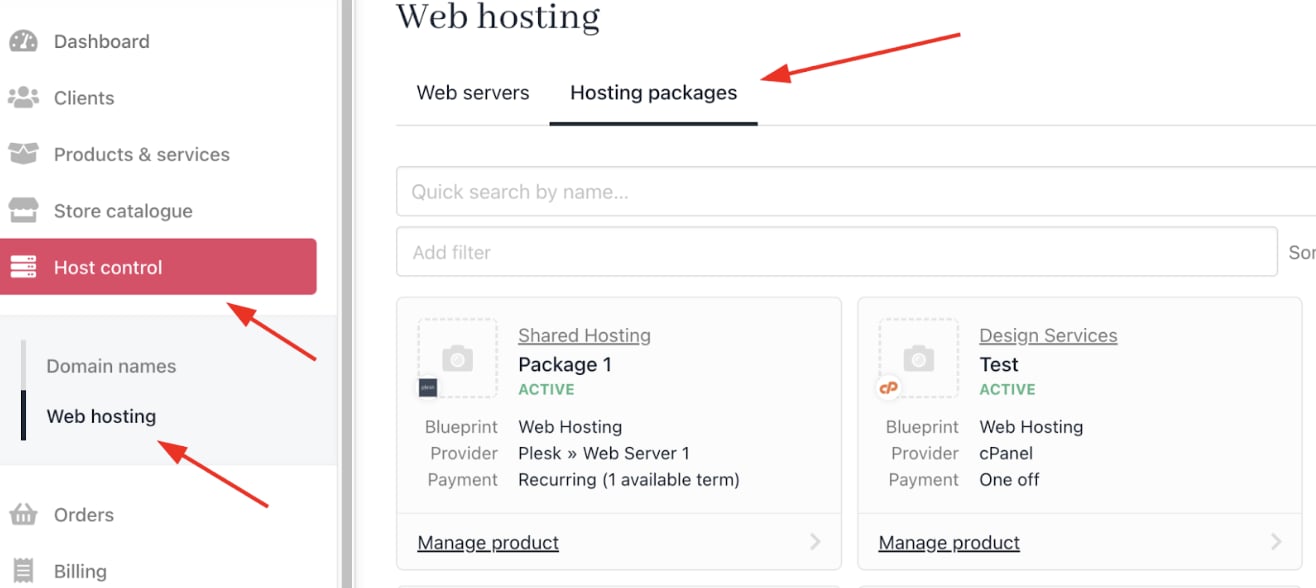
- Click Add New to create hosting plans (e.g., shared hosting, VPS, dedicated servers).

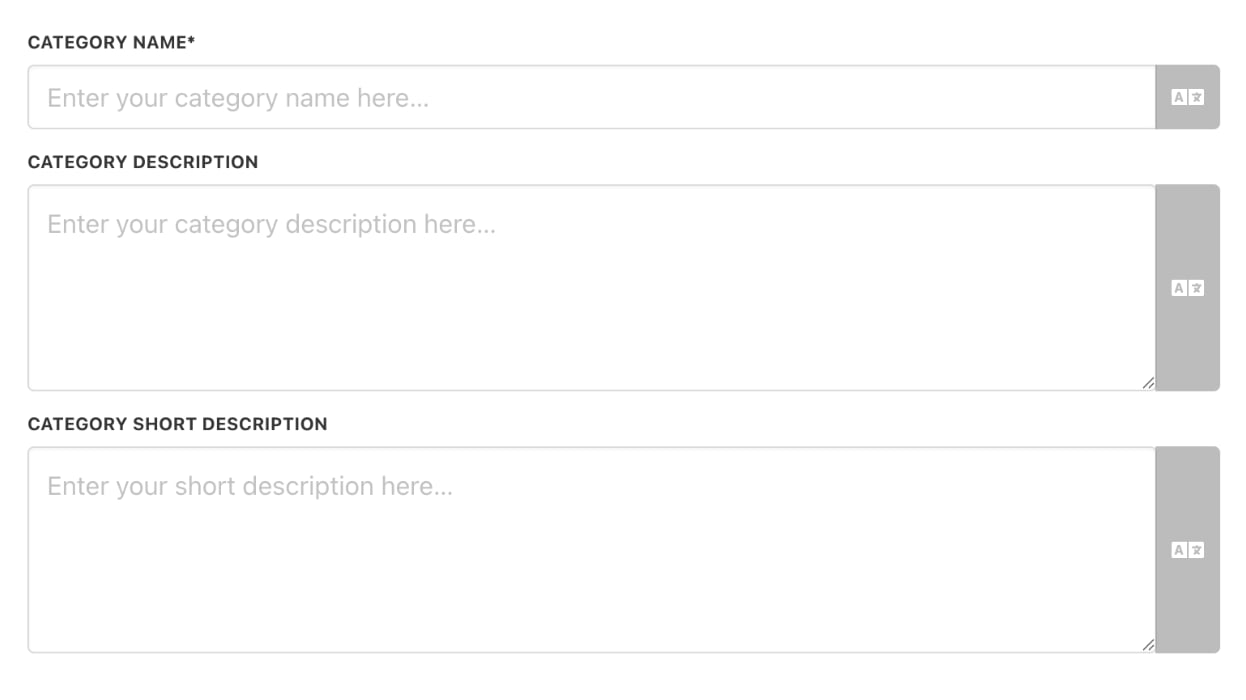
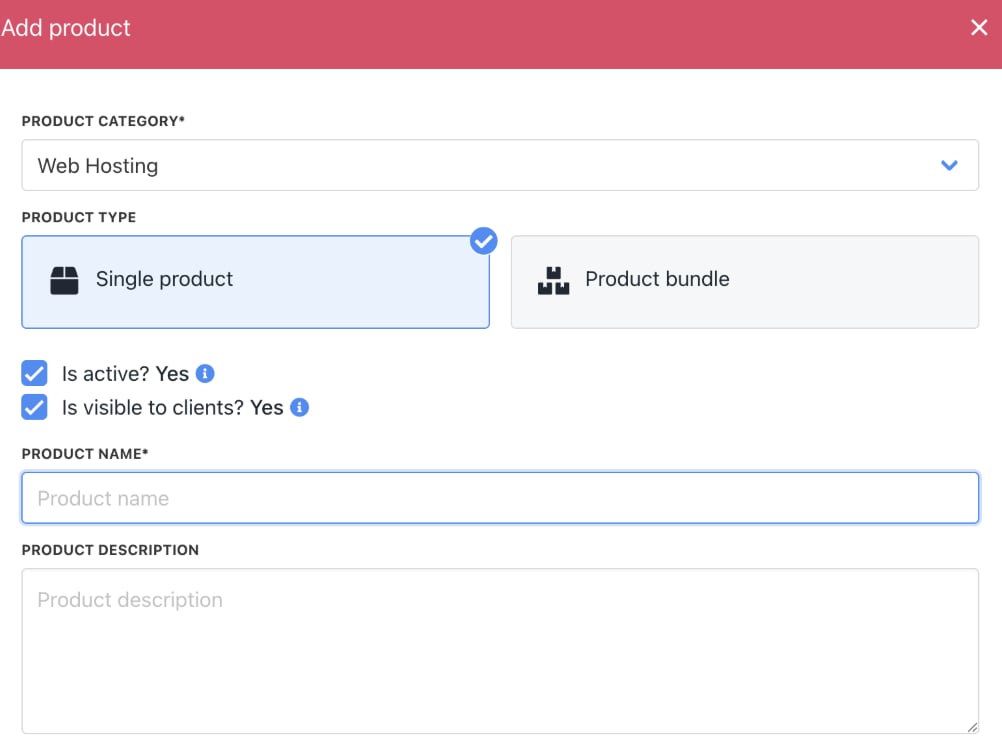
- Create a new Product Category or choose an existing one. Then choose product type, product name, and a description.
- Go to Product Details to add an image.
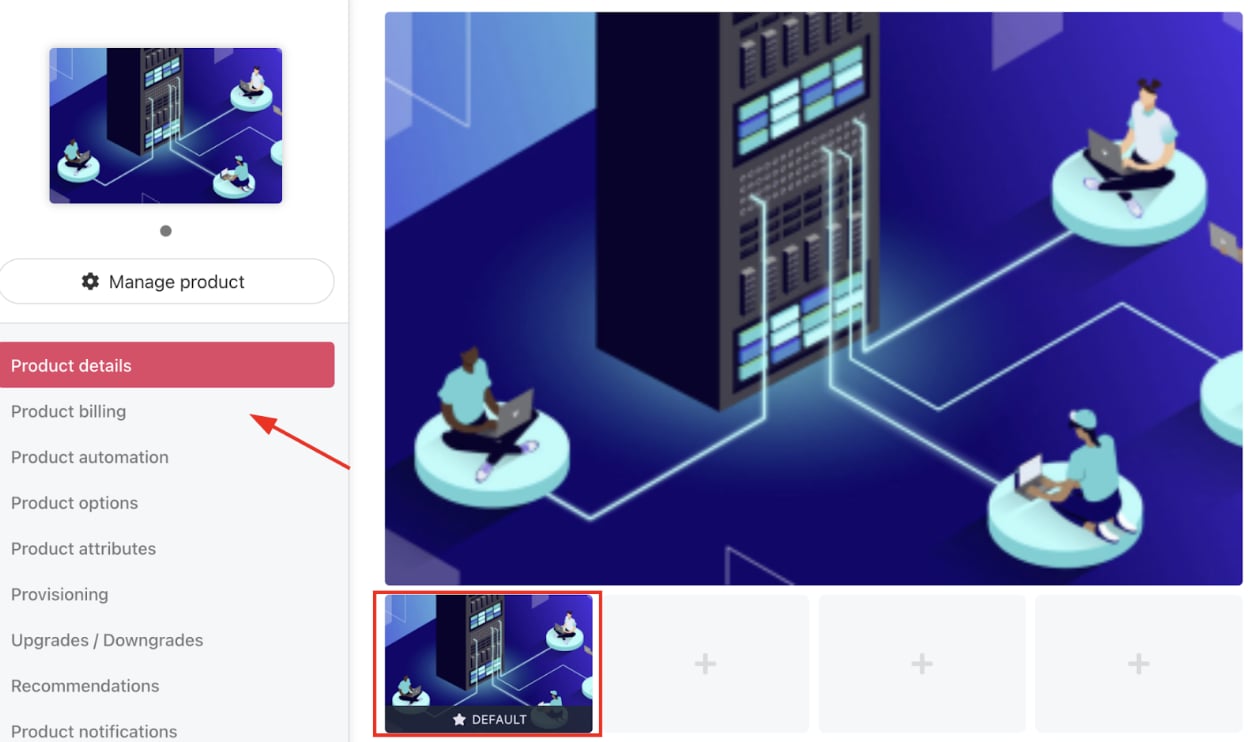
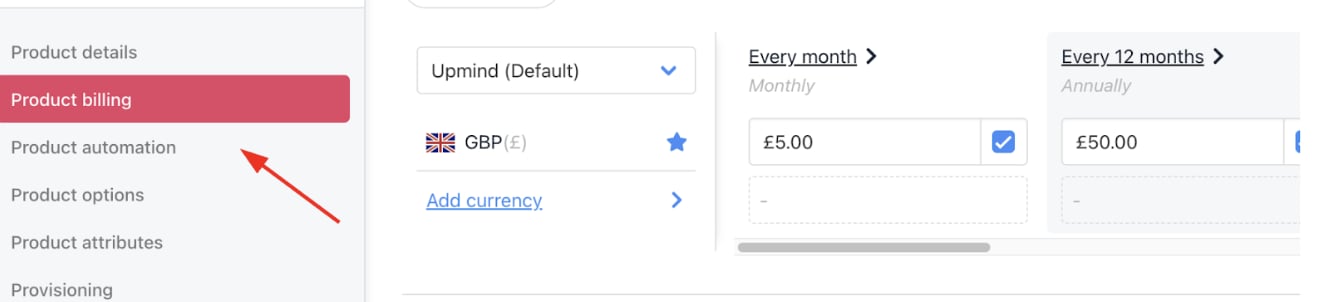
- Go to Product Billing to include pricing and billing cycles (monthly, quarterly, annually).
- Go to Provisioning to choose your Provision Blueprint and Provider.
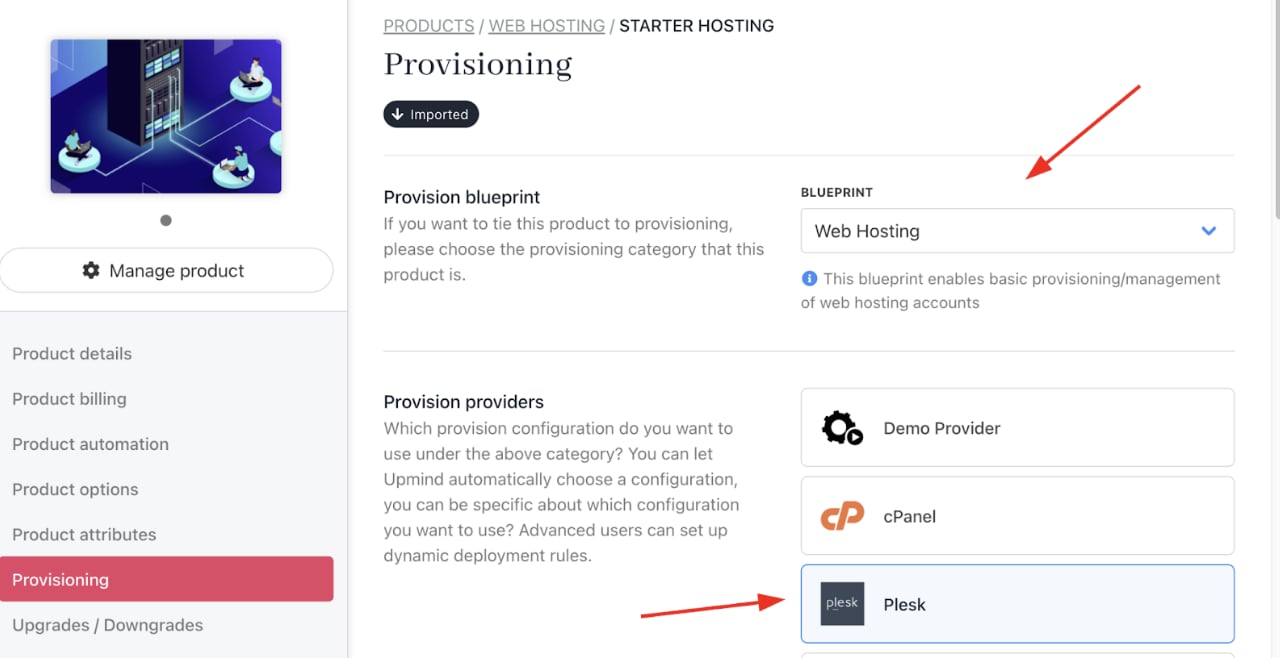
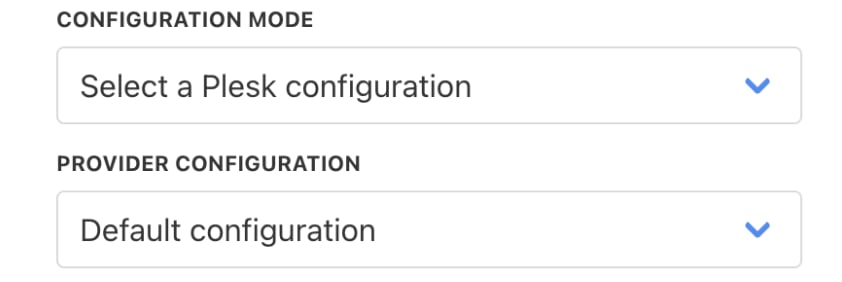
- Select the Configuration Mode and choose your Provider Configuration (the Web Hosting that you created).
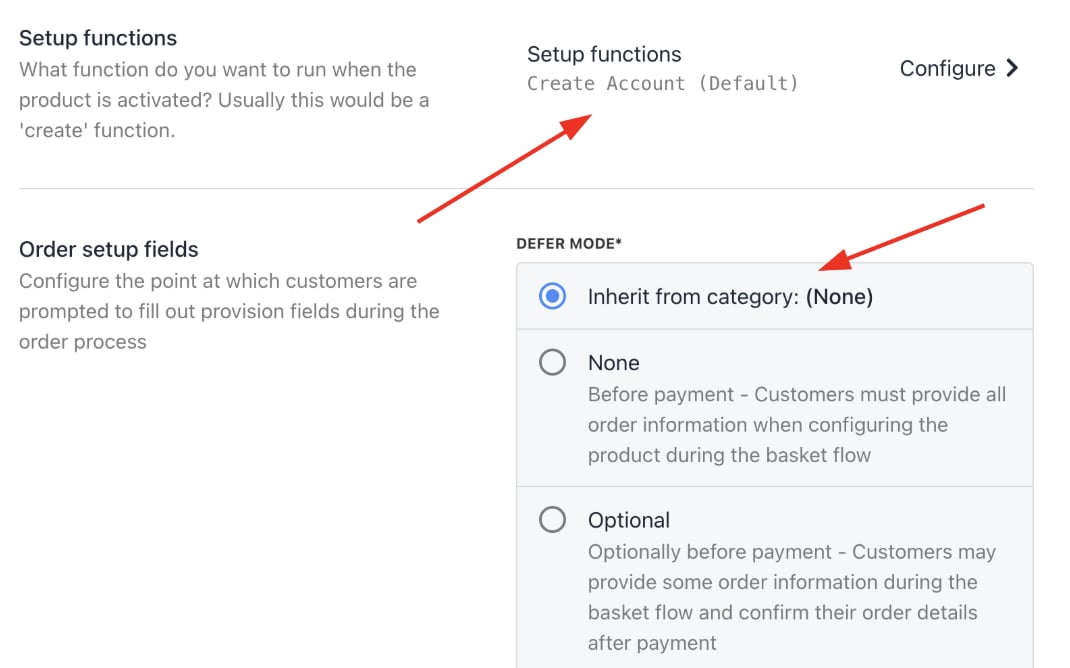
- You can keep the Setup Functions as Default, and Order Setup Fields as Inherit from Category.
- Under Provision Fields, you need to configure your Package Identifier. You can create the Package with all the details (for example, disk space, monthly bandwidth limit, etc.) from your panel. Add the Package Name to the Package Identifier.

Connect domain registrar providers
- Navigate to Host Control > Domain Names > Registrars.
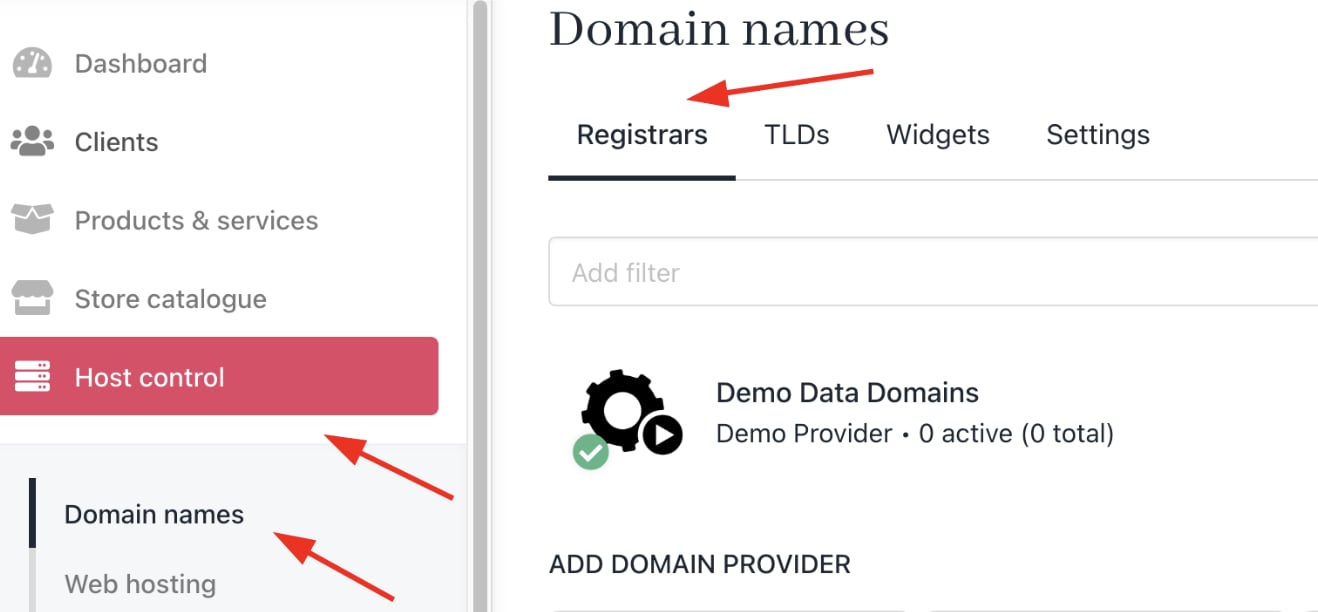
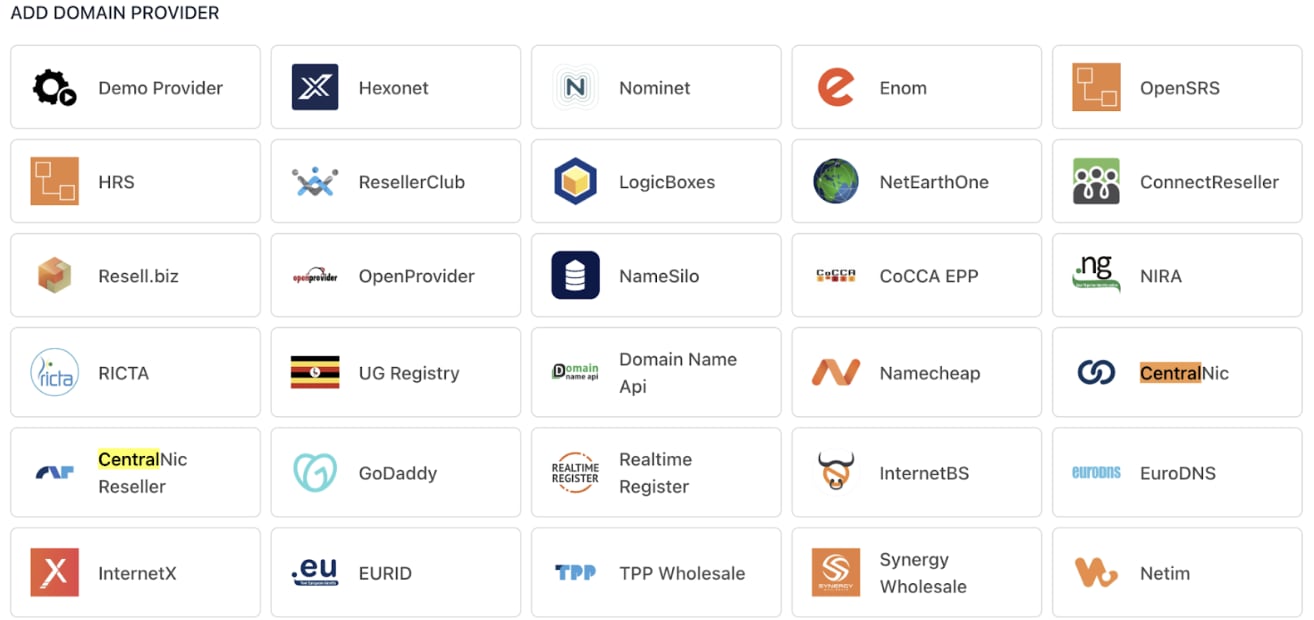
- Add Registrar Providers you work with (e.g., Hexonet, CentralNic, ConnectReseller).
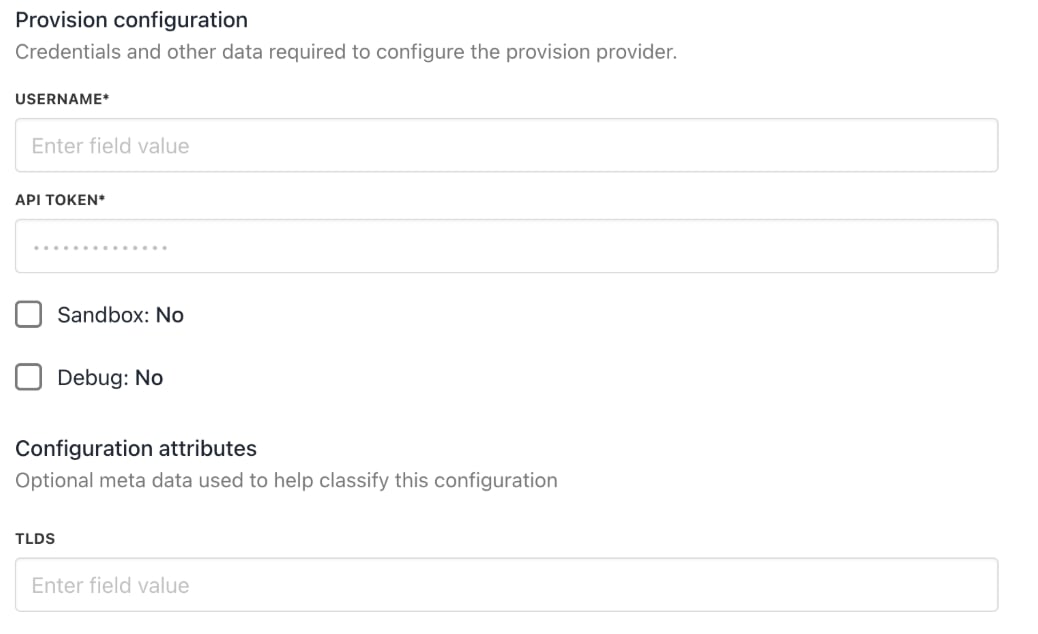
- Enter Provision Configurations, such as account credentials and API keys, to enable automated domain registration and management within Upmind.
Manage client accounts and support
- Add clients manually under Clients > Add New.

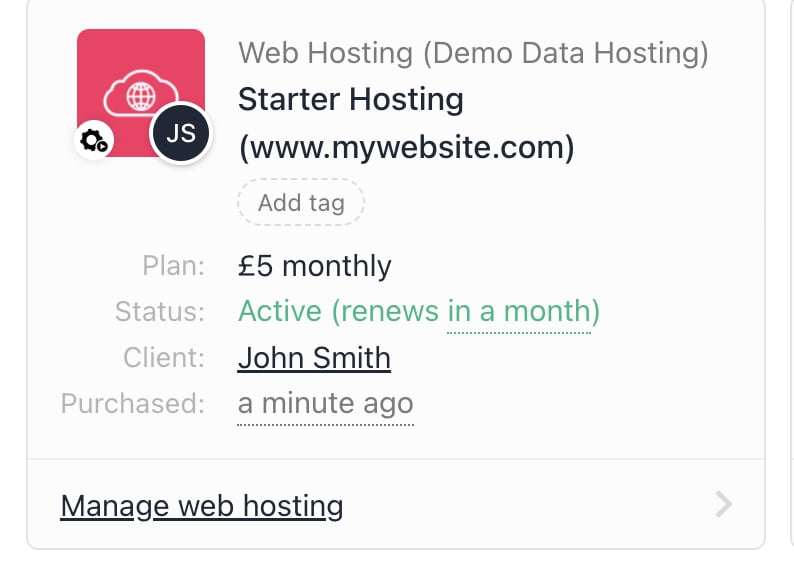
- Associate clients with hosting packages and contracts to trigger correct billing and provisioning.
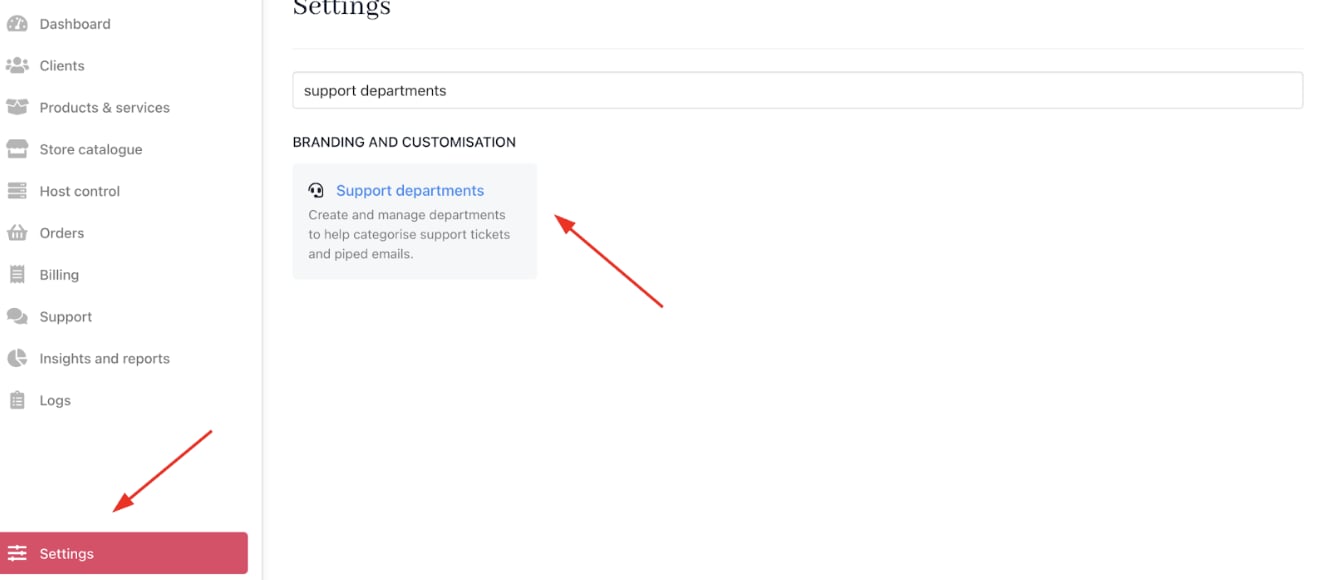
- You can configure email piping for support tickets by going to Settings > Support Departments under Branding and Customisation.
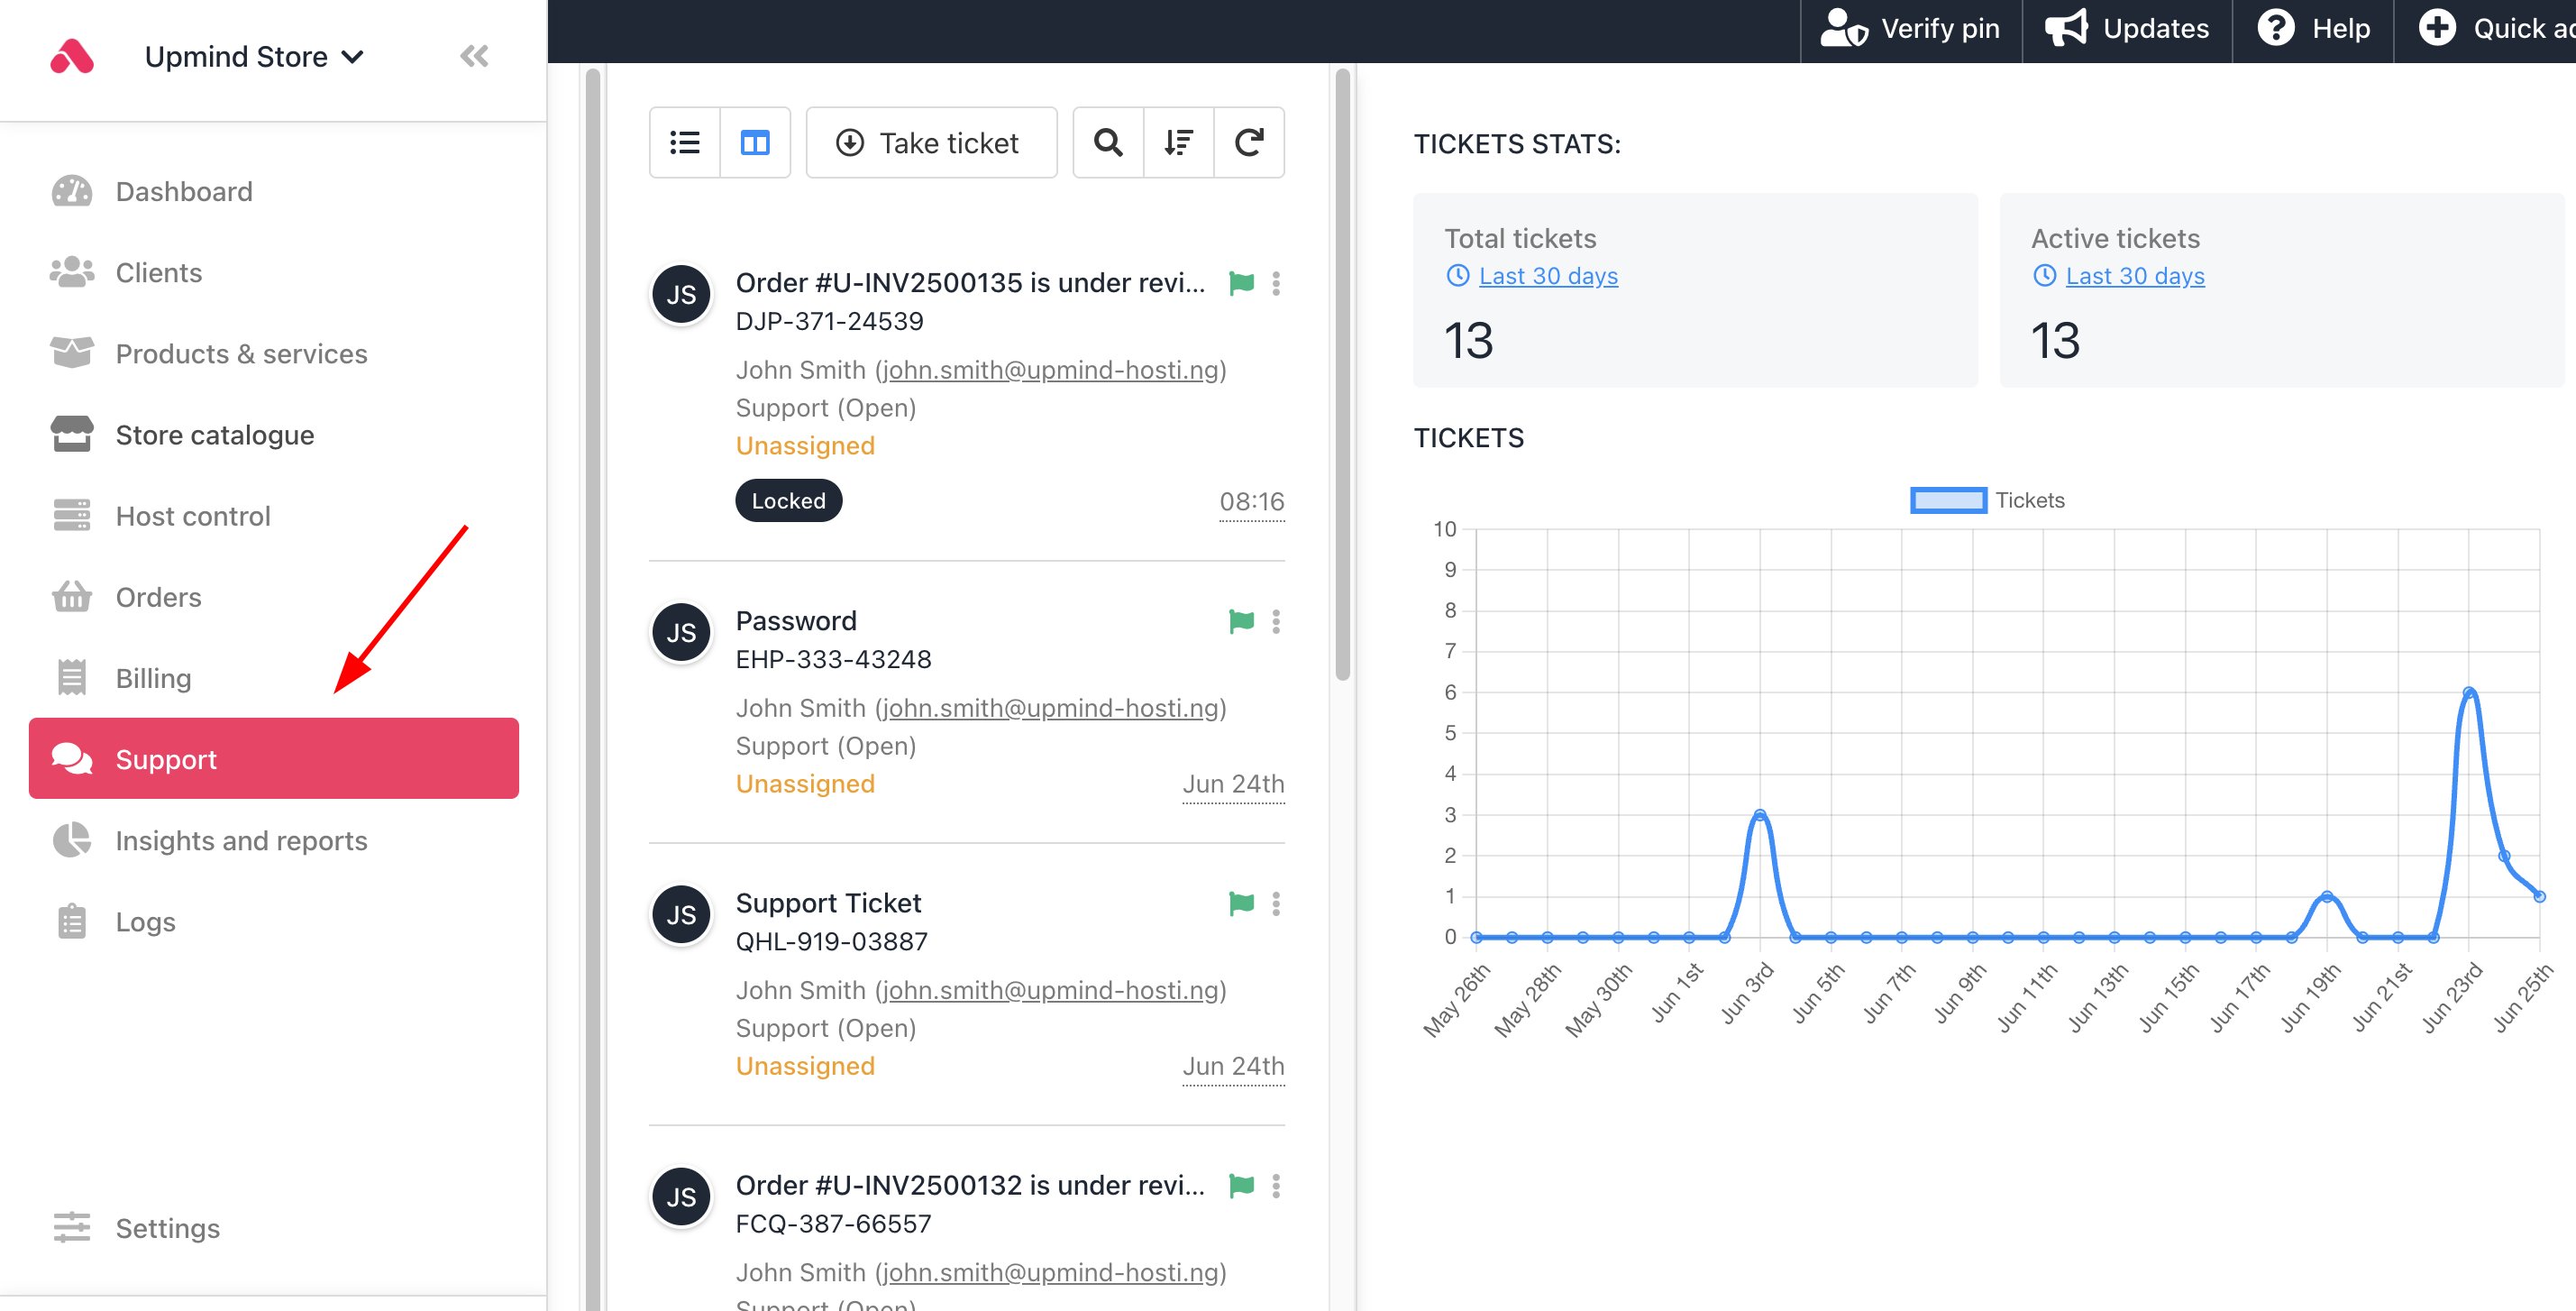
- You can also implement Upmind’s built-in ticketing system to handle customer inquiries or technical support. Tickets link to client records for holistic case management.
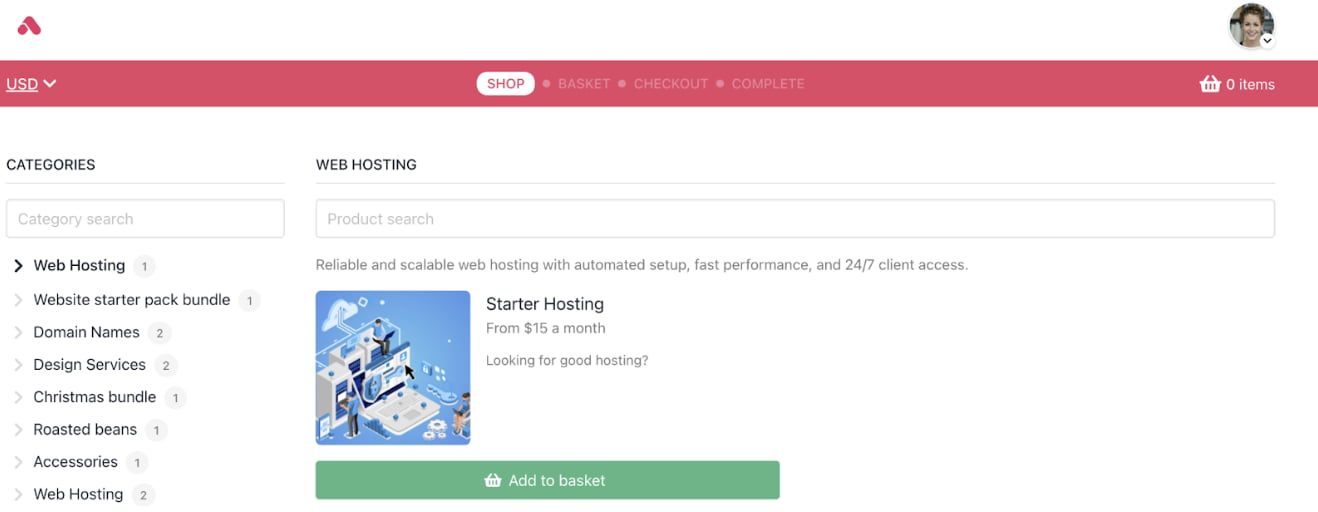
Launch your online store
- List hosting packages and additional services for customer self-service ordering.
- Customise pricing, offers, and promotions to attract new customers.
- Configure checkout flow, payment options, and communication templates.
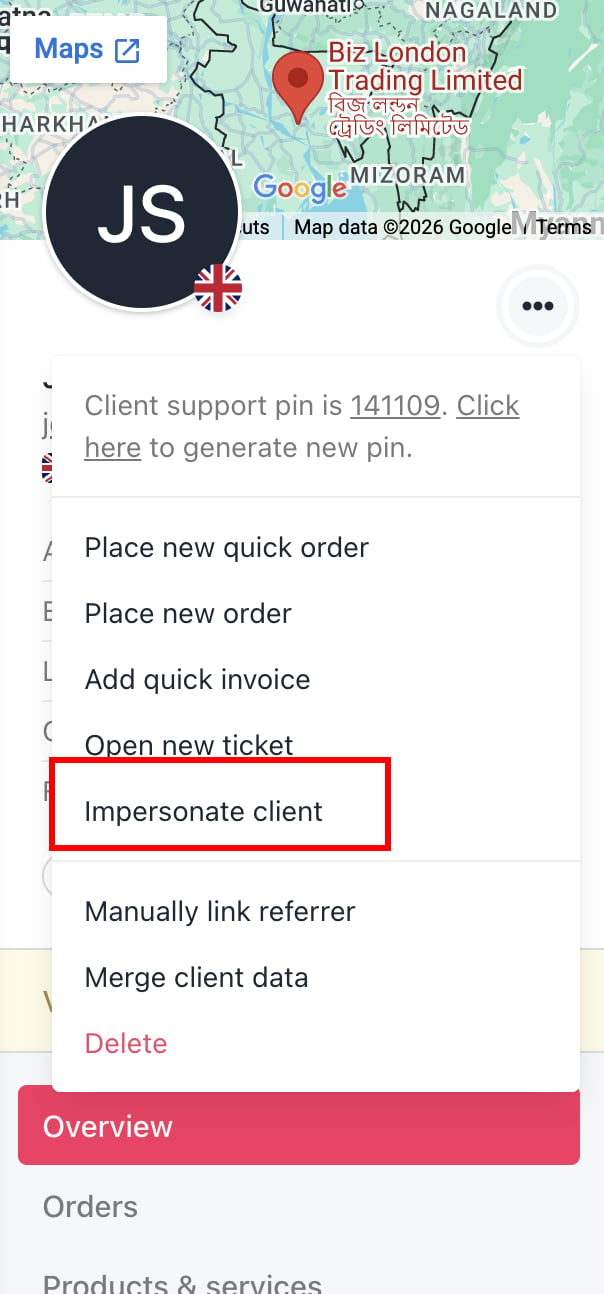
- You can check the customer journey by impersonating a client and seeing the purchase process.
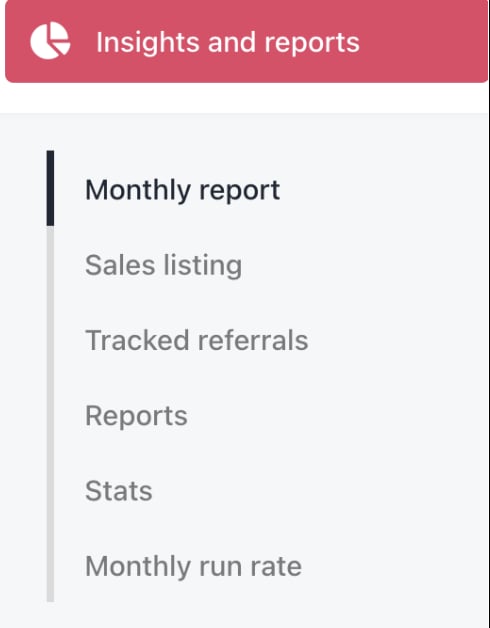
Use analytics and reporting to optimise your business
- Review Insights and Reports to track sales, client growth, revenue by product, churn, and LTV.
- Monitor billing performance and customer payment behaviour from the Admin Dashboard.

- Use Google Analytics and Tag Manager integrations to gain website and portal insights.
- Adjust pricing, marketing, or support strategies based on data.