How Upmind counts a submission as a lead
A submission counts as a lead when an unknown email sends a message to the brand owner, if incoming emails are set up through a piped email forwarder. The system creates a support ticket from this message and records the email as a lead, only if it’s not linked to an existing client. Leads can also be added manually through the Upmind interface, enabling teams to capture and manage potential clients proactively.Understanding leads vs. clients
Leads represent potential customers who have shown interest but have not yet committed. Clients are customers with active contracts or ongoing services. Leads can be converted into clients, transferring notes, tickets, and history, so that there is continuity in relationship management. (remove duplicated sentence)Why leads matter and how they convert into customers
Managing leads helps your team organise prospects, avoid losing potential business, and improve communication. Tracking leads shows a clear opportunity status. Qualified leads convert to clients to start contracts, billing, and service provisioning while keeping past interactions.Where to access leads in Upmind
Leads can be found in the Upmind dashboard at Clients > Leads.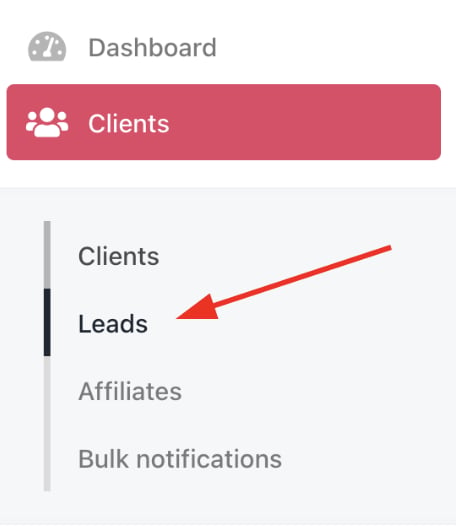
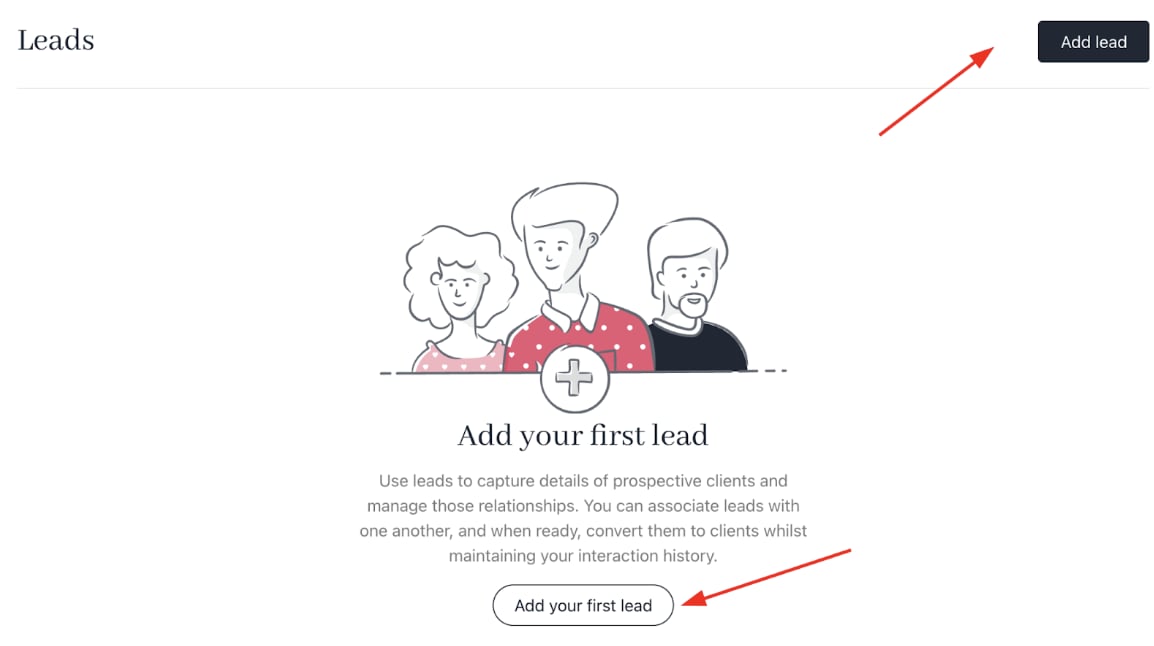
How to create a lead
- In the
Leadssection, click Add Lead.
- Fill in the Name and Email fields.
- Add a Note to capture initial information or context about the lead. (optional)
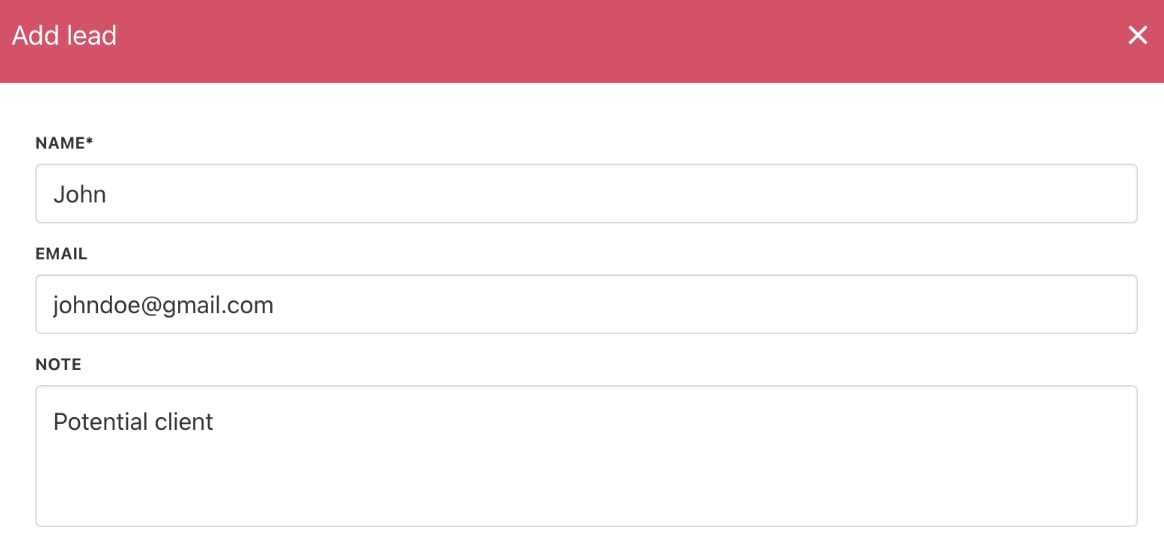
- Save the lead record.
Actions available after lead creation
- Convert to Client: Change the lead into an active client without losing previous interactions, enabling contracts and billing.
- Open New Ticket: Create a support or sales ticket linked to the lead, for tracking requests.
- Merge with Existing Client: Combine duplicate or related leads into an existing client record, preserving all historical data.
When you merge a lead into an existing client in Upmind, the lead’s data is not moved to the client record. If the lead’s email differs from the client’s primary email, it’s added as a secondary email. The lead remains visible in the Leads section.Notes and tickets linked to the lead don’t transfer during the merge, but new tickets from the lead’s email will link to the client account. Alternatively, converting a lead to a client moves all lead data, including notes and tickets, into the new client record.
- Hide Lead: Temporarily remove the lead from active views without deletion, useful for leads that require follow-up later.
- Delete Lead: Permanently remove the lead record from the system.

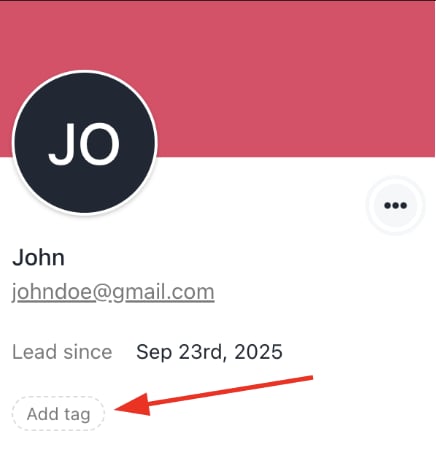
- Add Tag: Assign tags to group leads by campaign, source, or interest, for organised filtering and marketing efforts.
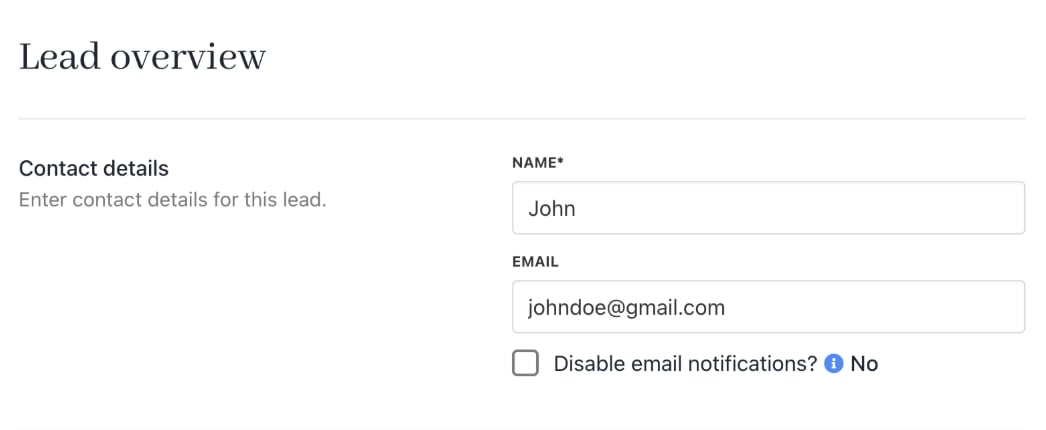
Overview section
- Contact Details: Edit the contact information for the lead, name, and email.
- Disable Email Notifications: Toggle this option on to stop sending automatic email notifications to the lead. This helps prevent auto-responder loops or unwanted replies.
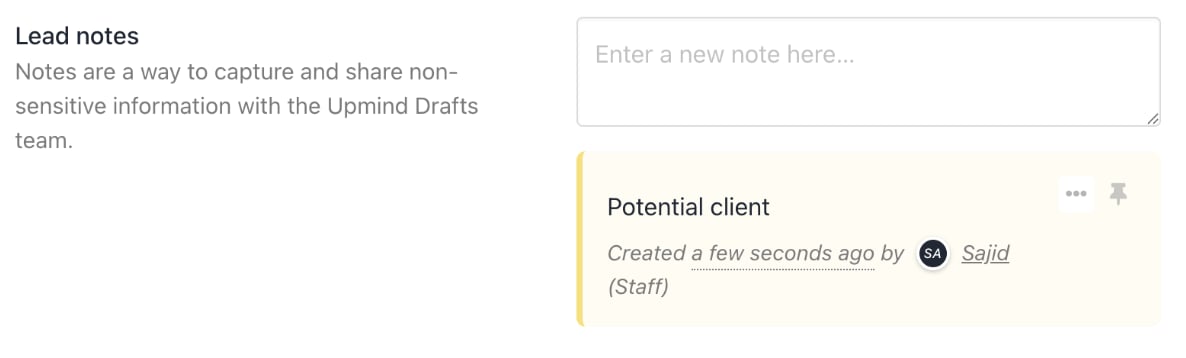
- Lead Notes: Share important, non-sensitive information or potential opportunities that your team, or Upmind staff, may add. Notes reflect observations, follow-up instructions, or context to guide interactions.
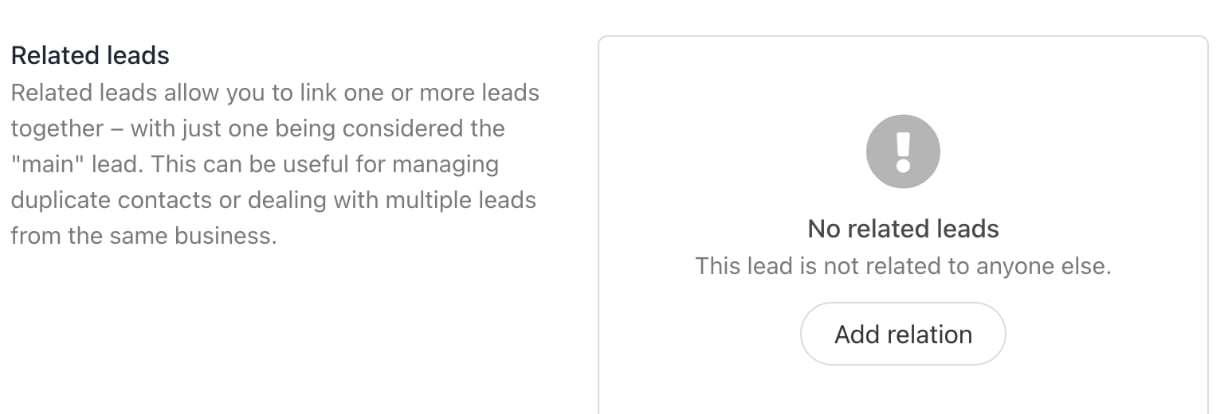
- Related Leads: You can link one or more related leads to a main lead. This function helps manage duplicate entries or multiple contacts from the same business, so that communication and consolidated record-keeping are easier.
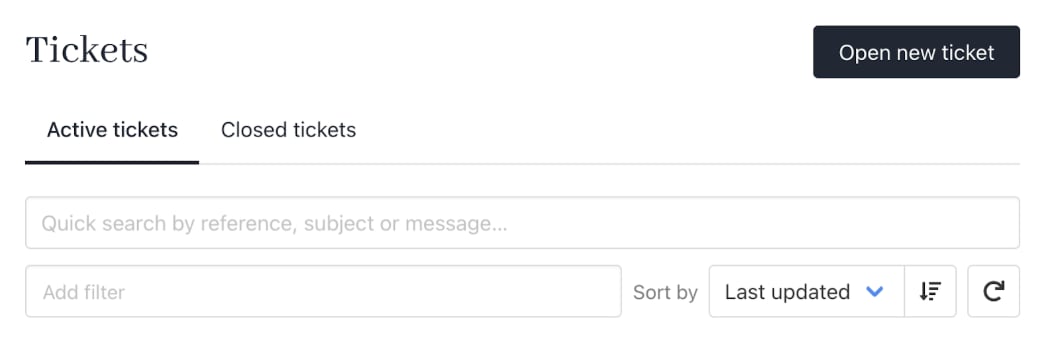
Tickets section
Tracks active and closed tickets associated with the lead. Tickets can be sorted by last updated, date created, subject, or reference number to prioritise workflow.- Active Tickets: View ongoing support or sales conversations needing attention.
- Closed Tickets: Archive of resolved tickets linked to the lead for reference.
- Open New Ticket: Create a ticket directly linked to the lead for immediate issue tracking.

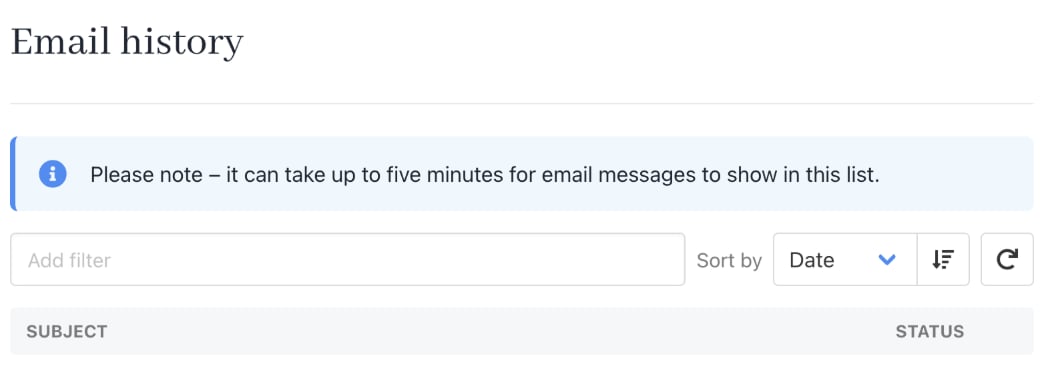
Email History Section
Shows the entire email communication history related to the lead, including both active and closed threads. Emails are organised by date and subject to simplify review. New emails or replies can be added directly from the history interface.