
Before you start
- You add delegates to an existing ticket. Any active ticket created by a customer, Admin or store staff can have a delegate.
- You can add any delegate to a ticket.
- Only admins and store staff can add delegates to a ticket. Store customers can’t add delegates.
- Delegates are people who have a store account.
Adding delegates
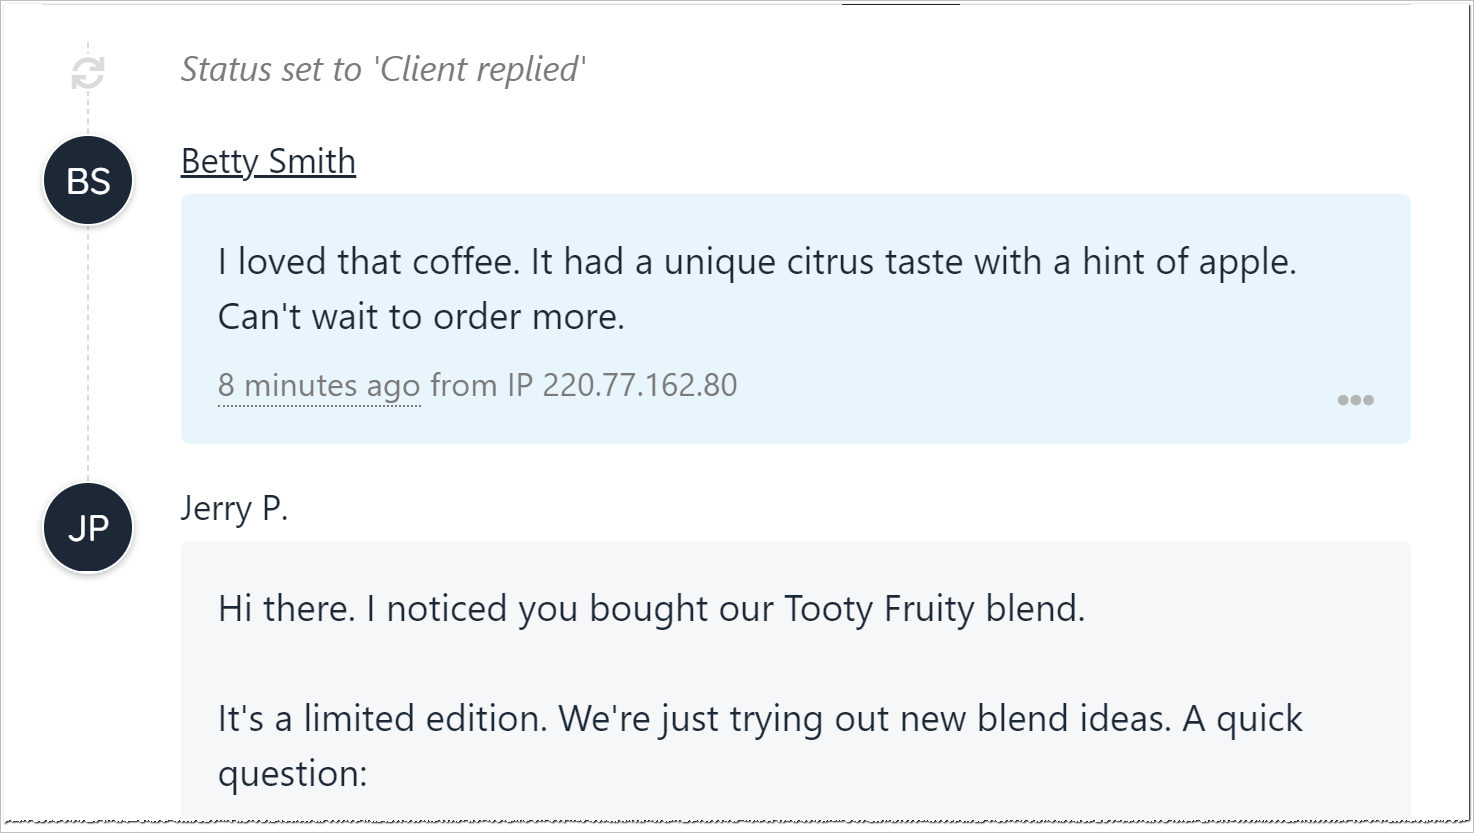
In this scenario, the store admin wants to ask some customers about the coffee beans they purchased recently. It was a special blend offered for a limited time. The admin has a list of customers who purchased the special beans online. The admin uses the delegate tool to survey customer reactions to the special blend of coffee beans.Creating a ticket
The first step is to create a ticket for a single customer. The admin creates a ticket with the survey questions.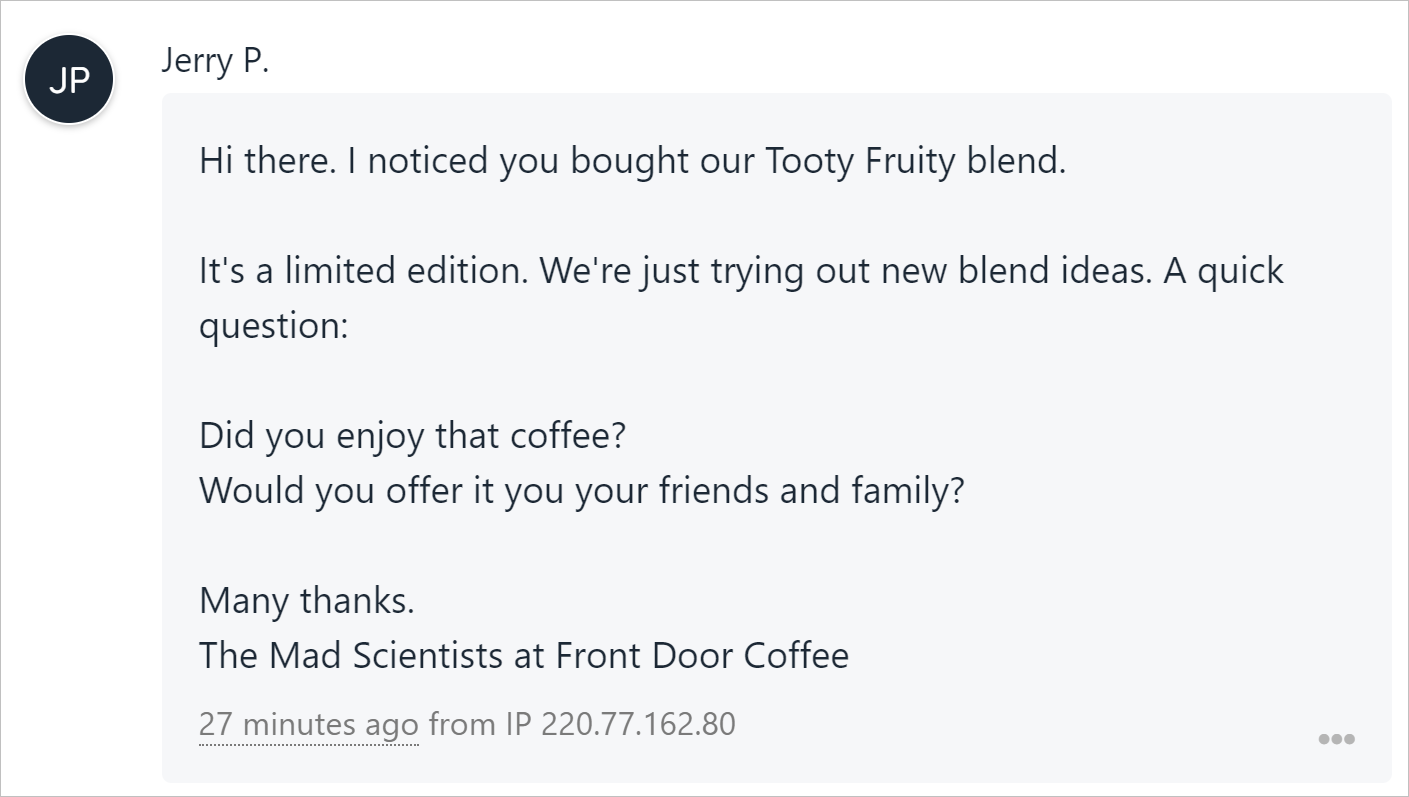
Adding delegates
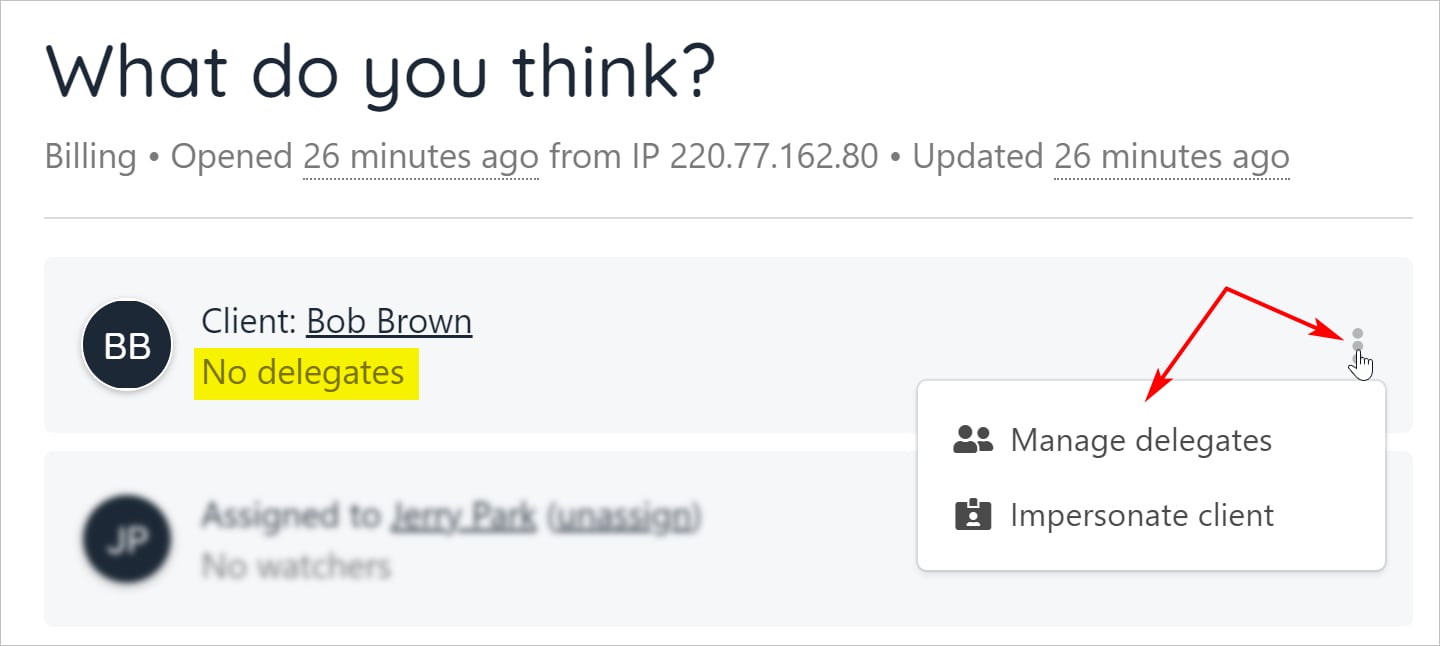
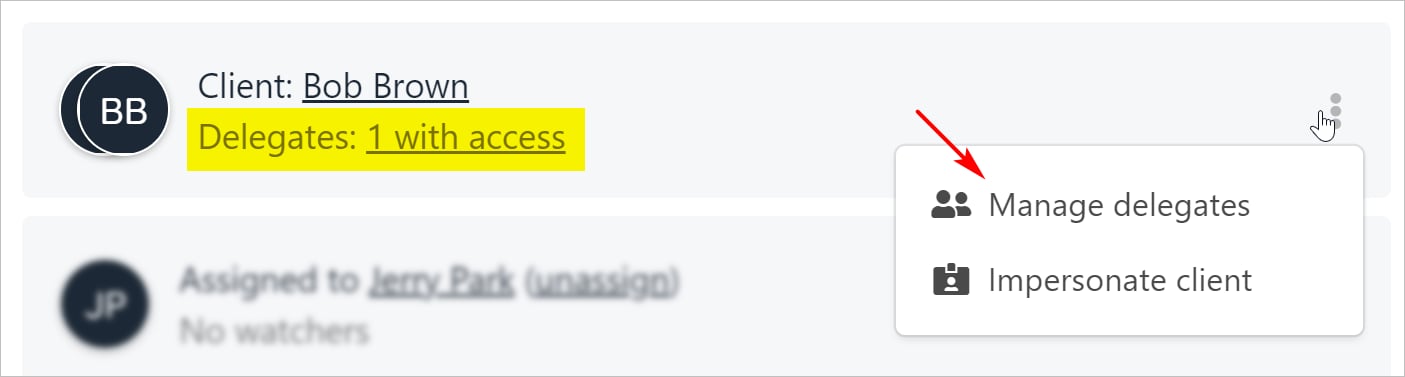
The next step is to add delegates to the ticket.- Hover the client ticket tile.
- Click the three-dot icon.
- Select Manage delegates.
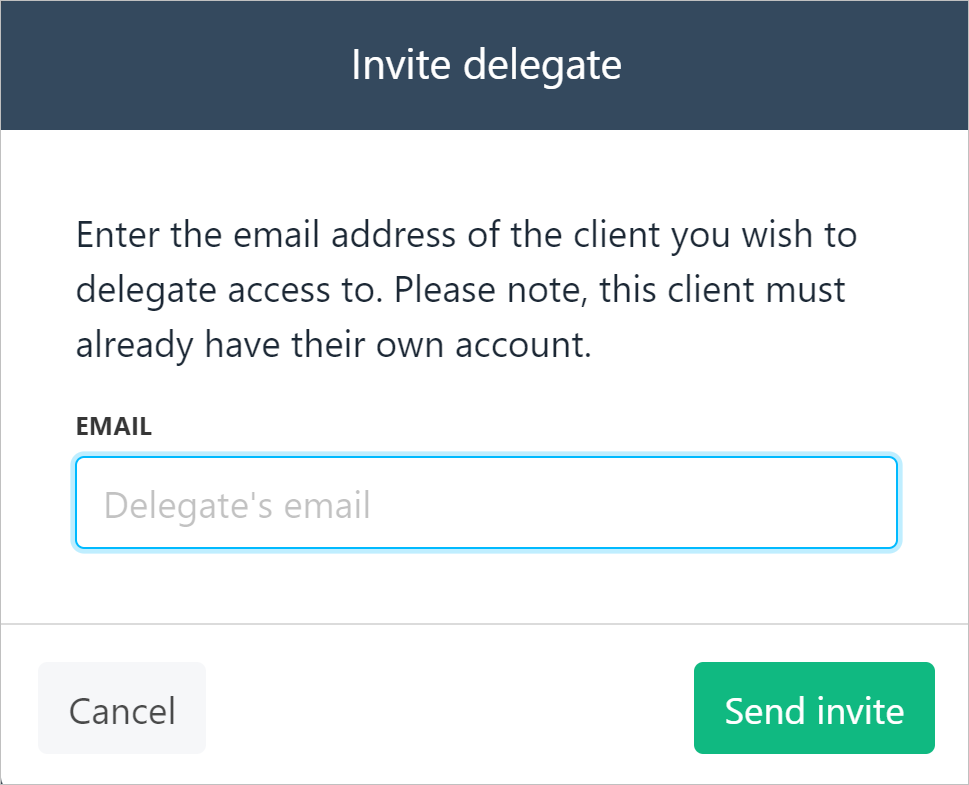
- On the Ticket delegate access panel, click Invite delegate.
- Enter the person’s email address in the popup window.
- Click Send invite.

Client experience
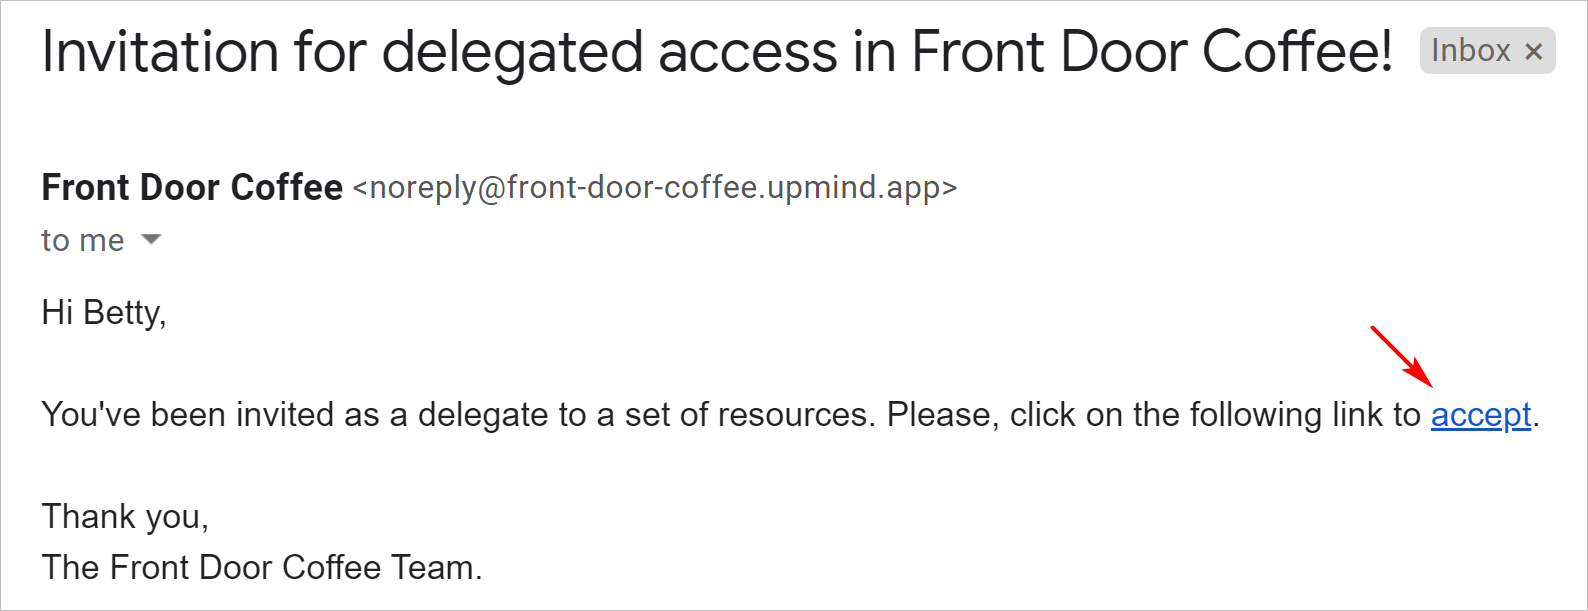
Upmind sends the client an email message with an accept link.- No further action can be taken until the client clicks that link.
- The ticket has a share icon.
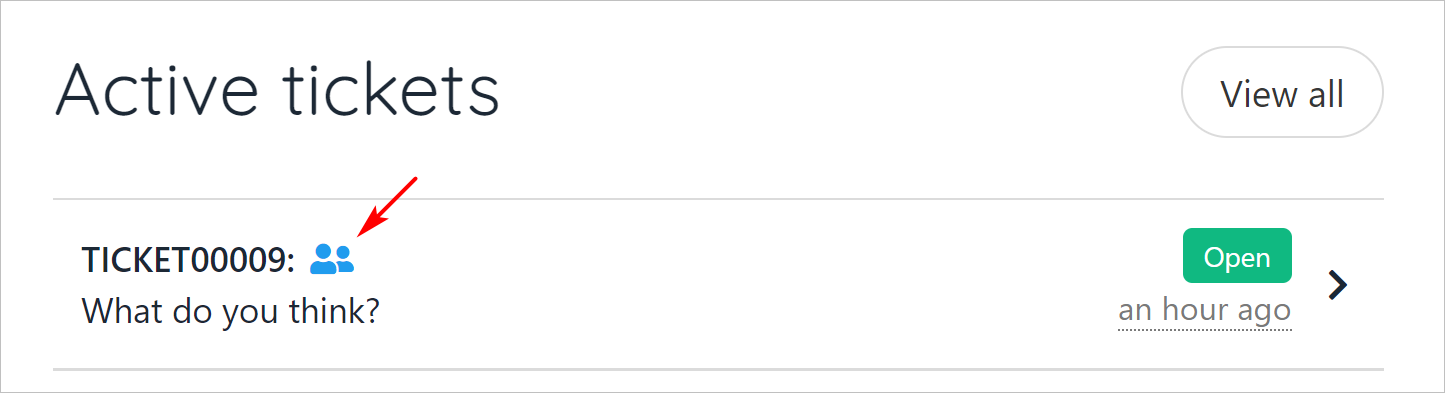
- The client can read all of the messages in the ticket thread.
- The client can enter a response and click Post to publish a message on the thread.
Every delegate with access to this ticket can read the posts in the thread.

Store owner experience
After the client accepts the link, the delegate status changes from Invited to Accepted.

Removing a delegate
To prevent a client from posting in a ticket thread, revoke their delegate status.- Hover the client ticket tile.
- Click the three-dot icon.
- Select Manage delegates.
- Click the Revoke access icon.
- Upmind removes the client from the delegate list.

Upmind immediately removes delegate access to a ticket after the admin or staff user clicks the Revoke icon.