- An account holder is a client or sales lead who creates an account on your store.
Creating a support ticket
- Log in to the store account.
- Click the Support menu tab.

- Click the Open new ticket button.
- Add a subject.
- Click the field and select a department. (optional)
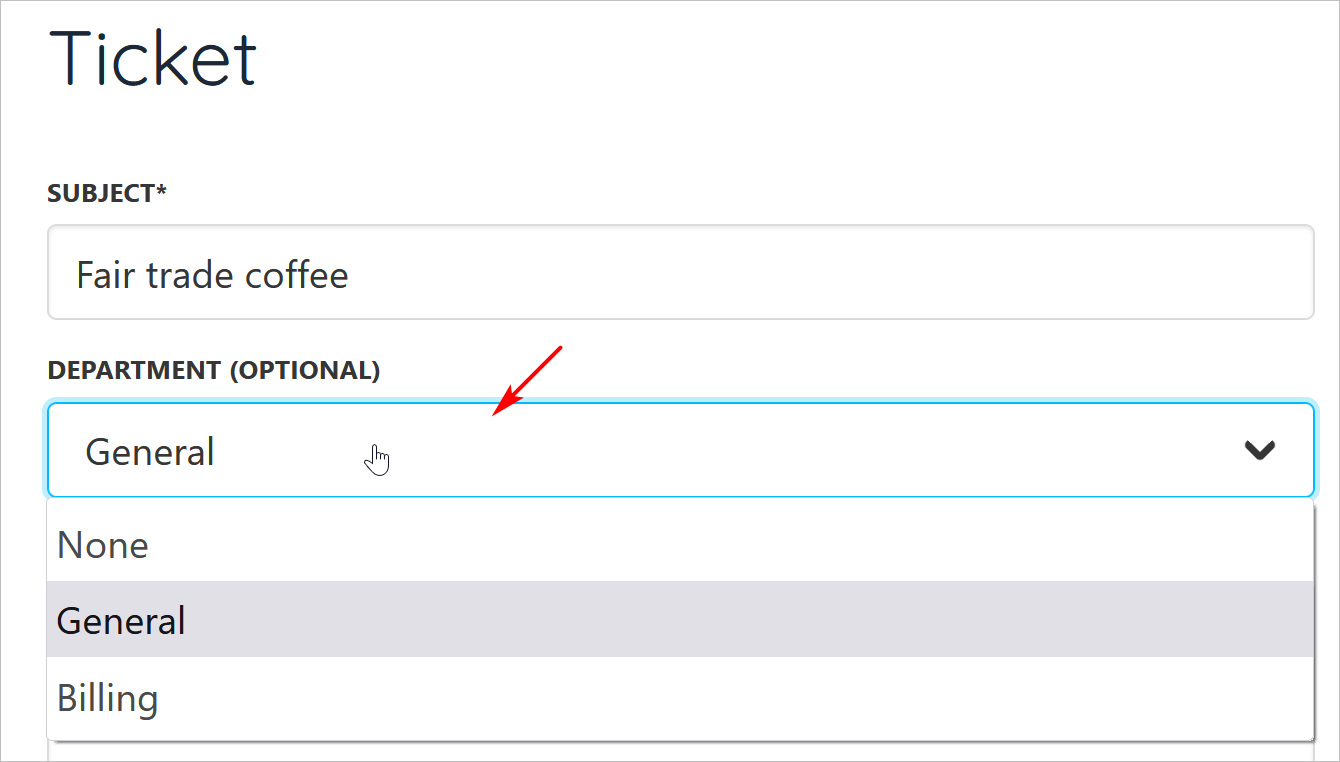
- Enter a message.
- Add an attachment. (optional)
- Click the Create ticket button.

- The ticket displays on the screen.
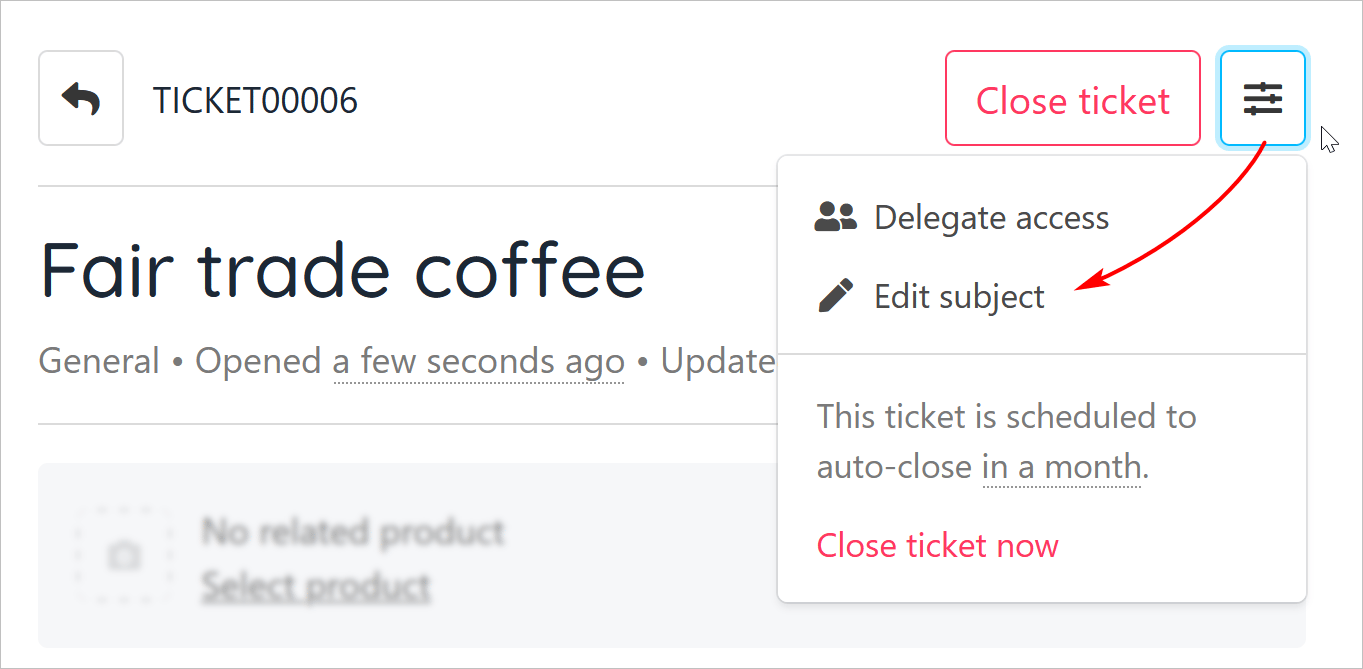
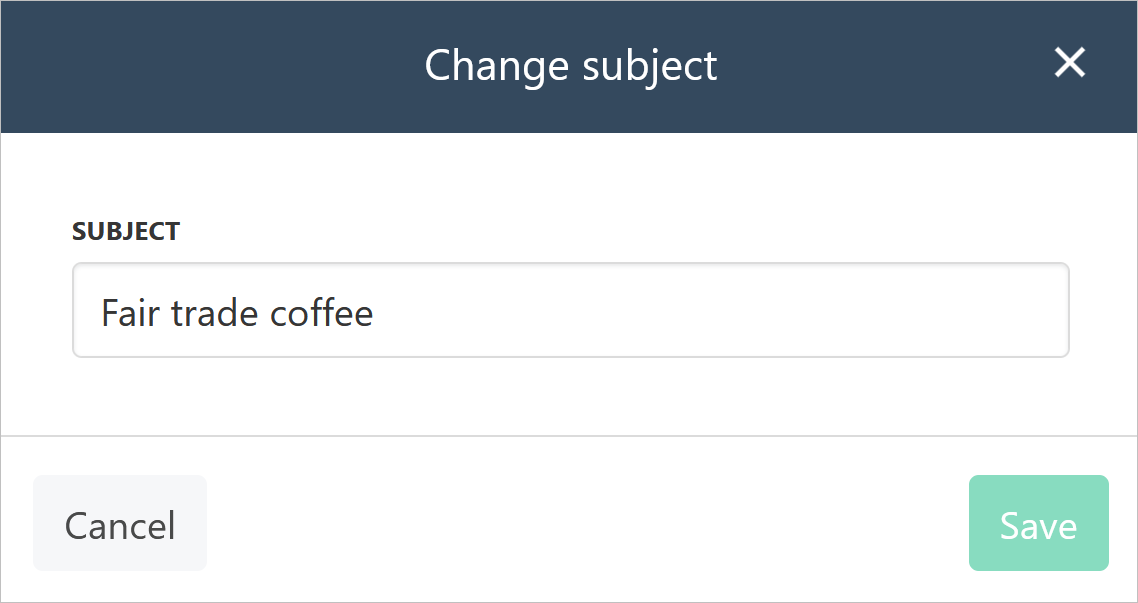
Editing a ticket subject
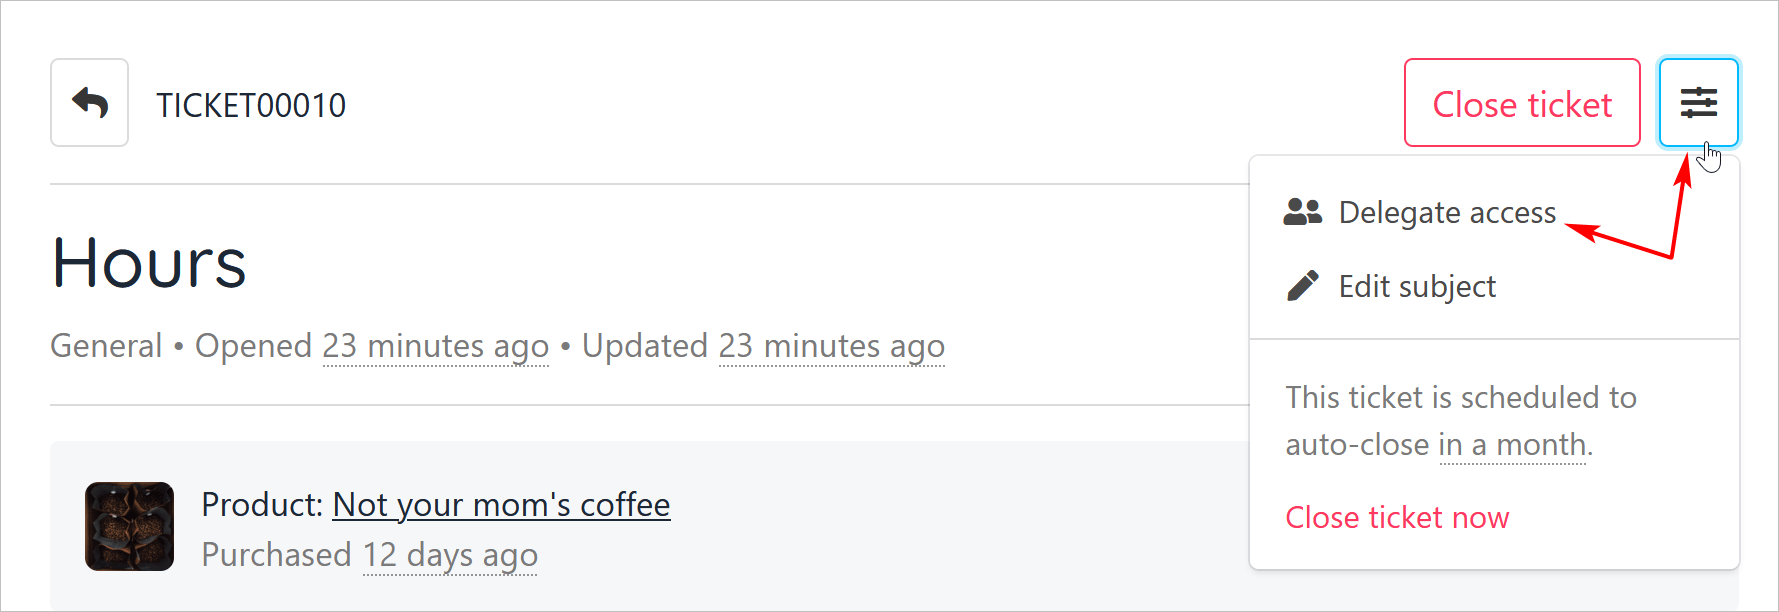
- Click the three-bar icon.
- Click Edit subject.
- Change the subject.
- Click Save.
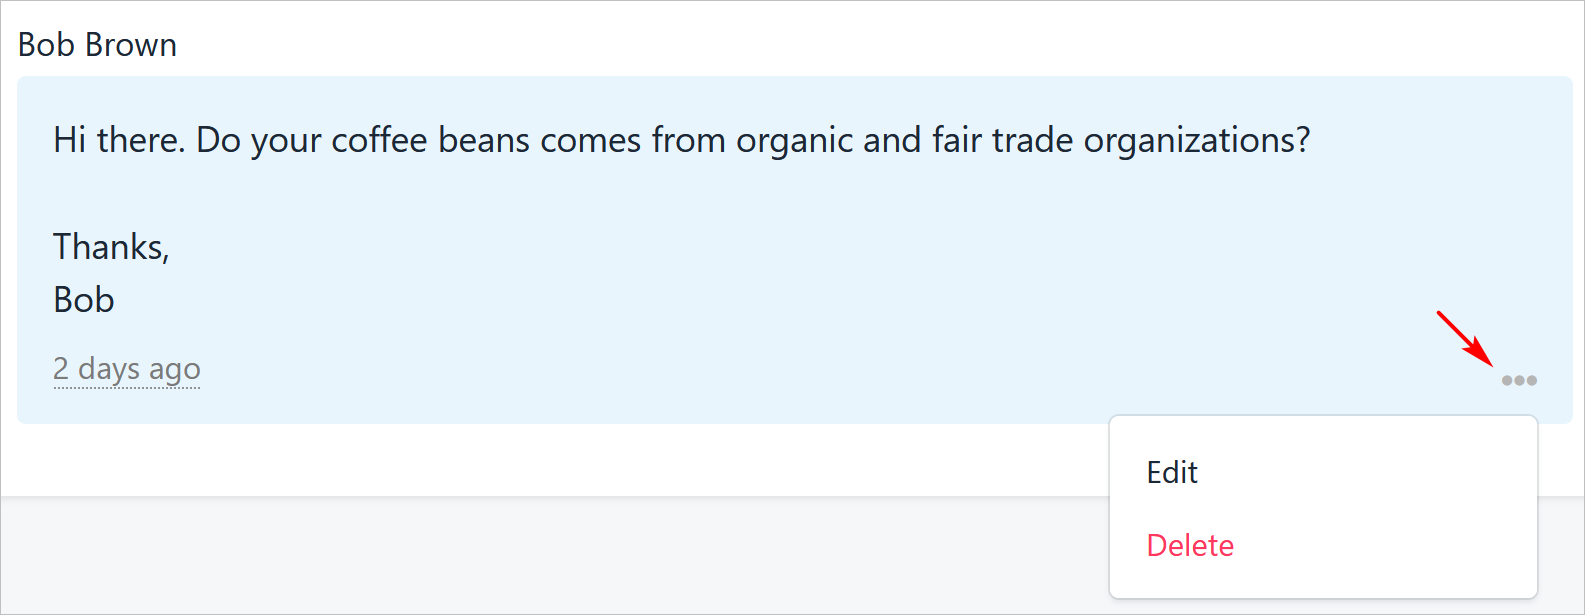
Editing a ticket message
- Scroll down to the ticket text.
- Click the three-dot icon.
- Click Edit.
- Change the message.
- Click Save.
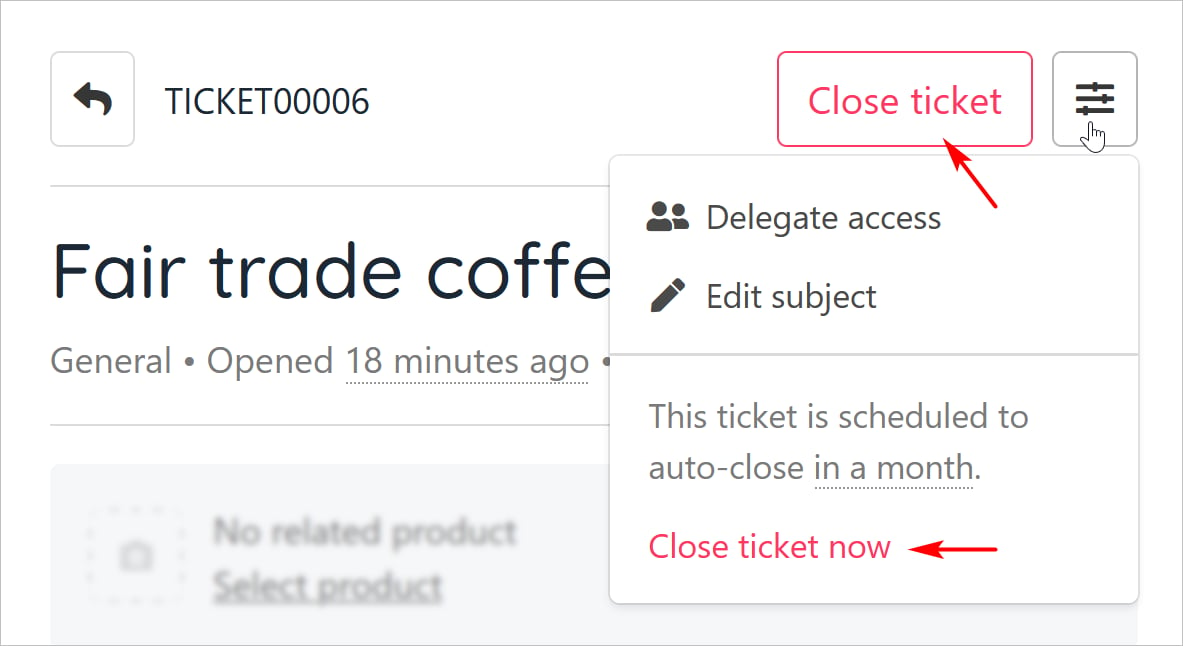
Closing a ticket
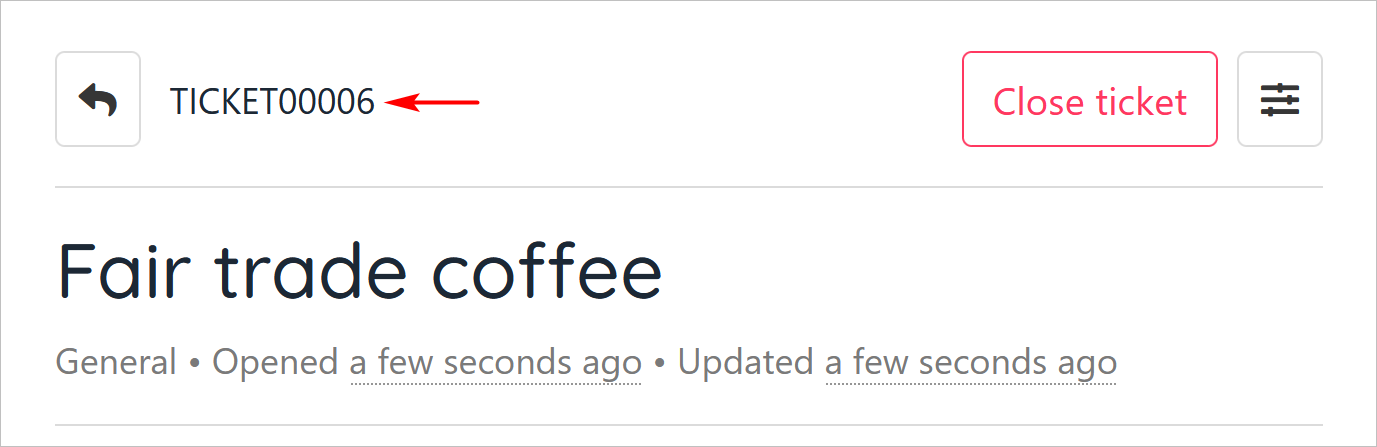
The final status of a ticket is called Closed. That means no further communication can take place on this message. Account holders can close a ticket anytime. There are two ways to close a ticket.- Click the Close ticket button.
- Click the three-bar icon and then click Close ticket now.
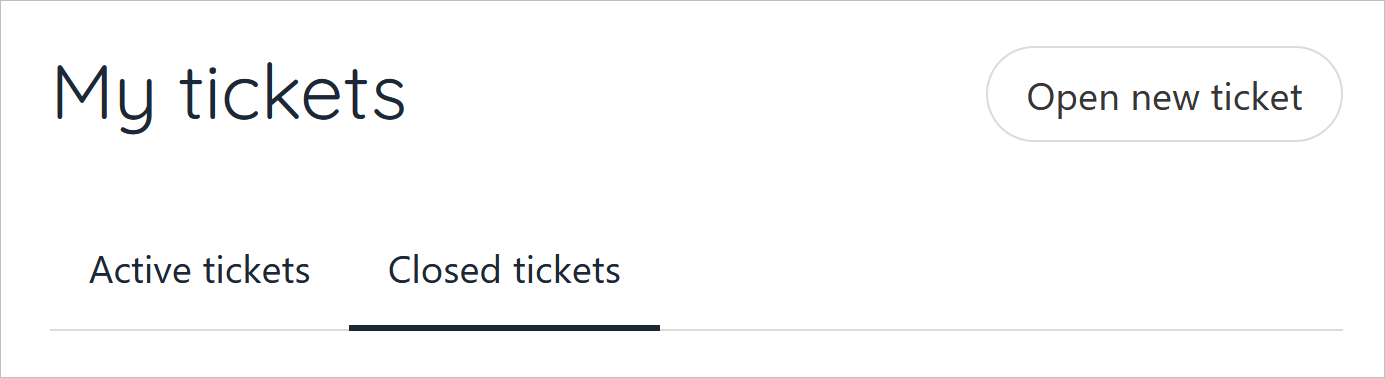
Viewing tickets
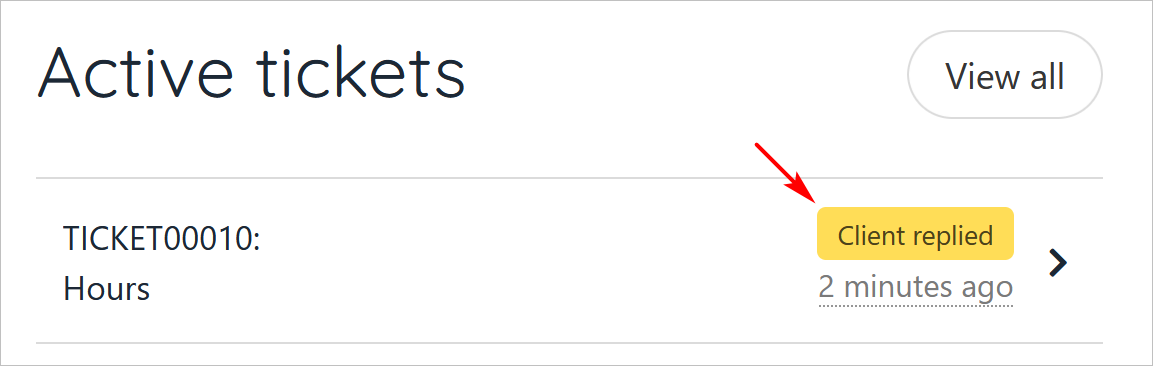
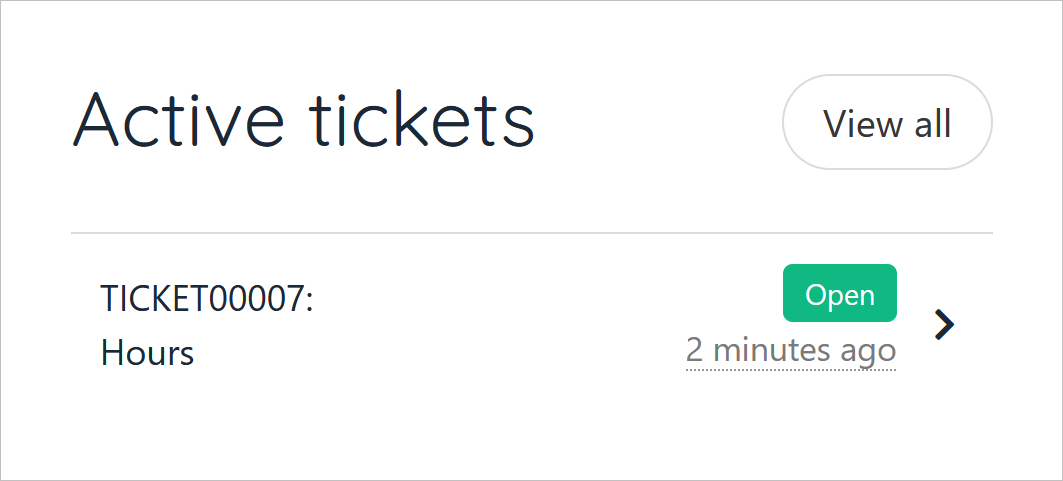
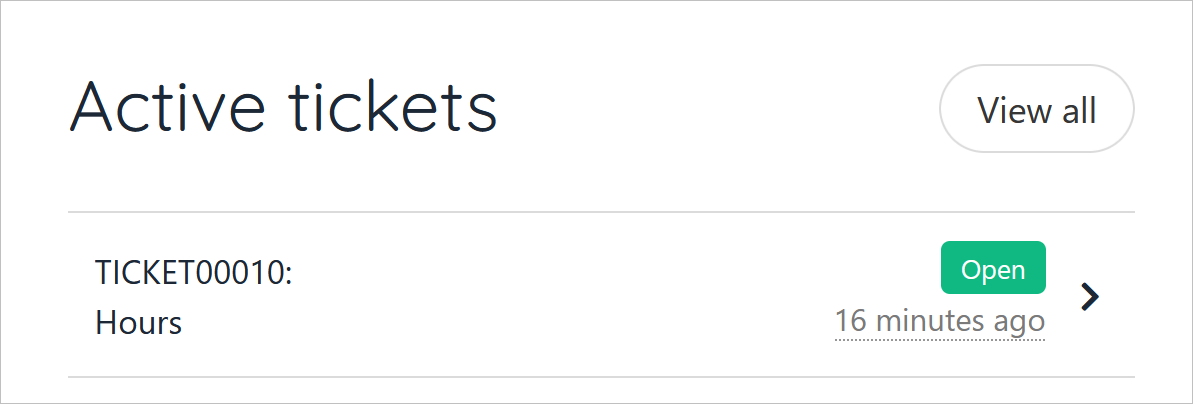
The account holder’s store dashboard shows a list of active tickets and their current status. The list does not display Closed tickets.- To see the discussion thread inside a ticket, click a name on the dashboard list.
- To see a list of all Active and Closed tickets, click View all.
- Click a menu tab to see Active or Closed tickets.
Adding delegates to a ticket
Clients and leads (who have a store account) can invite other account holders to join the ticket as a delegate. A delegate can read posted messages in a ticket thread and submit messages, too.- On the account dashboard, click an active ticket.
- Click the three-line icon.
- Select Delegate access on the drop-down menu.
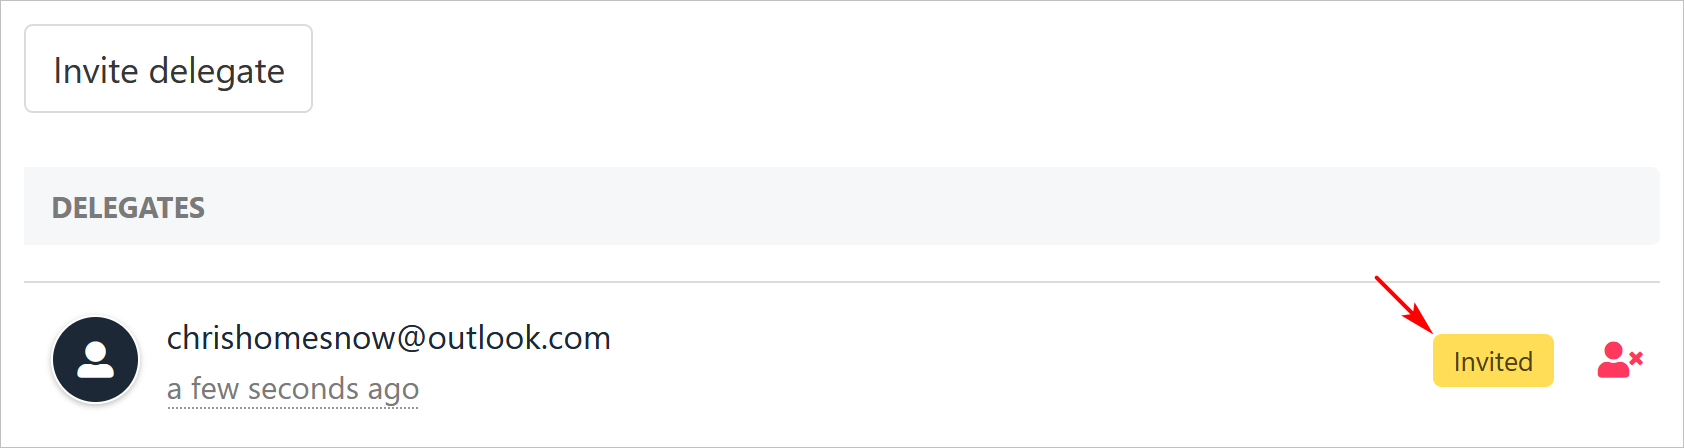
- On the Ticket delegate access panel, click Invite delegate.
- Enter the person’s email address in the popup window.
- Click Send invite.
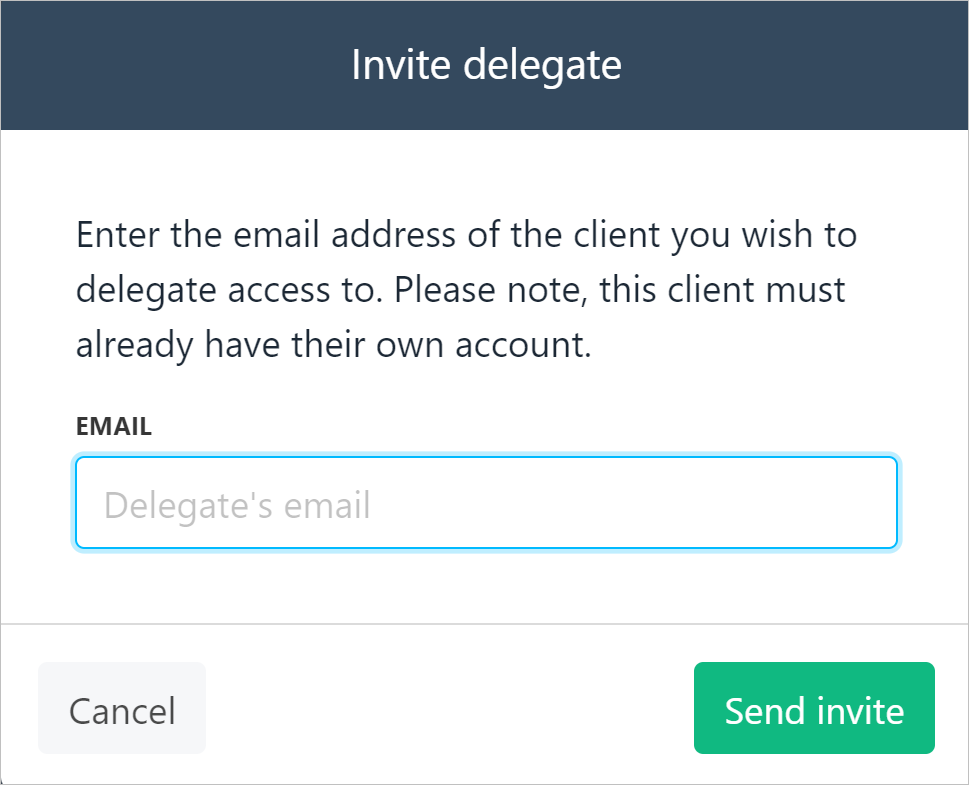
- Upmind sends the person an email message with an invite and displays their name with the Invited status.

Removing delegate access
To remove delegate access to a ticket:- Click the three-line icon.
- Select Delegate access on the drop-down menu.
- Click the Revoke access icon.

Upmind immediately removes delegate access to a ticket after the account holder clicks the Revoke icon.
The delegate experience
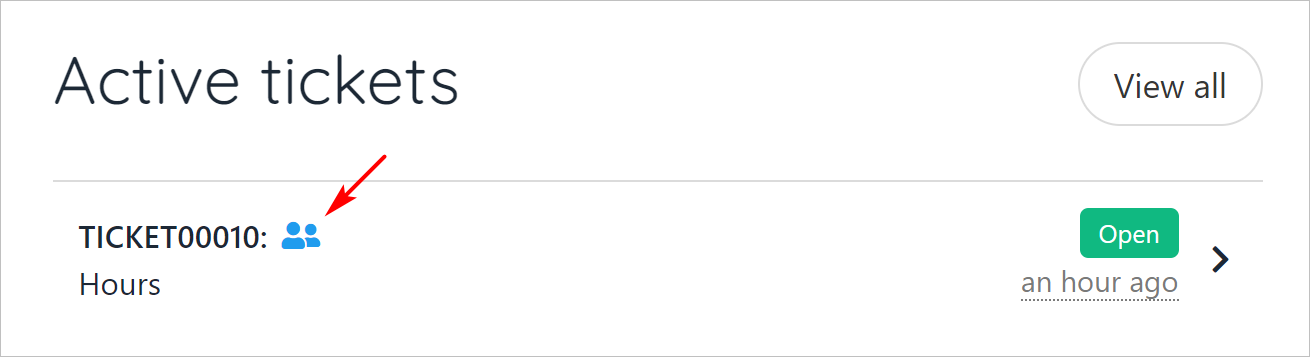
The delegate’s dashboard shows active tickets including tickets with delegate access.- Tickets with delegate access have a share icon.
- To read a thread, click the active ticket tile.
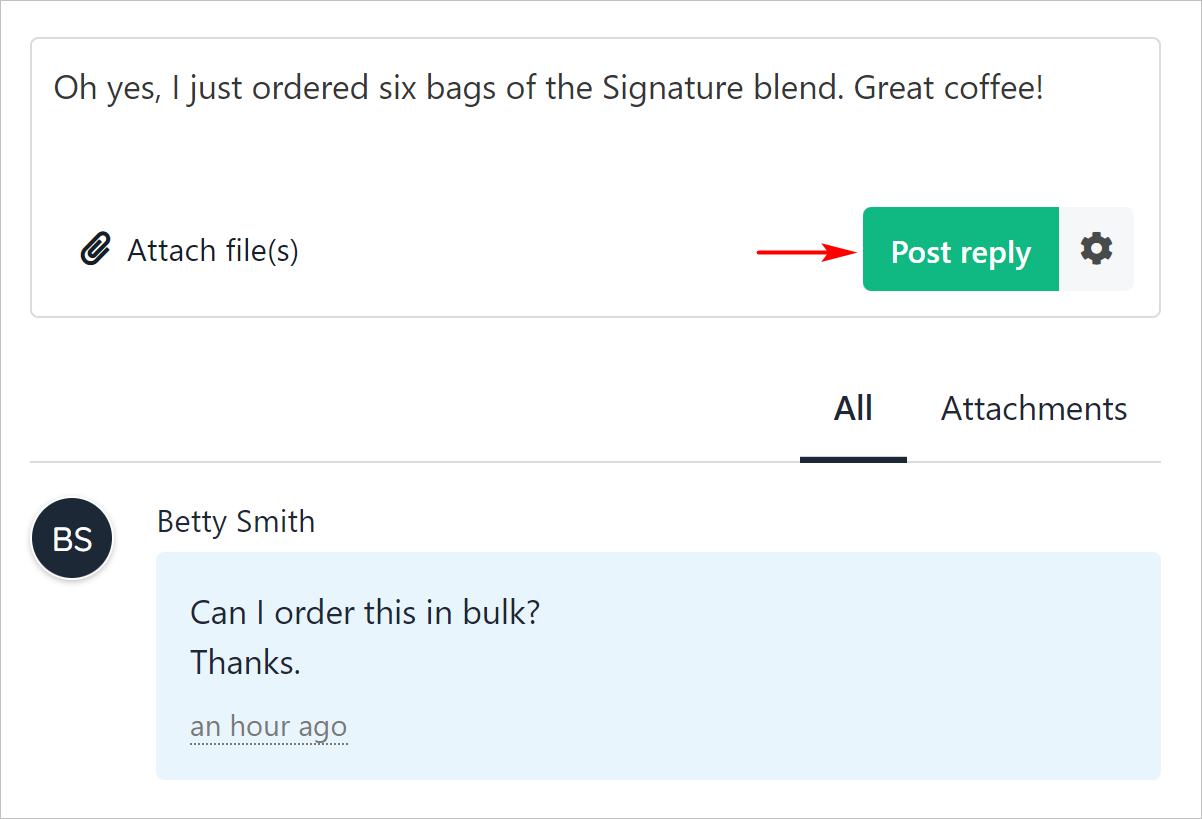
- To add a message, enter text and click Post reply.