

- Time — 20 minutes
- Difficulty — Intermediate
- An active Upmind account.
- Basic familiarity with Cart 2.0.
- Access to Settings > Brand Settings in your Upmind admin panel.
- A basic understanding of JSON formatting.
- A read-through of Understanding the Cart Architecture to understand how configuration levels and inheritance work.
- Page templates.
- How components render.
- Visual behaviour across different pages.
- Whether certain features are enabled or disabled.
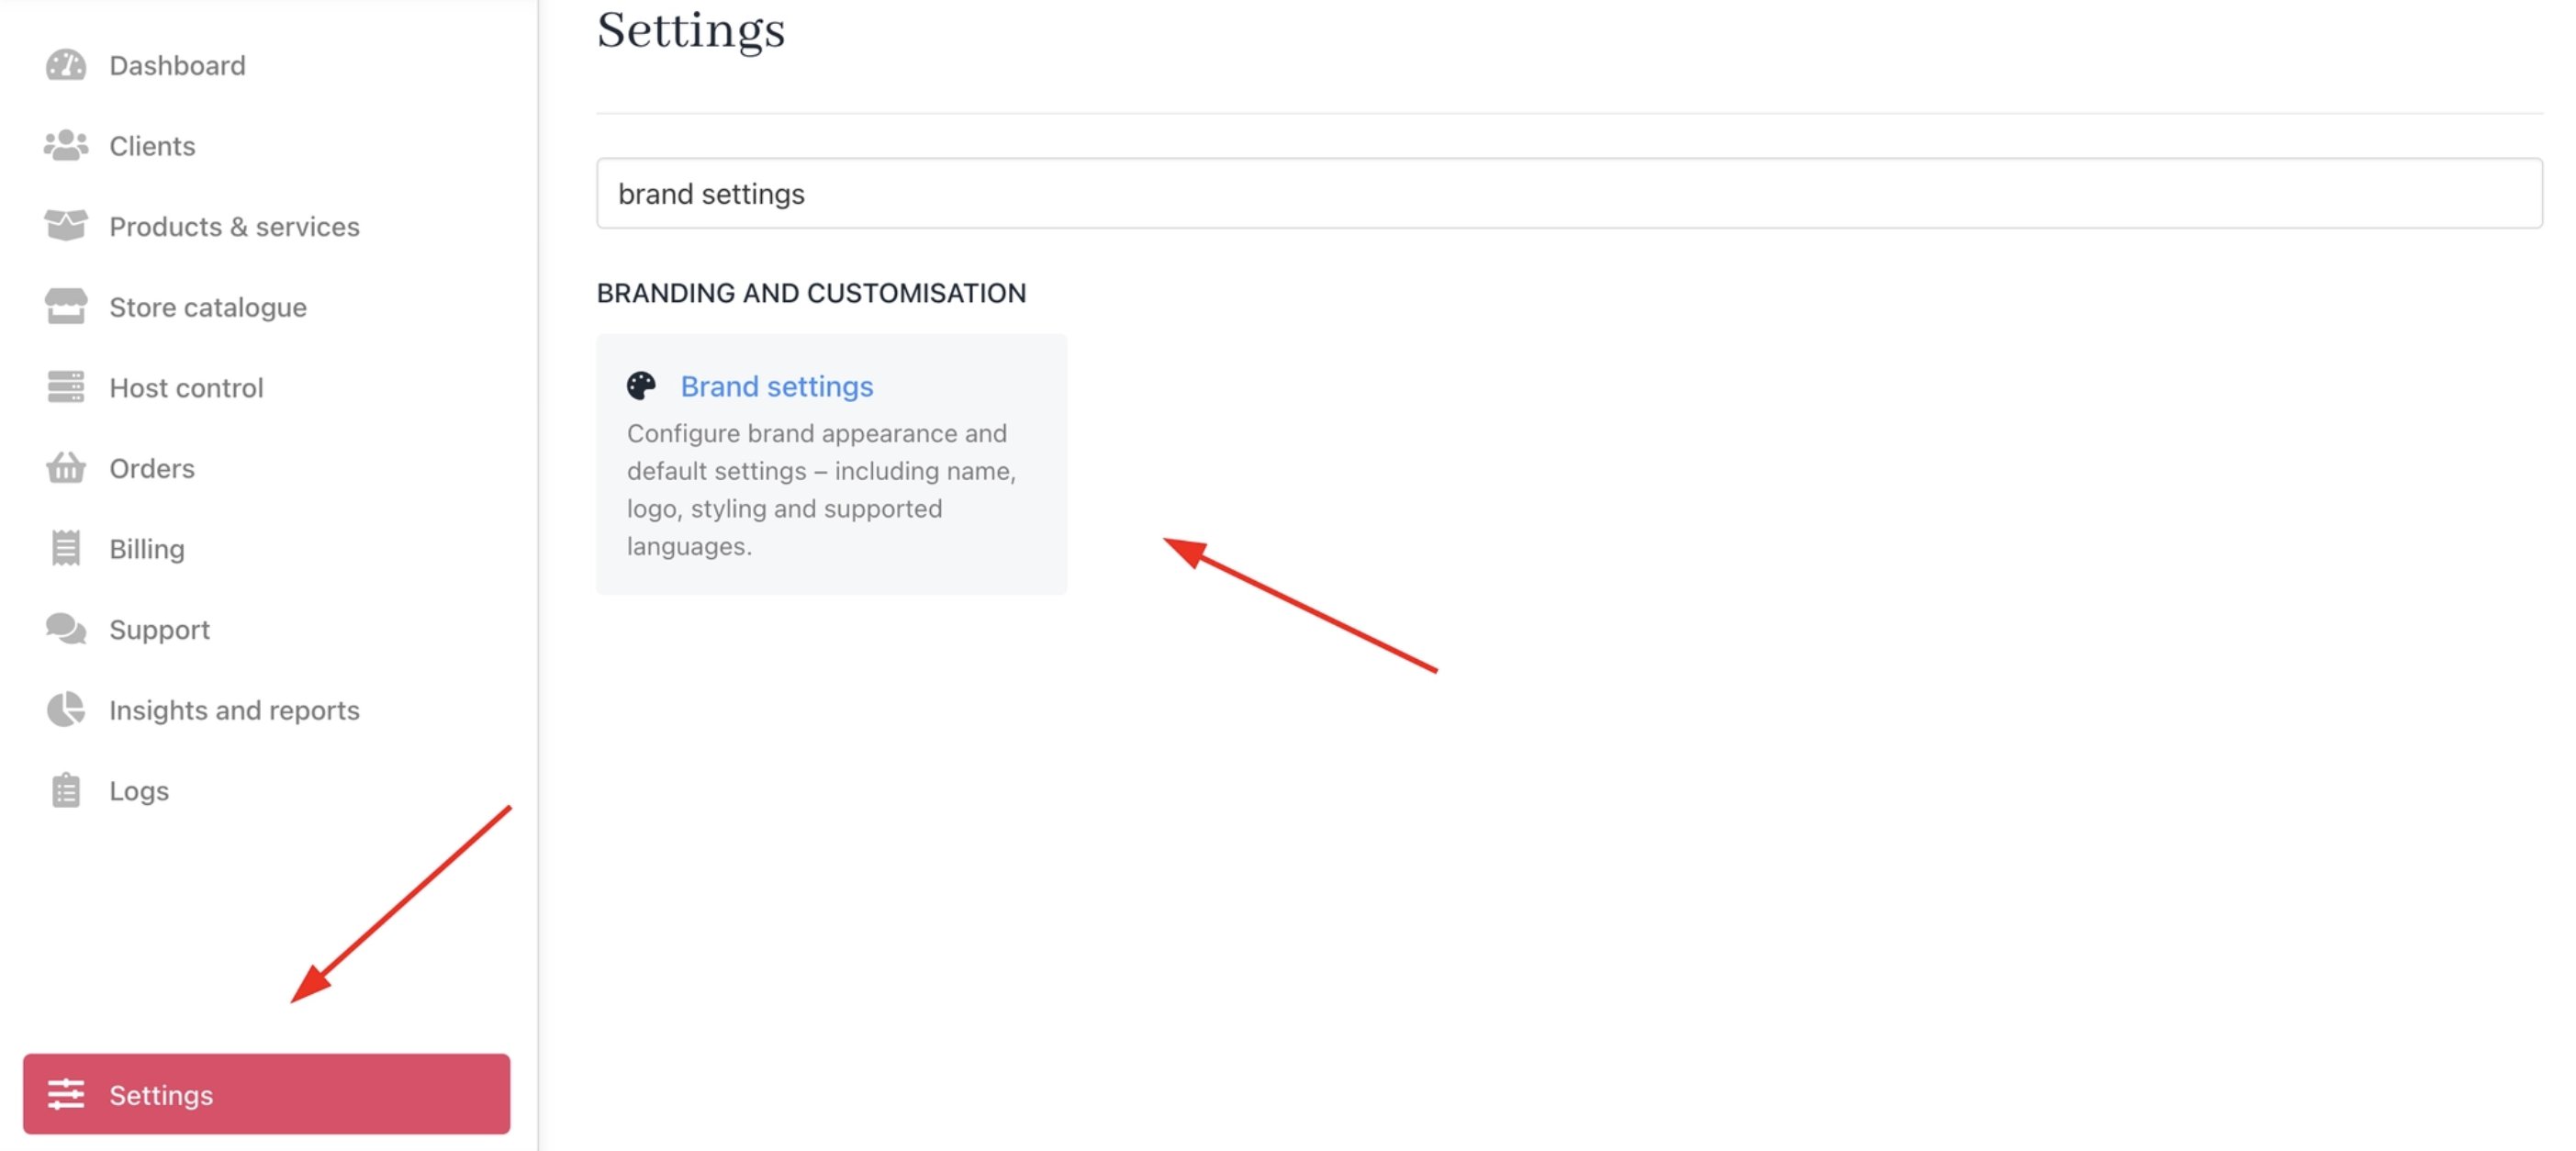
Settings > Brand Settings
How configuration works
The Cart 2.0 uses two types of settings, each with a clear purpose.1. Context settings
Control how things look and behave, such as layout and visibility. Examples:- Layout and spacing.
- Visibility of components.
- Page behaviour.
- Responsive behaviour by device size.
- SEO settings.
2. Data settings
Control what content, values, and features are used and shown, such as headings, badges, and toggles. Examples:- Text and labels.
- Feature toggles.
- Upsells and cross-sells.
- Store copy and messaging.
3. Configuration levels and how inheritance works in practice
1. Context settings (@context)
Use @context when you want to control layout, behaviour, or visual presentation of cart pages.
Key format
Context (<context>)
Defines where the setting applies:
catalogueconfigurerecommendationsbasketauthbilling_detailscheckoutconfirmation
* (global default) applies the setting everywhere unless overridden.
Setting (<setting>)
Defines what you are changing, for example:
productImagesproductListLayoutzeroPriceDisplay
Modifier (/<modifier>, optional)
Used for responsive behaviour:
sm– Mobilemd– Tabletlg– Desktop
JSON in your UI Metadata:
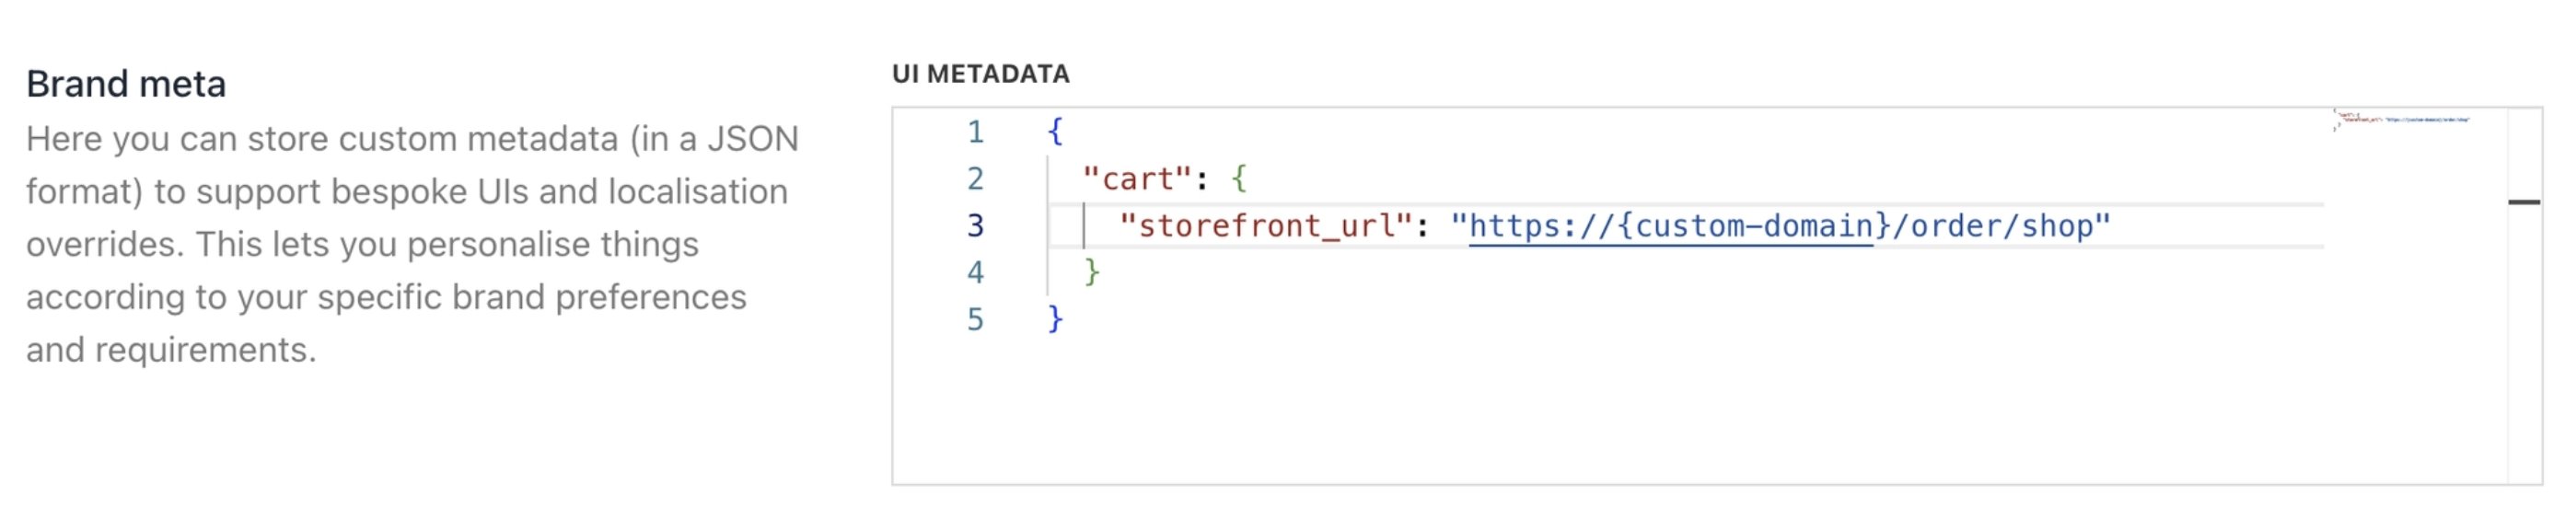
UI Metadata for context settings
Example 1: Show or hide product images
Global default: show product images everywhere.JSON Example:
JSON Example:
- Catalogue, basket, checkout, etc. > product images are visible
- Configure page > product images are hidden
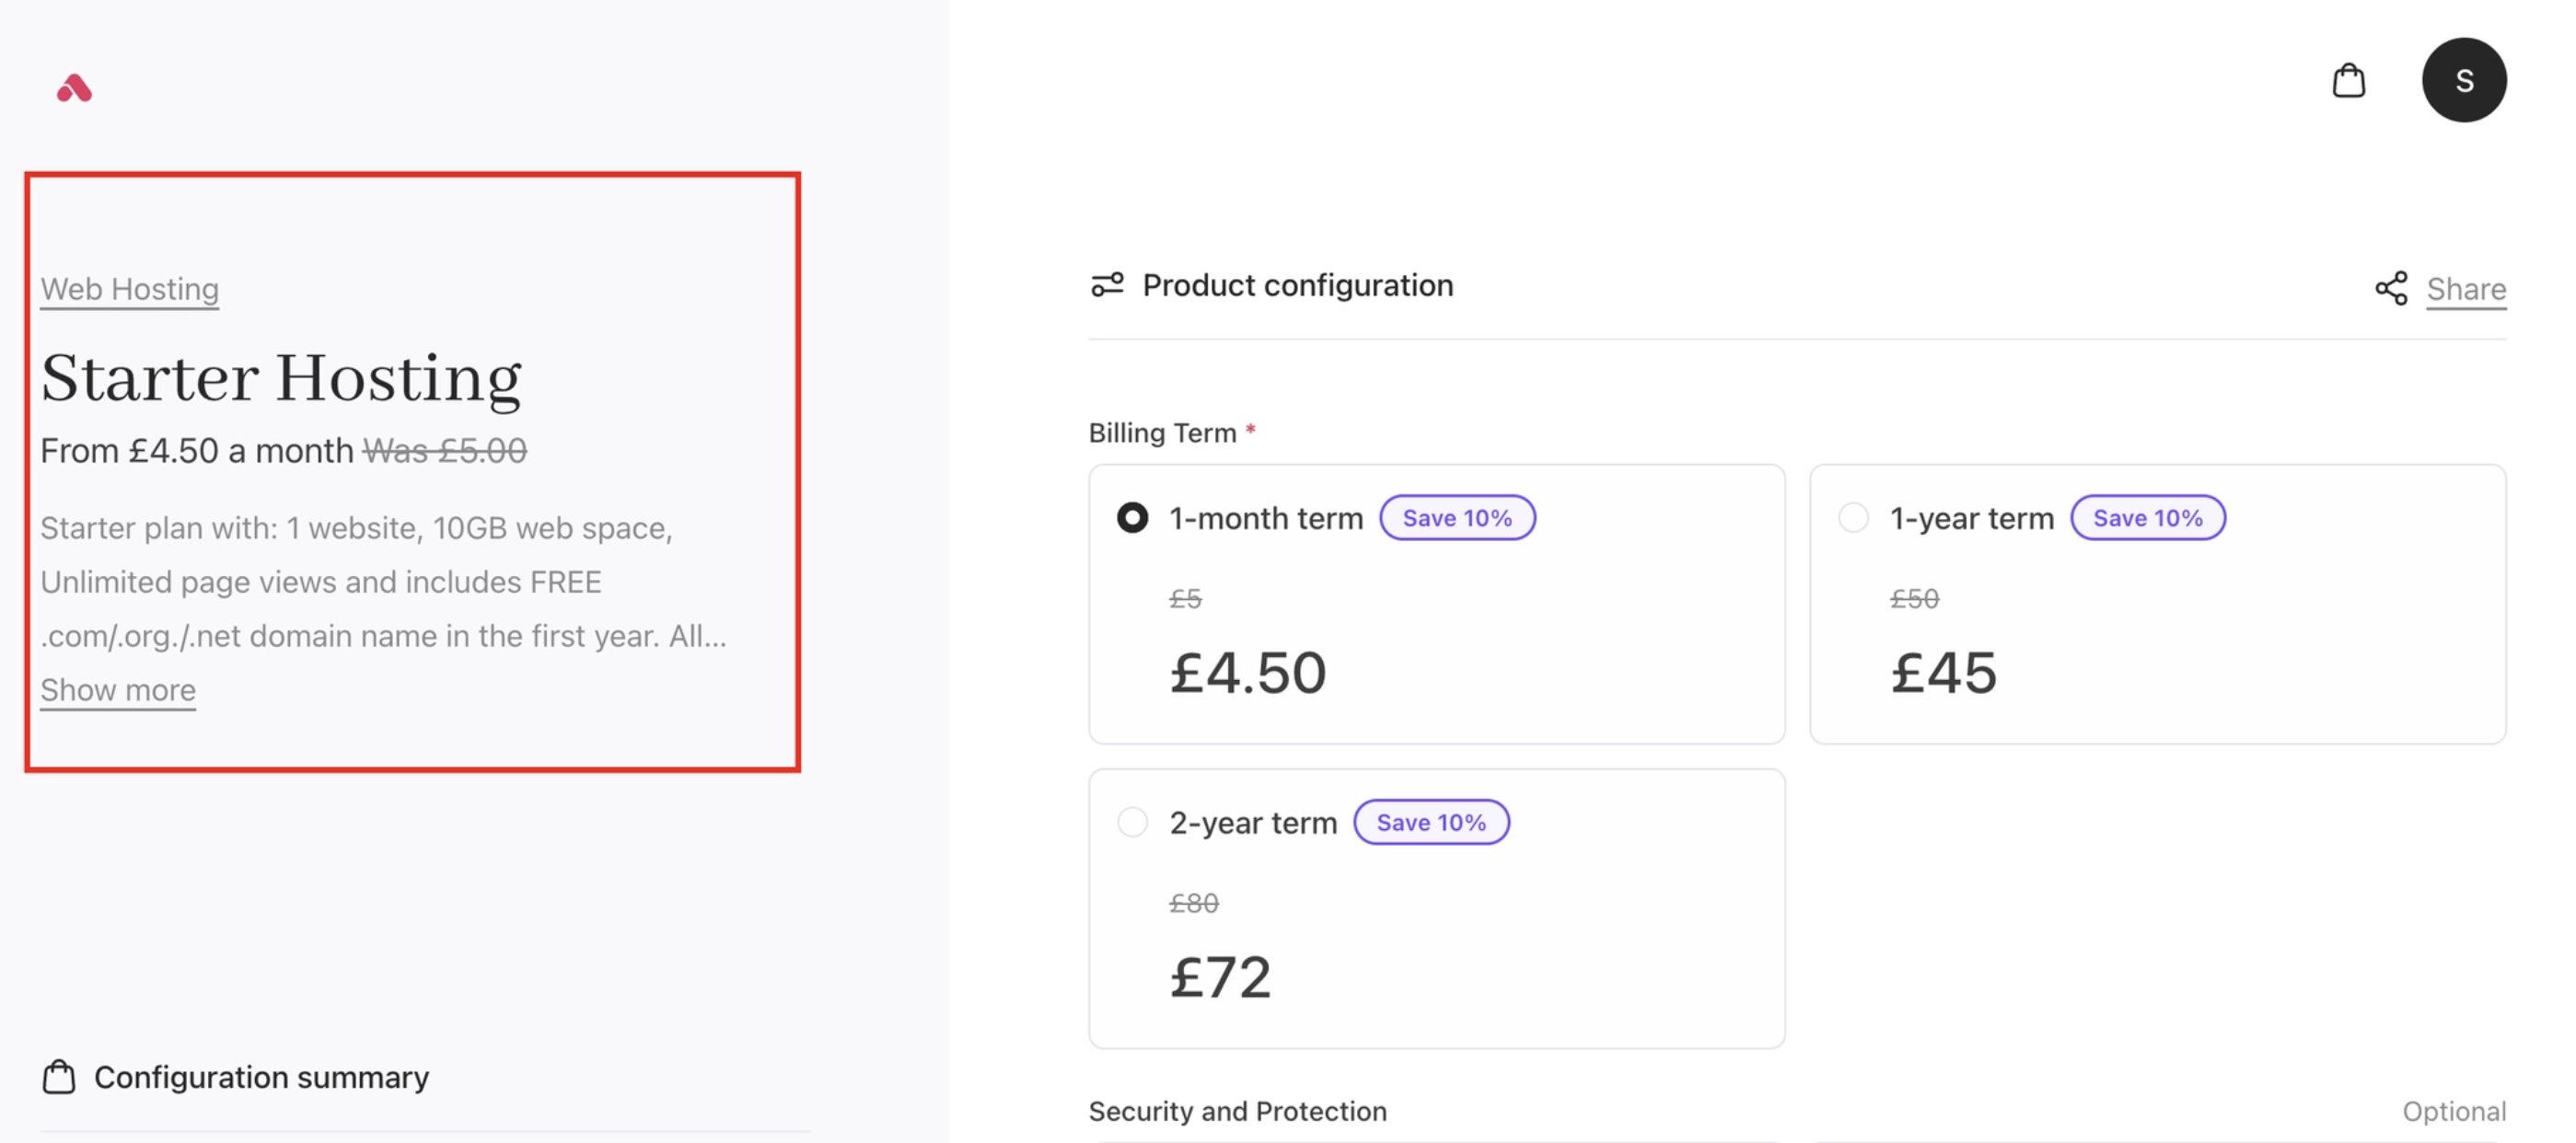
Image hidden in configure page
Example 2: Display “0.00” prices as “Free”
Show “Free” instead of 0.00 across all contexts.JSON Example:
"label"> displays Free"numeric"> displays 0.00

Display price as Free
Example 3: Change product list layout by viewport
Default: 4 columns on catalogue (all viewports).JSON Example:
JSON Example:
JSON Example:
JSON Example:
- Desktop > 3 columns
- Tablet > 2 columns
- Mobile > 1 column
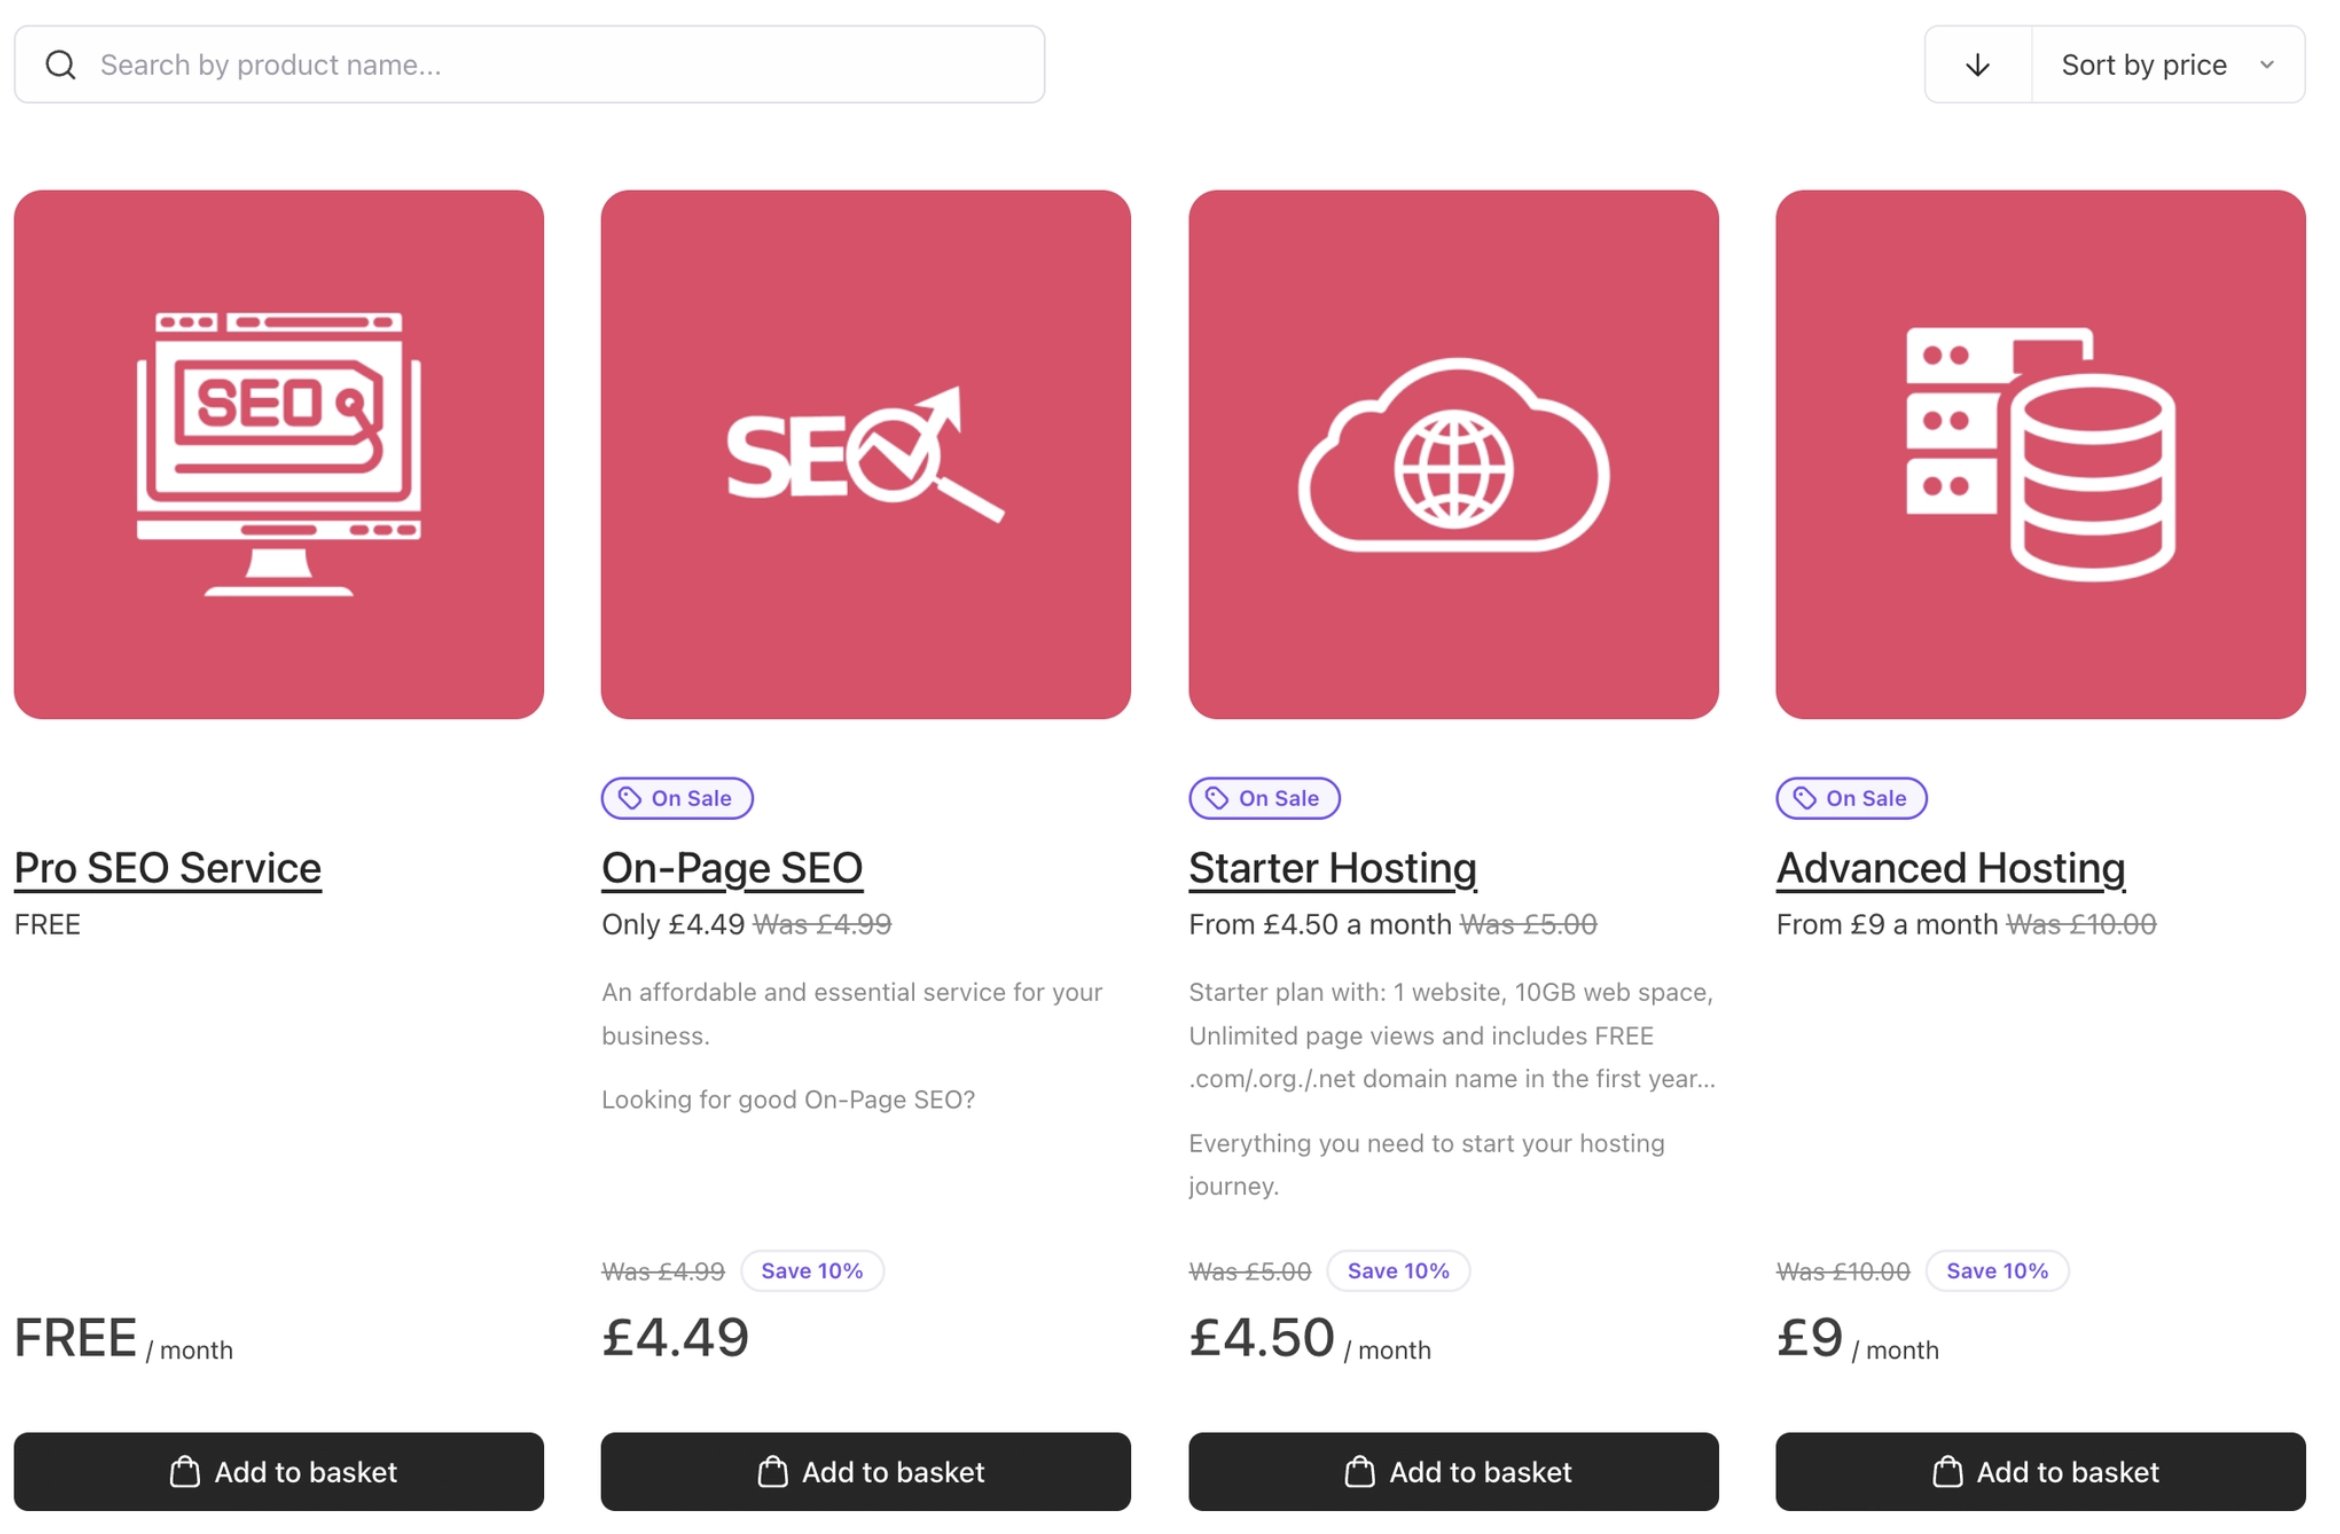
4 column product list layout
SEO Settings
SEO settings in Upmind let you define meta information at three scope levels (Brand, Product Category, and Product) across any context. You can customise page titles, descriptions, and other metadata to match different parts of your storefront. Users can also override SEO metadata at any level, so a specific product or category can have its own meta details that take priority over broader brand-level defaults.JSON Example: Overriding the SEO page title across your brand.
Appendix: UI Properties
Locked - This means that some properties have forced values in certain contexts.
2. Data settings (@data)
Use @data when you want to control content, relationships, or feature toggles.
Data settings define what the cart shows or enables, rather than how it looks. They can also vary by context and viewport modifier, so the same data property can have different values on mobile, tablet, or desktop.
Key format:
@data.storeHeadingapplies the default value.@data.storeHeading/mdapplies the value on tablet.@data.storeHeading/lgapplies the value on desktop.
JSON in your UI Metadata:
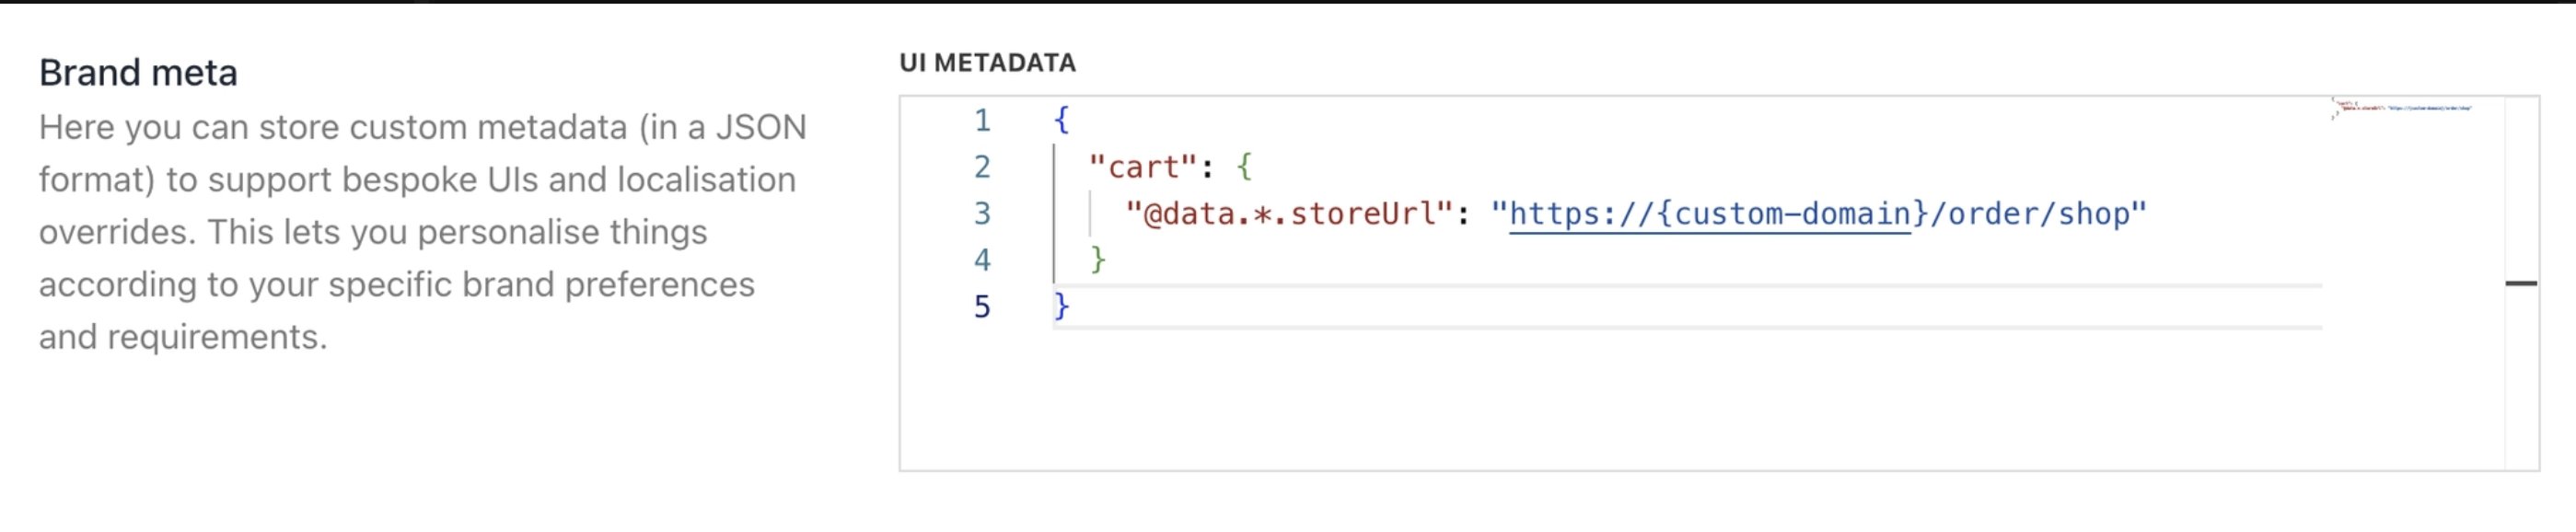
UI Metadata for data settings
Example 1: Set basic store copy
JSON Example:
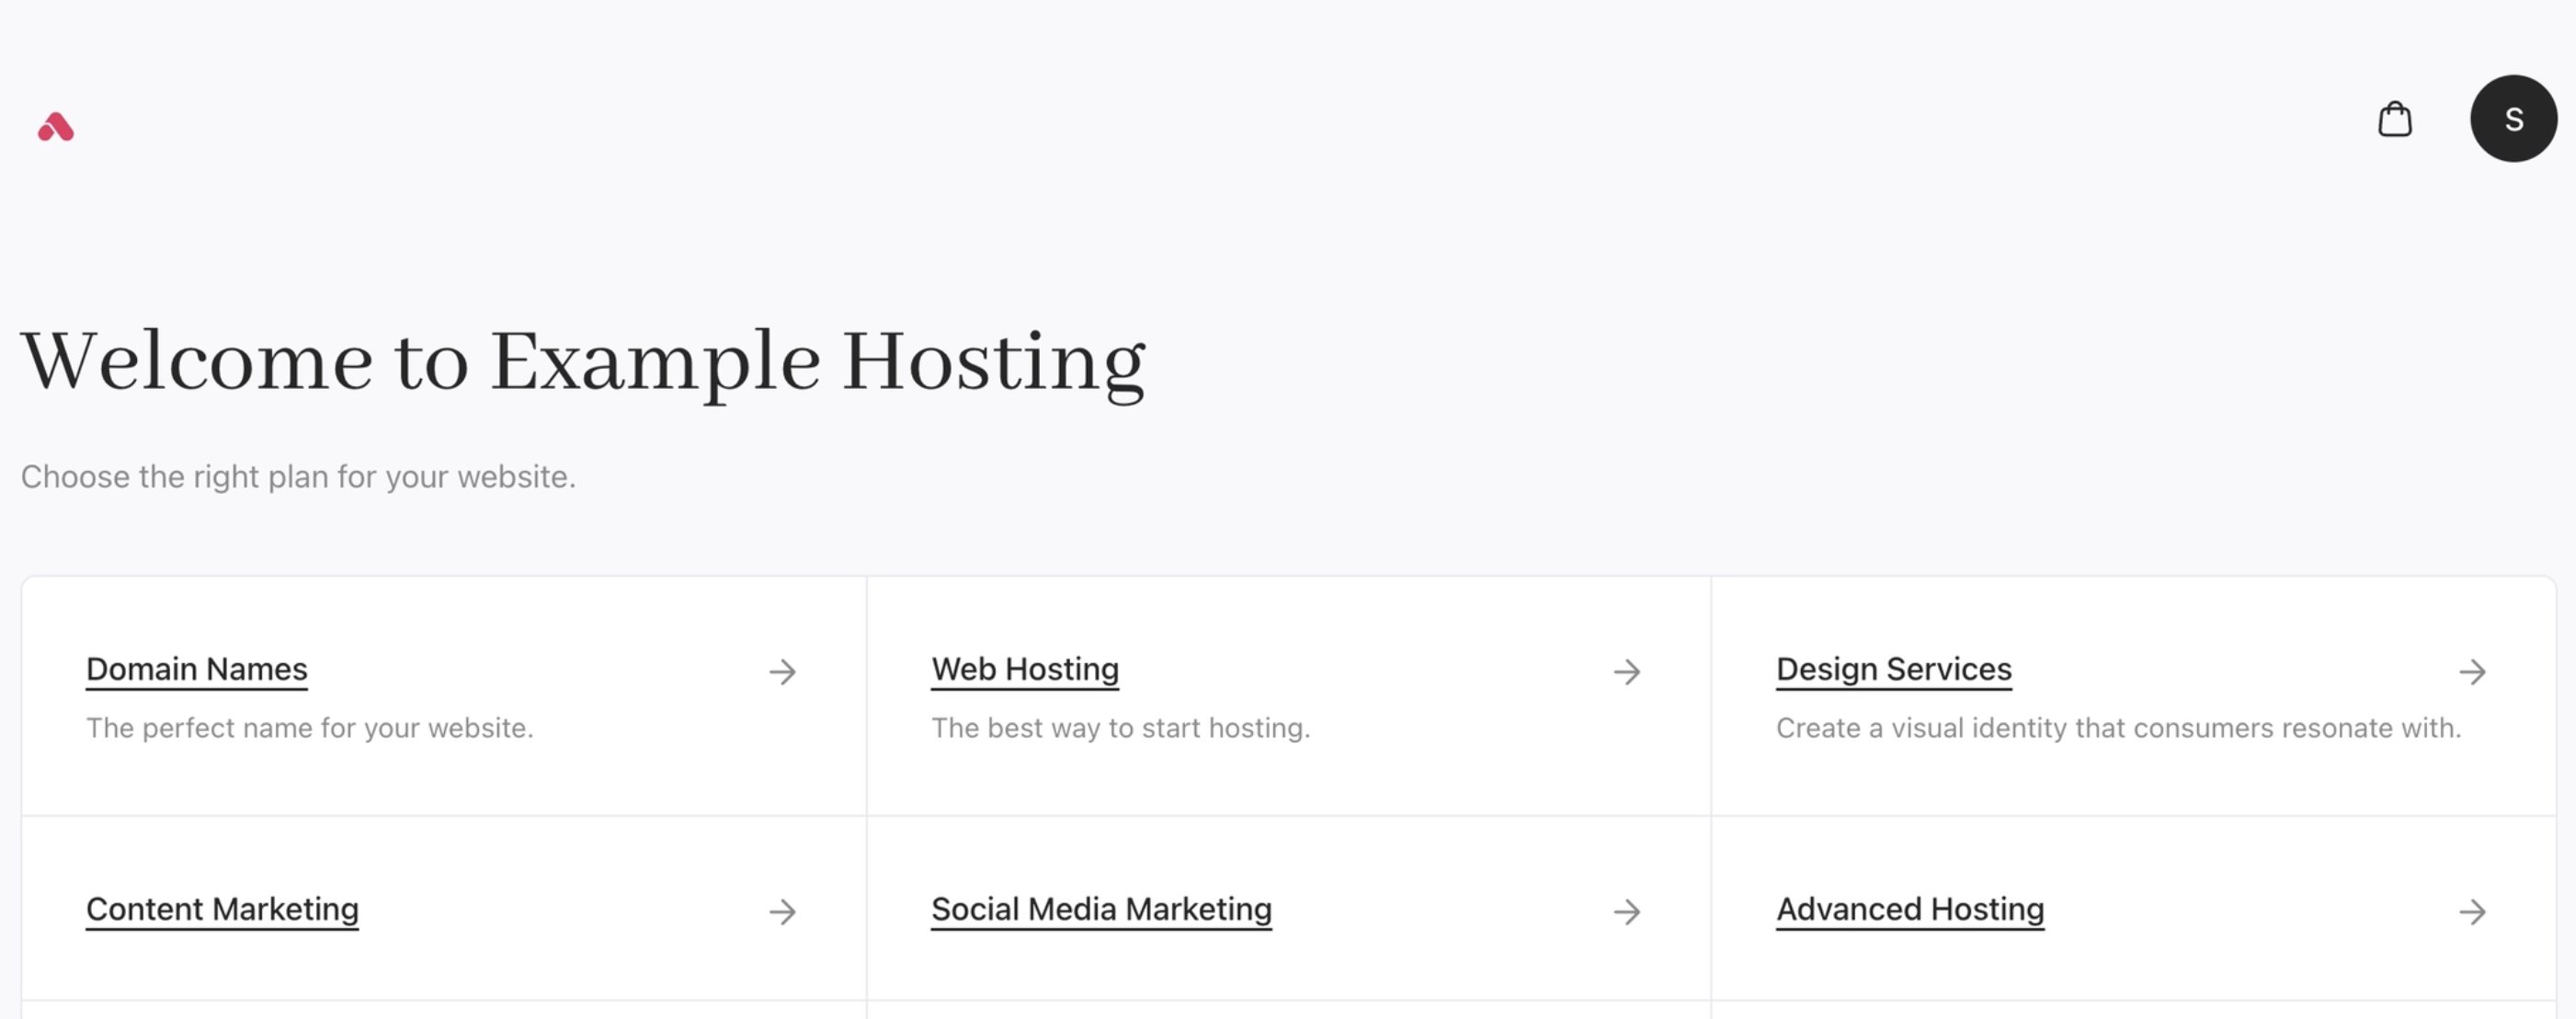
Heading and subheading
Example 2: Disable the catalogue
JSON Example:
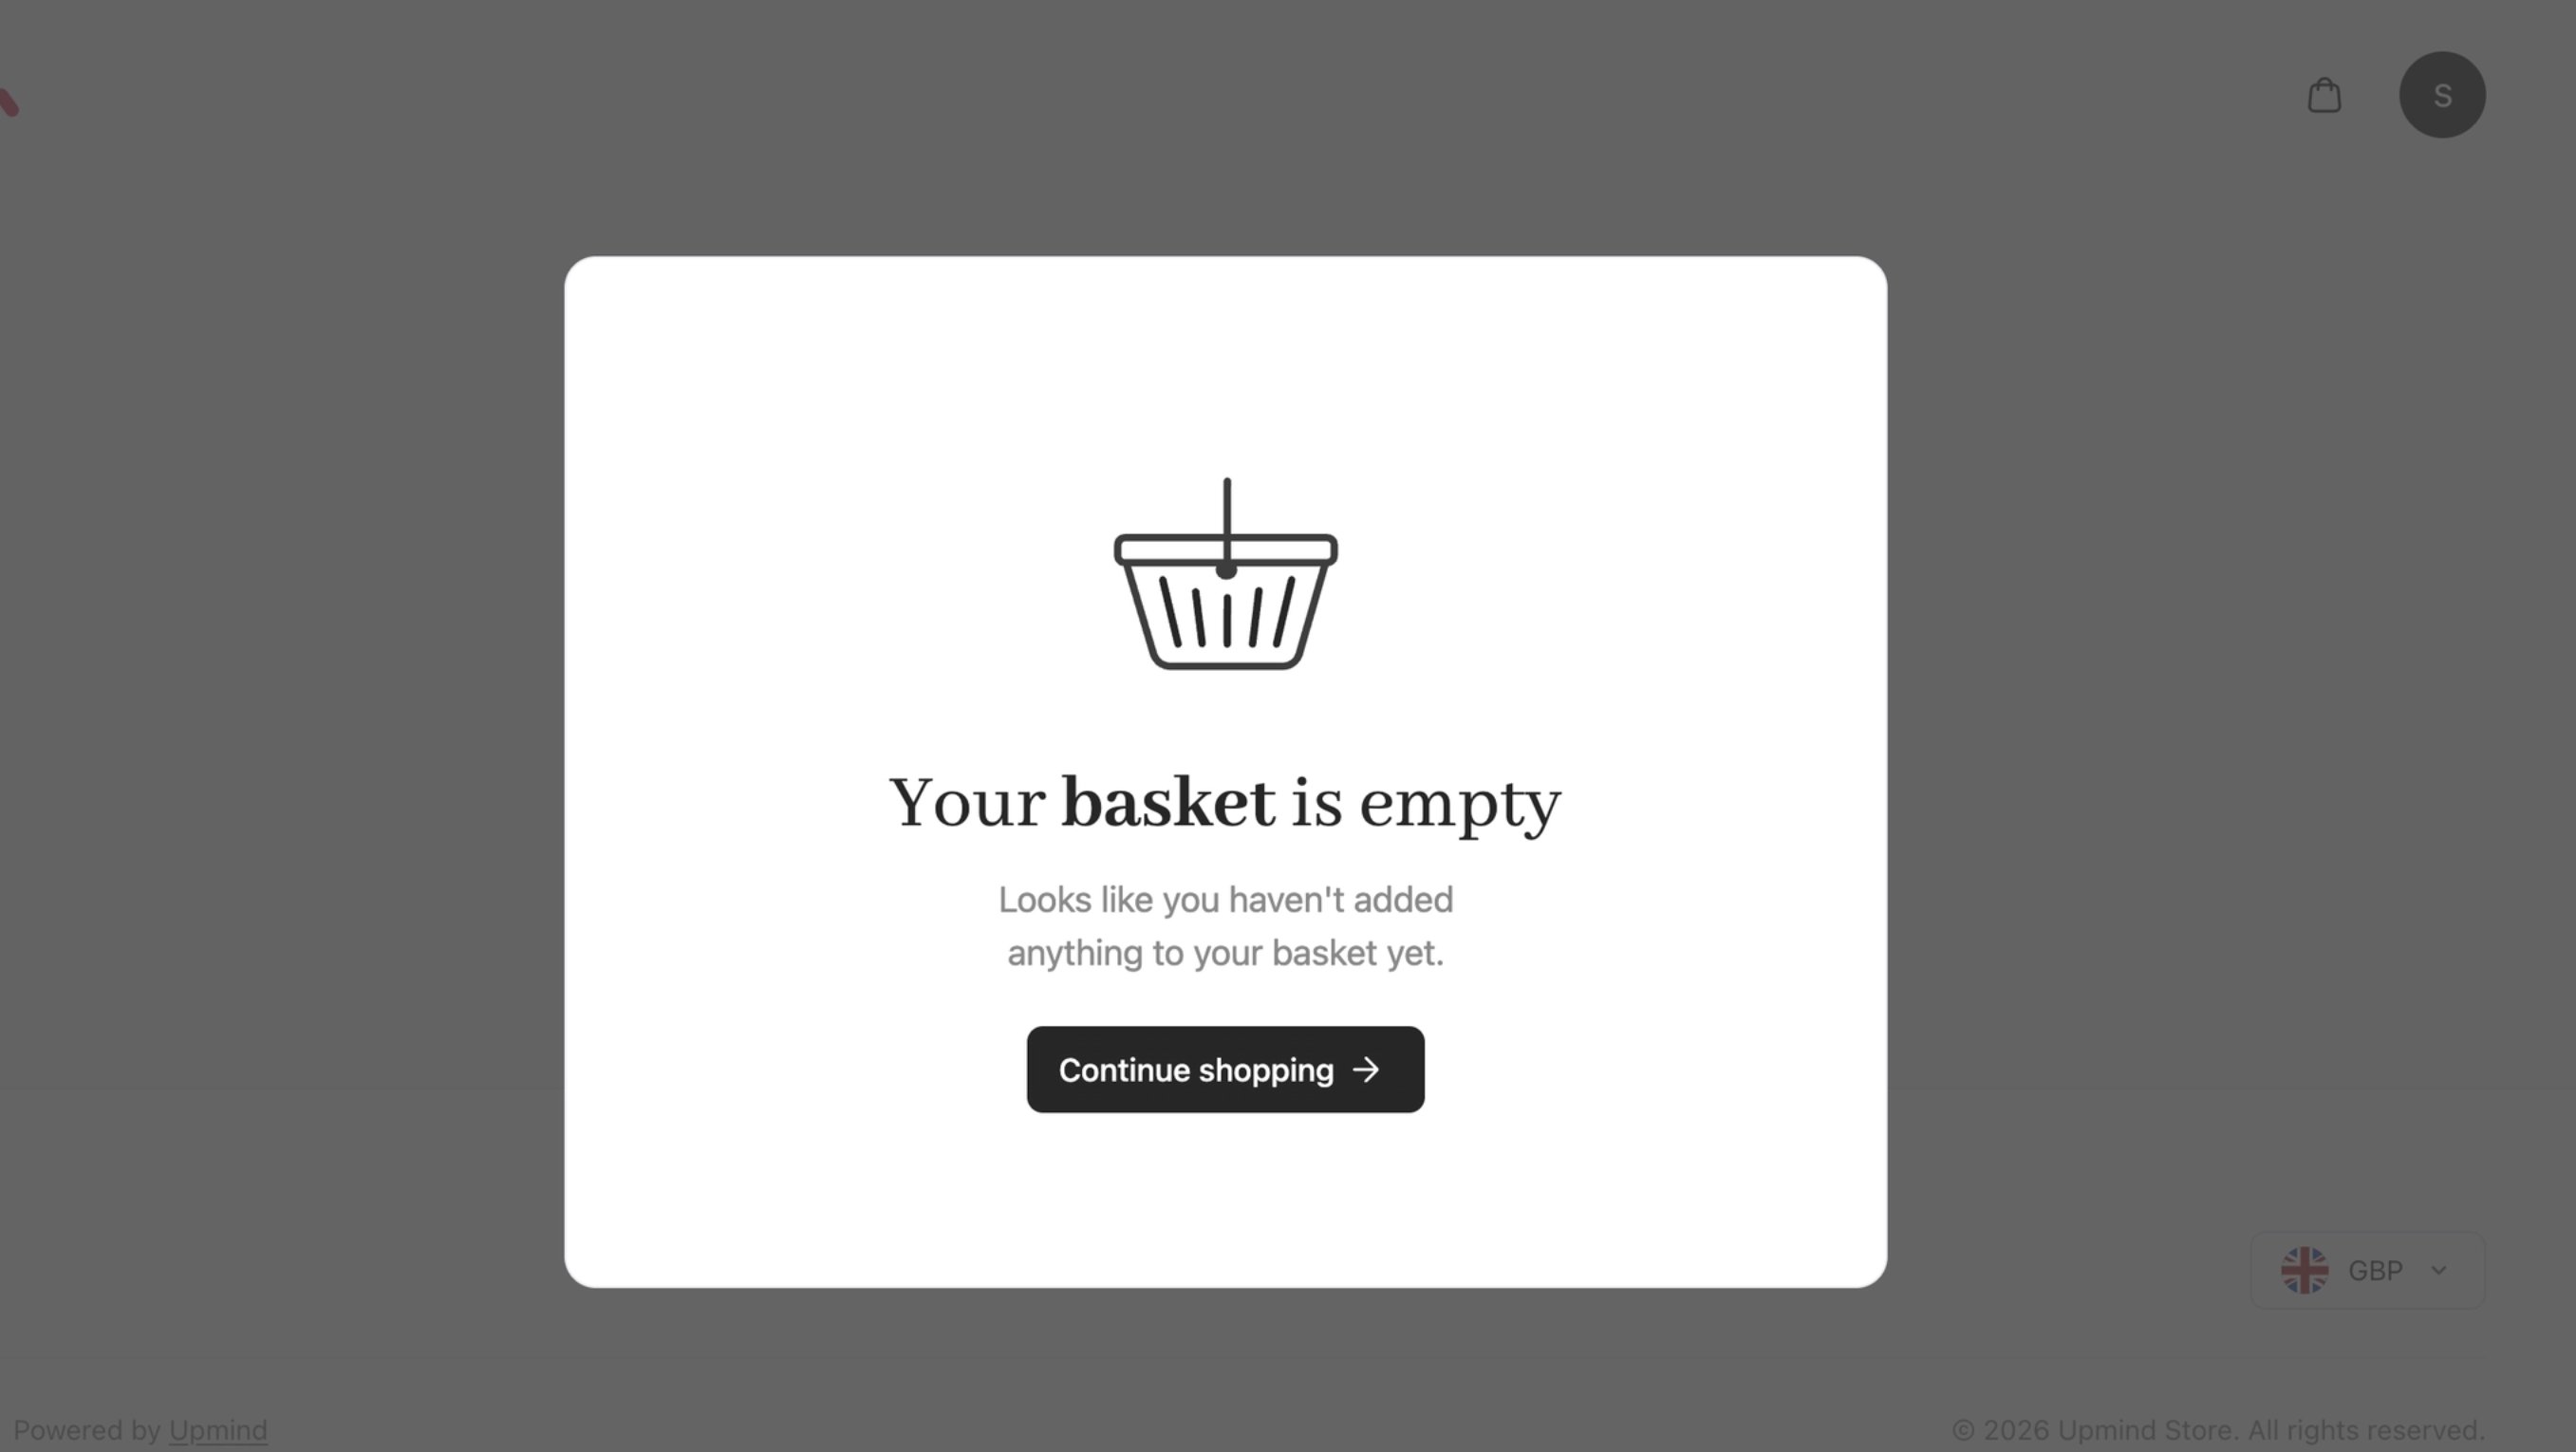
When catalogue is disabled, it will take you to the basket screen
Example 3: Upsell a product option within the basket
Full Domain Protection.JSON Example:
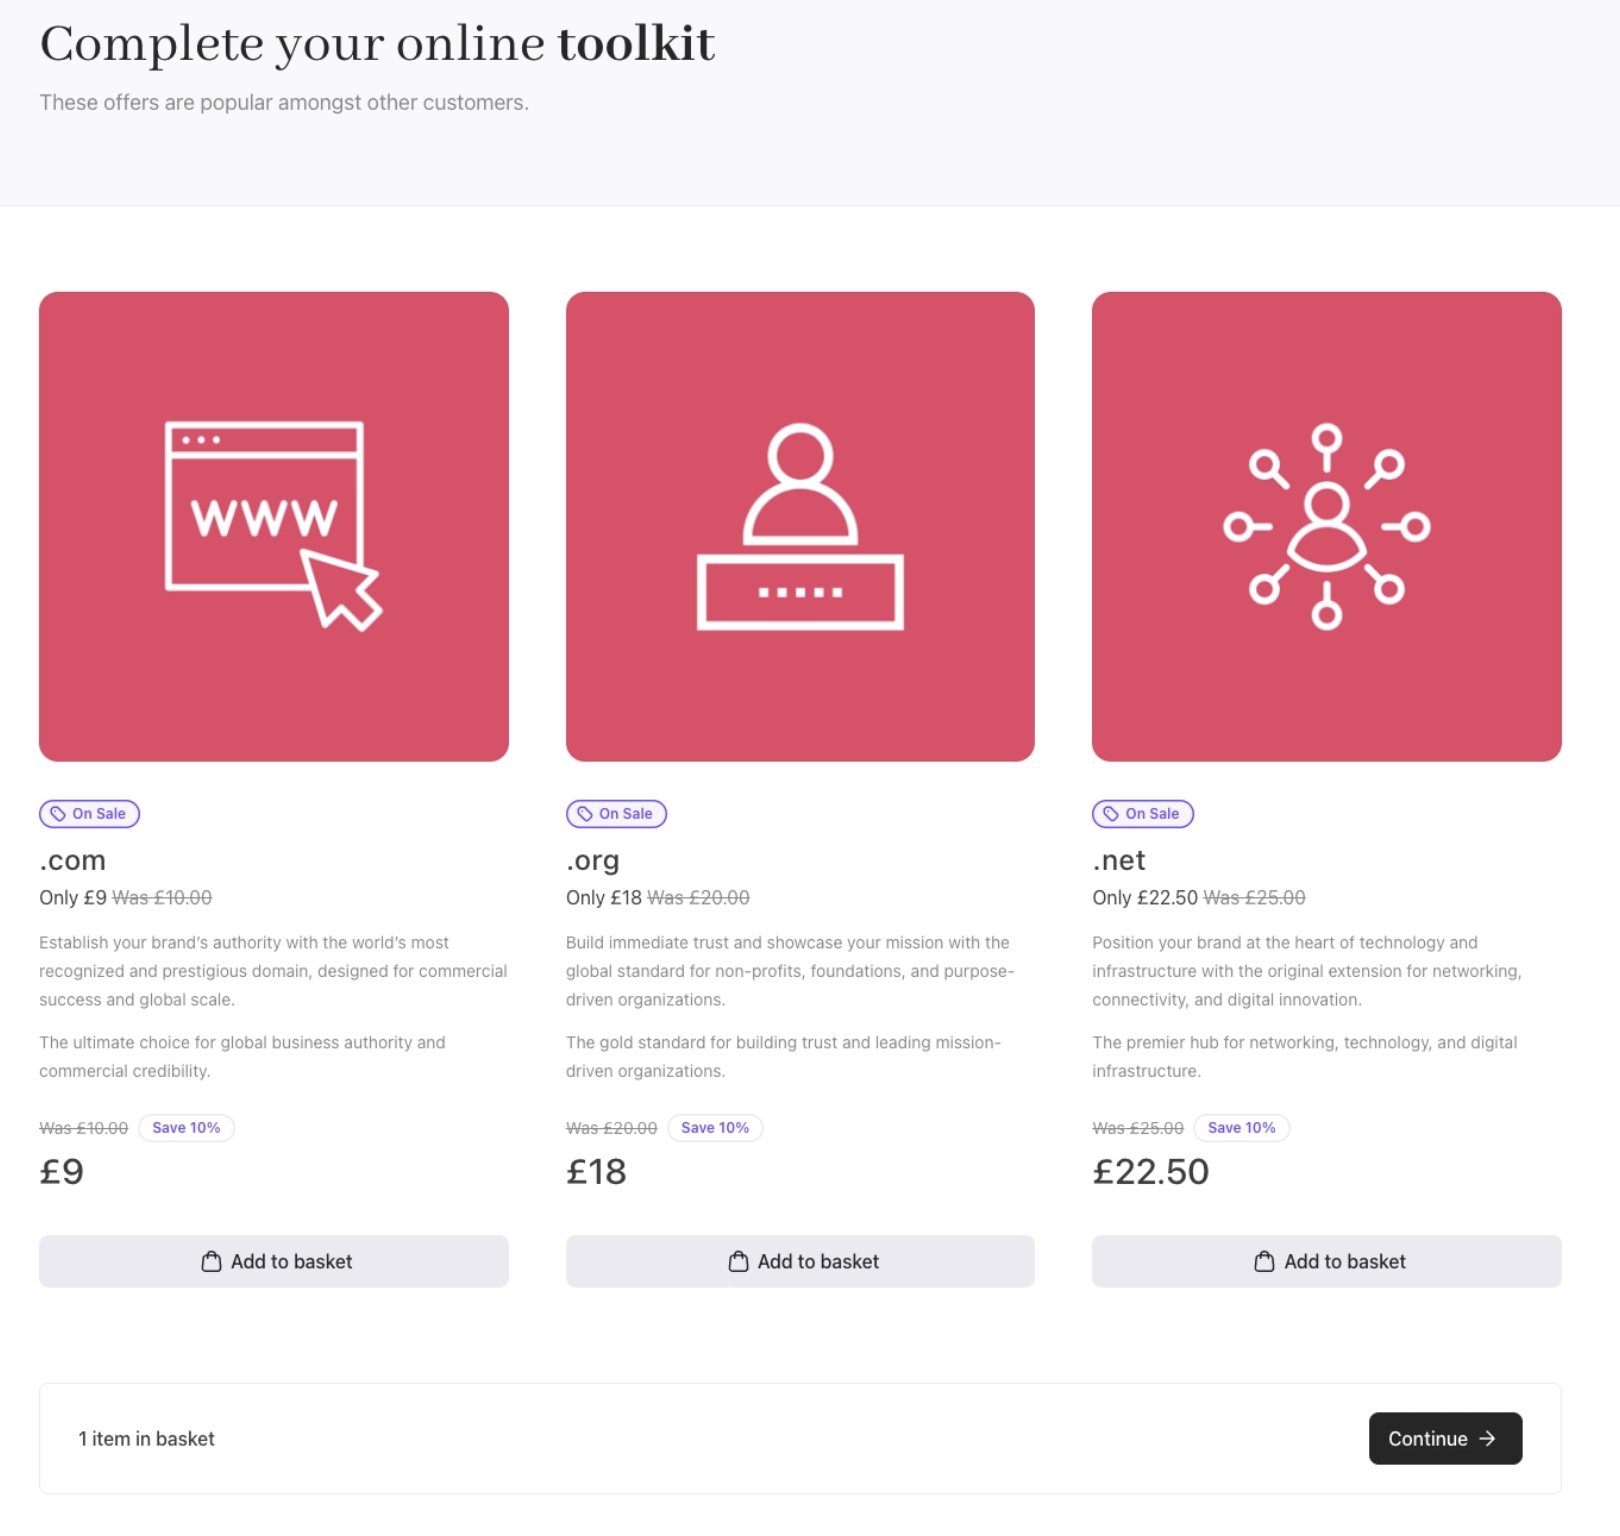
Cart 2.0 product recommendations
3. Configuration levels and how inheritance works in practice
- You can define settings at different scopes. The cascade order (most specific > least specific):
- Option — Settings on a specific sub-product option
- Option Category — Settings on an option group
- Product — Settings on a specific product
- Product Category — Settings on a group of products
- Brand — Your overall brand/storefront-level default
- System Default — The built-in default value if nothing else is set
- The most specific setting always wins.
- You only override what you need.
- Everything else is inherited automatically.
- At each level, it looks for:
@context.<contextId>.<setting>- If not found,
@context.*.<setting> - If still not found, the built-in default is used
- You never need to duplicate full configurations.
- You can safely override only what matters.
- Defaults remain consistent across the cart.
Complete example
The following JSON configuration brings together a range of context and data settings into a single working UI Metadata block. It covers layout, content, visibility, and behaviour across multiple pages, and demonstrates how global defaults and page-specific overrides work together.JSON Example
Error handling and invalid values
Cart 2.0 does not throw hard errors when an invalid value is used in UI Metadata. Instead, it silently falls back to the built-in default for that setting and ignores the unrecognised value. This means a typo or unsupported value will not break your storefront, but the setting will have no visible effect, which can be difficult to spot.JSON Example:
5-col is not a valid value for productListLayout. Therefore, Cart 2.0 will ignore it and fall back to the default 3-col layout. No error will appear in the UI.
Common mistakes to watch for:
- Misspelled property names (e.g.
produtImagesinstead ofproductImages): The setting is silently skipped. - Using a value outside the accepted enum (e.g.
"visible"on a property that only accepts column values). - Missing or extra commas in your JSON: This will cause the entire UI Metadata block to fail to parse, reverting all settings to defaults.
- Applying a context that does not support the setting (e.g. using
@context.confirmation.optionSelector): The setting is ignored.