If they want to add their logo, they’ll need to reach out to you, as it must be uploaded manually through the admin area.
Enable Parent Client branding settings
As an admin or staff member, you can enable these settings. Here’s how to do it:- Go to Settings > User Interface.

- Under the Client Area section, you’ll find two options.

- Allow Branding for Parent Clients: Enable this to let parent clients brand themselves by adding their own logo and custom appearance, including brand name, logos, colour, and font.
- Whitelabel Login: Enable this to remove all branding from the login and password reset page.
Managing Parent Client’s brand appearance
In this section, only you (as an admin) or your staff can manage the brand appearance for a parent client. Here’s how to do it:- Go to the Client section and find the parent client account.
- Click on Accounts, then select Child Accounts.
- Under Child Accounts, you’ll see a Brand Appearance settings section where you can:
- Add a brand name.
- Select the primary colour and brand font.
- Upload brand assets: logo, logomark, favicon, and email logo.
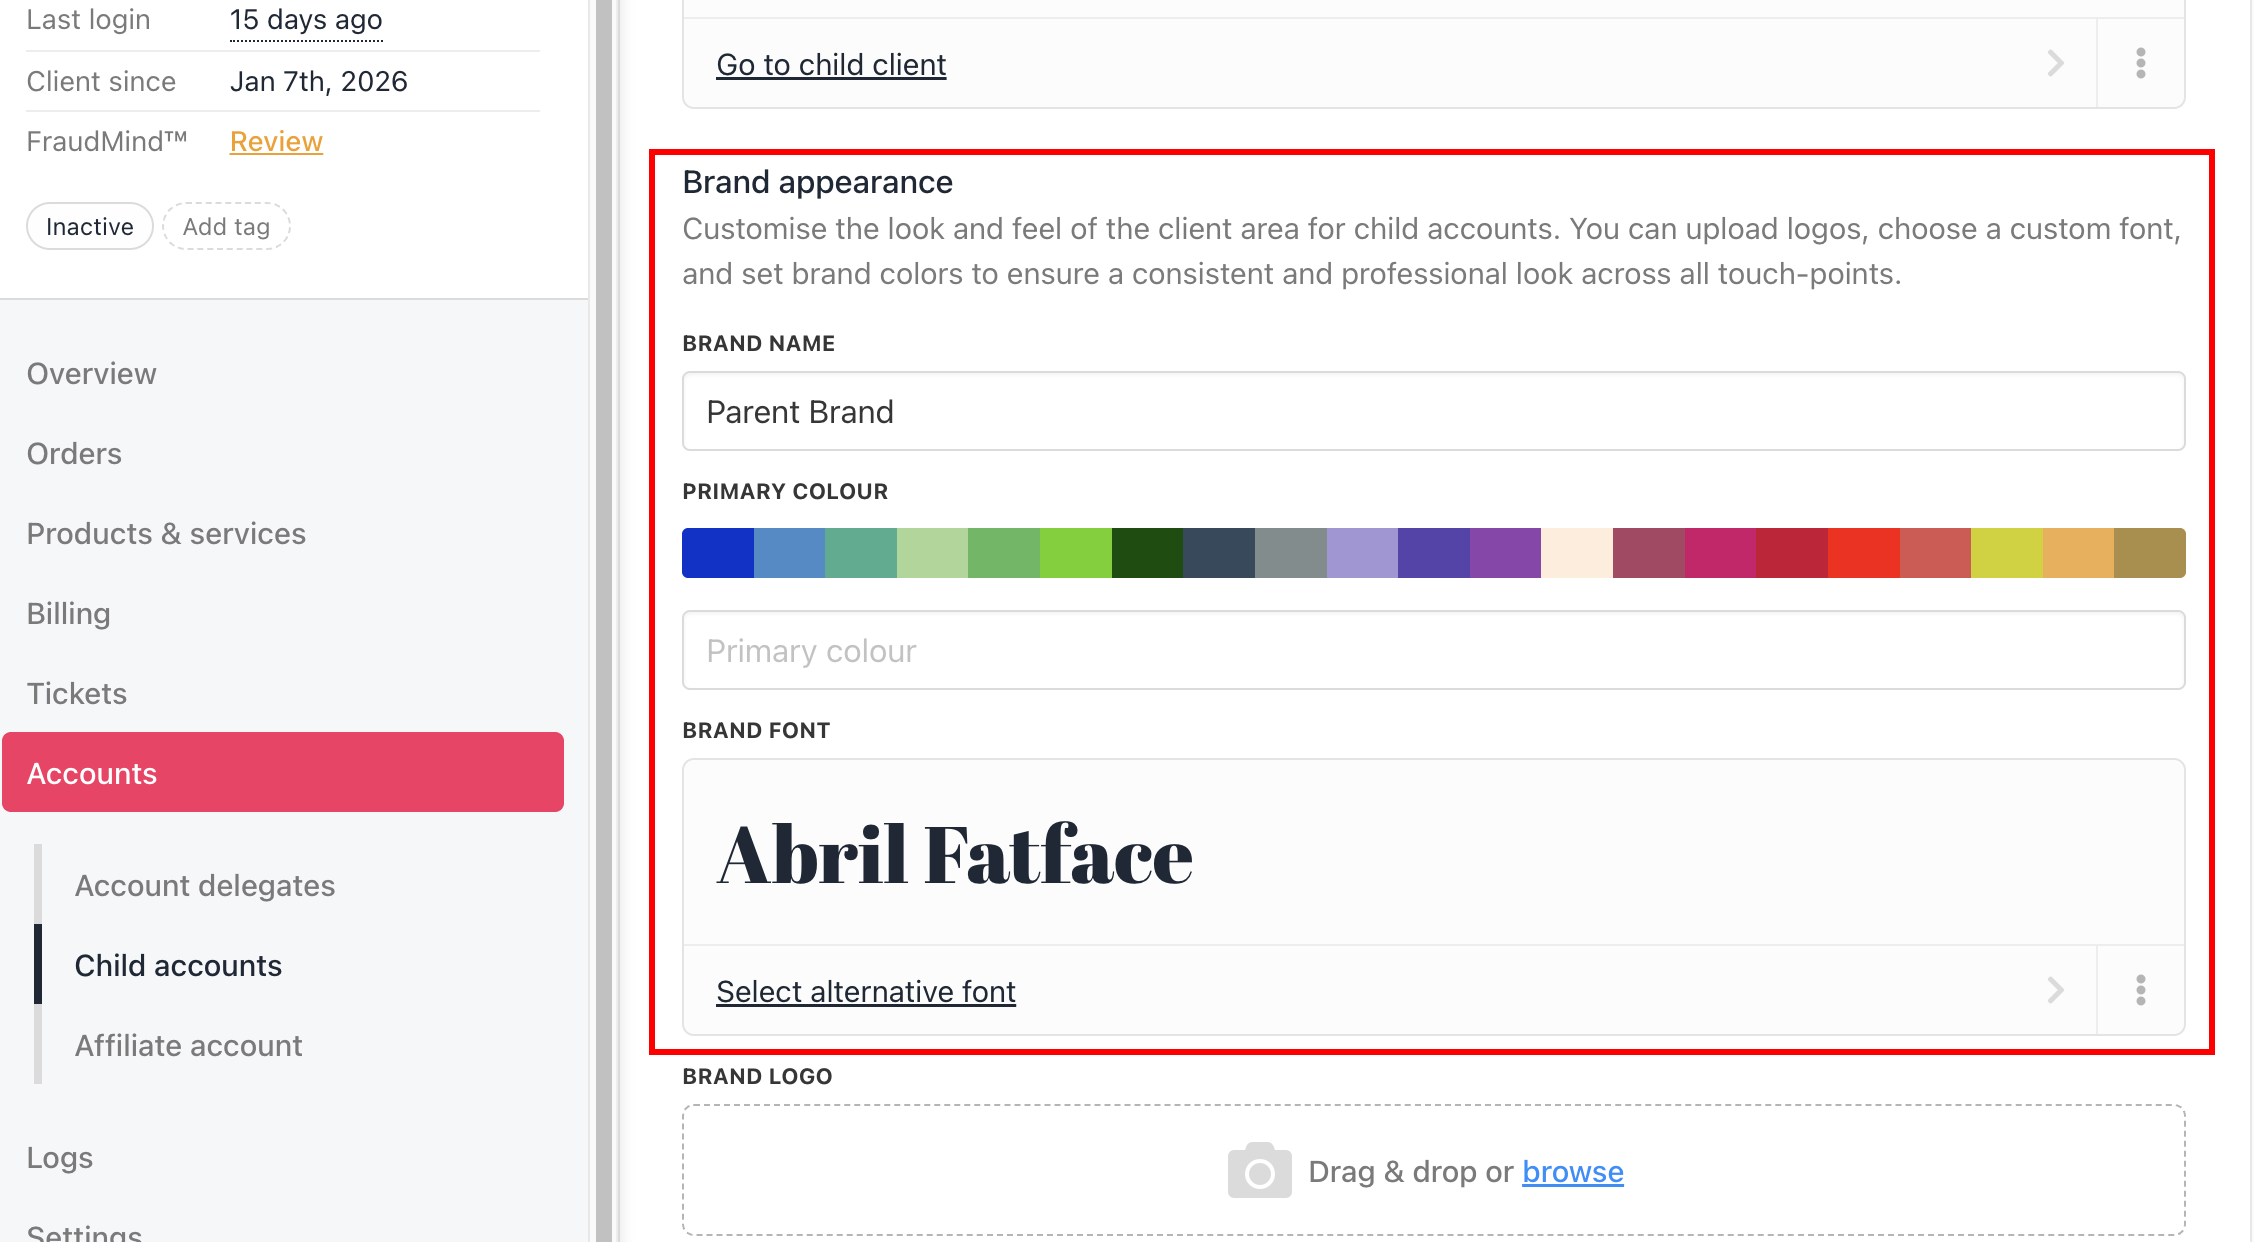
- Click Save to apply the appearance settings.