> ## Documentation Index
> Fetch the complete documentation index at: https://docs.upmind.com/llms.txt
> Use this file to discover all available pages before exploring further.
# How to Open and Assign Client Tickets
> Read, assign, and respond to client tickets
Support tickets help you connect with your clients. Answer questions, resolve problems, build trust, and retain customers. The Upmind ticket system is easy to learn and even easier to use.
## Opening the ticket page
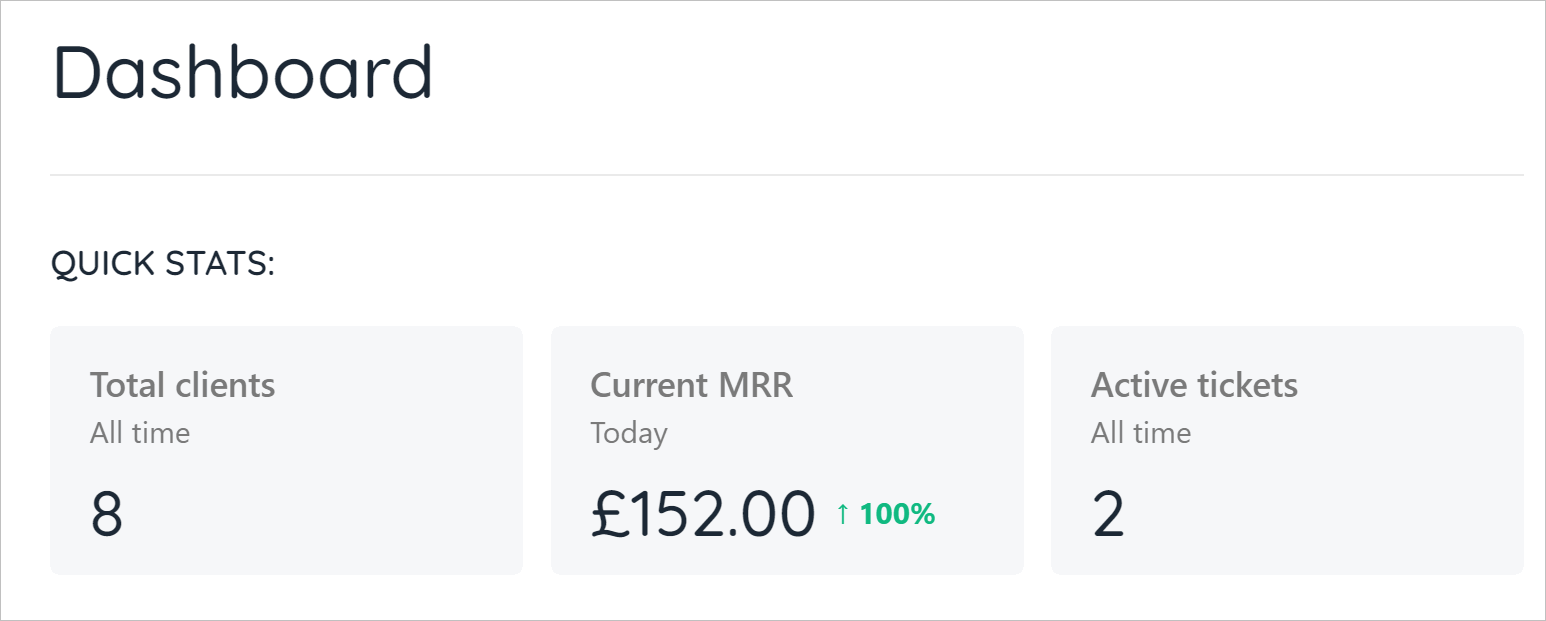
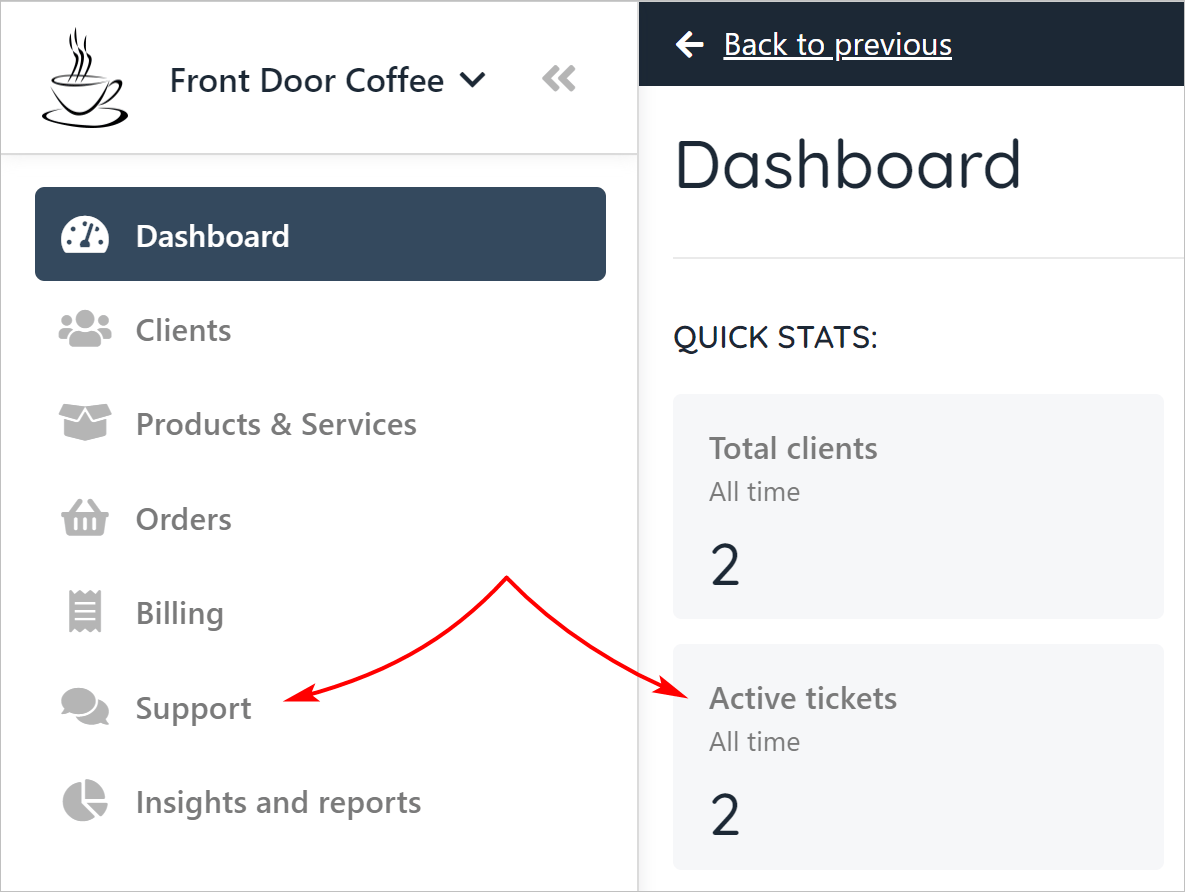
From the main dashboard, there are two ways to open the tickets page.
1. Click the Active tickets tile. Or
 2. Click Support on the left menu.
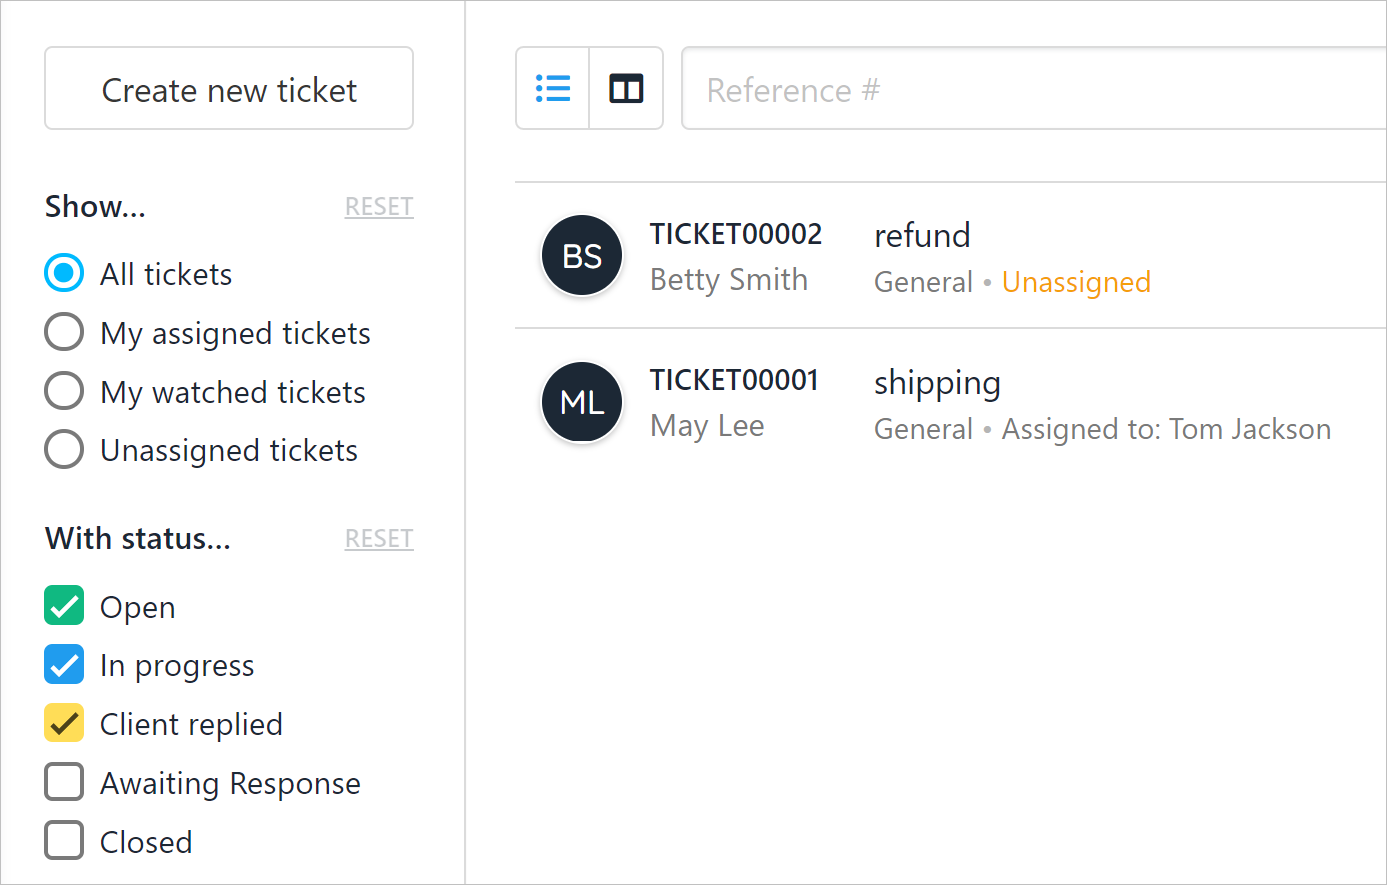
 * The Tickets page displays.
 ## Sorting tickets
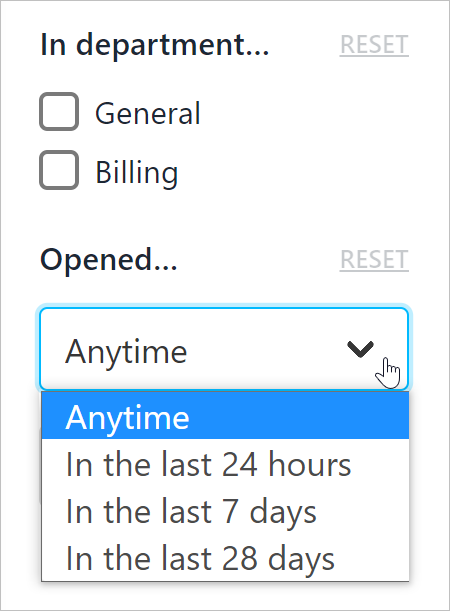
On the left menu, Upmind gives you five filters to sort tickets:
* label
* status
* department
* open time
* spam filter
## Sorting tickets
On the left menu, Upmind gives you five filters to sort tickets:
* label
* status
* department
* open time
* spam filter
 ### Opening a ticket
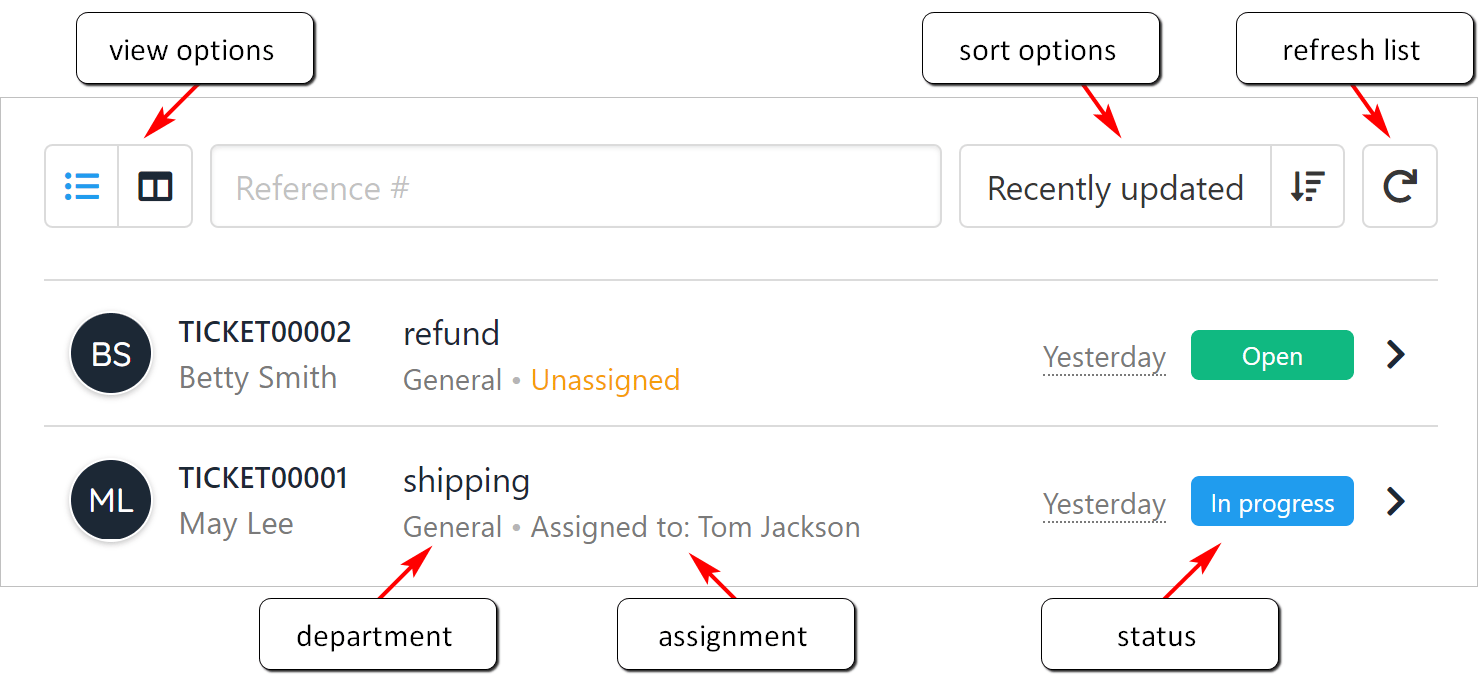
The centre window displays a list of tickets and summary information. The page also provides display options.
To review a ticket in detail, click a ticket name.
### Opening a ticket
The centre window displays a list of tickets and summary information. The page also provides display options.
To review a ticket in detail, click a ticket name.
 ## Assigning a ticket
Every ticket needs a participant (the person responsible for taking action on a ticket). An admin user can become the participant by clicking the **Take ticket** button.
## Assigning a ticket
Every ticket needs a participant (the person responsible for taking action on a ticket). An admin user can become the participant by clicking the **Take ticket** button.
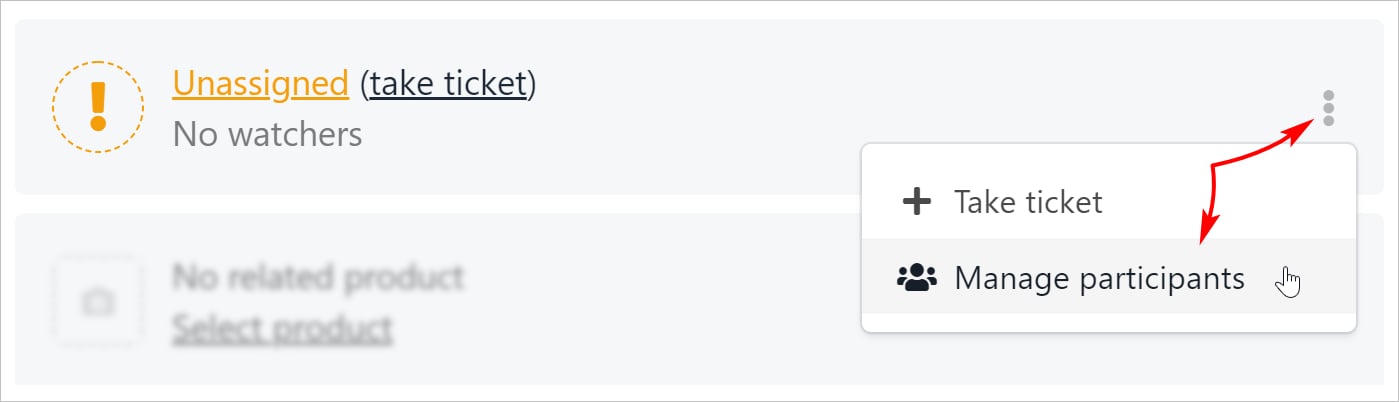
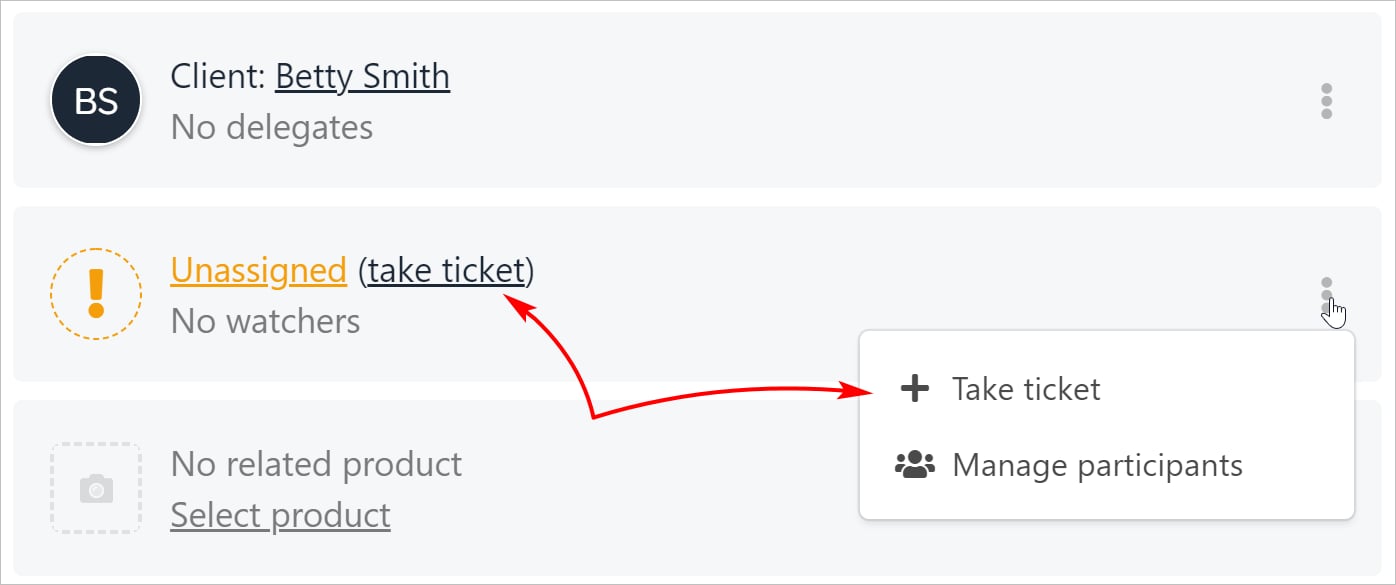 Admin users can also assign a ticket to another user.
1. Click the three-dot button and select Manage participants.
Admin users can also assign a ticket to another user.
1. Click the three-dot button and select Manage participants.
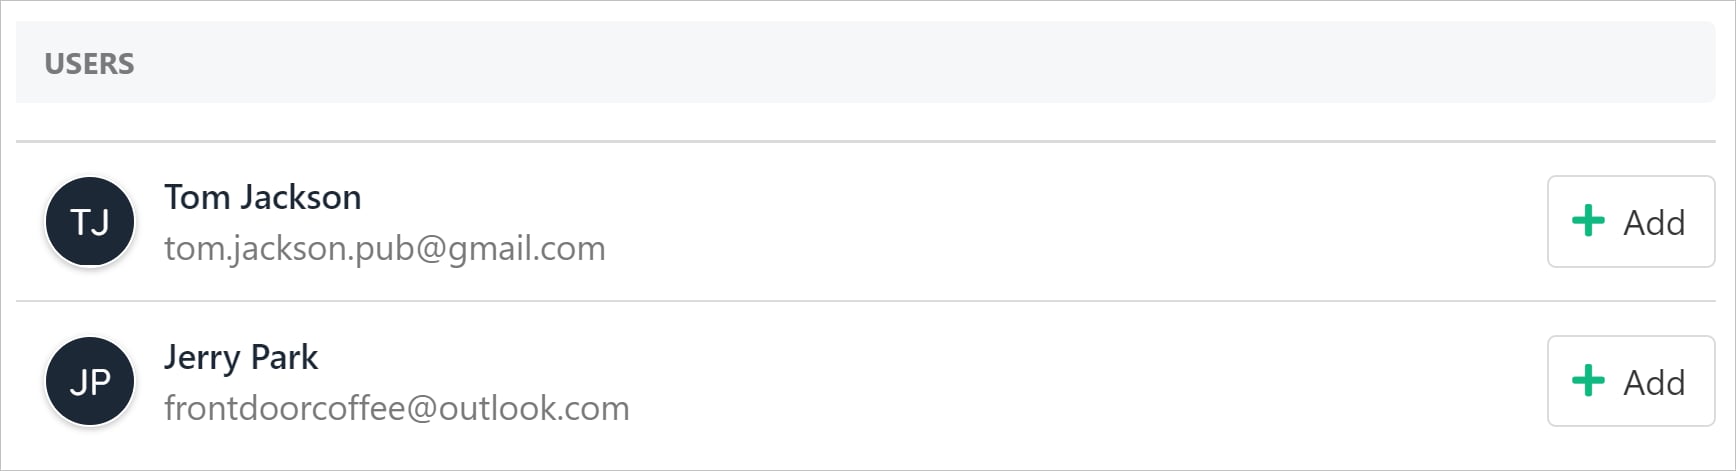
 2. On the list of Users, locate the participant and click the Add button.
3. Click Save.
2. On the list of Users, locate the participant and click the Add button.
3. Click Save.
 ## Removing an assigned participant
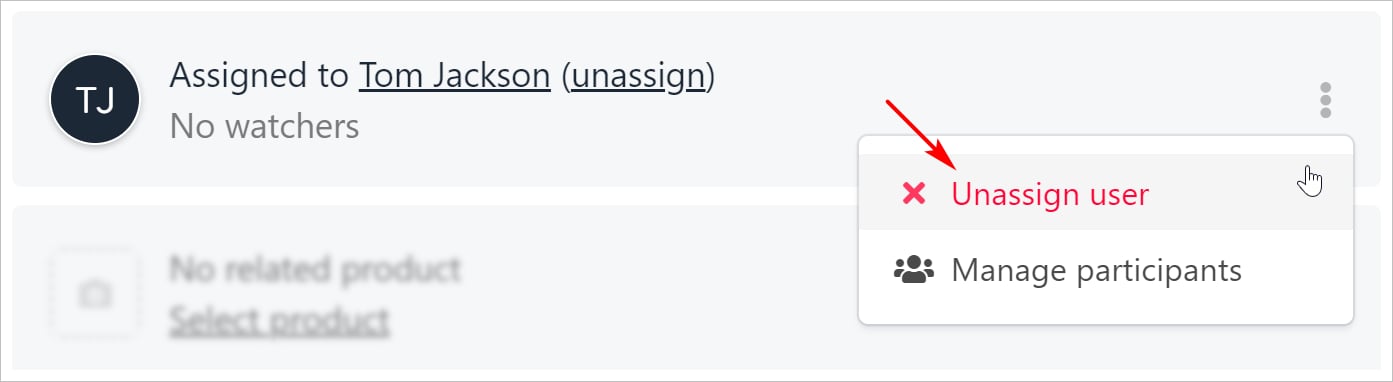
To remove a participant from a ticket:
1. Click the ticket in the centre window.
2. Click the three-dot icon.
3. Click Unassign user.
## Removing an assigned participant
To remove a participant from a ticket:
1. Click the ticket in the centre window.
2. Click the three-dot icon.
3. Click Unassign user.
 ## Reading a ticket
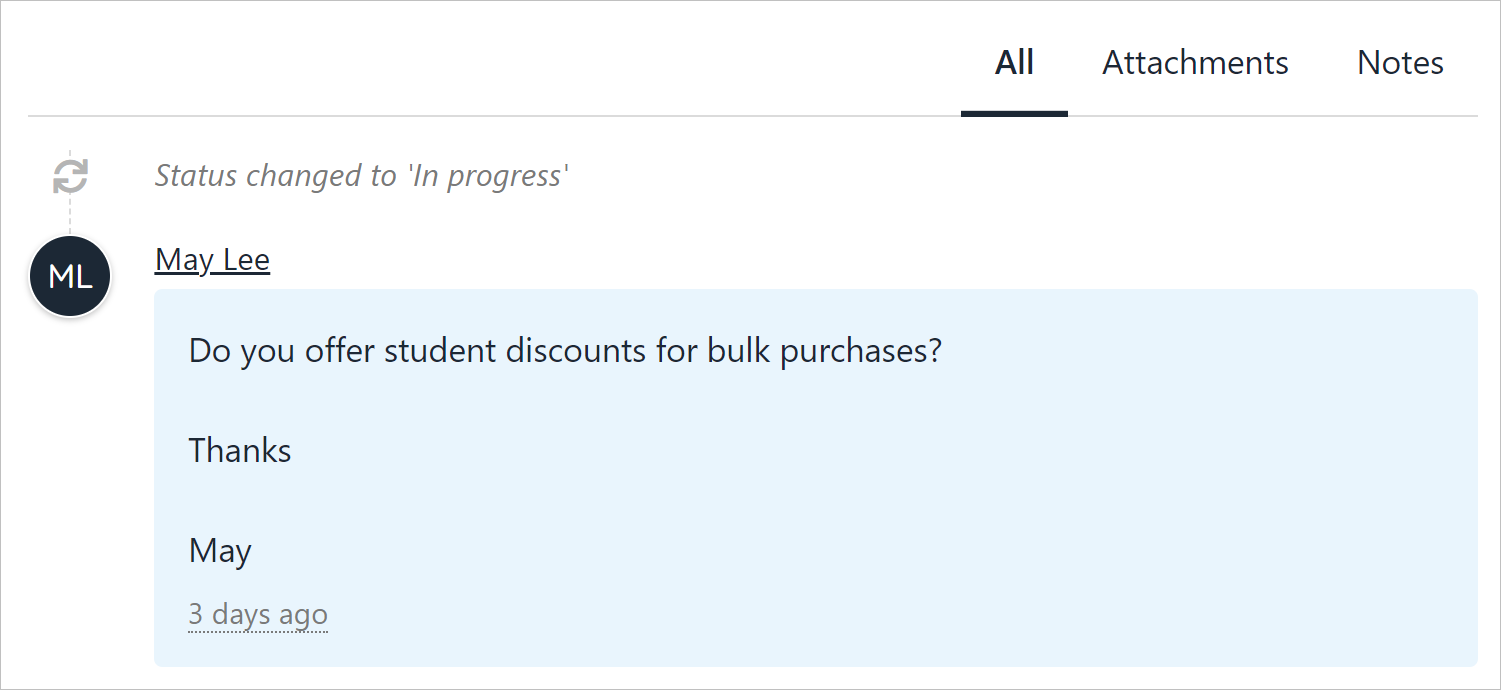
The ticket thread starts in the bottom right corner of the screen. Click the Attachment or Notes menu tabs to view additional information (if available).
## Reading a ticket
The ticket thread starts in the bottom right corner of the screen. Click the Attachment or Notes menu tabs to view additional information (if available).
 ## Posting a reply
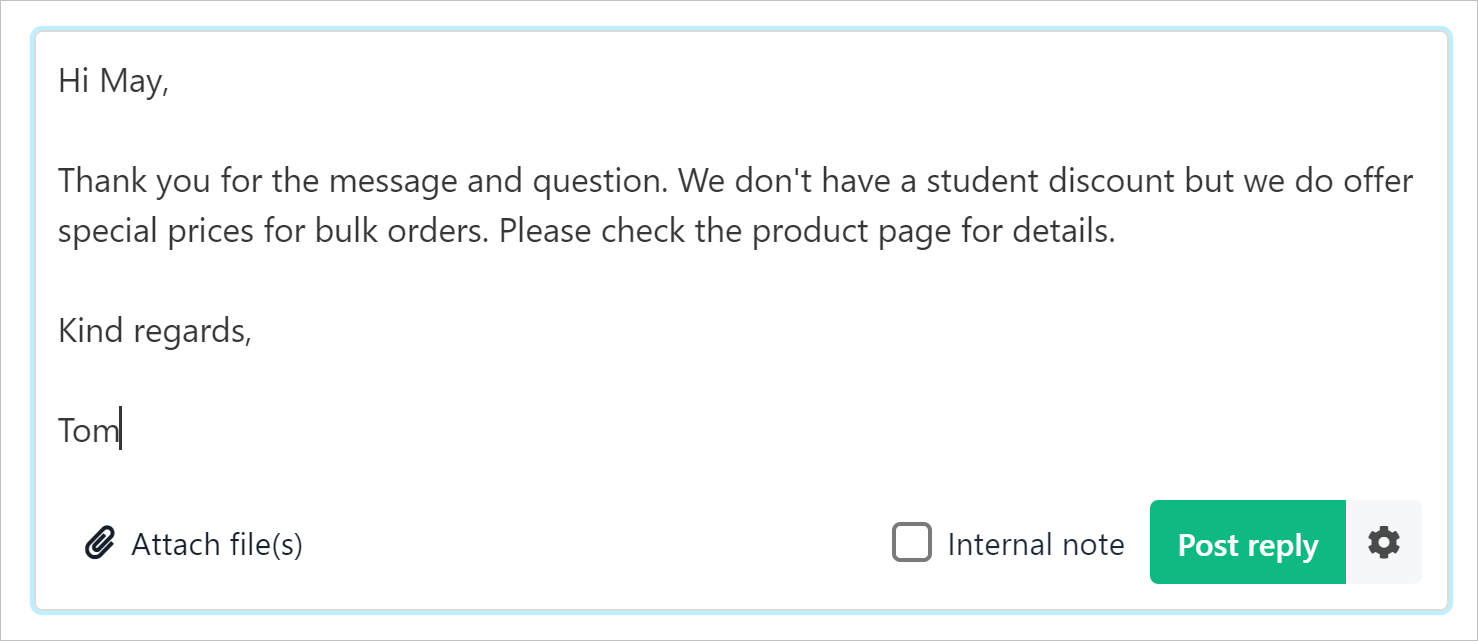
1. Write a reply in the blank field in the ticket thread.
2. Click Post reply to send a response to the client and add the message to the ticket thread.
3. Click Attach files to attach images or documents. (optional)
## Posting a reply
1. Write a reply in the blank field in the ticket thread.
2. Click Post reply to send a response to the client and add the message to the ticket thread.
3. Click Attach files to attach images or documents. (optional)
 * Upmind sends the reply to the client.
 ## Adding a note
Users can add notes to a ticket thread. The client can read these internal comments.
1. Enter text in the field.
2. Check the Internal note box.
3. Click the Add note button.
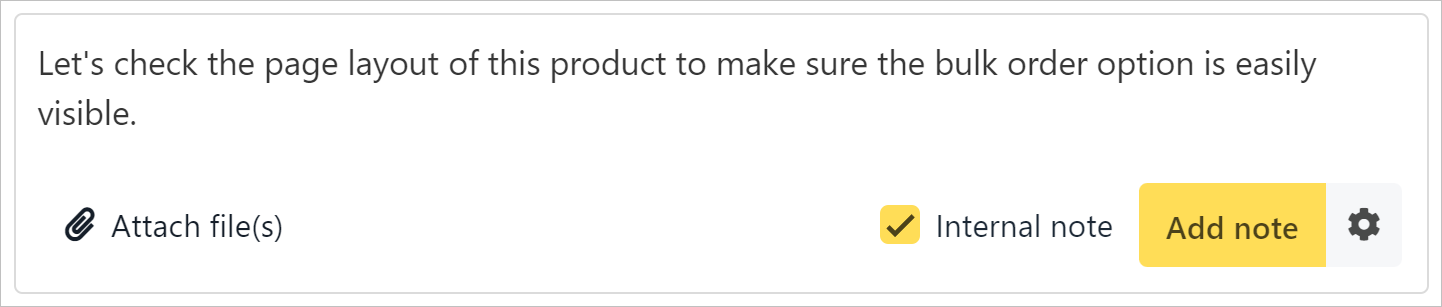
## Adding a note
Users can add notes to a ticket thread. The client can read these internal comments.
1. Enter text in the field.
2. Check the Internal note box.
3. Click the Add note button.
 ## Editing a note
1. Click the three-dot icon.
2. Click Edit.
3. Change the text.
4. Click Save.
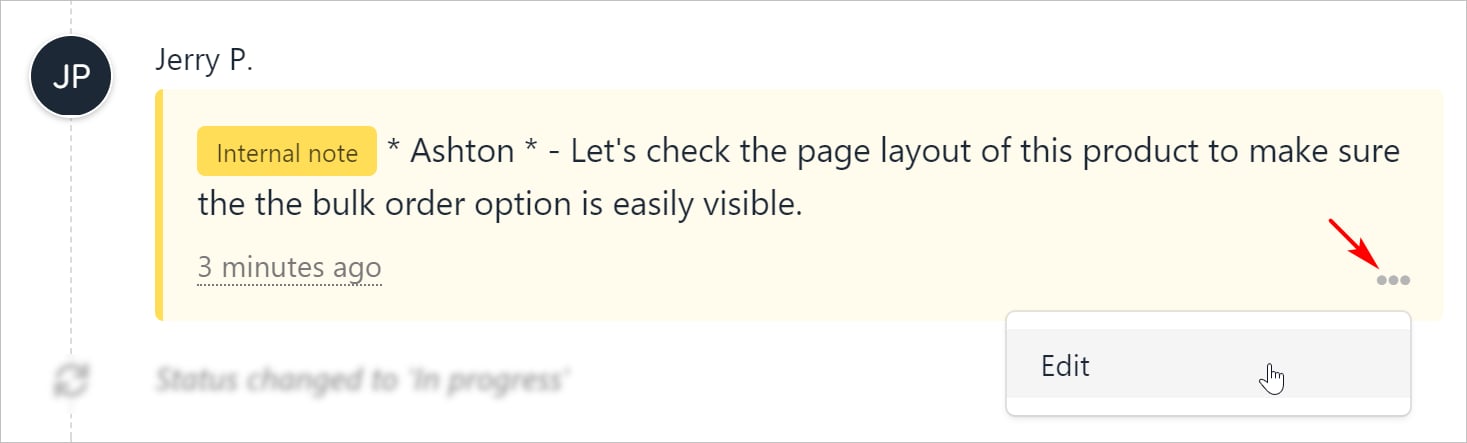
## Editing a note
1. Click the three-dot icon.
2. Click Edit.
3. Change the text.
4. Click Save.
 ## Changing ticket status
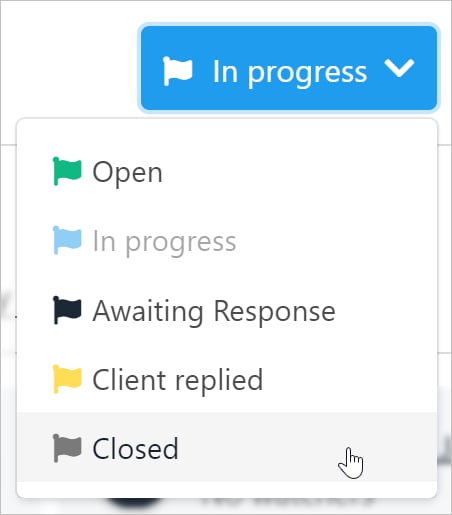
Participants can manually change the status of a ticket.
1. Go to the top of the screen.
2. Click the status button.
3. Select the correct status on the drop-down menu.
## Changing ticket status
Participants can manually change the status of a ticket.
1. Go to the top of the screen.
2. Click the status button.
3. Select the correct status on the drop-down menu.