> ## Documentation Index
> Fetch the complete documentation index at: https://docs.upmind.com/llms.txt
> Use this file to discover all available pages before exploring further.
# How to Create a Ticket
> Admins and other users can manage tickets
Admins and other users can create tickets on behalf of clients. Tickets create an audit trail of support and help staff follow up on client questions or problems.
## Creating a ticket
1. Open the Upmind dashboard.
2. Click Support on the left menu.
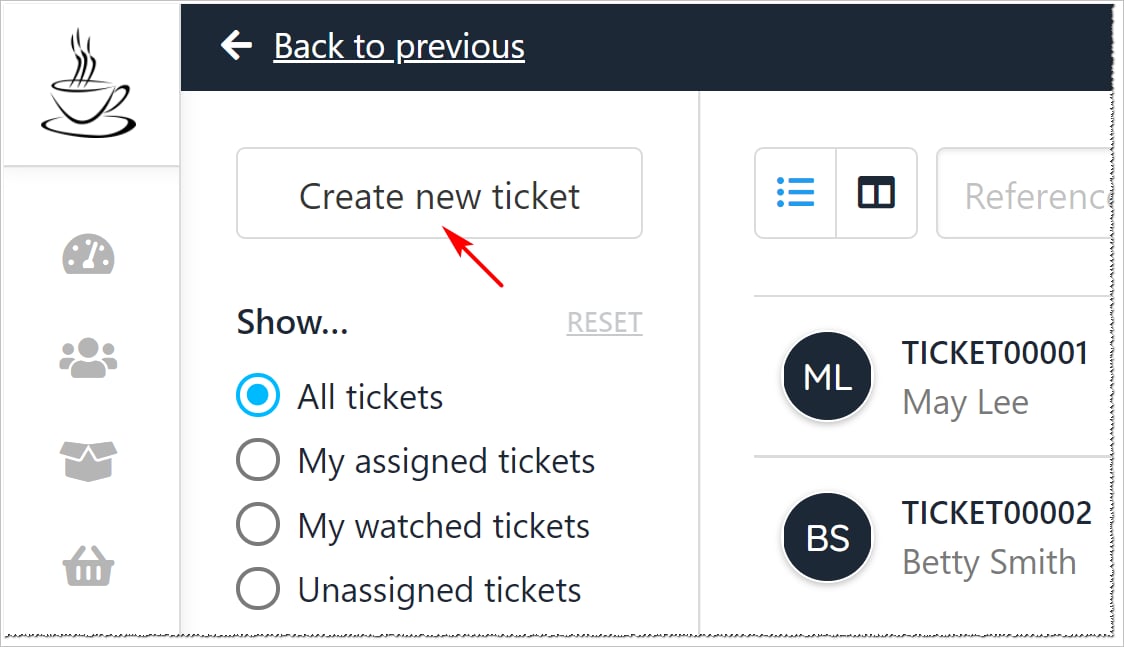
3. Click Create new ticket.
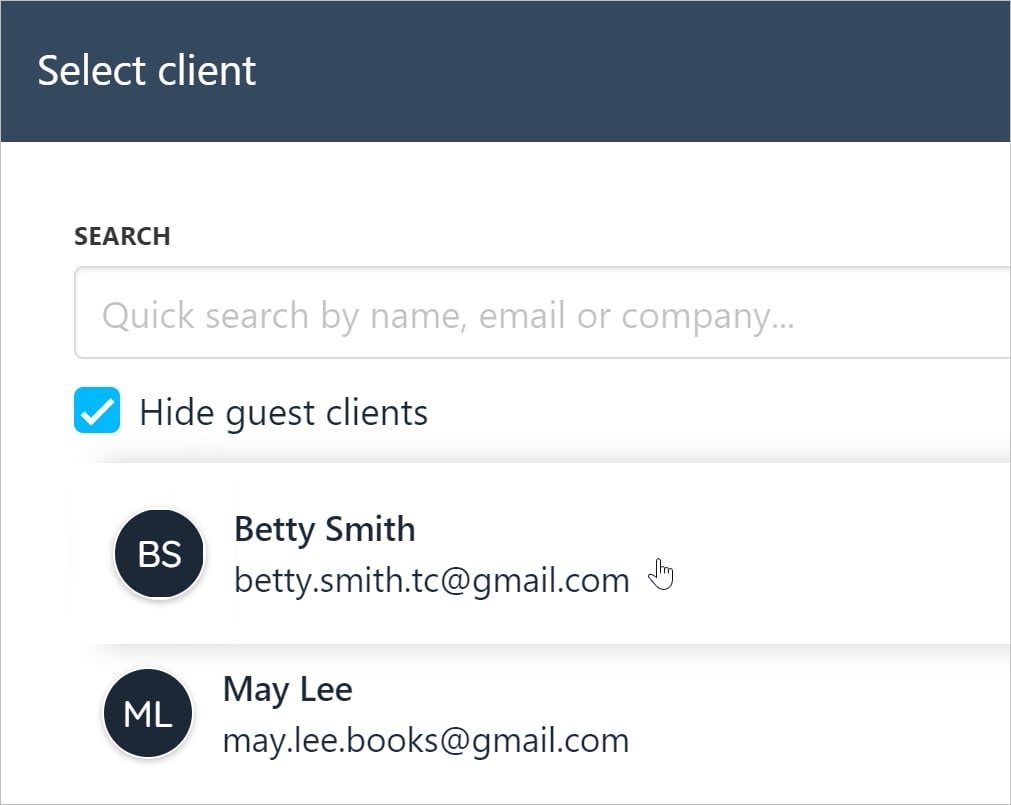
 4. Scroll through the list and select a client on the side panel.
5. Use the Search tool to locate a client name. (optional)
4. Scroll through the list and select a client on the side panel.
5. Use the Search tool to locate a client name. (optional)
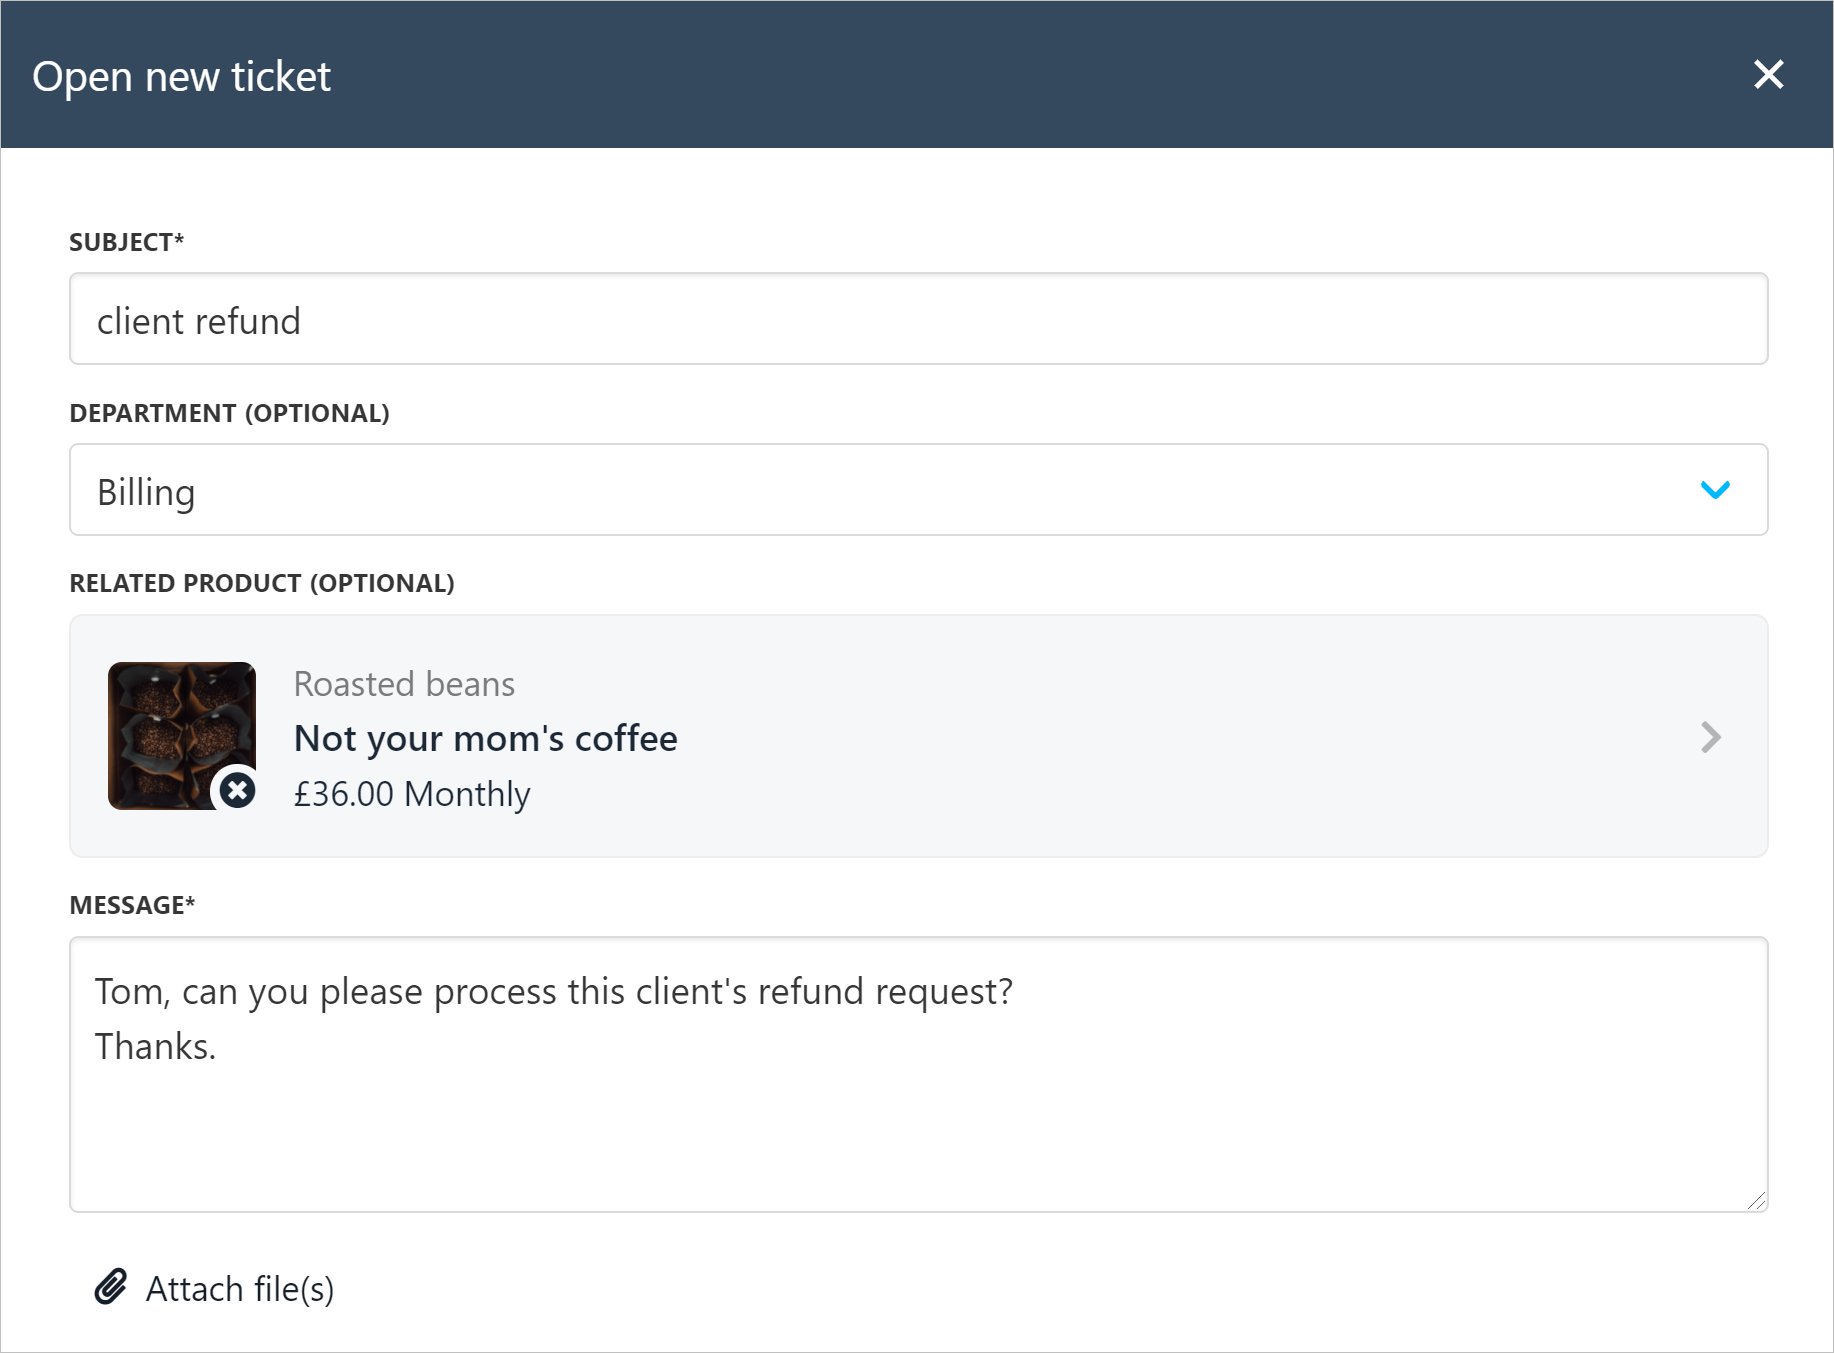
 6. Fill the fields.
7. Attach files. (optional)
8. Click Create ticket.
6. Fill the fields.
7. Attach files. (optional)
8. Click Create ticket.
 ## Ticket communication
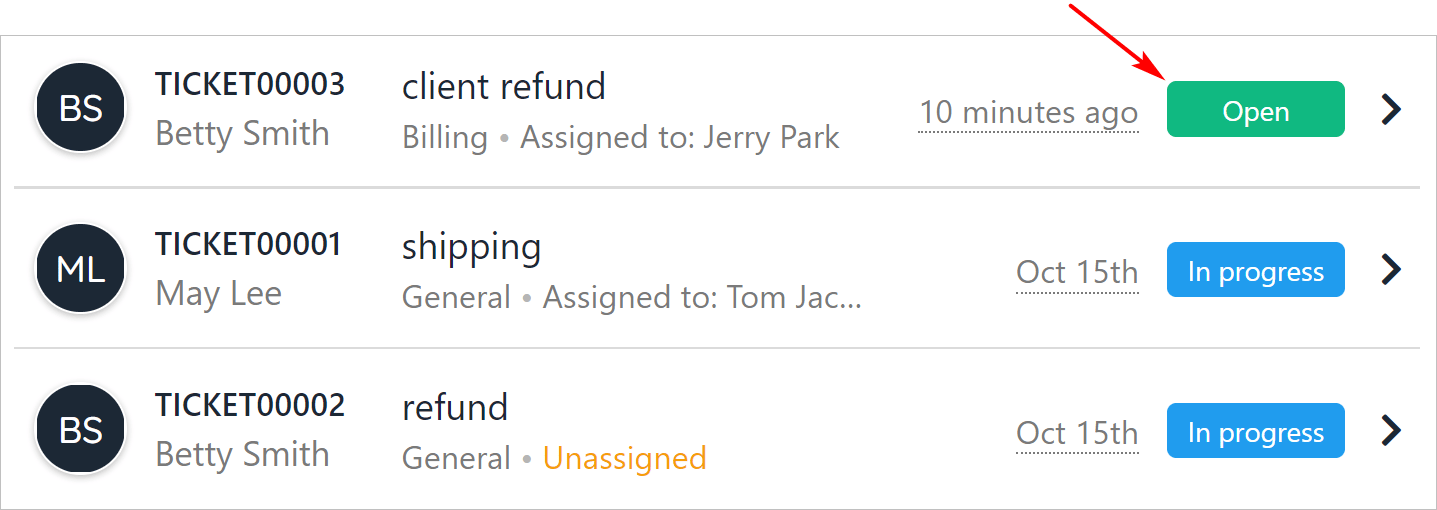
After a user creates a ticket, Upmind generates two actions.
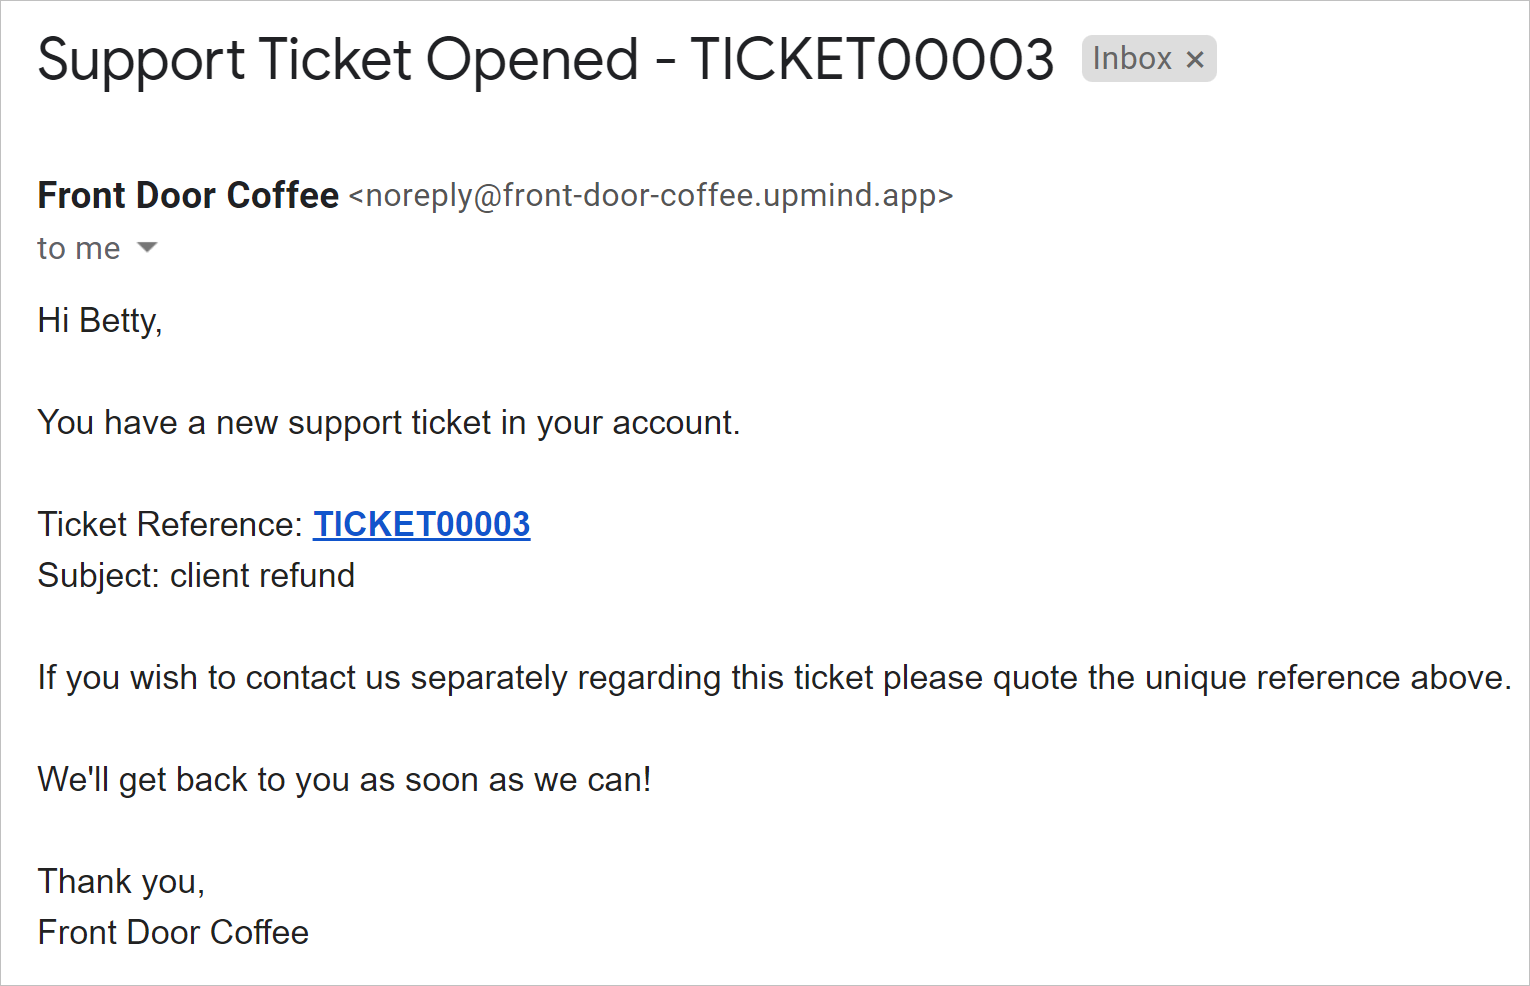
1. The client receives an email notification about the open ticket. The client can click a link to read the ticket.
## Ticket communication
After a user creates a ticket, Upmind generates two actions.
1. The client receives an email notification about the open ticket. The client can click a link to read the ticket.
 2. Upmind opens a ticket on the Support page.
 ## Editing the ticket subject line
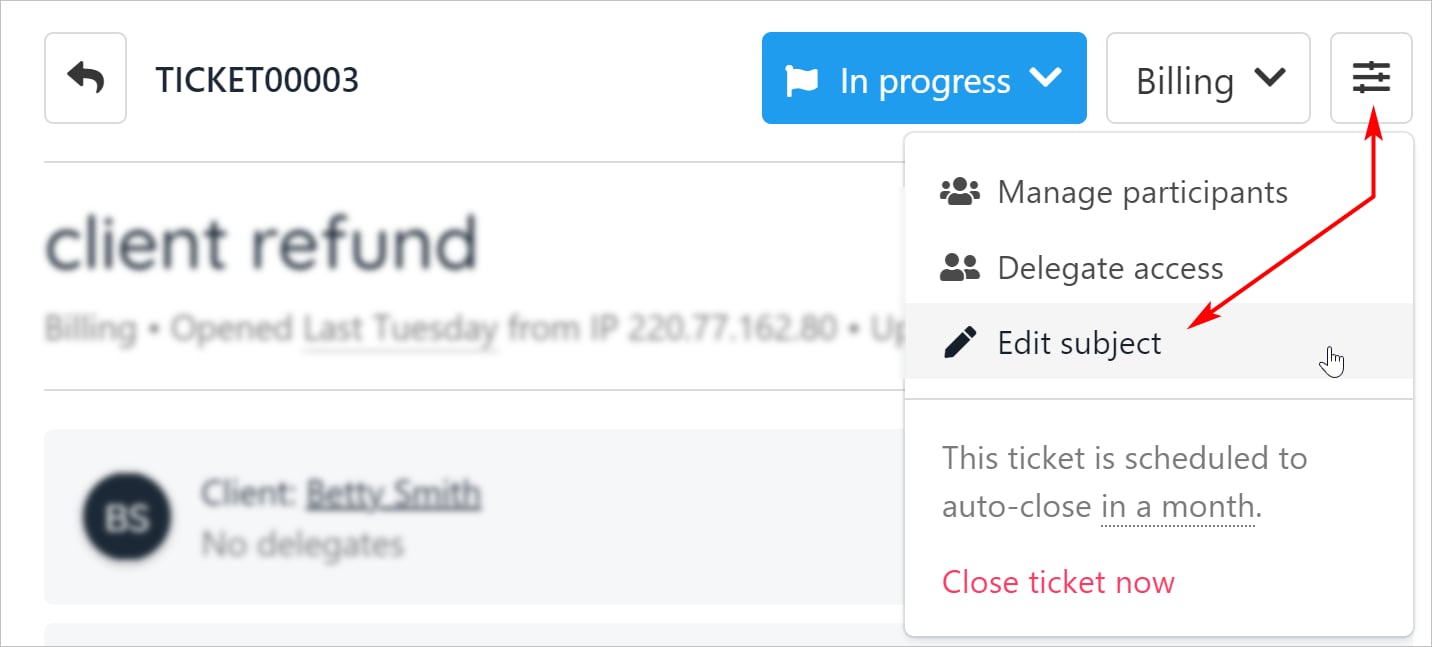
1. Open a ticket.
2. Click the three-bar icon.
3. Click Edit subject.
4. Change the text.
5. Click Save.
## Editing the ticket subject line
1. Open a ticket.
2. Click the three-bar icon.
3. Click Edit subject.
4. Change the text.
5. Click Save.
 ## Editing the ticket message
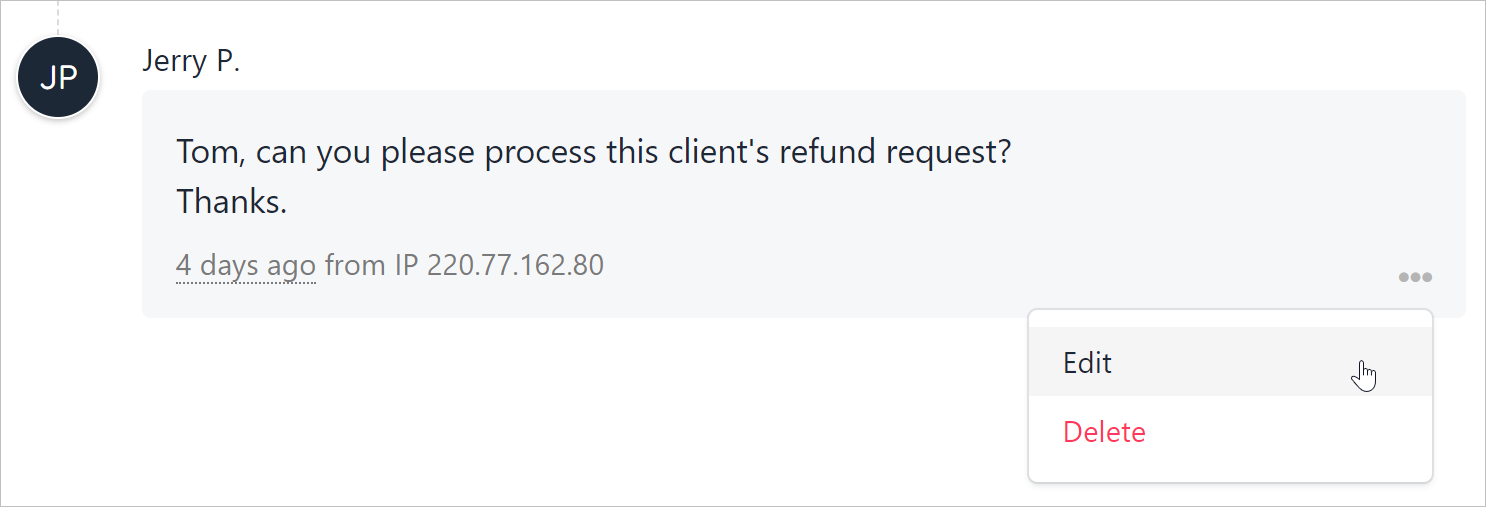
1. Scroll down to the ticket text.
2. Click the three-dot icon.
3. Click Edit.
4. Change the message.
5. Click Save.
## Editing the ticket message
1. Scroll down to the ticket text.
2. Click the three-dot icon.
3. Click Edit.
4. Change the message.
5. Click Save.
 ## Assigning a ticket
By default, Upmind assigns the ticket to the user who creates the ticket. You can change the assignment.
1. Click Support on the left menu.
2. Scroll through the list and click the ticket you want to edit.
3. On the right side of the screen, click the three-dot icon.
4. Click Manage participants.
## Assigning a ticket
By default, Upmind assigns the ticket to the user who creates the ticket. You can change the assignment.
1. Click Support on the left menu.
2. Scroll through the list and click the ticket you want to edit.
3. On the right side of the screen, click the three-dot icon.
4. Click Manage participants.
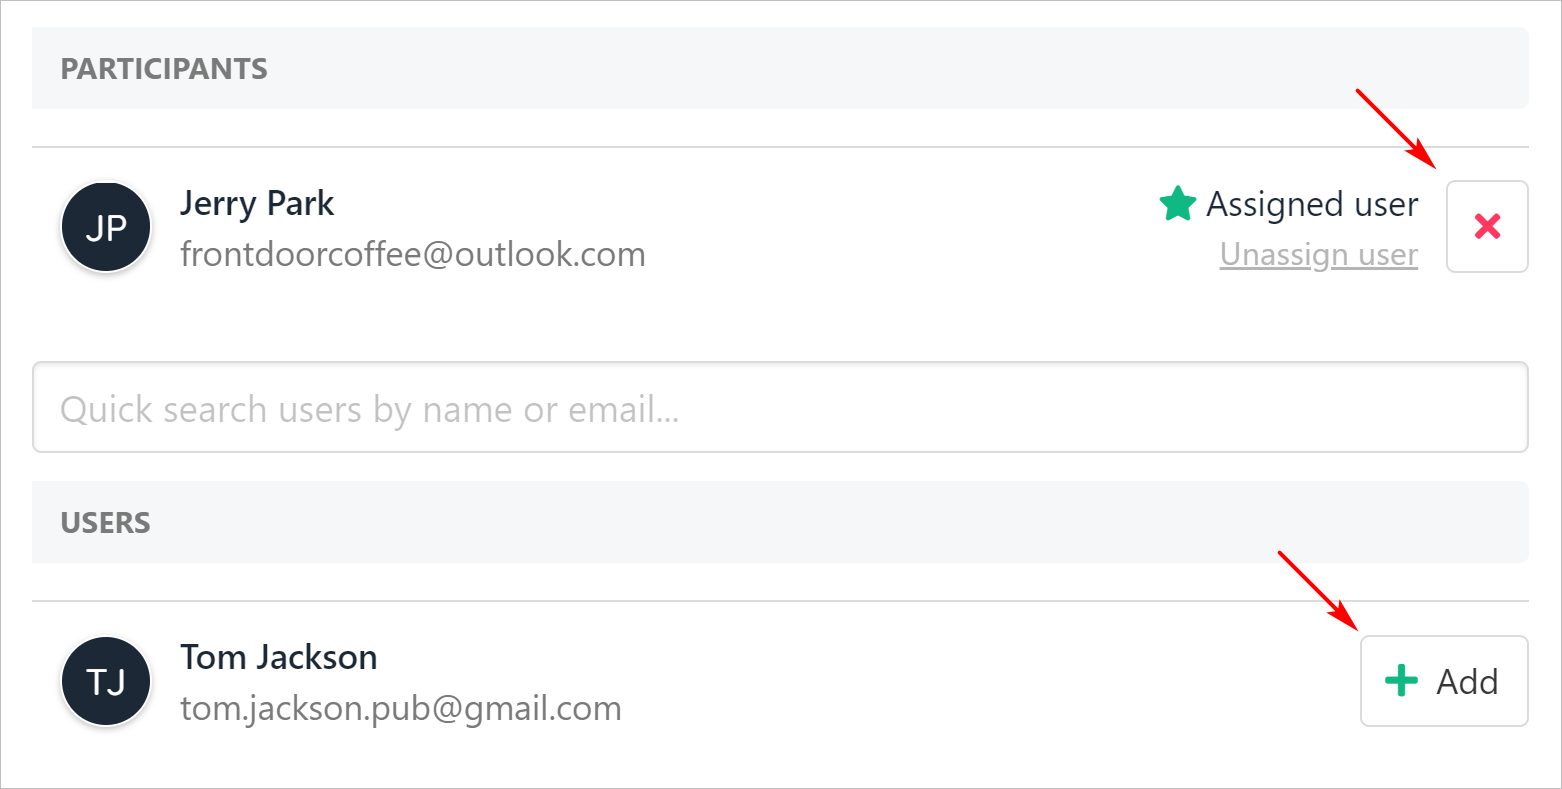
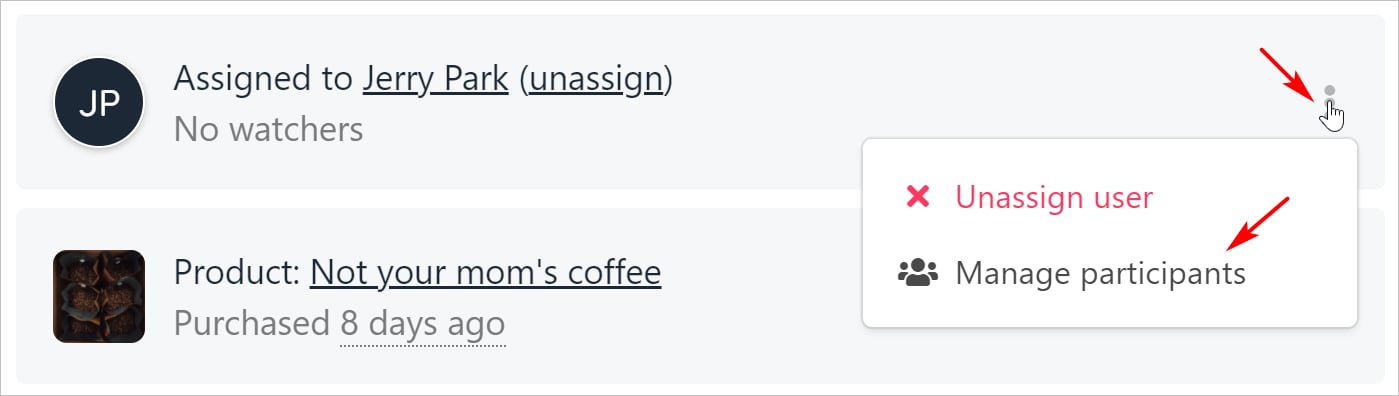 5. Click the X icon to remove an assigned user.
6. Click the Add button to assign a user to the ticket.
7. Click Save.
5. Click the X icon to remove an assigned user.
6. Click the Add button to assign a user to the ticket.
7. Click Save.
 * Upmind updates the name of the assigned user.
