> ## Documentation Index
> Fetch the complete documentation index at: https://docs.upmind.com/llms.txt
> Use this file to discover all available pages before exploring further.
# How Do My Clients Create Tickets
> Learn how my clients can create support tickets for your e-commerce store. Create info when you onboard new clients. Setup for your clients. Check Now!
This article shows store owners and staff how account holders can create a ticket or add delegates to a support ticket. Store owners and staff can use this information as part of their client onboarding process.
* An account holder is a client or sales lead who creates an account on your store.
Clients and leads must [create a store account](/getting-started/how-to-create-an-upmind-account) before they can create a support ticket.
## Creating a support ticket
1. Log in to the store account.
2. Click the Support menu tab.
 3. Click the Open new ticket button.
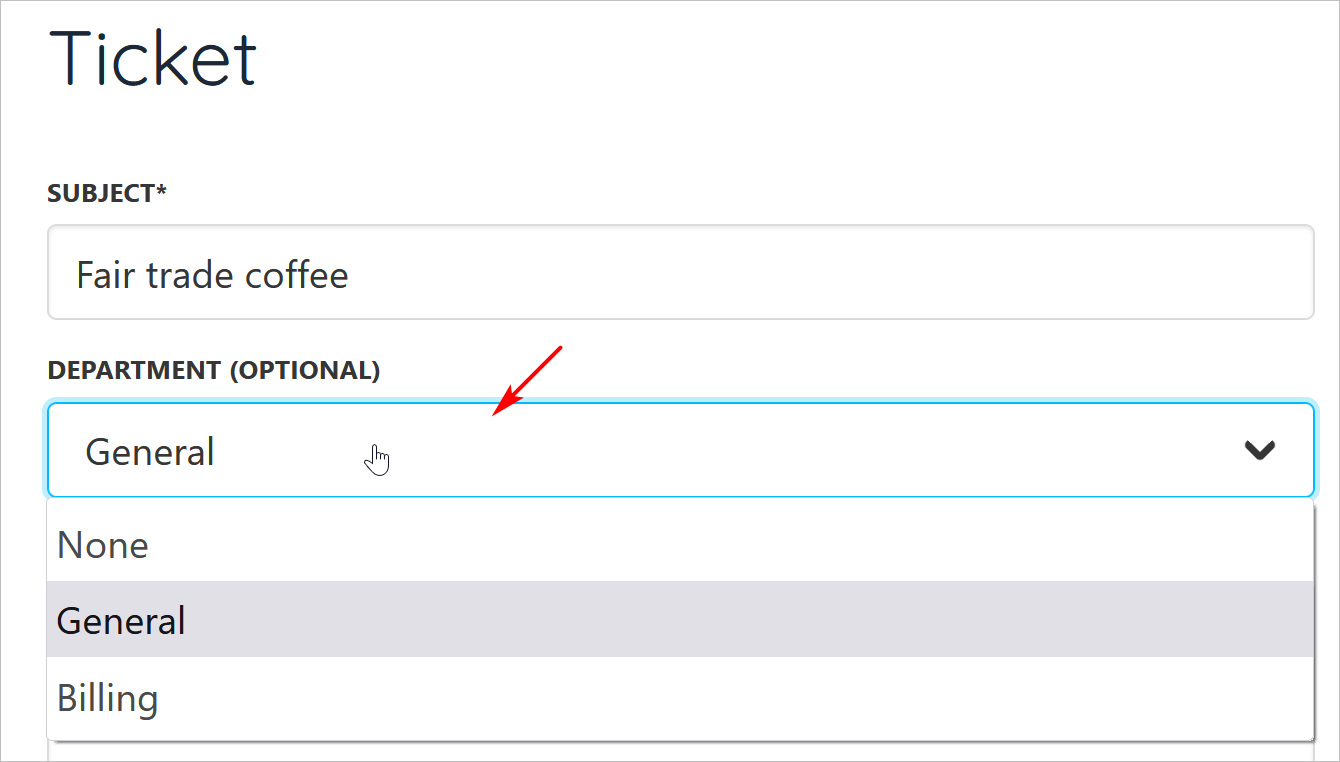
4. Add a subject.
5. Click the field and select a department. (optional)
The client sees department options only if you [create ticket departments](/using-upmind/service-desk/how-to-customise-the-ticket-and-support-system) for your store.
3. Click the Open new ticket button.
4. Add a subject.
5. Click the field and select a department. (optional)
The client sees department options only if you [create ticket departments](/using-upmind/service-desk/how-to-customise-the-ticket-and-support-system) for your store.
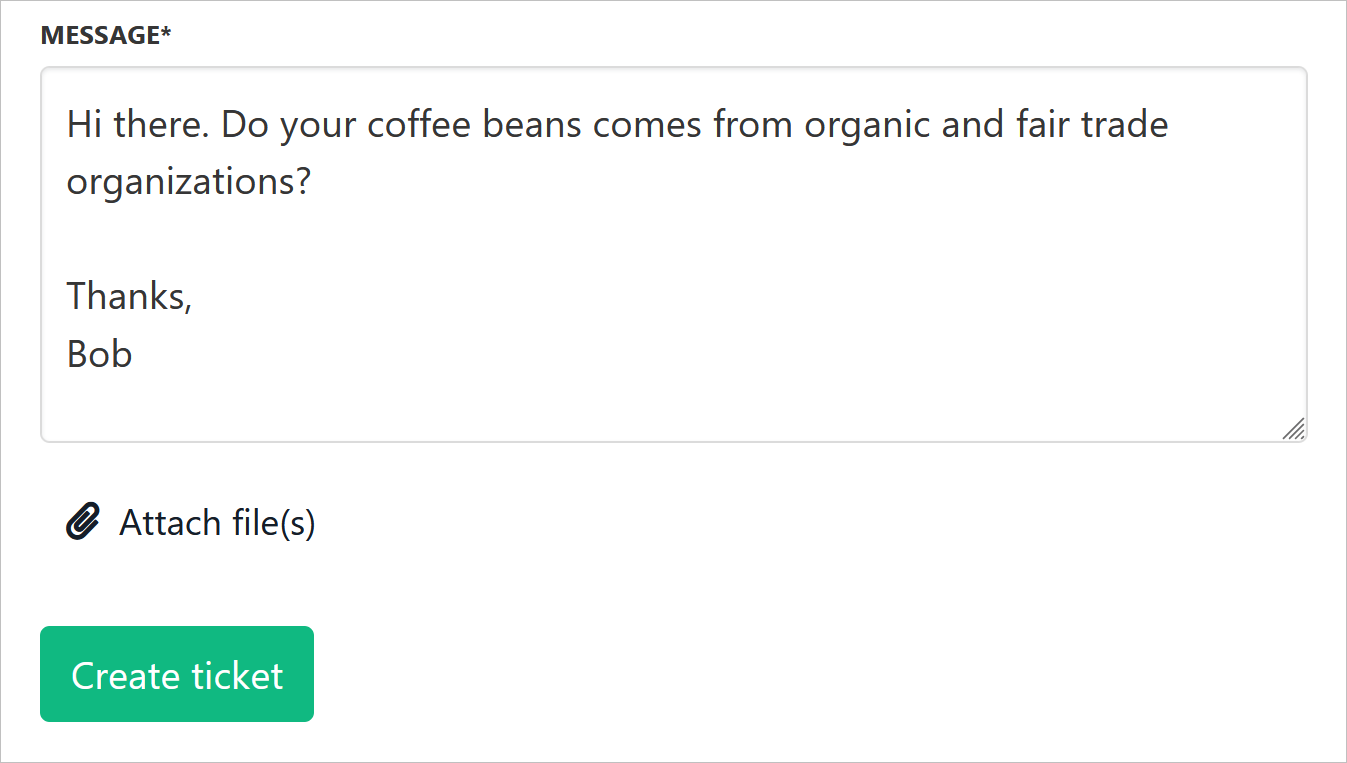
 6. Enter a message.
7. Add an attachment. (optional)
8. Click the Create ticket button.
6. Enter a message.
7. Add an attachment. (optional)
8. Click the Create ticket button.
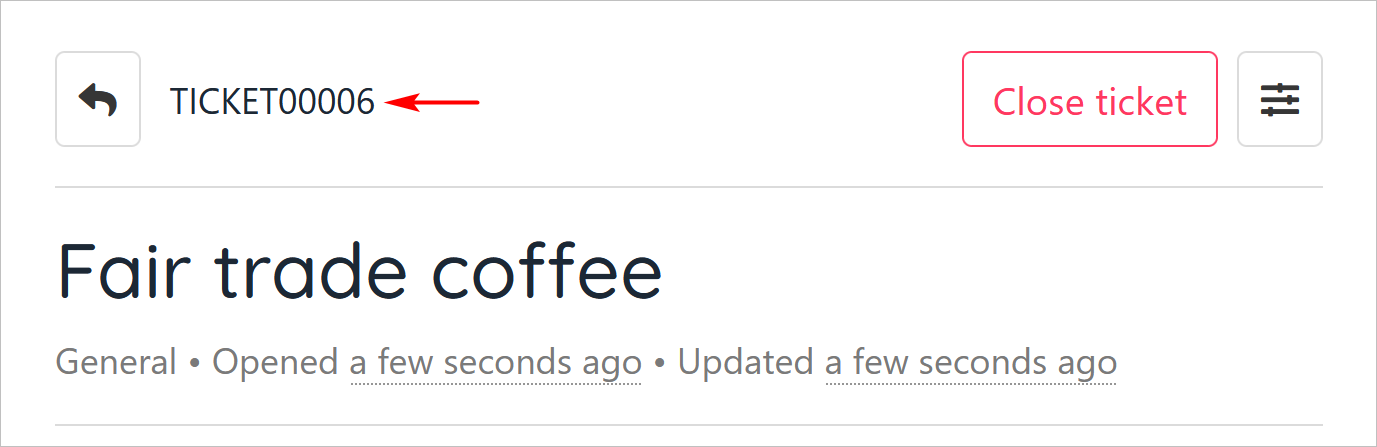
 * The ticket displays on the screen.
 ## Editing a ticket subject
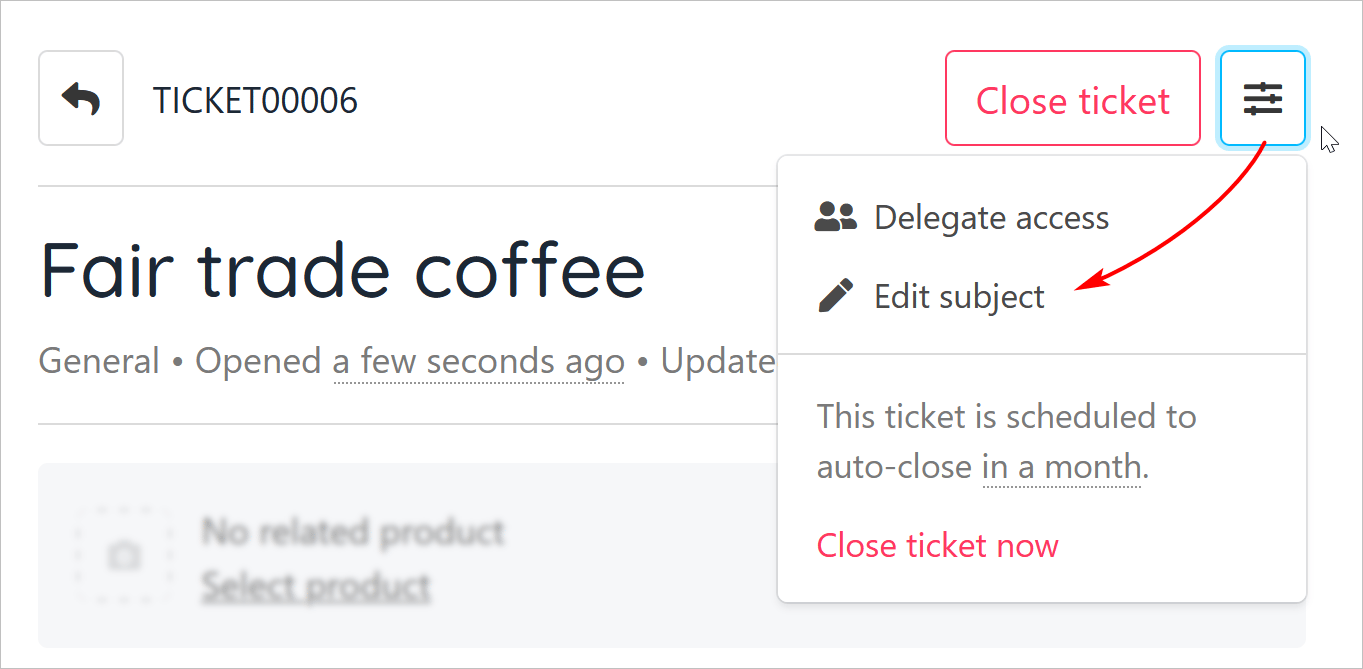
1. Click the three-bar icon.
2. Click Edit subject.
## Editing a ticket subject
1. Click the three-bar icon.
2. Click Edit subject.
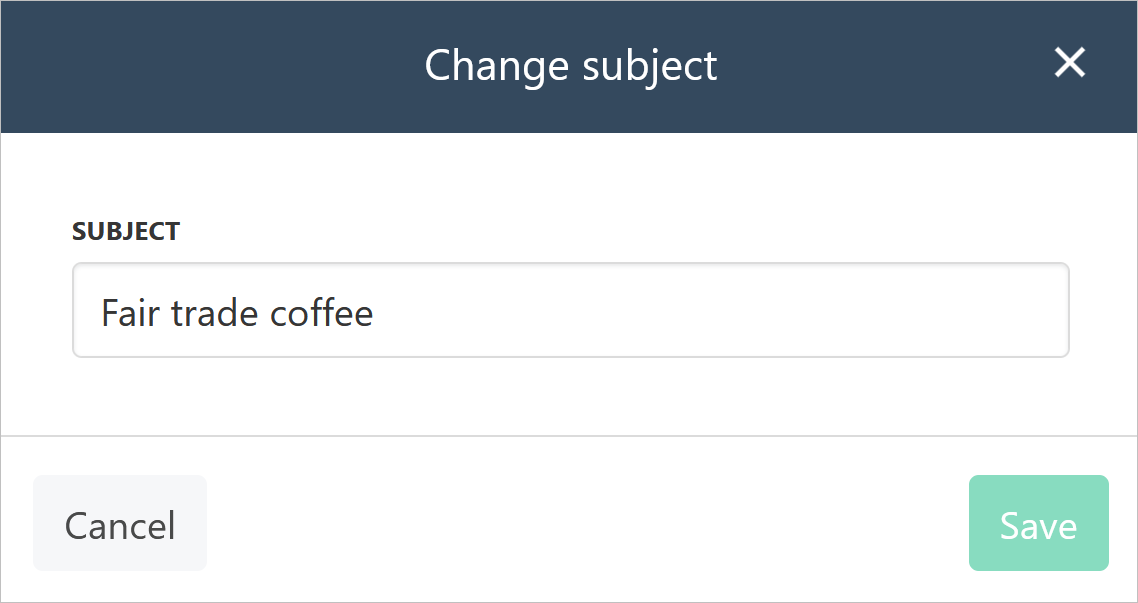
 3. Change the subject.
4. Click Save.
3. Change the subject.
4. Click Save.
 ## Editing a ticket message
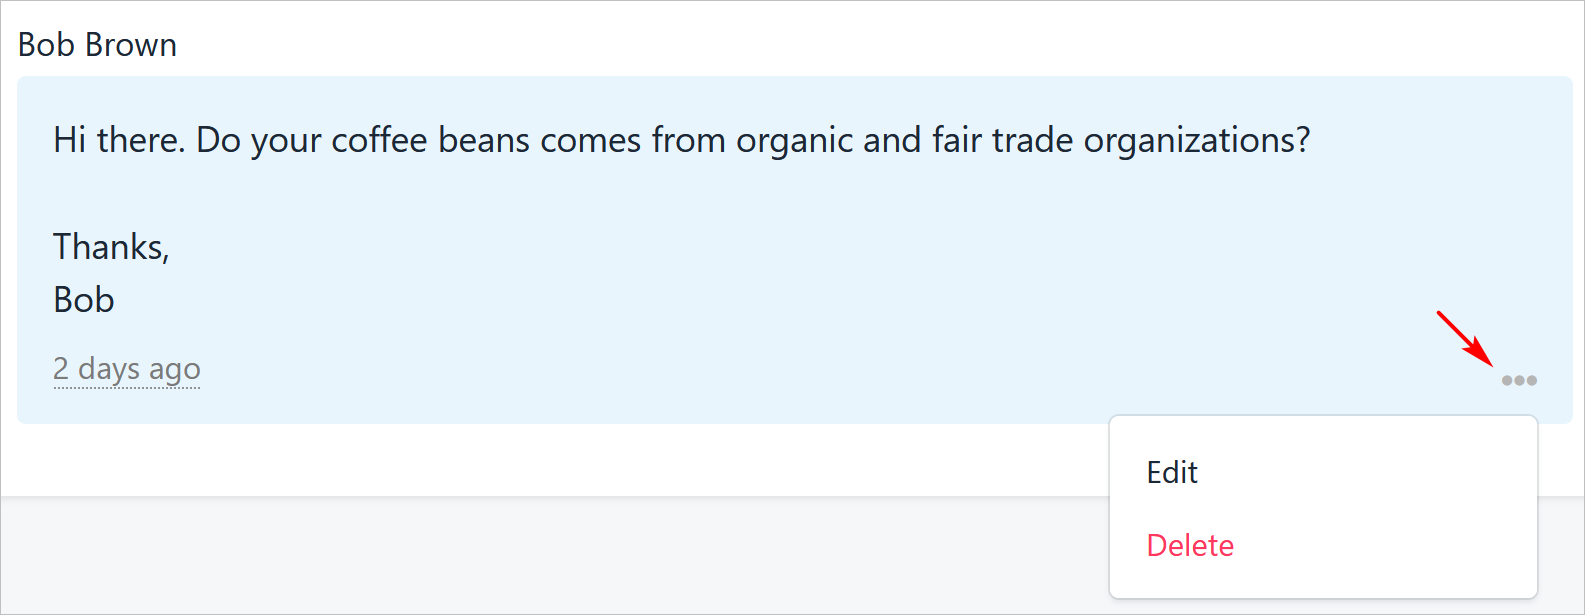
1. Scroll down to the ticket text.
2. Click the three-dot icon.
3. Click Edit.
4. Change the message.
5. Click Save.
## Editing a ticket message
1. Scroll down to the ticket text.
2. Click the three-dot icon.
3. Click Edit.
4. Change the message.
5. Click Save.
 ## Closing a ticket
The final status of a ticket is called Closed. That means no further communication can take place on this message. Account holders can close a ticket anytime.
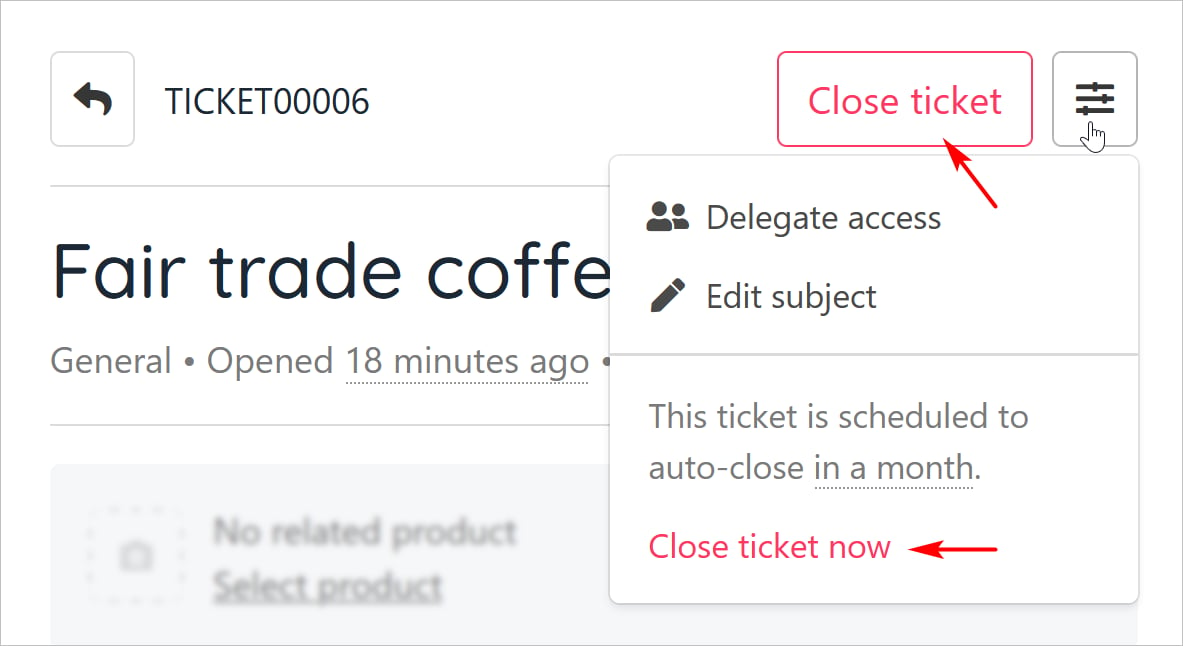
There are two ways to close a ticket.
1. Click the Close ticket button.
2. Click the three-bar icon and then click Close ticket now.
## Closing a ticket
The final status of a ticket is called Closed. That means no further communication can take place on this message. Account holders can close a ticket anytime.
There are two ways to close a ticket.
1. Click the Close ticket button.
2. Click the three-bar icon and then click Close ticket now.
 ## Viewing tickets
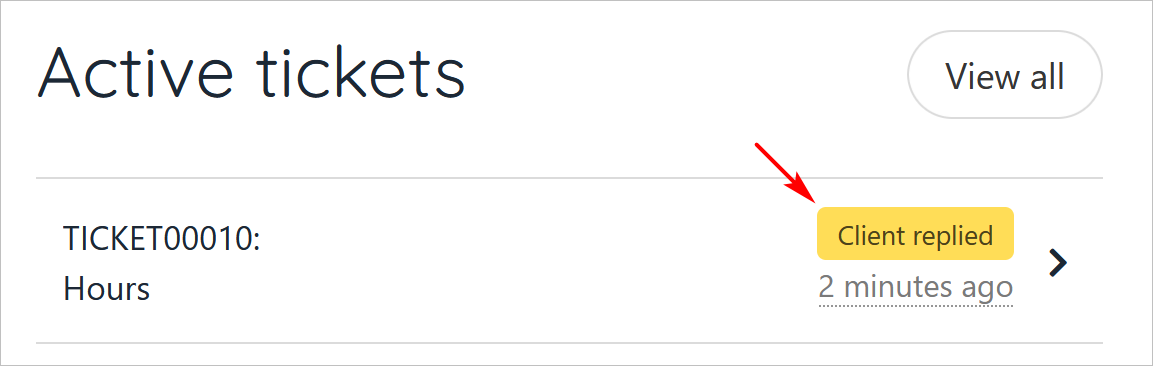
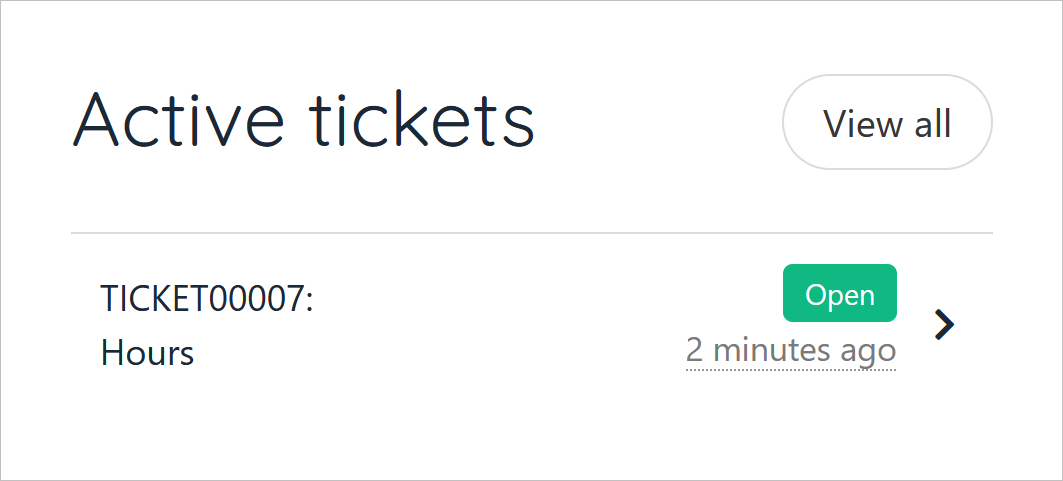
The account holder's store dashboard shows a list of active tickets and their current status. The list does not display Closed tickets.
1. To see the discussion thread inside a ticket, click a name on the dashboard list.
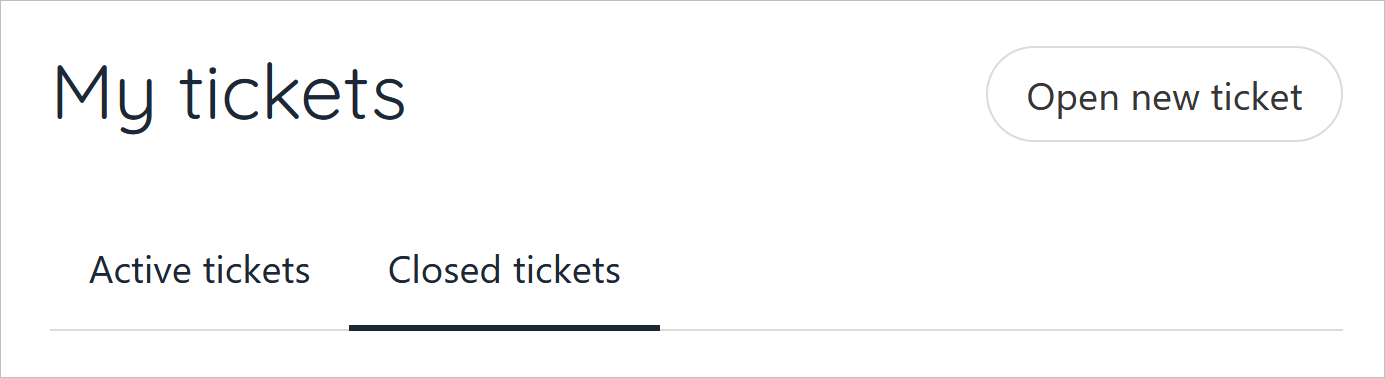
2. To see a list of all Active and Closed tickets, click View all.
## Viewing tickets
The account holder's store dashboard shows a list of active tickets and their current status. The list does not display Closed tickets.
1. To see the discussion thread inside a ticket, click a name on the dashboard list.
2. To see a list of all Active and Closed tickets, click View all.
 3. Click a menu tab to see Active or Closed tickets.
 ## Adding delegates to a ticket
Clients and leads (who have a store account) can invite other account holders to join the ticket as a delegate. A delegate can read posted messages in a ticket thread and submit messages, too.
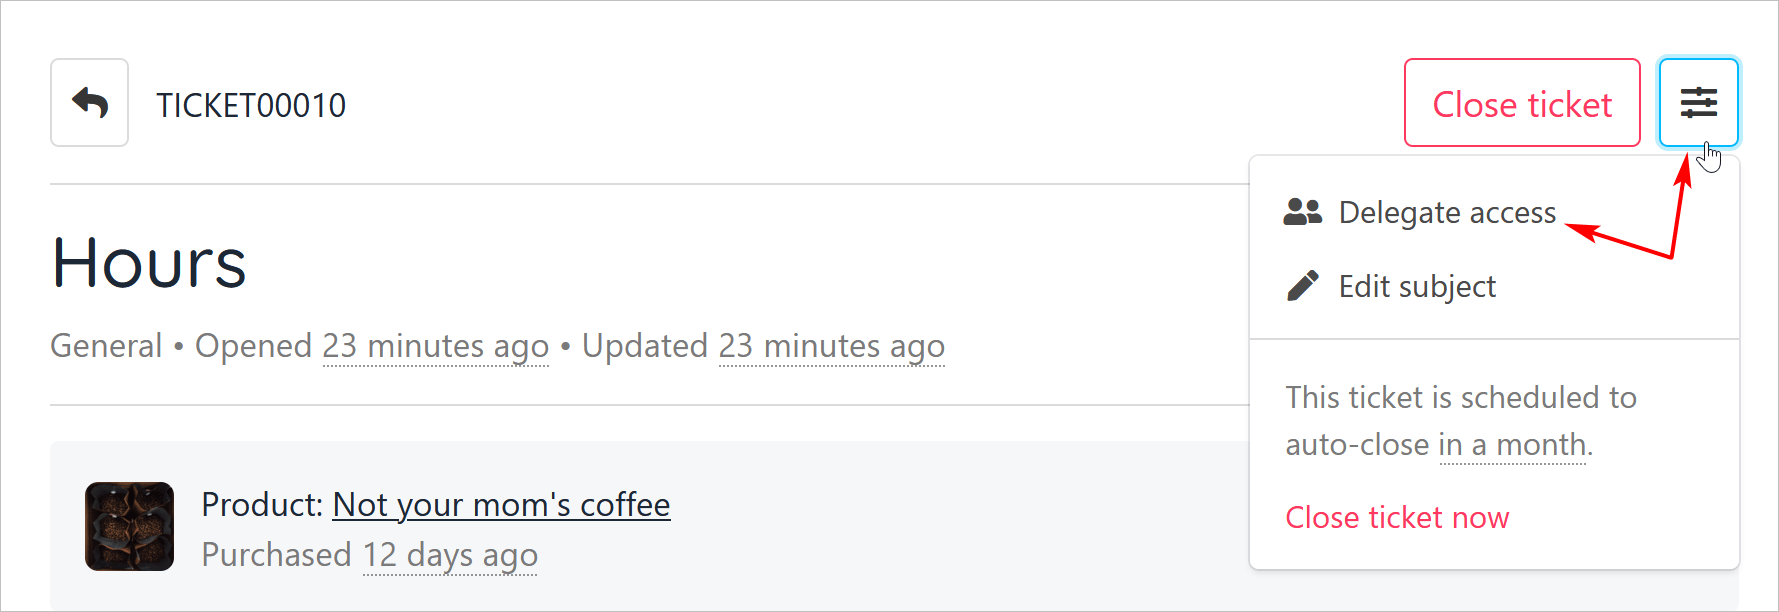
1. On the account dashboard, click an active ticket.
## Adding delegates to a ticket
Clients and leads (who have a store account) can invite other account holders to join the ticket as a delegate. A delegate can read posted messages in a ticket thread and submit messages, too.
1. On the account dashboard, click an active ticket.
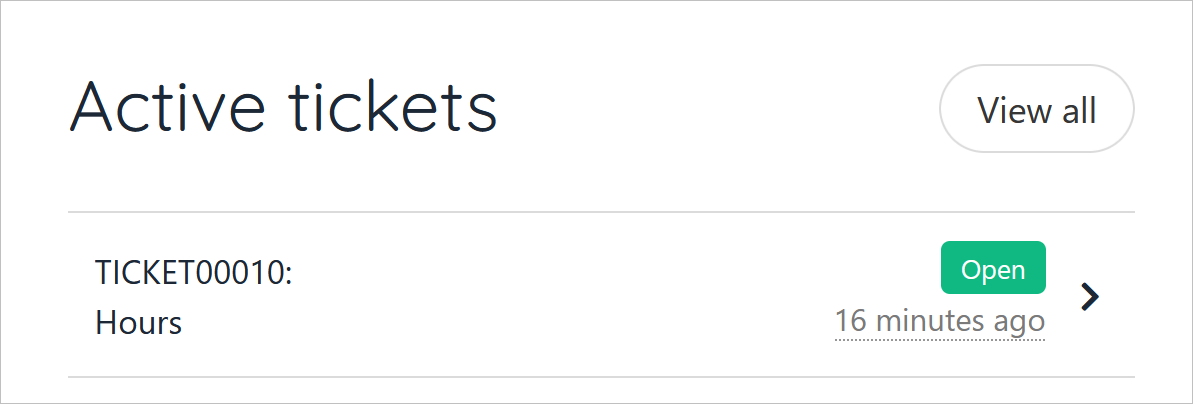 2. Click the three-line icon.
3. Select Delegate access on the drop-down menu.
2. Click the three-line icon.
3. Select Delegate access on the drop-down menu.
 4. On the Ticket delegate access panel, click Invite delegate.
5. Enter the person's email address in the popup window.
6. Click Send invite.
4. On the Ticket delegate access panel, click Invite delegate.
5. Enter the person's email address in the popup window.
6. Click Send invite.
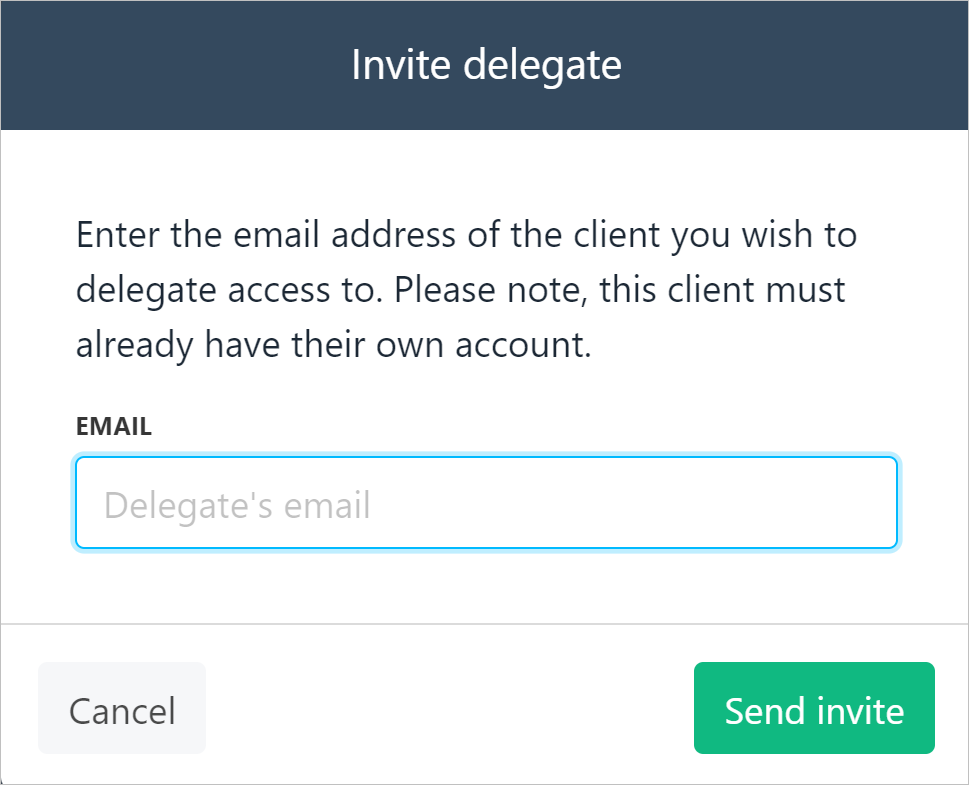 * Upmind sends the person an email message with an invite and displays their name with the Invited status.
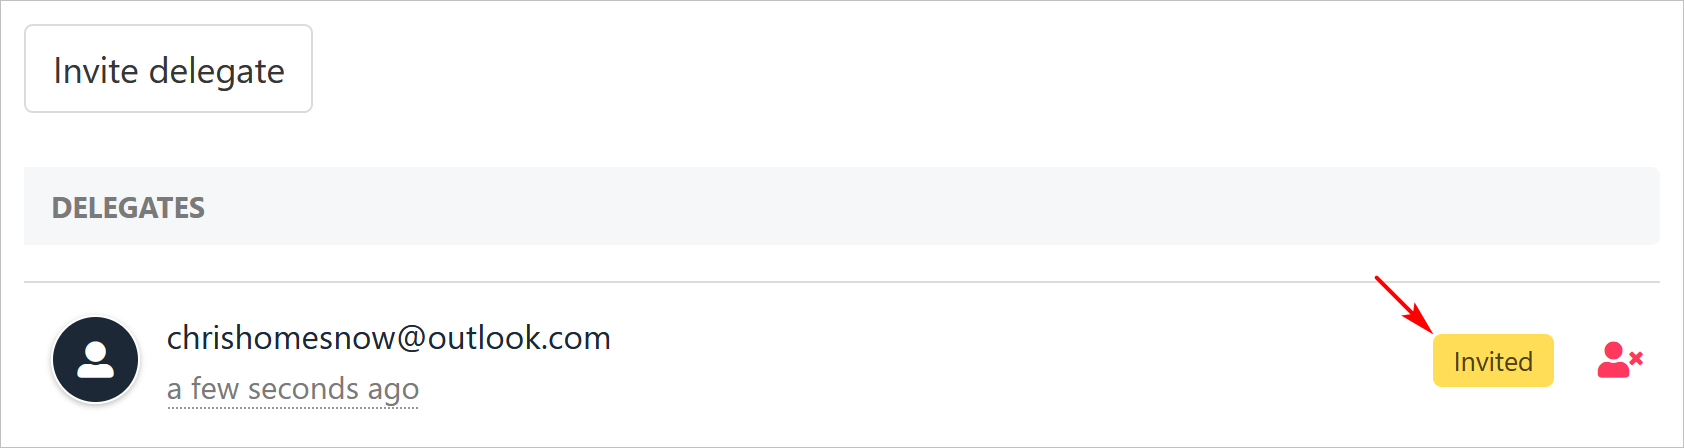 After the account holder clicks the Accept link, the delegate status changes from Invited to Accepted.
 ## Removing delegate access
To remove delegate access to a ticket:
1. Click the three-line icon.
2. Select Delegate access on the drop-down menu.
3. Click the Revoke access icon.
## Removing delegate access
To remove delegate access to a ticket:
1. Click the three-line icon.
2. Select Delegate access on the drop-down menu.
3. Click the Revoke access icon.
 Upmind immediately removes delegate access to a ticket after the account holder clicks the Revoke icon.
## The delegate experience
The delegate's dashboard shows active tickets including tickets with delegate access.
* Tickets with delegate access have a share icon.
Upmind immediately removes delegate access to a ticket after the account holder clicks the Revoke icon.
## The delegate experience
The delegate's dashboard shows active tickets including tickets with delegate access.
* Tickets with delegate access have a share icon.
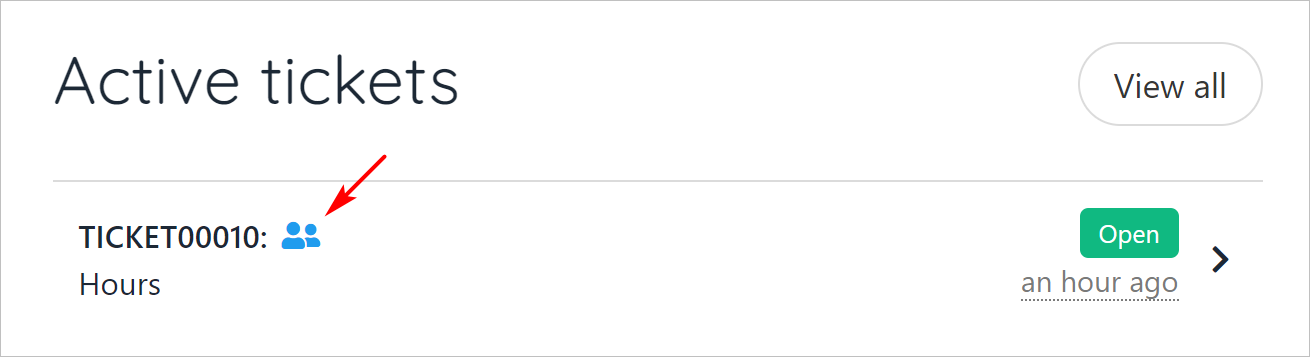 1. To read a thread, click the active ticket tile.
2. To add a message, enter text and click Post reply.
1. To read a thread, click the active ticket tile.
2. To add a message, enter text and click Post reply.
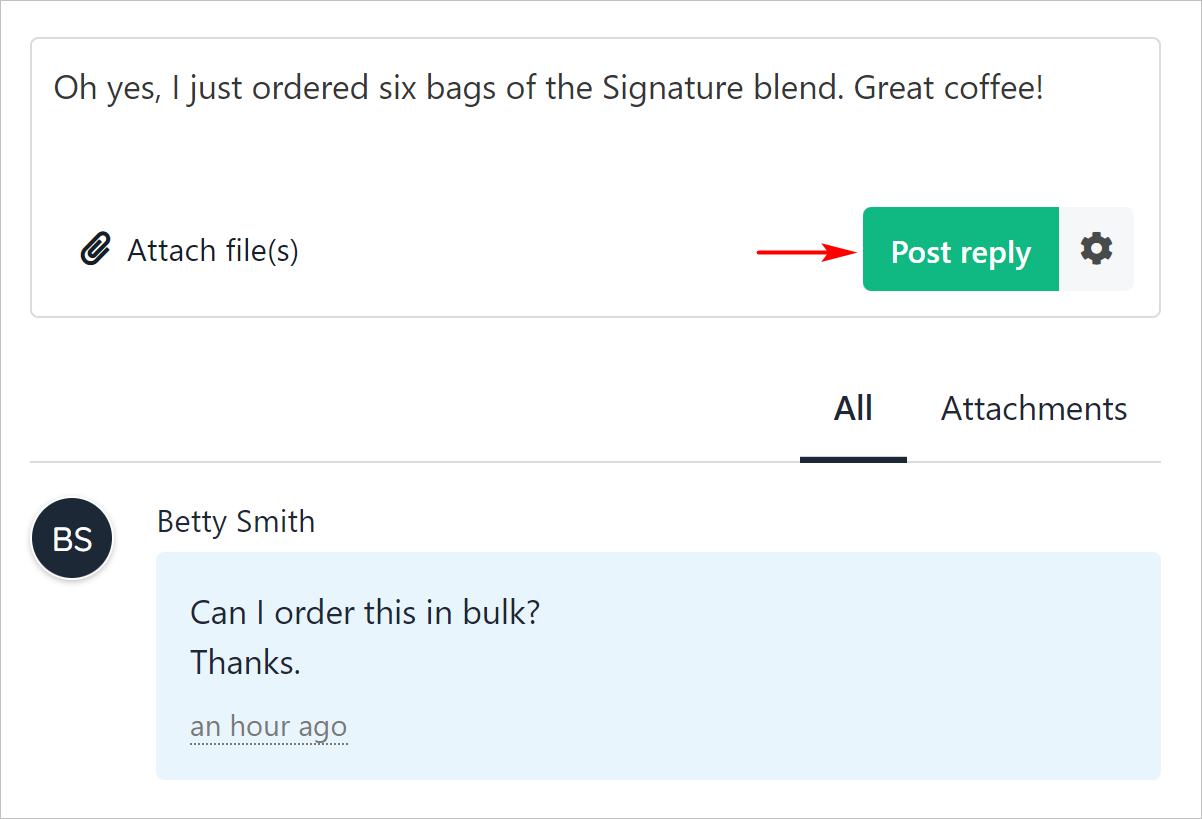 A new delegate post changes the ticket status on the store's Support dashboard to Client replied.
 The Client replied status appears on the account holder's dashboard, too.