> ## Documentation Index
> Fetch the complete documentation index at: https://docs.upmind.com/llms.txt
> Use this file to discover all available pages before exploring further.
# How to Add RazorPay Checkout as a Payment Method
> Set up RazorPay Checkout to take payments in Upmind.
[RazorPay](https://razorpay.com/) is a leading payment gateway in India, supporting credit/debit cards, net banking, UPI (Unified Payments Interface), wallets, and more. Razorpay Checkout is used for recurring payments.
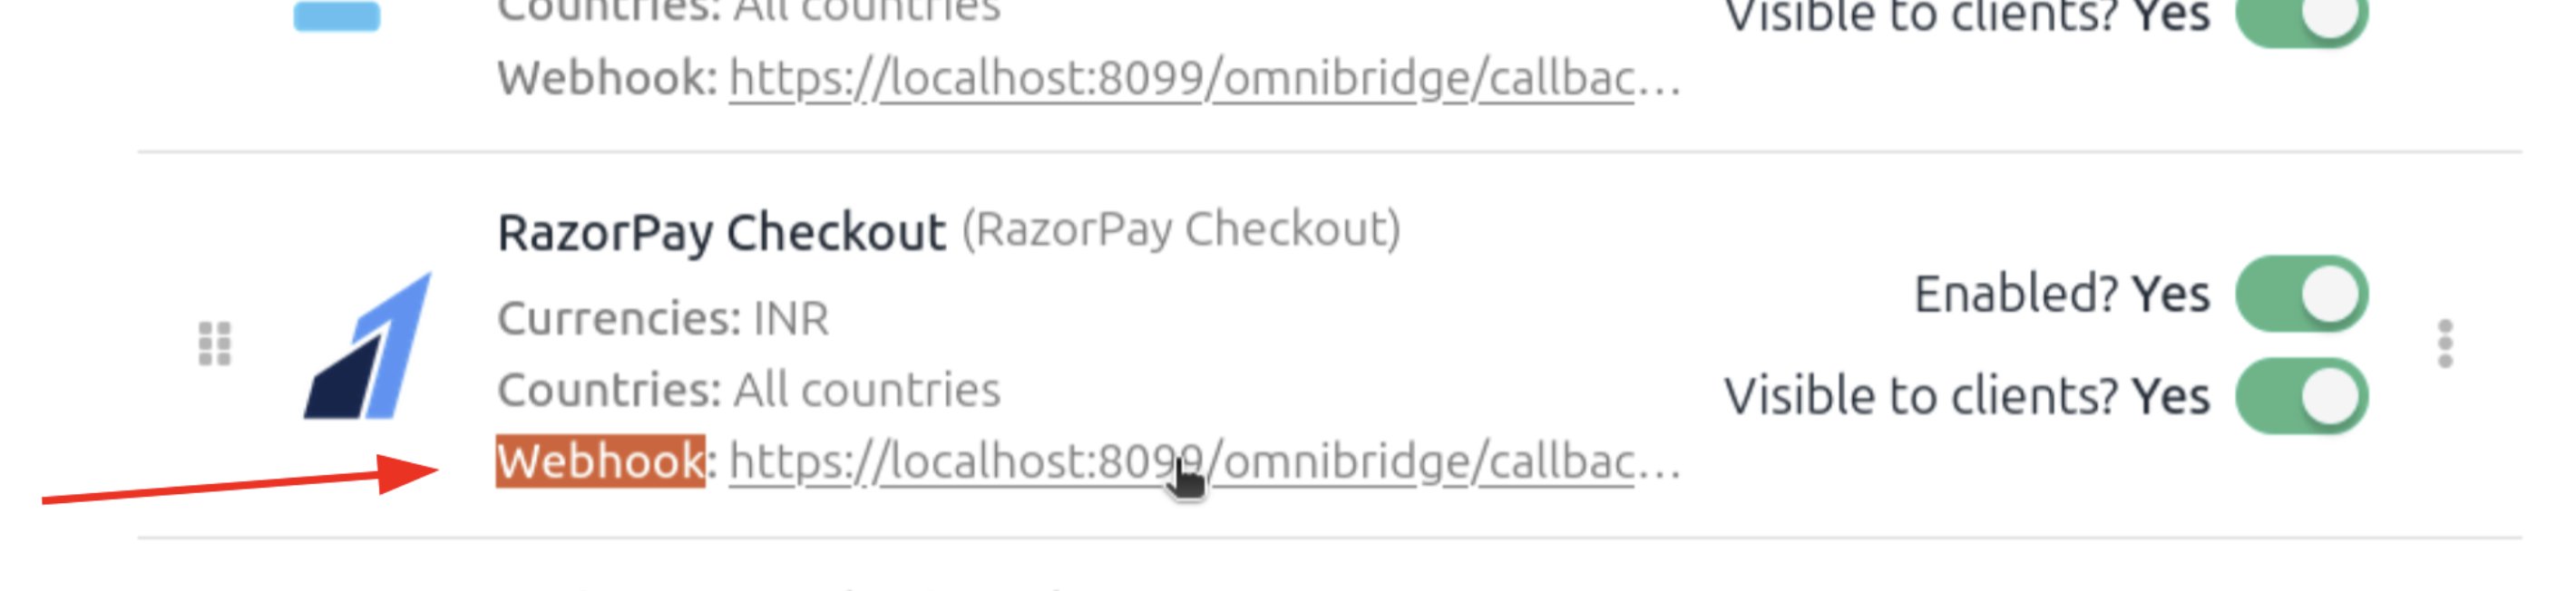
You must configure the RazorPay Checkout webhook so Upmind always receives transaction updates. To configure RazorPay Checkout webhooks, follow this [guide](/using-upmind/payment-methods/how-to-add-payment-gateways/how-to-add-razorpay-as-a-payment-method#/configure-razorpay-webhook).
The webhook URL needs to be taken from the Upmind provider setup.
 ## **Getting RazorPay Checkout API credentials**
1. Log in to your **RazorPay** account.
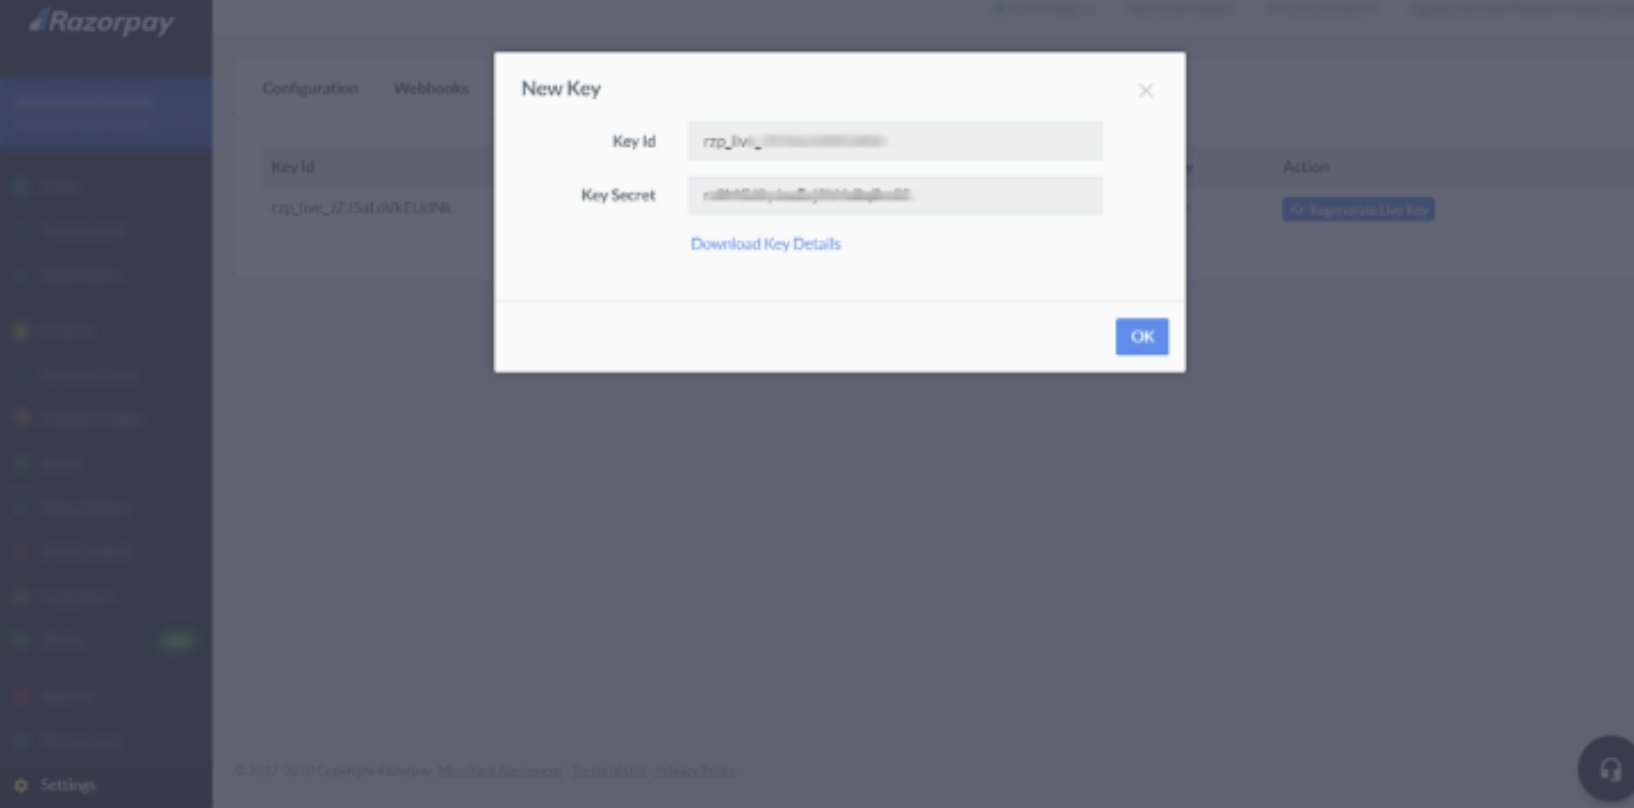
2. Go to **Accounts & Settings** > **Settings** > **API Key** and click **Regenerate Key** to obtain your **Key ID** and **Key Secret**.
## **Getting RazorPay Checkout API credentials**
1. Log in to your **RazorPay** account.
2. Go to **Accounts & Settings** > **Settings** > **API Key** and click **Regenerate Key** to obtain your **Key ID** and **Key Secret**.
 Customers need to check with Razorpay support that the recurring payments feature is enabled for their account, and that it is available in their country (India, Malaysia, Singapore). This should be requested first if it is not active. For more information, follow this [guide](https://razorpay.com/docs/api/payments/recurring-payments/cards/create-subsequent-payments/).
## **Adding RazorPay Checkout in Upmind**
1. Go to **Settings** > **Payment Providers** in your admin area.
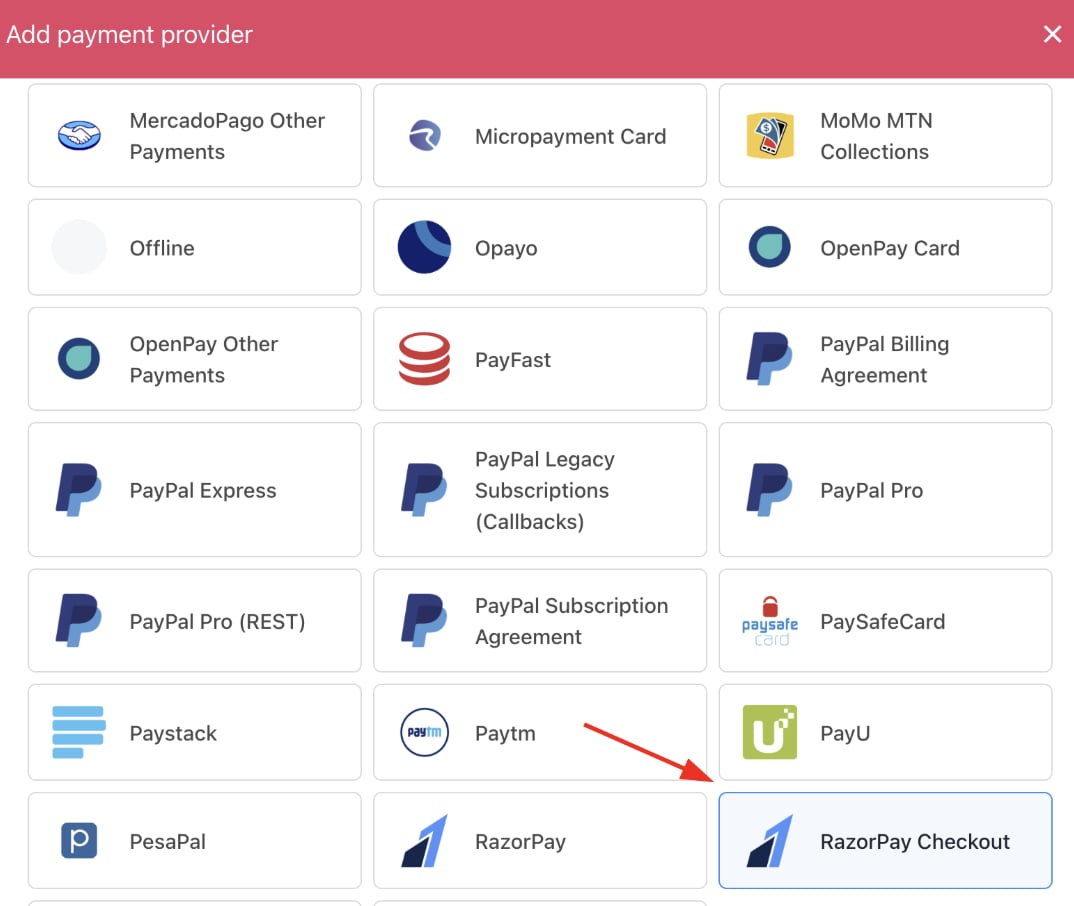
2. Click **Add Payment Provider** and select **RazorPay Checkout**.
Customers need to check with Razorpay support that the recurring payments feature is enabled for their account, and that it is available in their country (India, Malaysia, Singapore). This should be requested first if it is not active. For more information, follow this [guide](https://razorpay.com/docs/api/payments/recurring-payments/cards/create-subsequent-payments/).
## **Adding RazorPay Checkout in Upmind**
1. Go to **Settings** > **Payment Providers** in your admin area.
2. Click **Add Payment Provider** and select **RazorPay Checkout**.
 ## **Configuring details**
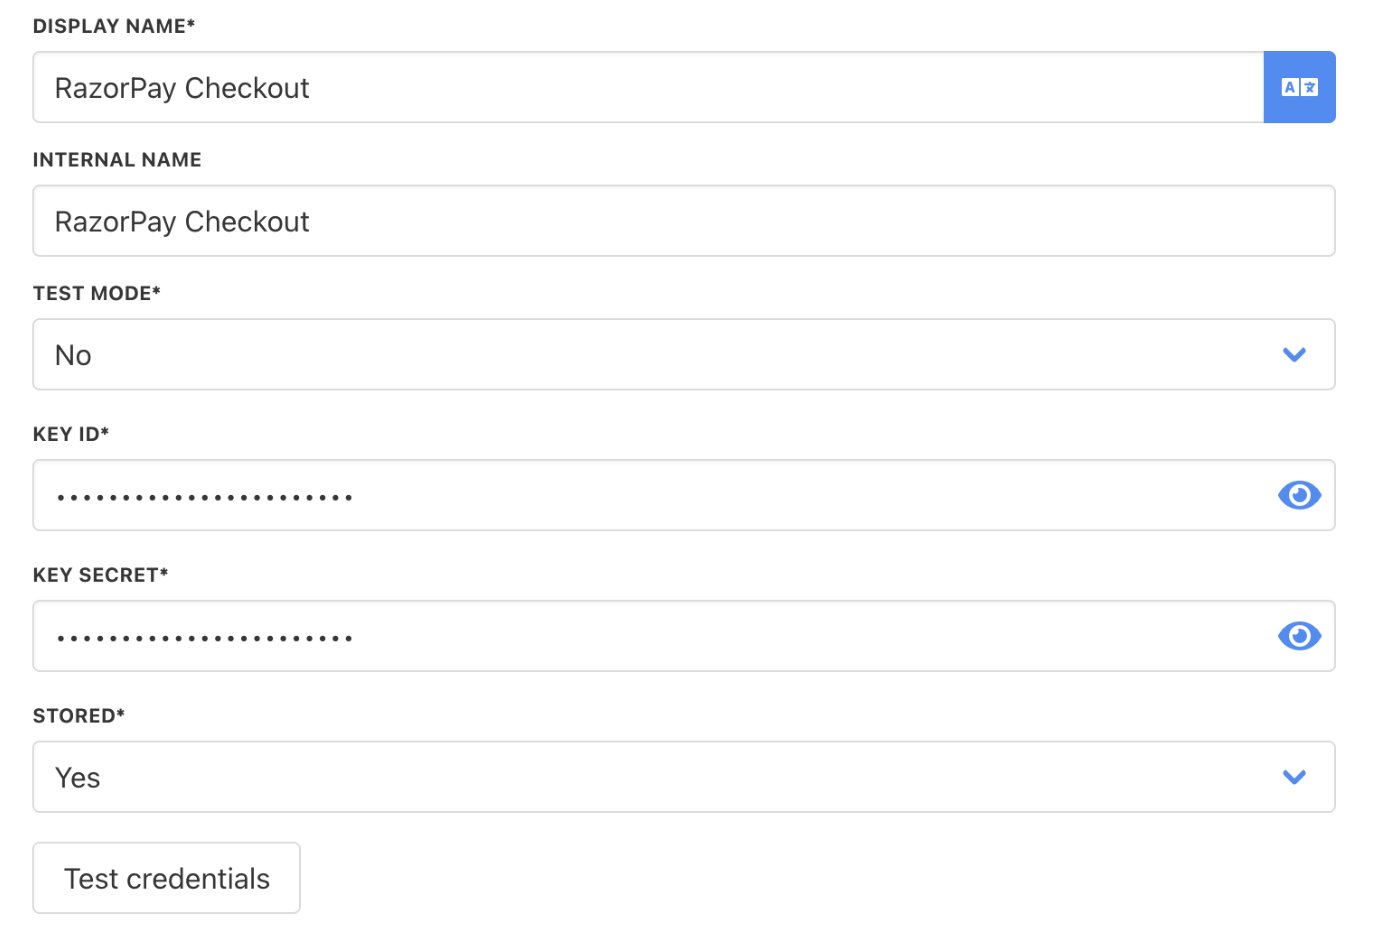
1. Enter a display name. We suggest **RazorPay Checkout**.
2. Set the **Internal Name**.
3. Select the appropriate **Test Mode** option.
4. Enter your **Key ID** and **Key Secret**.
5. Choose whether to **Store** the card.
6. Click **Test Credentials** to verify.
## **Configuring details**
1. Enter a display name. We suggest **RazorPay Checkout**.
2. Set the **Internal Name**.
3. Select the appropriate **Test Mode** option.
4. Enter your **Key ID** and **Key Secret**.
5. Choose whether to **Store** the card.
6. Click **Test Credentials** to verify.
 7. (Optional) Add supported currencies.
8. (Optional) Enter payment instructions for your customers.
9. Click **Create**.
7. (Optional) Add supported currencies.
8. (Optional) Enter payment instructions for your customers.
9. Click **Create**.
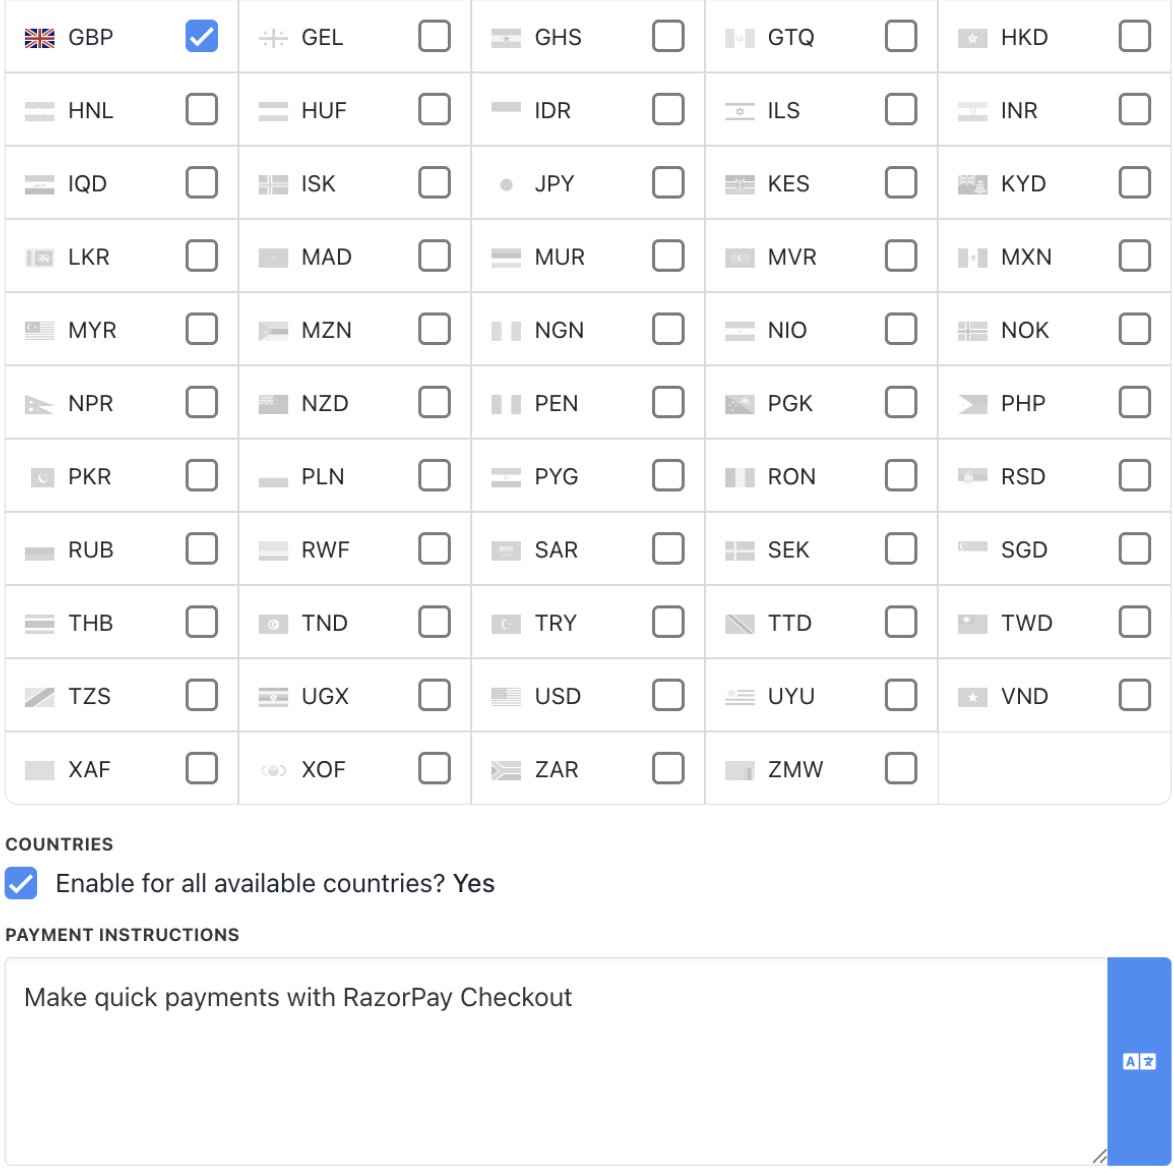 Afterwards, [clients can add the new payment method](/client-self-service/client-area/how-do-my-clients-add-a-payment-method#/) from **Billing** > **Payment Methods** > **Add Payment Method**.
You can then select RazorPay Checkout during the actual payment process.
Afterwards, [clients can add the new payment method](/client-self-service/client-area/how-do-my-clients-add-a-payment-method#/) from **Billing** > **Payment Methods** > **Add Payment Method**.
You can then select RazorPay Checkout during the actual payment process.
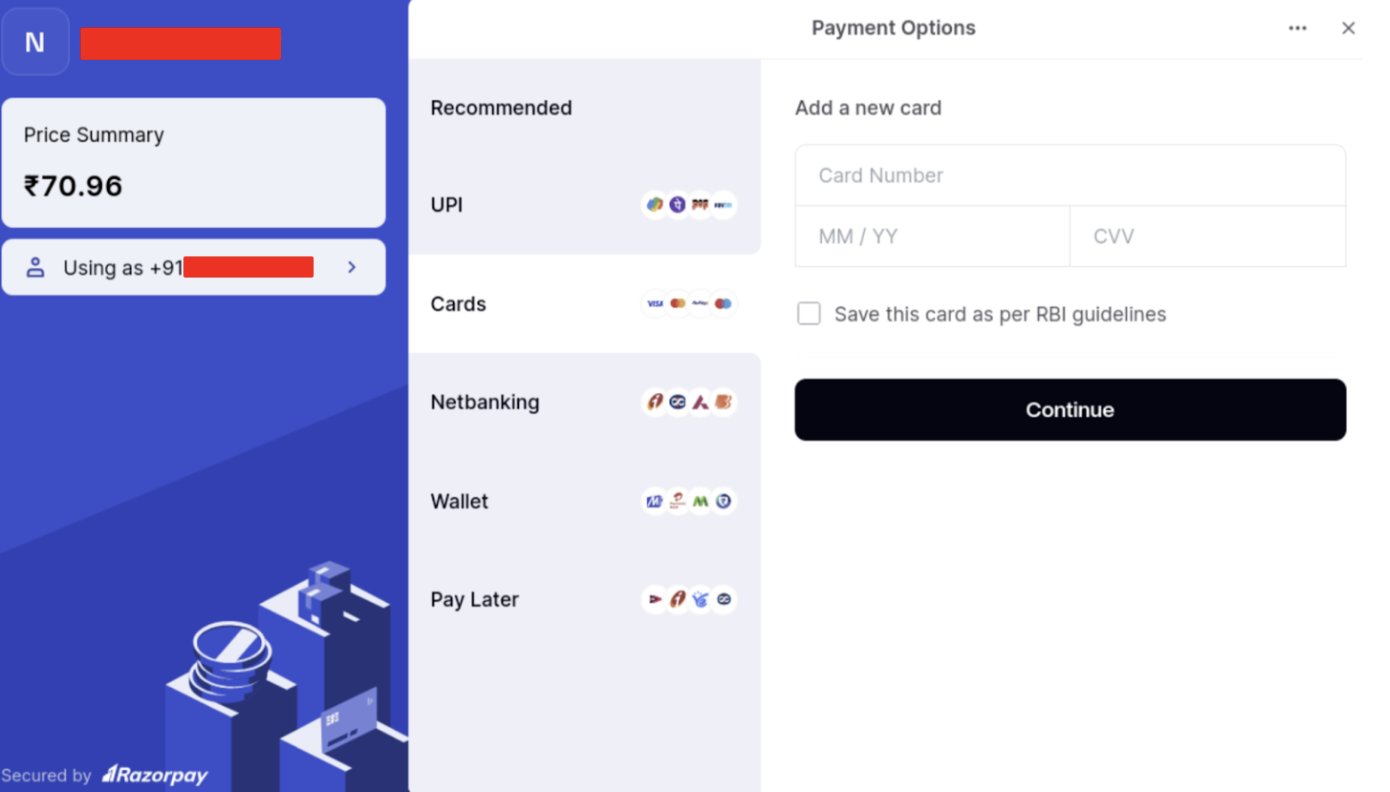
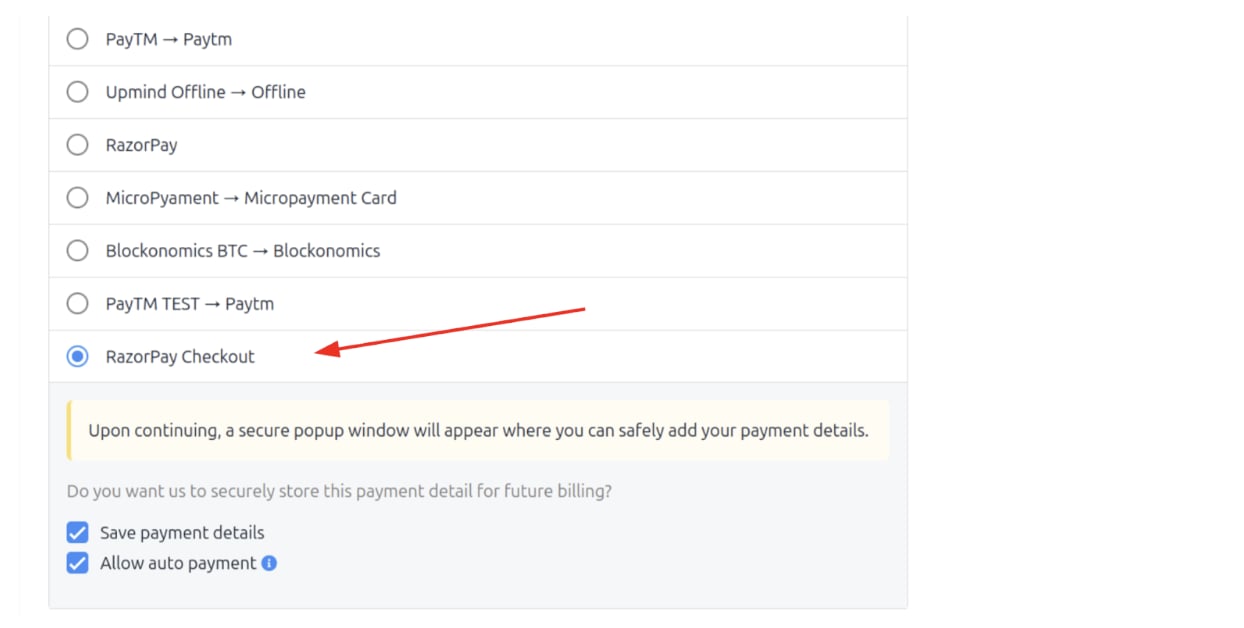 **RazorPay Checkout** is a reusable card for auto-payments.
When paying for an order in Upmind, if the customer wants to create a reusable card token for auto-payments, they must select *Save payment details*.
This ensures the checkout presented to the customer only shows the card payment method and allows the system to store the card for auto-payments.
**RazorPay Checkout** is a reusable card for auto-payments.
When paying for an order in Upmind, if the customer wants to create a reusable card token for auto-payments, they must select *Save payment details*.
This ensures the checkout presented to the customer only shows the card payment method and allows the system to store the card for auto-payments.
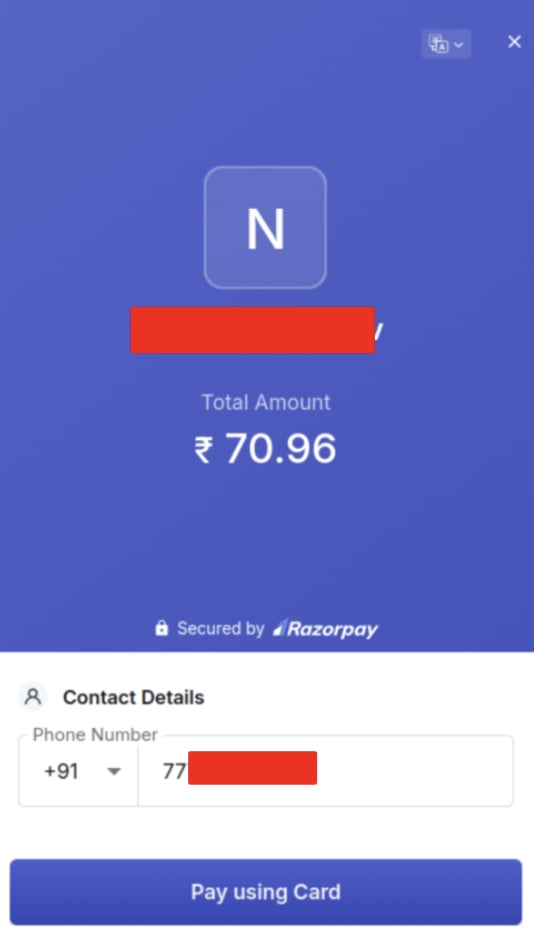
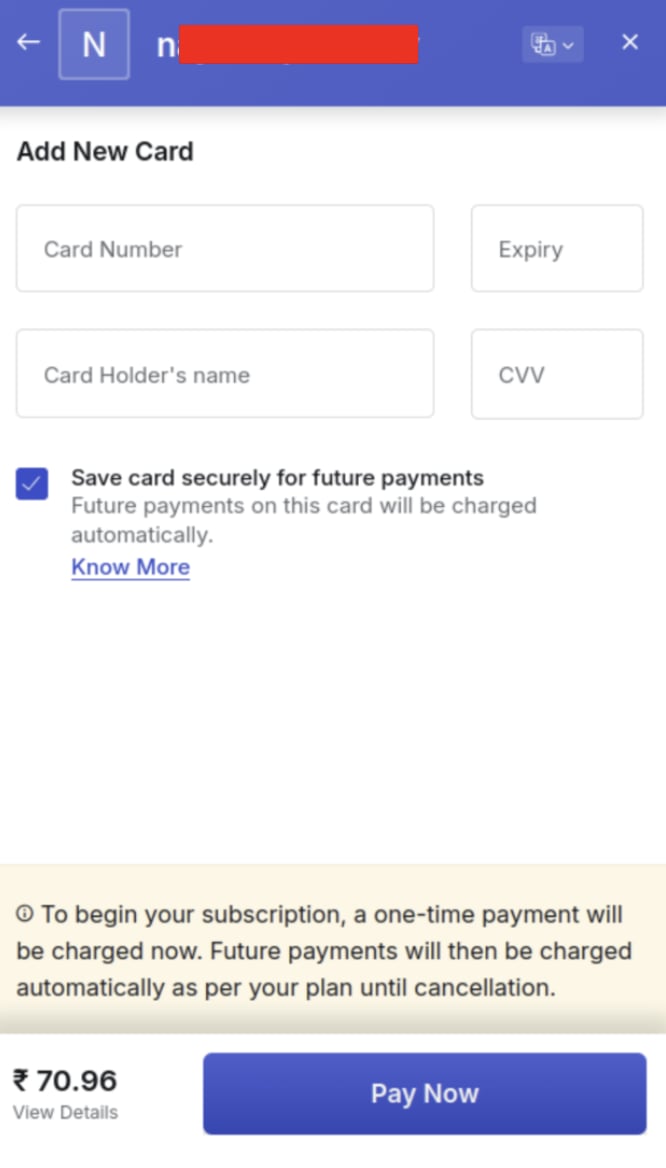 If the customer wants to pay with **other payment methods**, such as Bank, UPI, or a card without storing it for auto-payment, they should unselect **Save payment details**. The difference here is that Upmind cannot use cards stored this way for auto-payments.
 ## **Editing the payment method**
To update, go to **Settings** > **Payment Providers**, click the three dots next to **RazorPay Checkout**, and select **Edit**.
## Configure RazorPay webhook
You must configure the RazorPay webhook so Upmind always receives transaction updates.
1. Log in to your **RazorPay** dashboard.
## **Editing the payment method**
To update, go to **Settings** > **Payment Providers**, click the three dots next to **RazorPay Checkout**, and select **Edit**.
## Configure RazorPay webhook
You must configure the RazorPay webhook so Upmind always receives transaction updates.
1. Log in to your **RazorPay** dashboard.
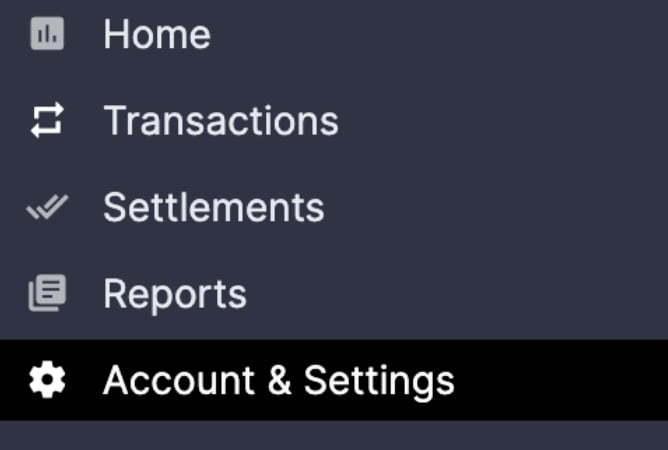
 2. Go to `Account & Settings`.
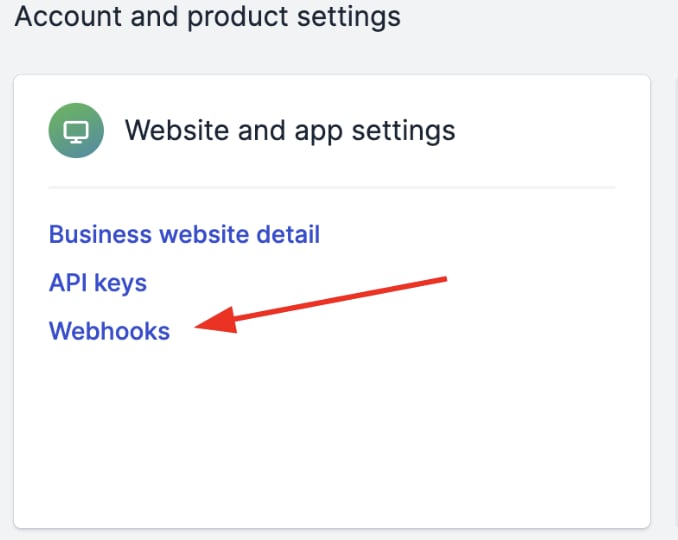
 3. Click **Webhooks** under **Website and app settings**.
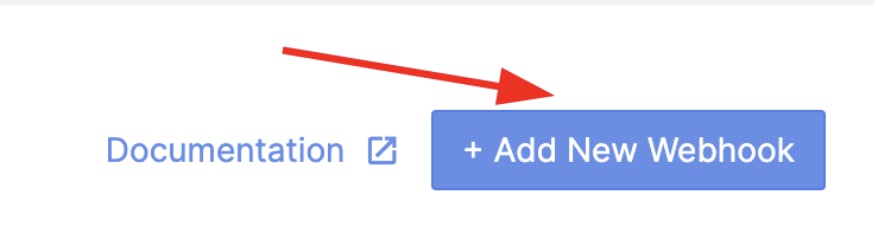
 4. Click **+ Add New Webhook**.
 5. Enter the public **HTTPS URL** of your endpoint.
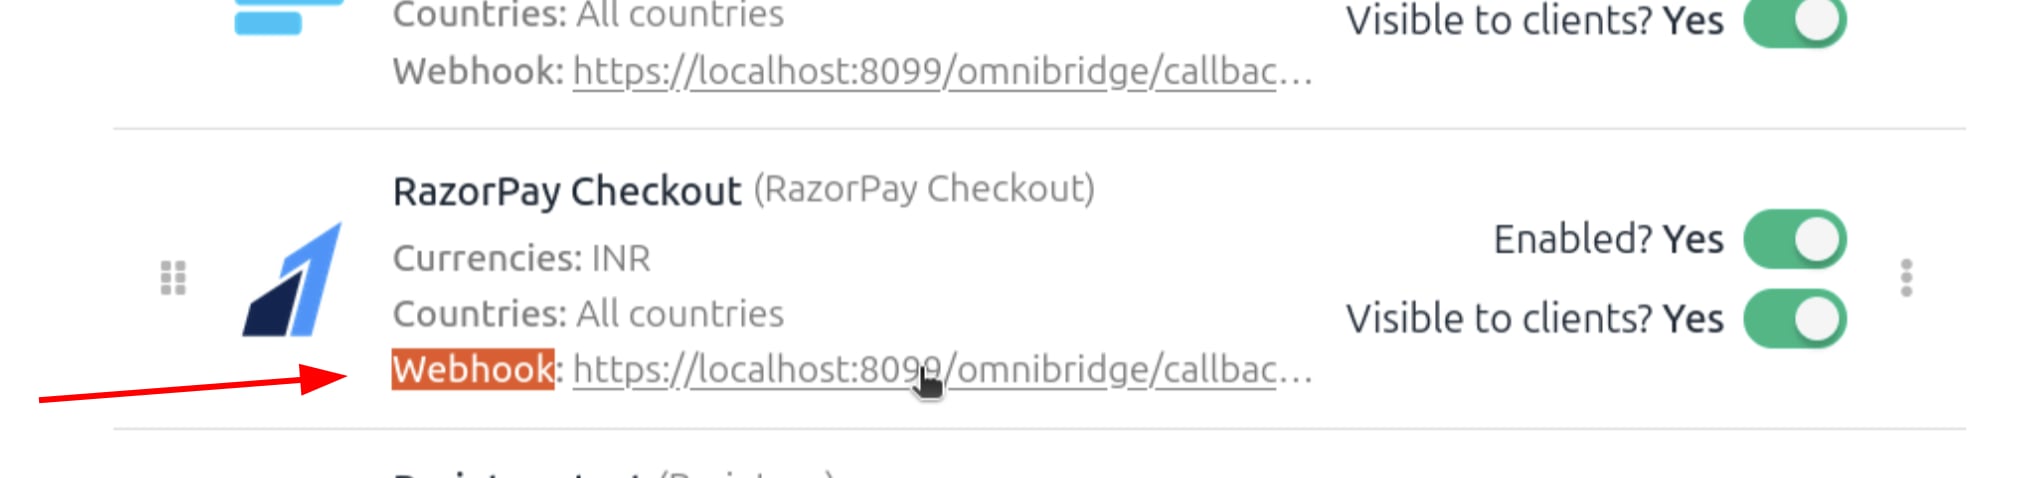
The webhook URL needs to be taken from the Upmind provider setup.
5. Enter the public **HTTPS URL** of your endpoint.
The webhook URL needs to be taken from the Upmind provider setup.
 6. Add a **Secret** for security on the webhook endpoint. (Optional)
7. In the **Alert Email** field, enter the address to receive webhook failure notifications, such as errors or deactivations.
8. Select the desired **Events** from the list.
6. Add a **Secret** for security on the webhook endpoint. (Optional)
7. In the **Alert Email** field, enter the address to receive webhook failure notifications, such as errors or deactivations.
8. Select the desired **Events** from the list.
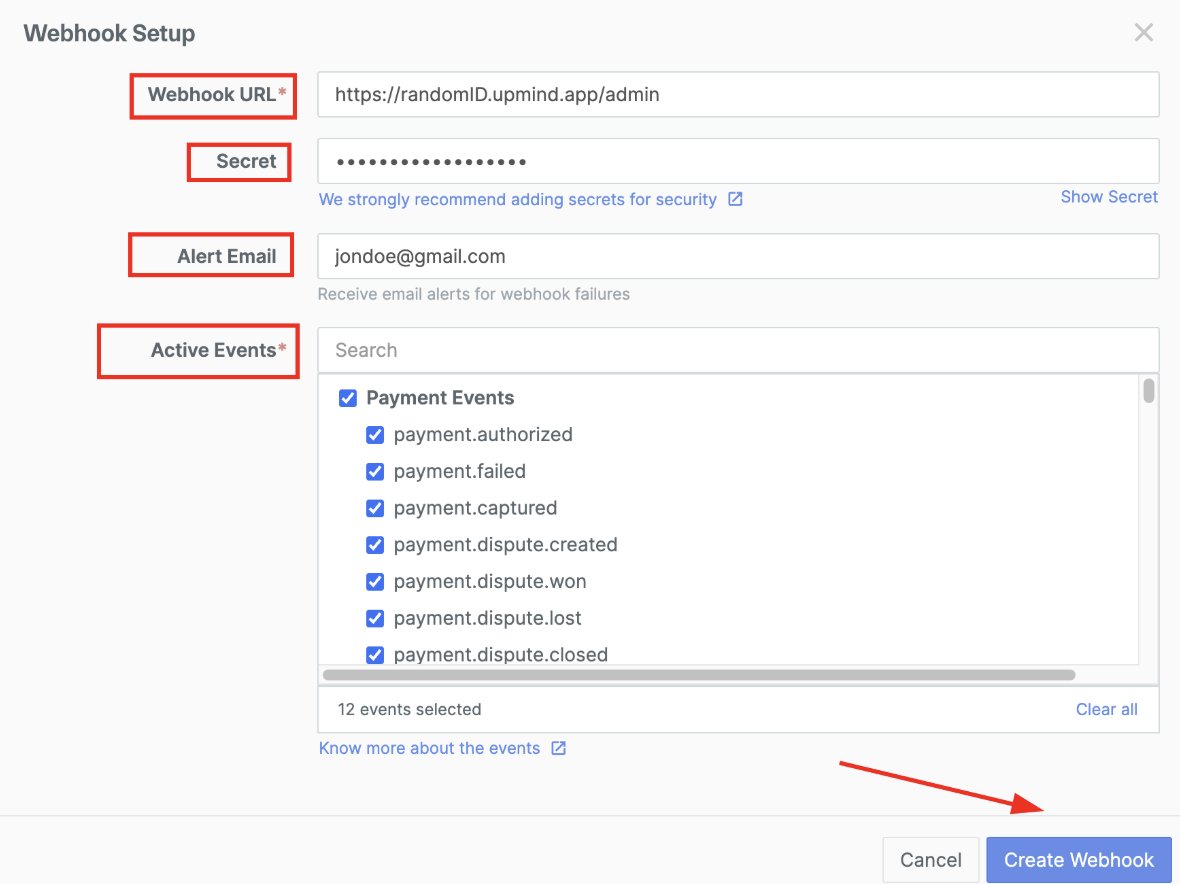 9. Click **Create Webhook**.
For more information, you can check out this [guide](https://razorpay.com/docs/webhooks/setup-edit-payments/) from RazorPay.
9. Click **Create Webhook**.
For more information, you can check out this [guide](https://razorpay.com/docs/webhooks/setup-edit-payments/) from RazorPay.