> ## Documentation Index
> Fetch the complete documentation index at: https://docs.upmind.com/llms.txt
> Use this file to discover all available pages before exploring further.
# How to Modify a Subscription Contract
> Adjust subscription terms, pricing, and reactivate products.
Upmind provides detailed control over subscription modifications through its admin interface without requiring client-side actions or support tickets.
This guide shows admins and staff how to modify a client subscription. We show you how to:
1. Change subscription terms
2. Update subscription prices
3. Reactivate a subscription
4. Change to a new product
We show you how to cancel a [client subscription](https://features.upmind.com/en/help/articles/6008399) in a different article.
## Opening a client subscription page
1. Log in to Upmind.
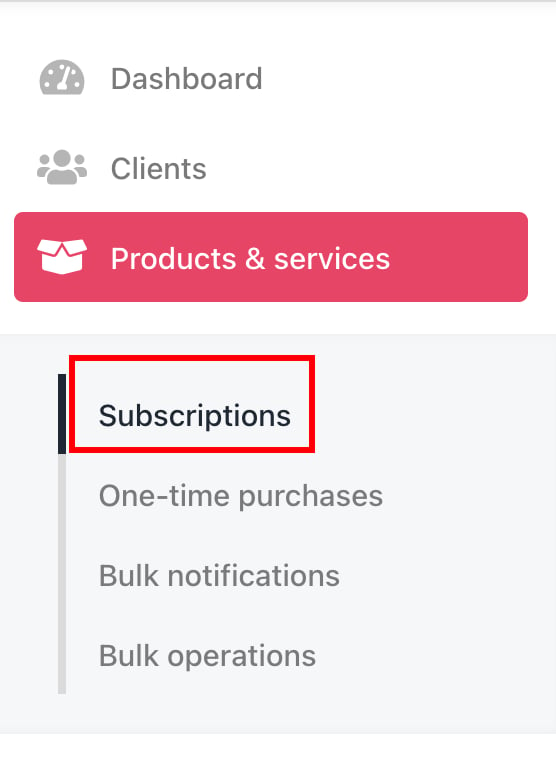
2. Click `Products & Services` on the left menu.
3. Make sure the `Subscriptions` menu tab is selected
 4. Go through the list and click the client subscription you want to review or modify.
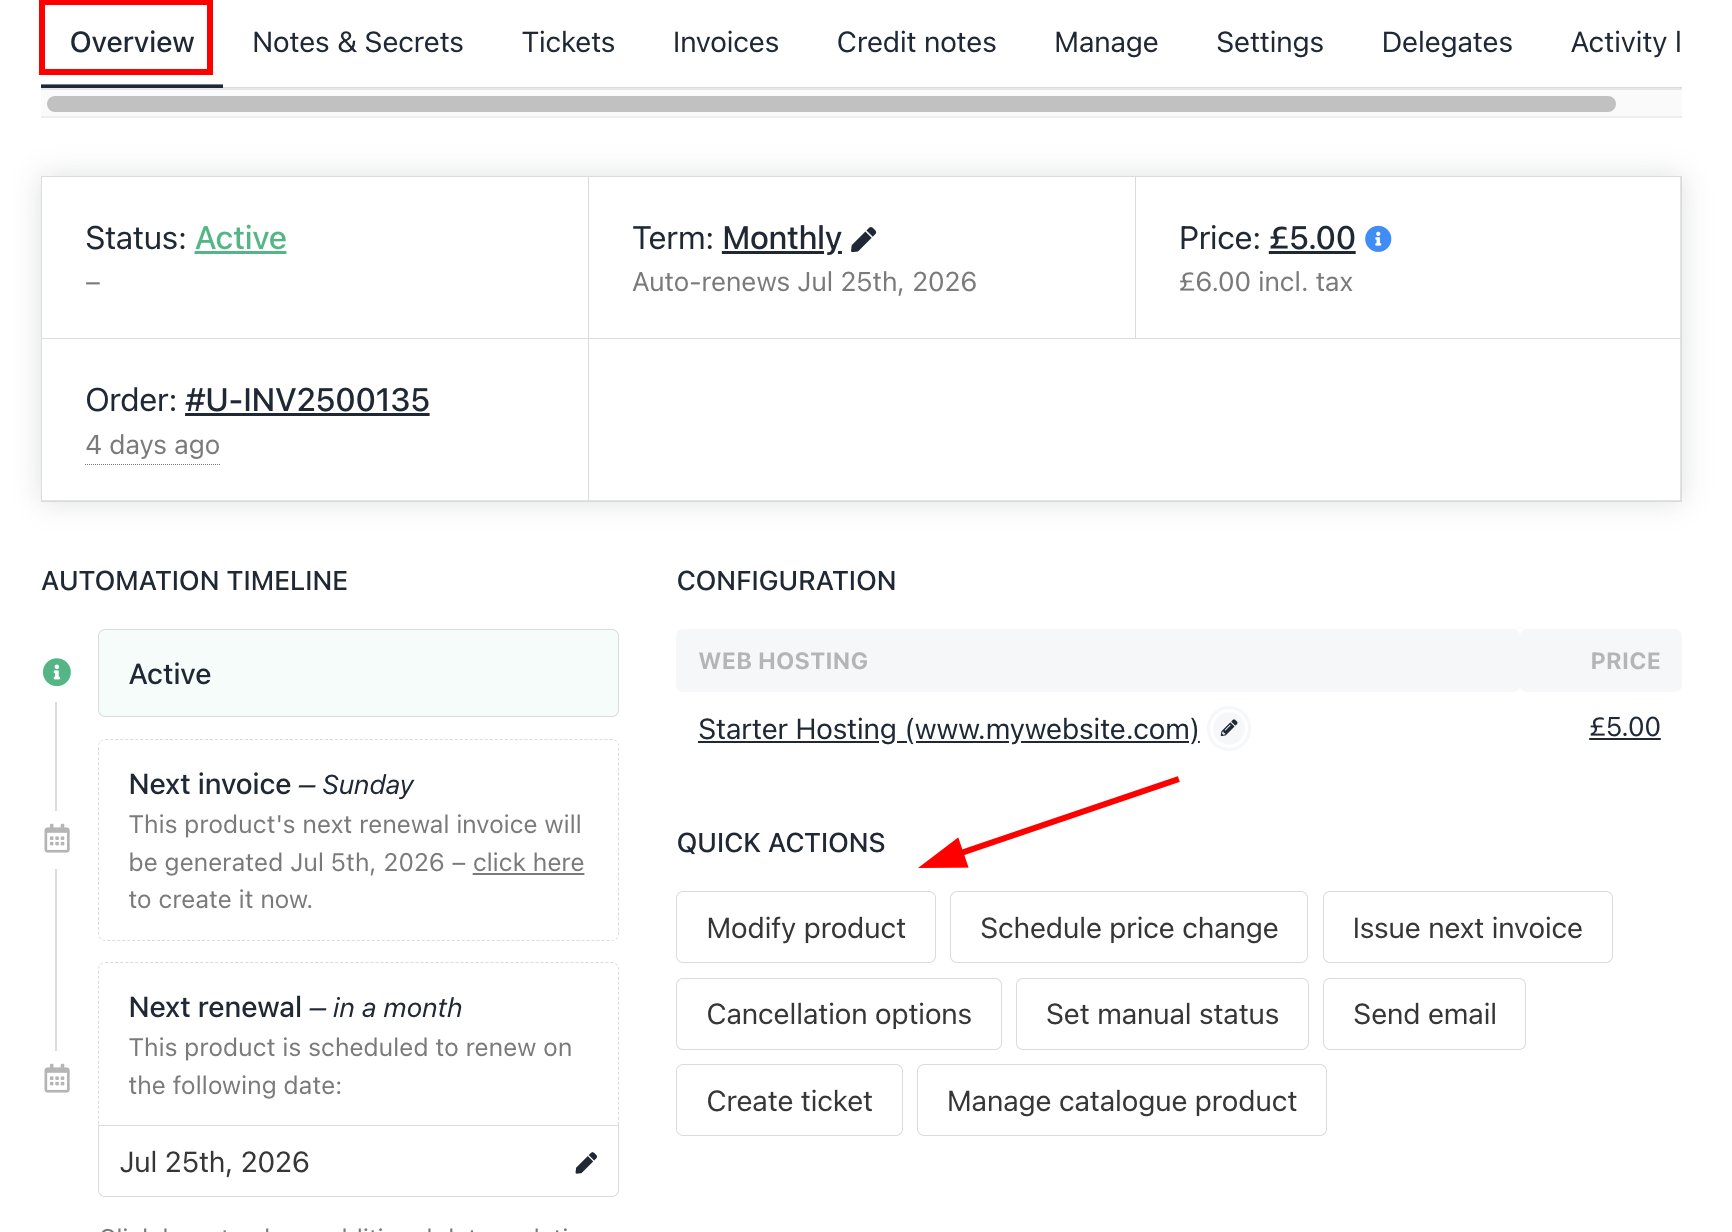
5. Scroll down on the **Overview** tab, and you will find several `Quick Action` buttons.
4. Go through the list and click the client subscription you want to review or modify.
5. Scroll down on the **Overview** tab, and you will find several `Quick Action` buttons.
 ## Changing the subscription term
You can change the payment period (term) of the subscription on the **Modify** page.
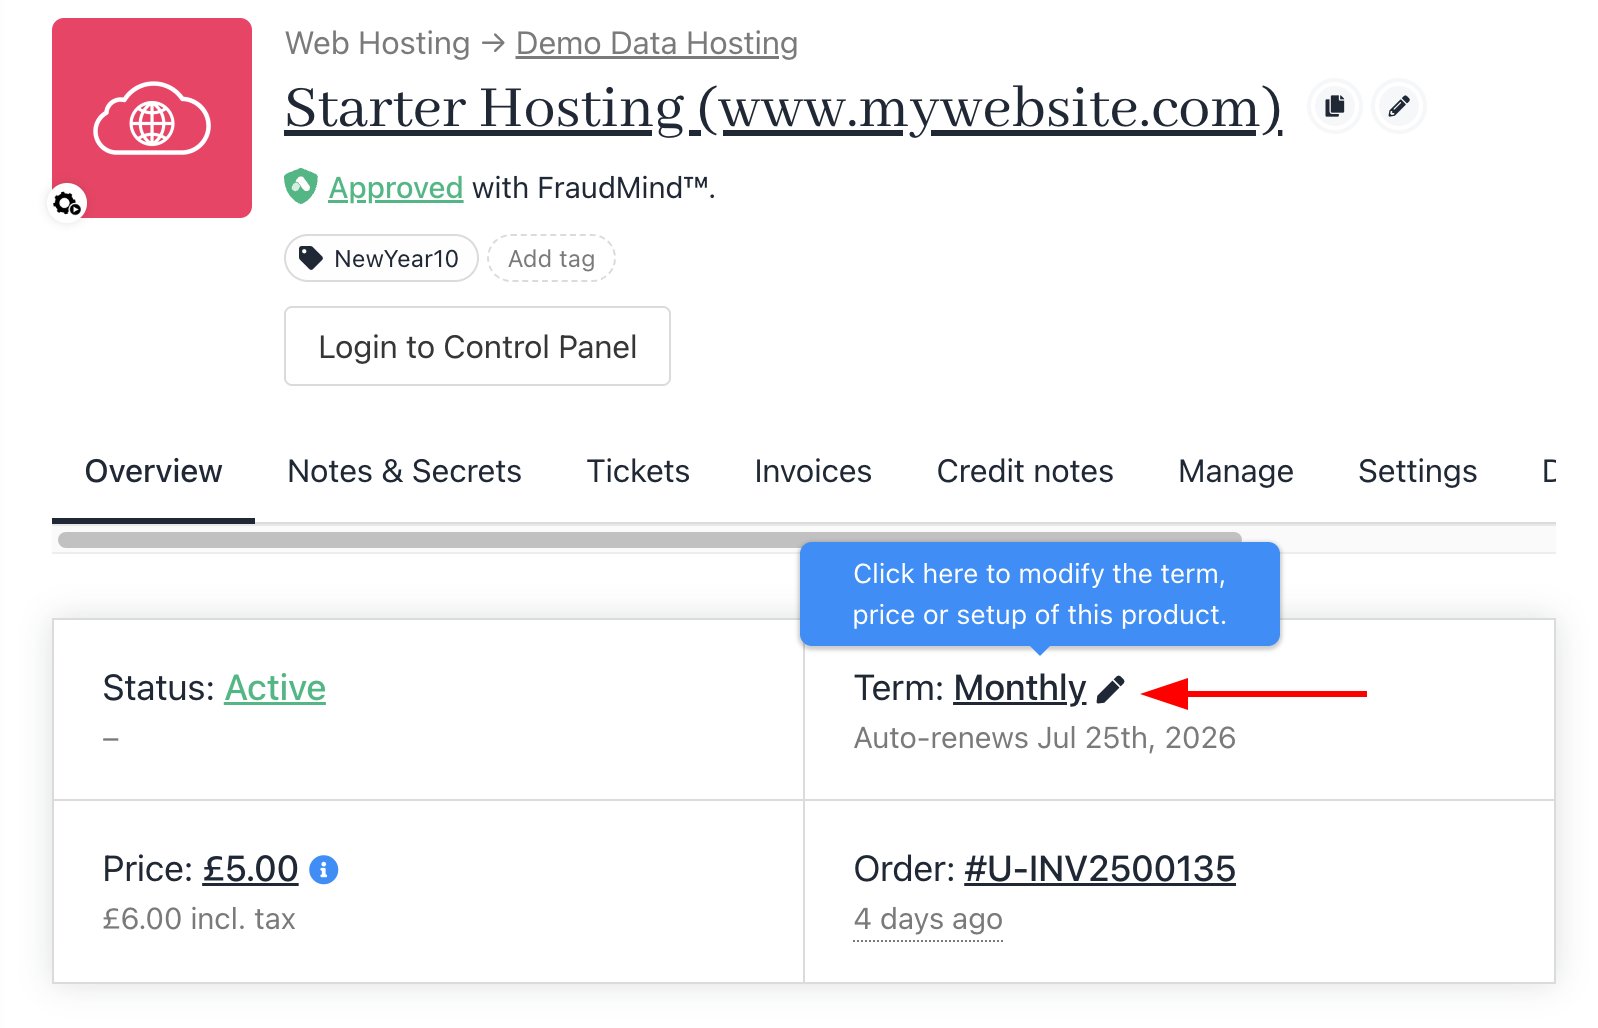
1. Click the edit icon next to **Term,** or click the **Modify Product** button under `Quick Actions`.
## Changing the subscription term
You can change the payment period (term) of the subscription on the **Modify** page.
1. Click the edit icon next to **Term,** or click the **Modify Product** button under `Quick Actions`.
 2. The **Modify** page will be displayed.
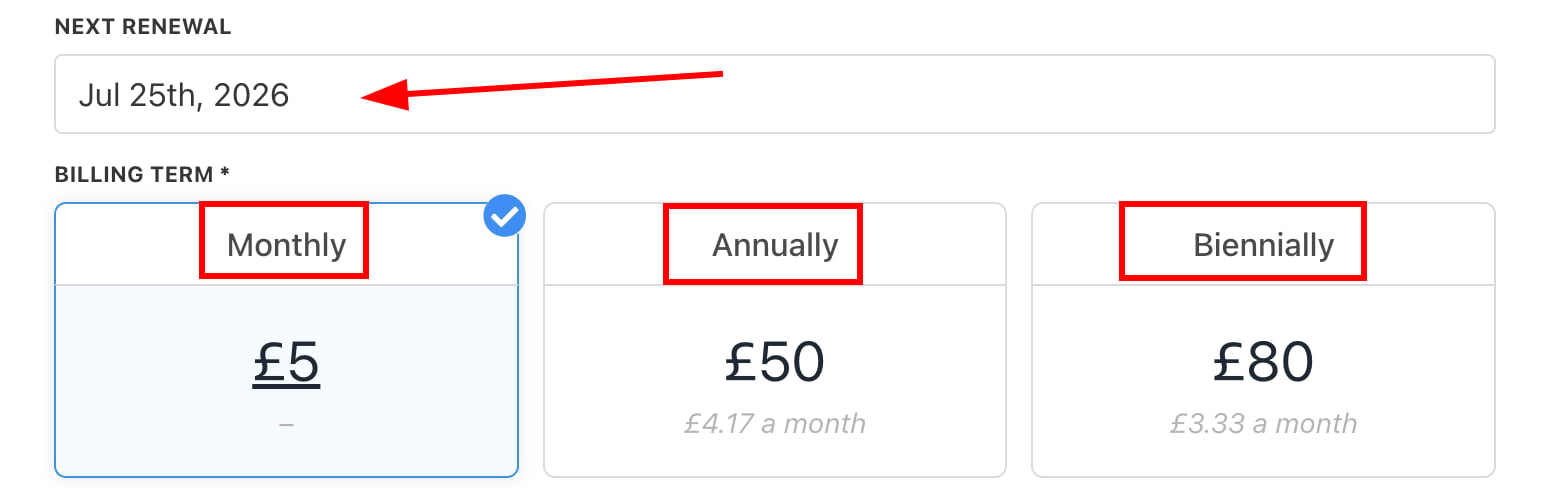
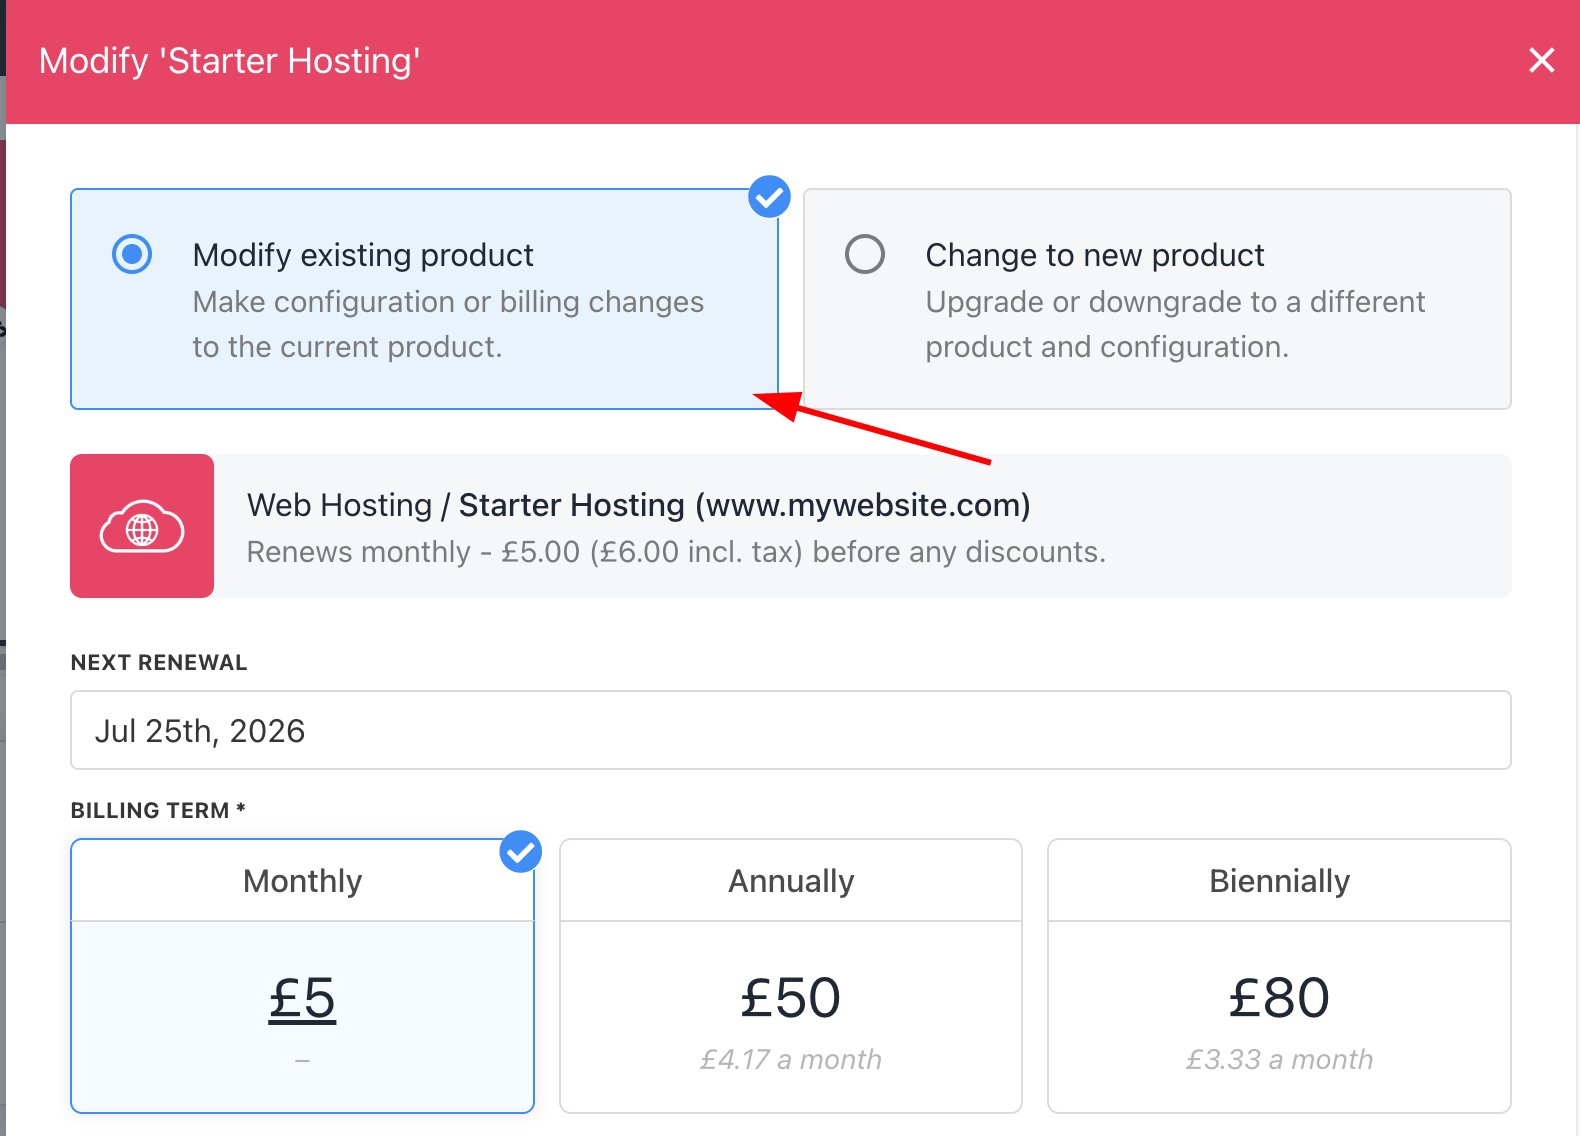 3. Choose the `Billing Term` (Monthly/Annually/Biennially) and set the effective date for the `Next Renewal`.
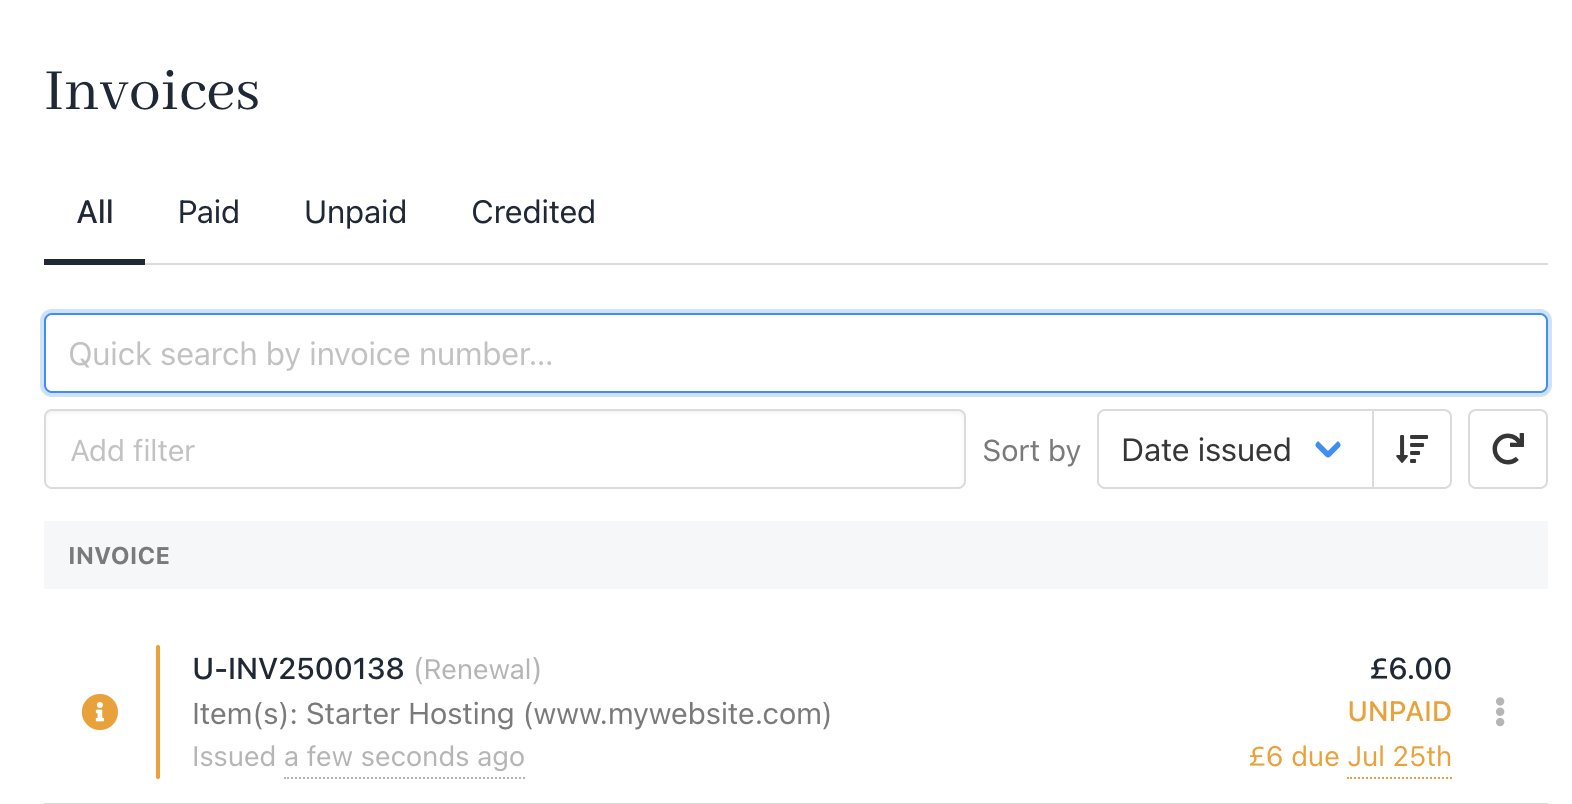
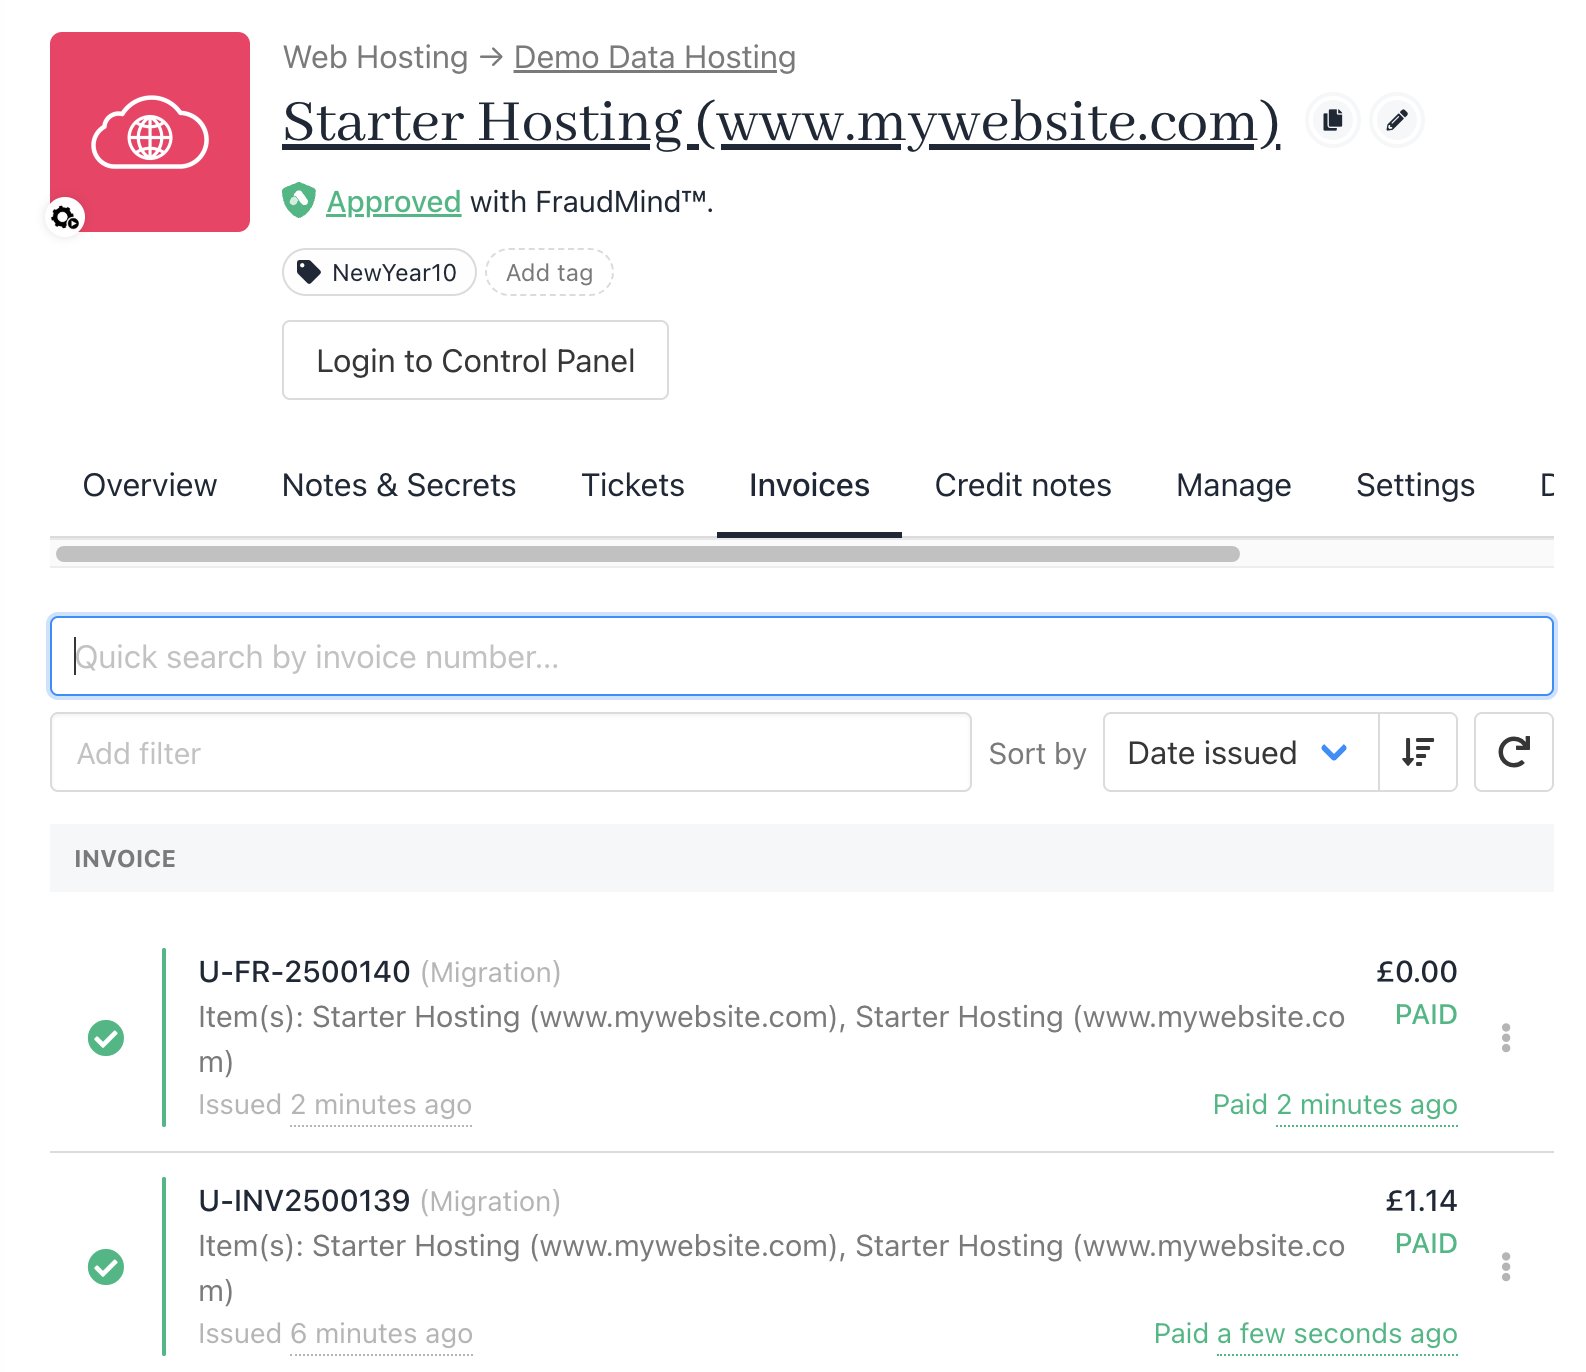
 4. If an invoice for renewal has already been created, Upmind will automatically credit the old invoice and generate a new one with the updated billing cycle.
 ## Changing subscription prices
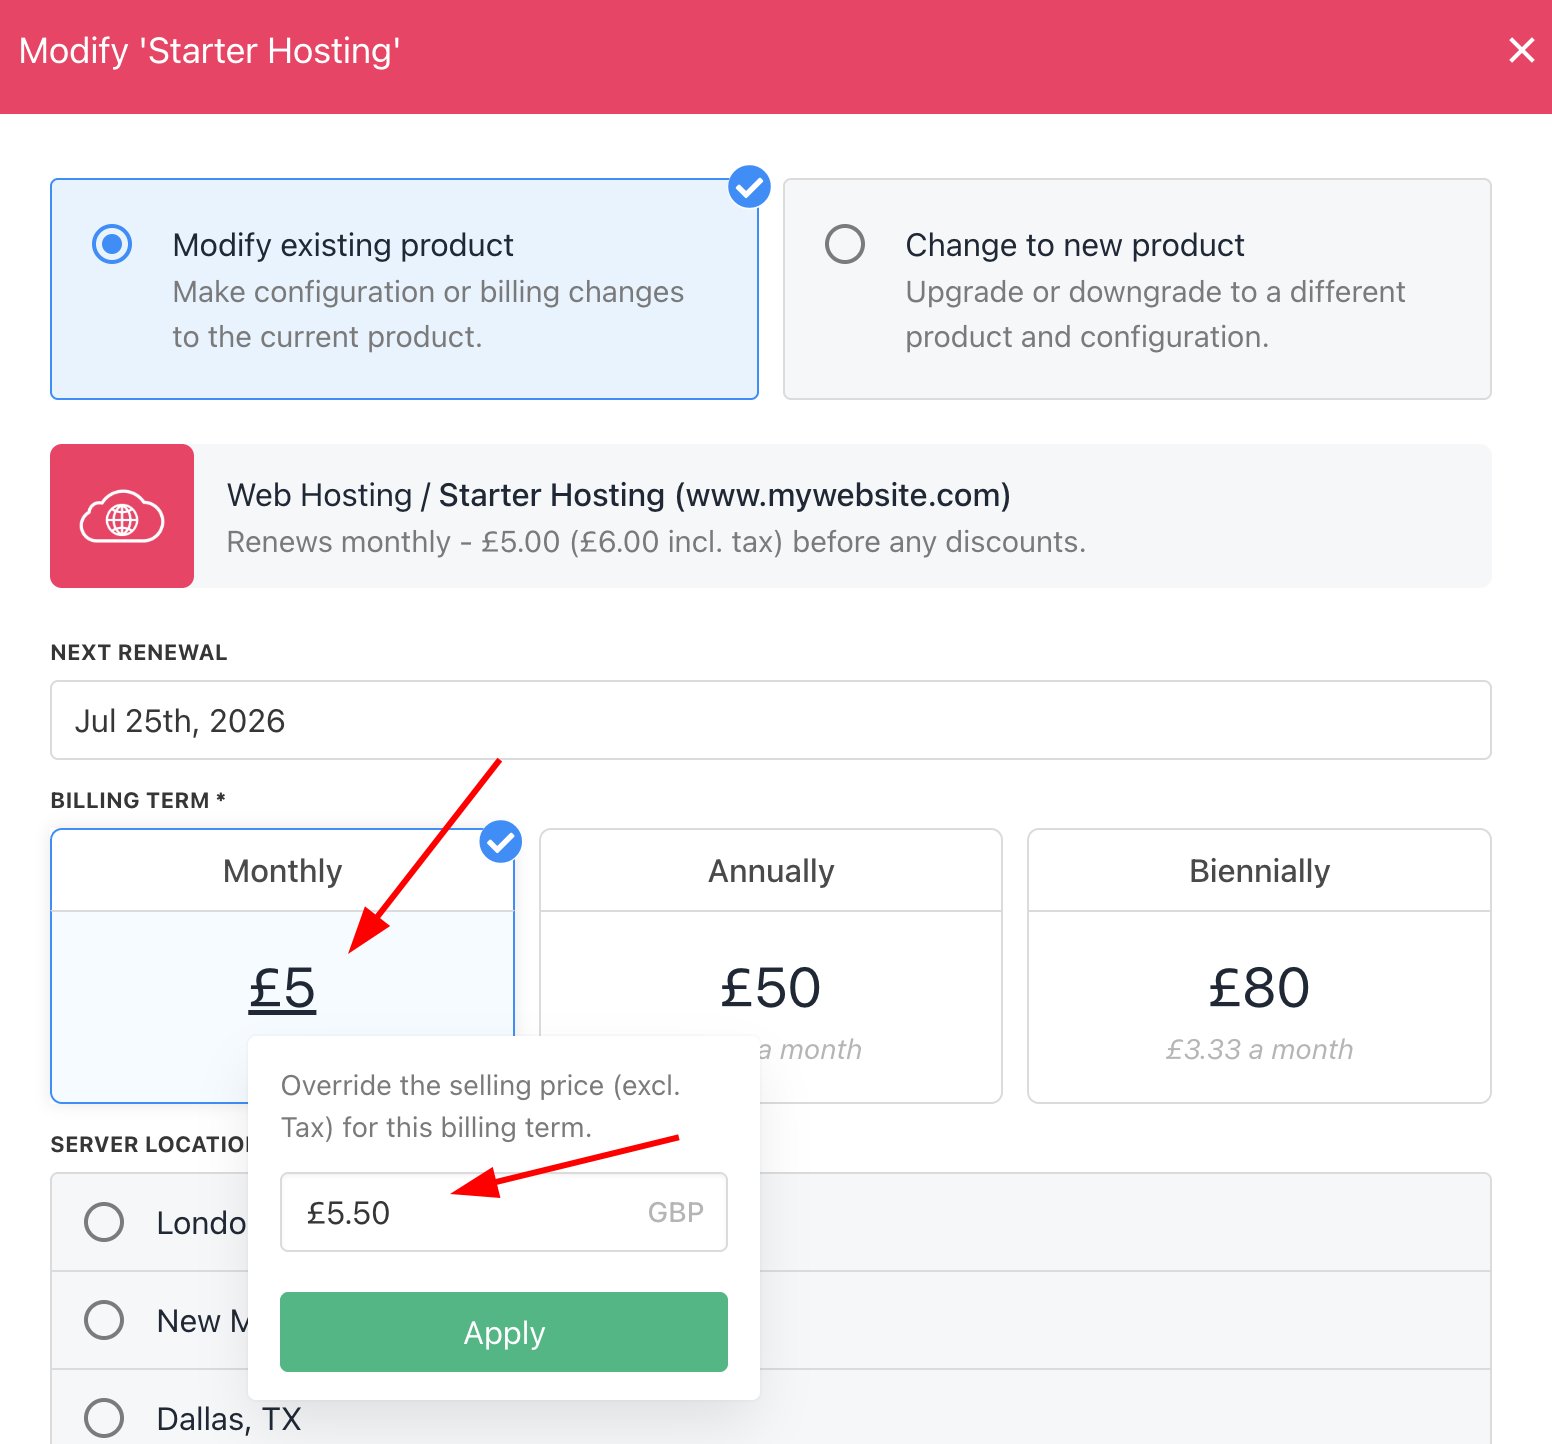
To manually set the price on the client's next invoice, you can follow these steps:
1. Click on the `Price` amount.
2. Enter an amount.
3. Click **Apply**.
## Changing subscription prices
To manually set the price on the client's next invoice, you can follow these steps:
1. Click on the `Price` amount.
2. Enter an amount.
3. Click **Apply**.
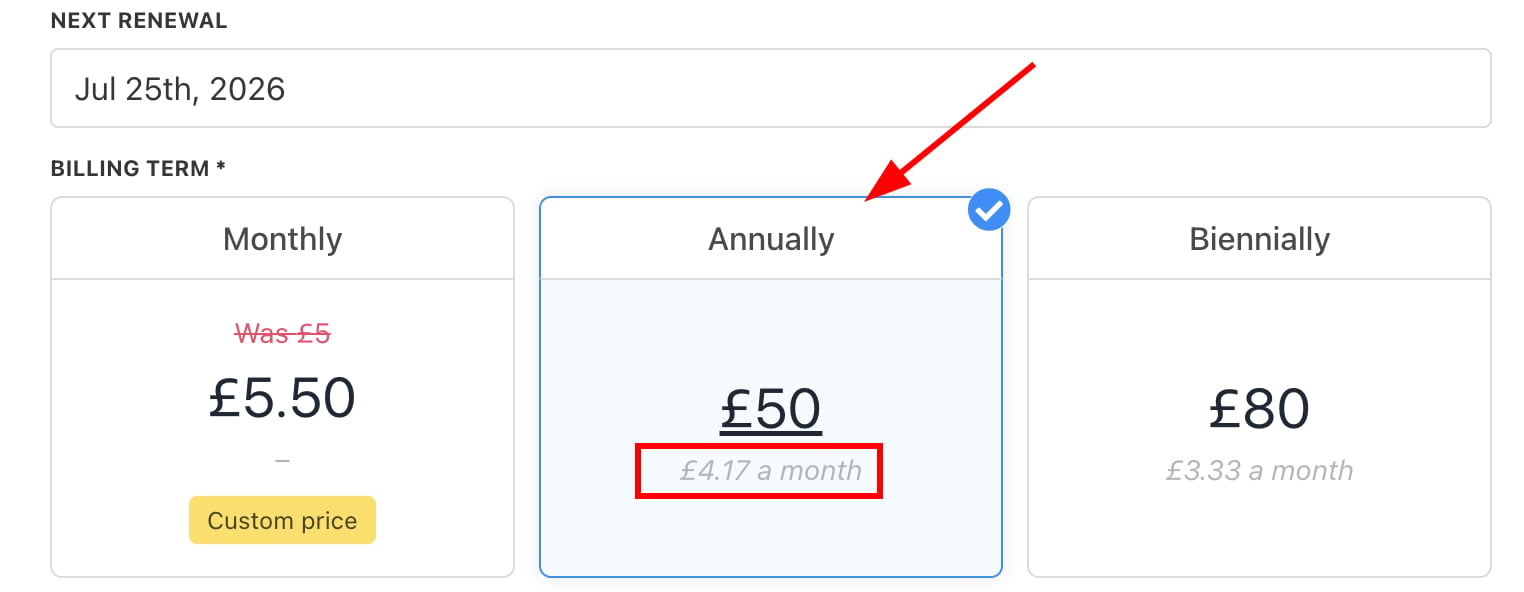
 4. For the existing term, if a client renewed monthly but switches to an annual plan at a lower average monthly price, Upmind recalculates the price as if they had been on the annual plan since the last renewal.
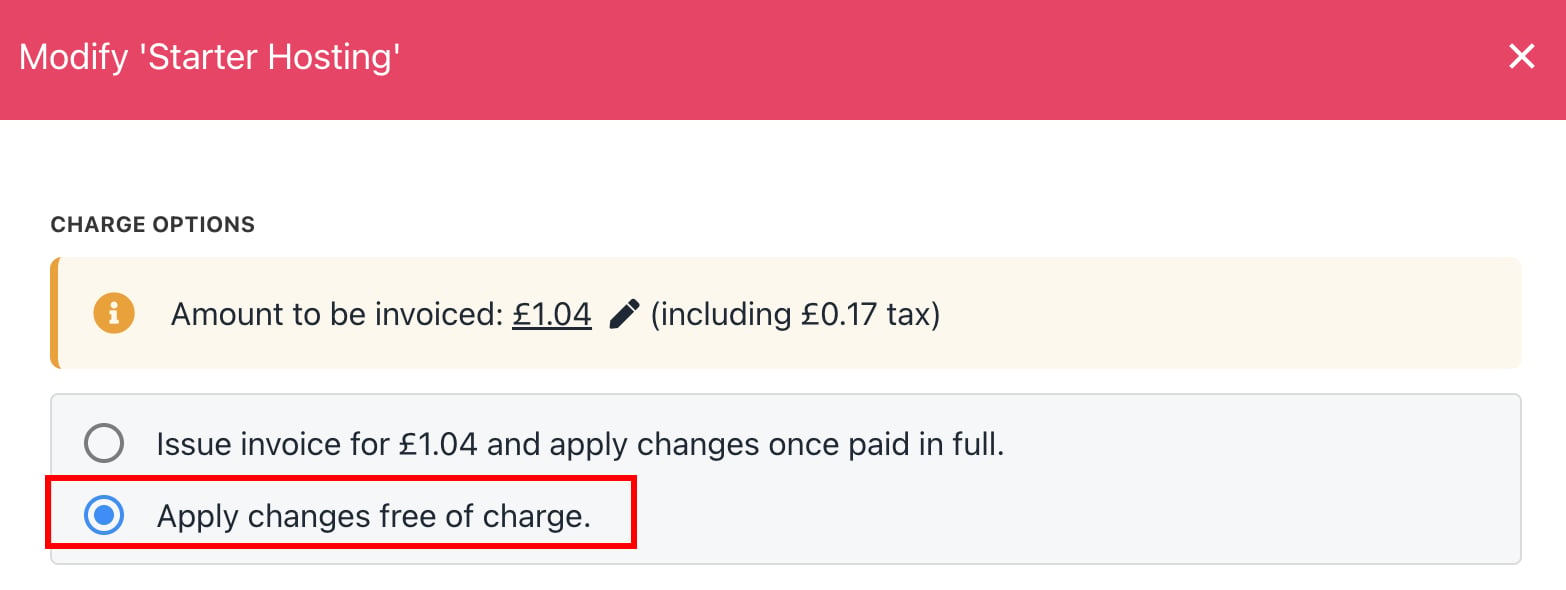
 5. If you want to change the next renewal price, you can set the charge to free.
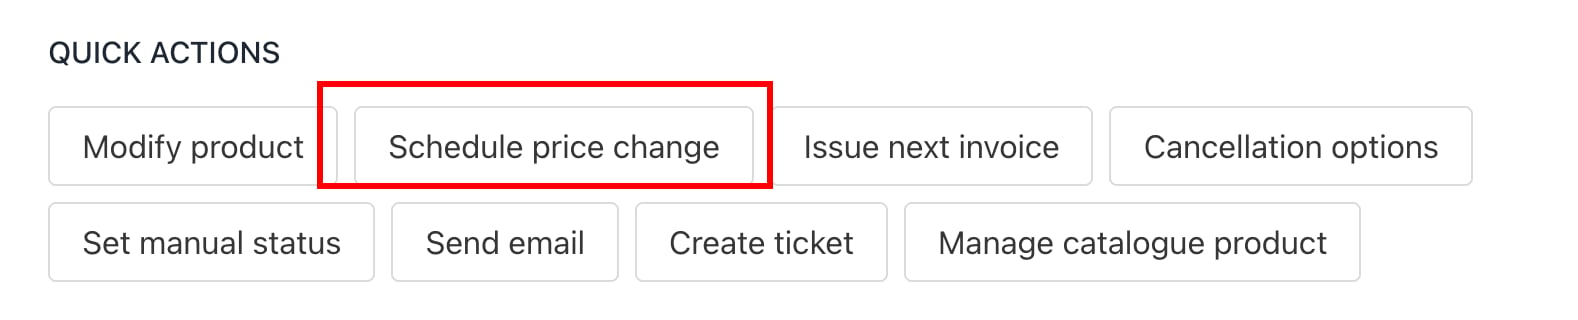
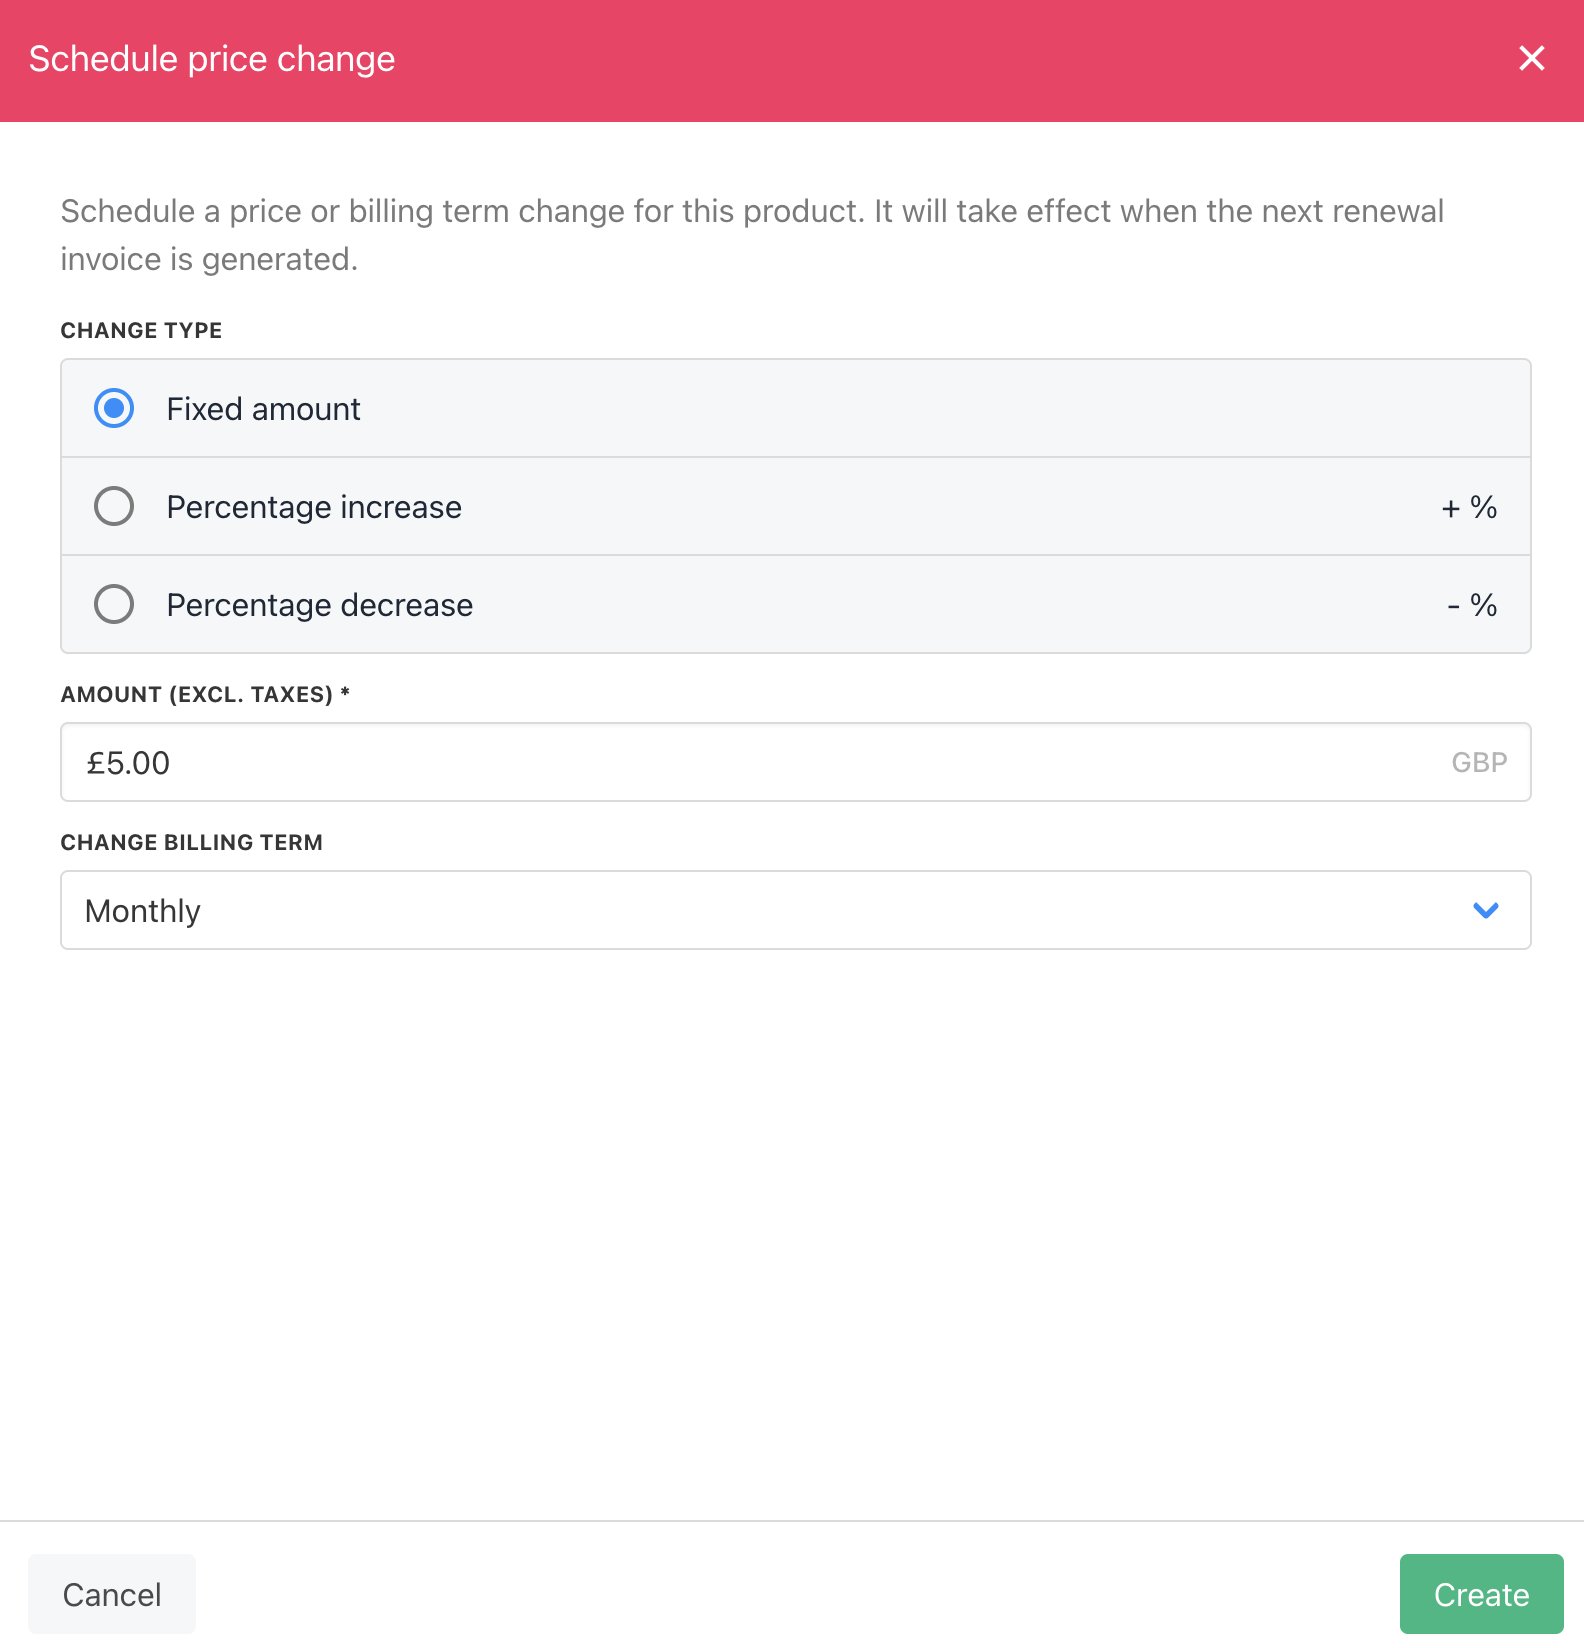
 6. Moreover, you can also schedule the price change from `Quick Actions`. For more on **Schedule Price Changes**, follow this [guide](/using-upmind/invoicing-and-taxes/schedule-price-changes-for-contract-products#/).
 ## Reactivating a product
You can change the status of a Lapsed or `Cancelled Subscription` to `Active`.
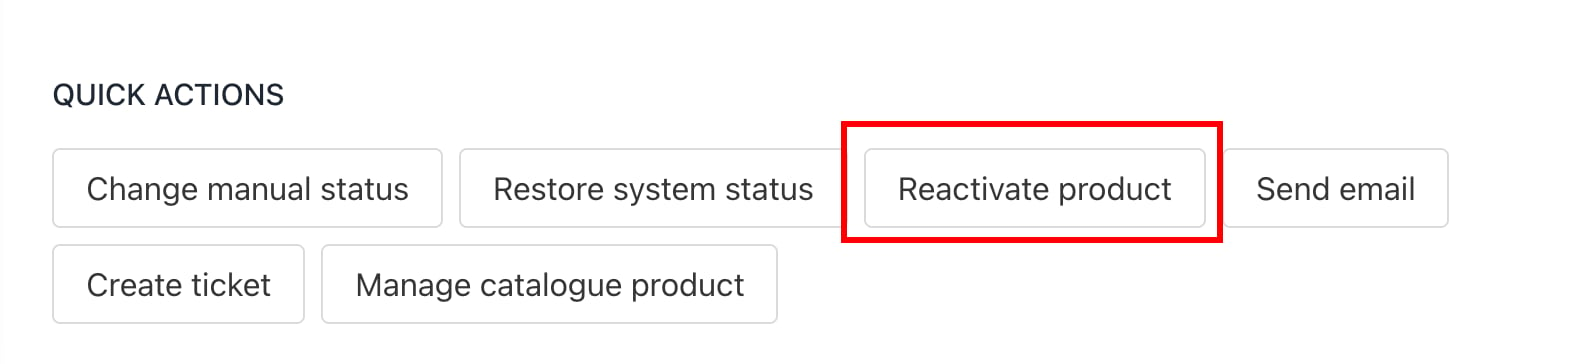
1. Scroll down to `Quick Actions`.
2. Click the **Reactivate product** button.
## Reactivating a product
You can change the status of a Lapsed or `Cancelled Subscription` to `Active`.
1. Scroll down to `Quick Actions`.
2. Click the **Reactivate product** button.
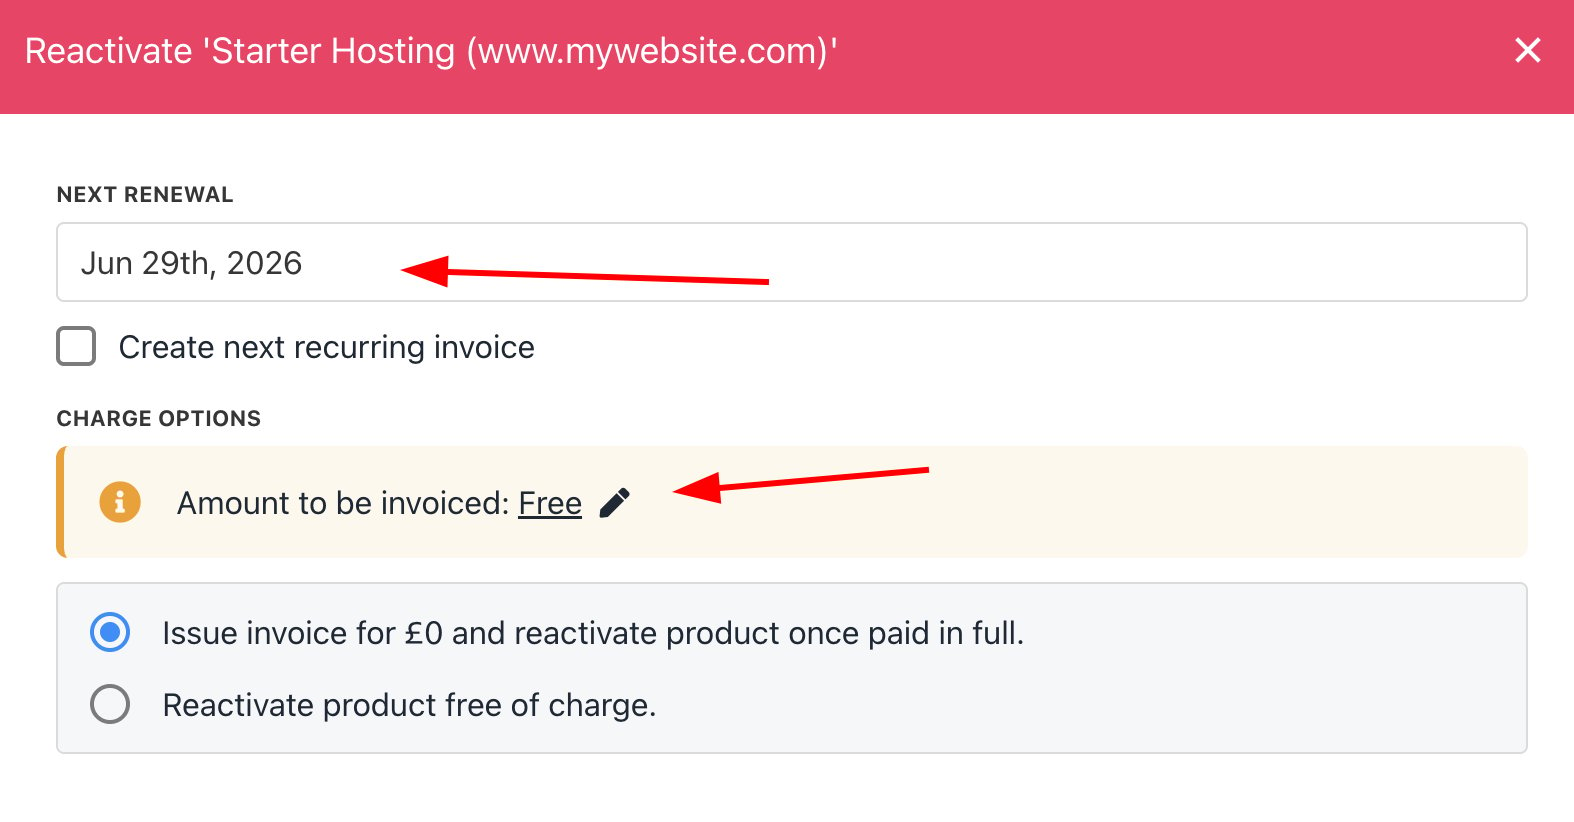
 3. In the new window, set the conditions, including `Renewal Date` and `Price`.
4. Click **Submit**.
3. In the new window, set the conditions, including `Renewal Date` and `Price`.
4. Click **Submit**.
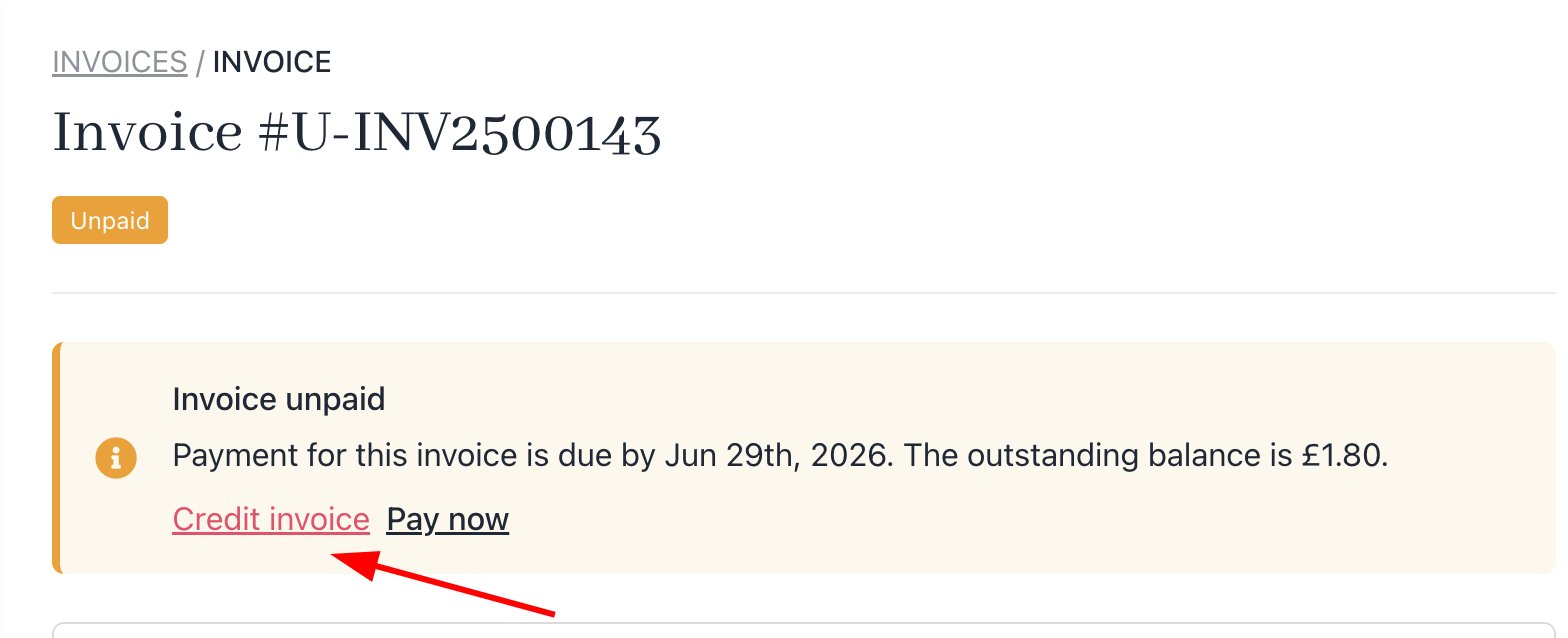
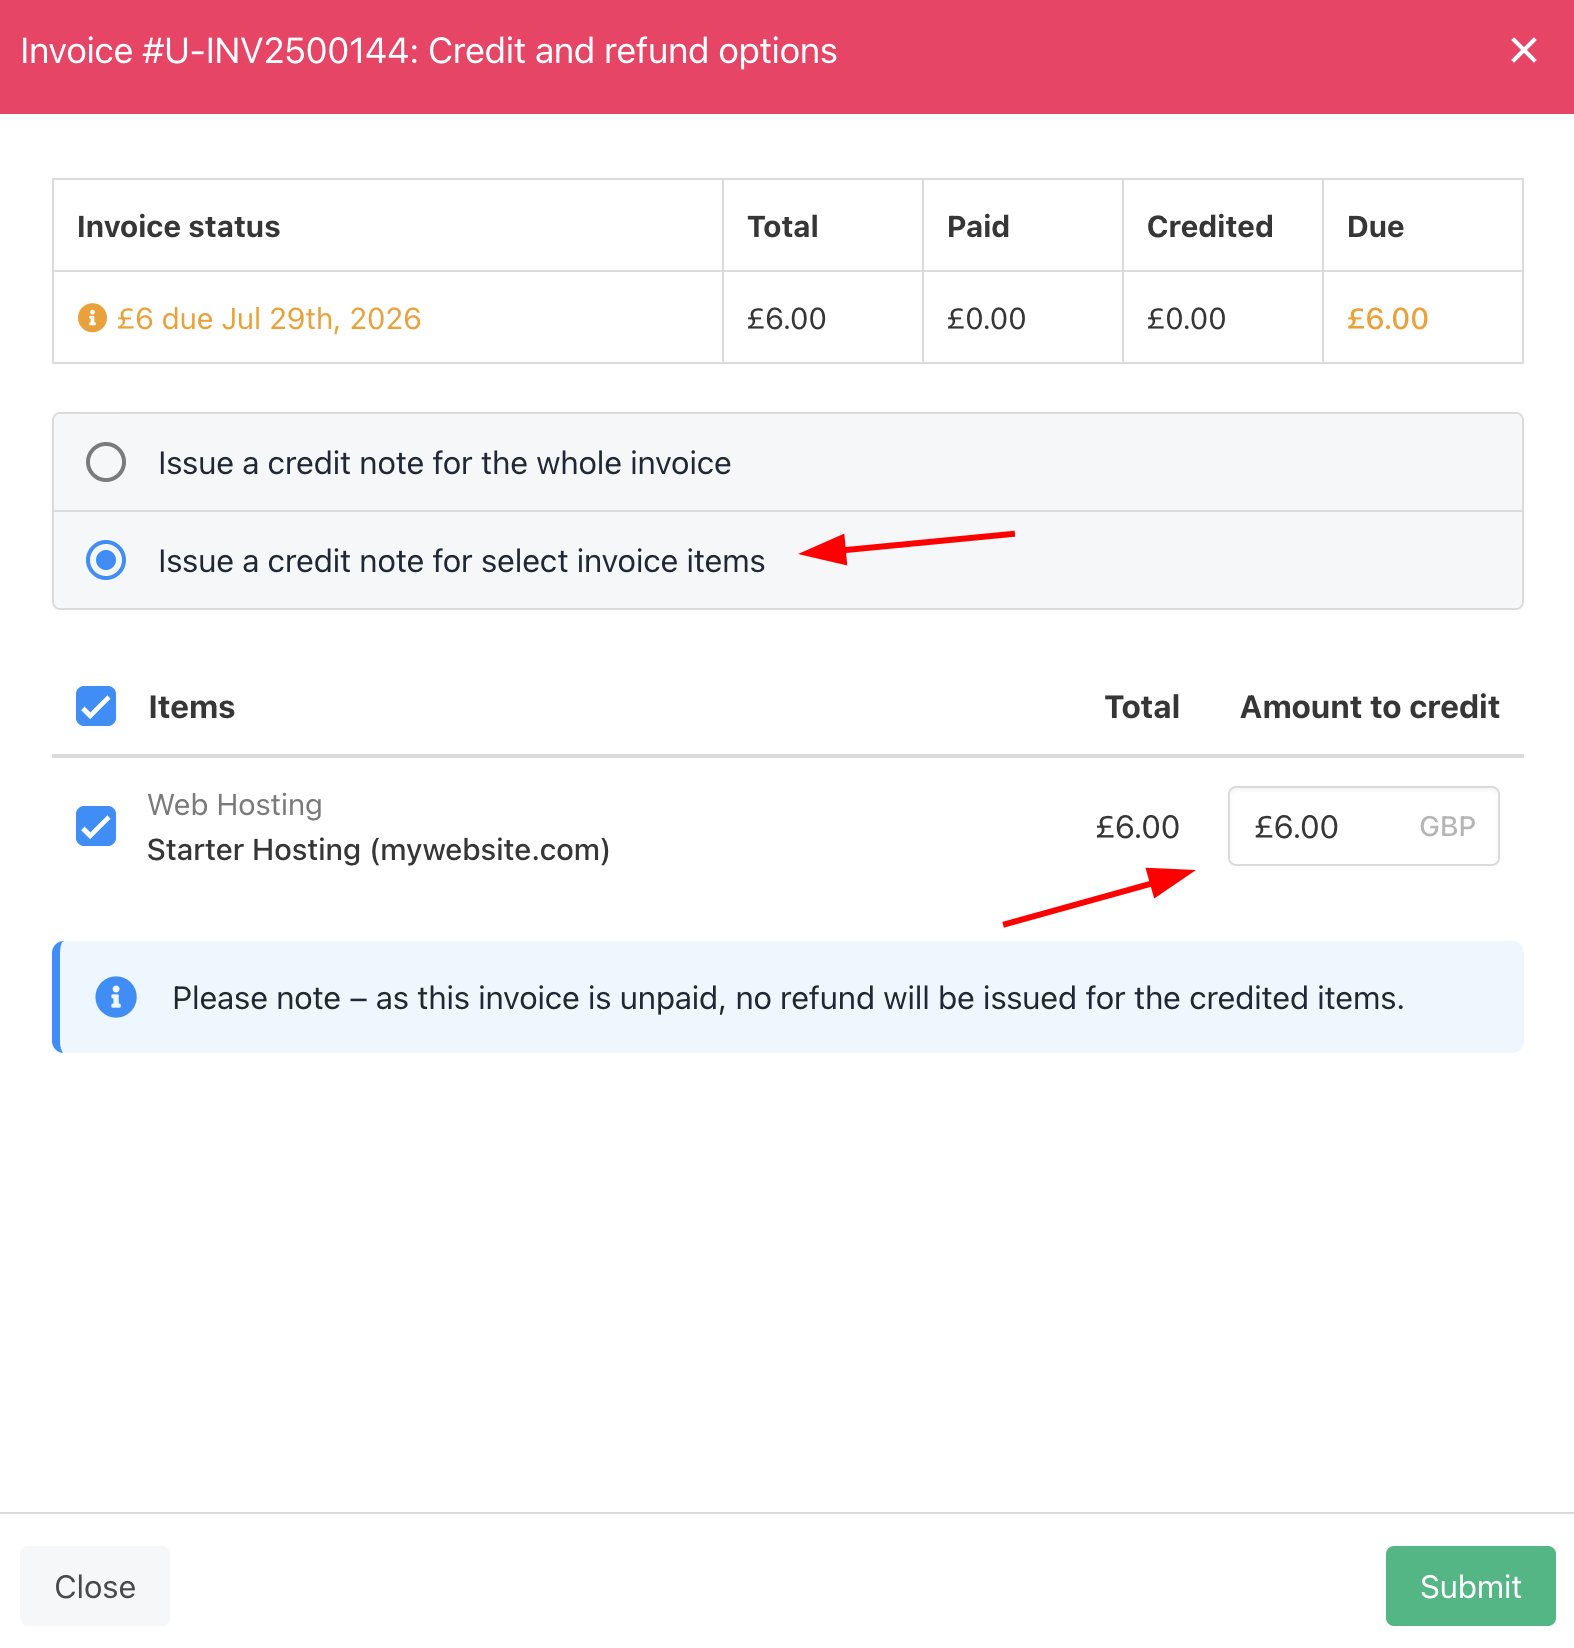
 5. If you want to offer a discount on an existing raised invoice, you can go to the invoice and add a 'credit' against that invoice.
 ## Change to a new product
You can upgrade or downgrade to a new product and configuration.
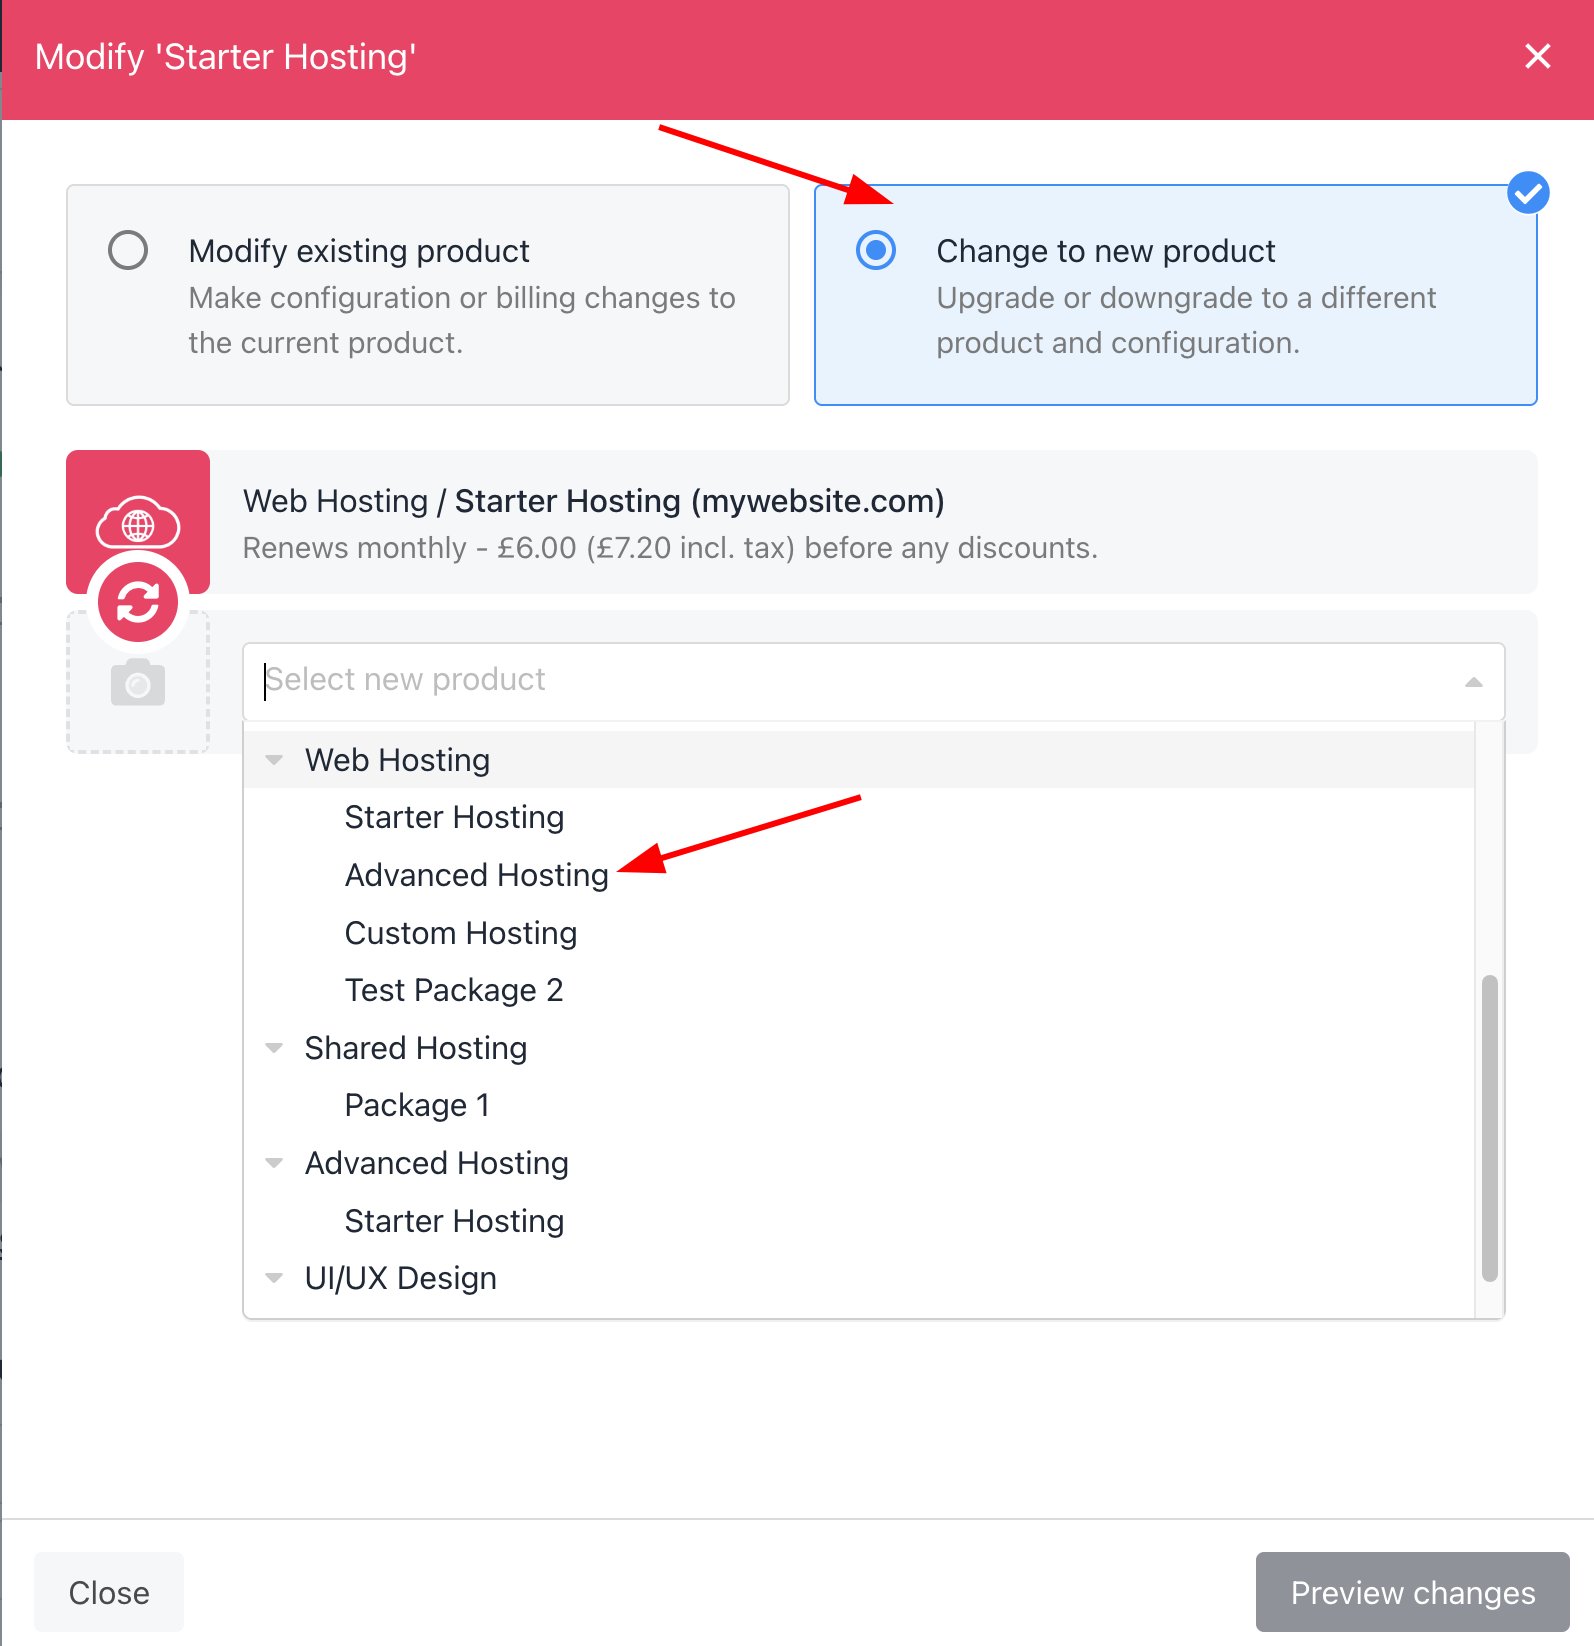
1. On the **Modify** page, select the `Change to New Product` tab and then choose a new product.
## Change to a new product
You can upgrade or downgrade to a new product and configuration.
1. On the **Modify** page, select the `Change to New Product` tab and then choose a new product.
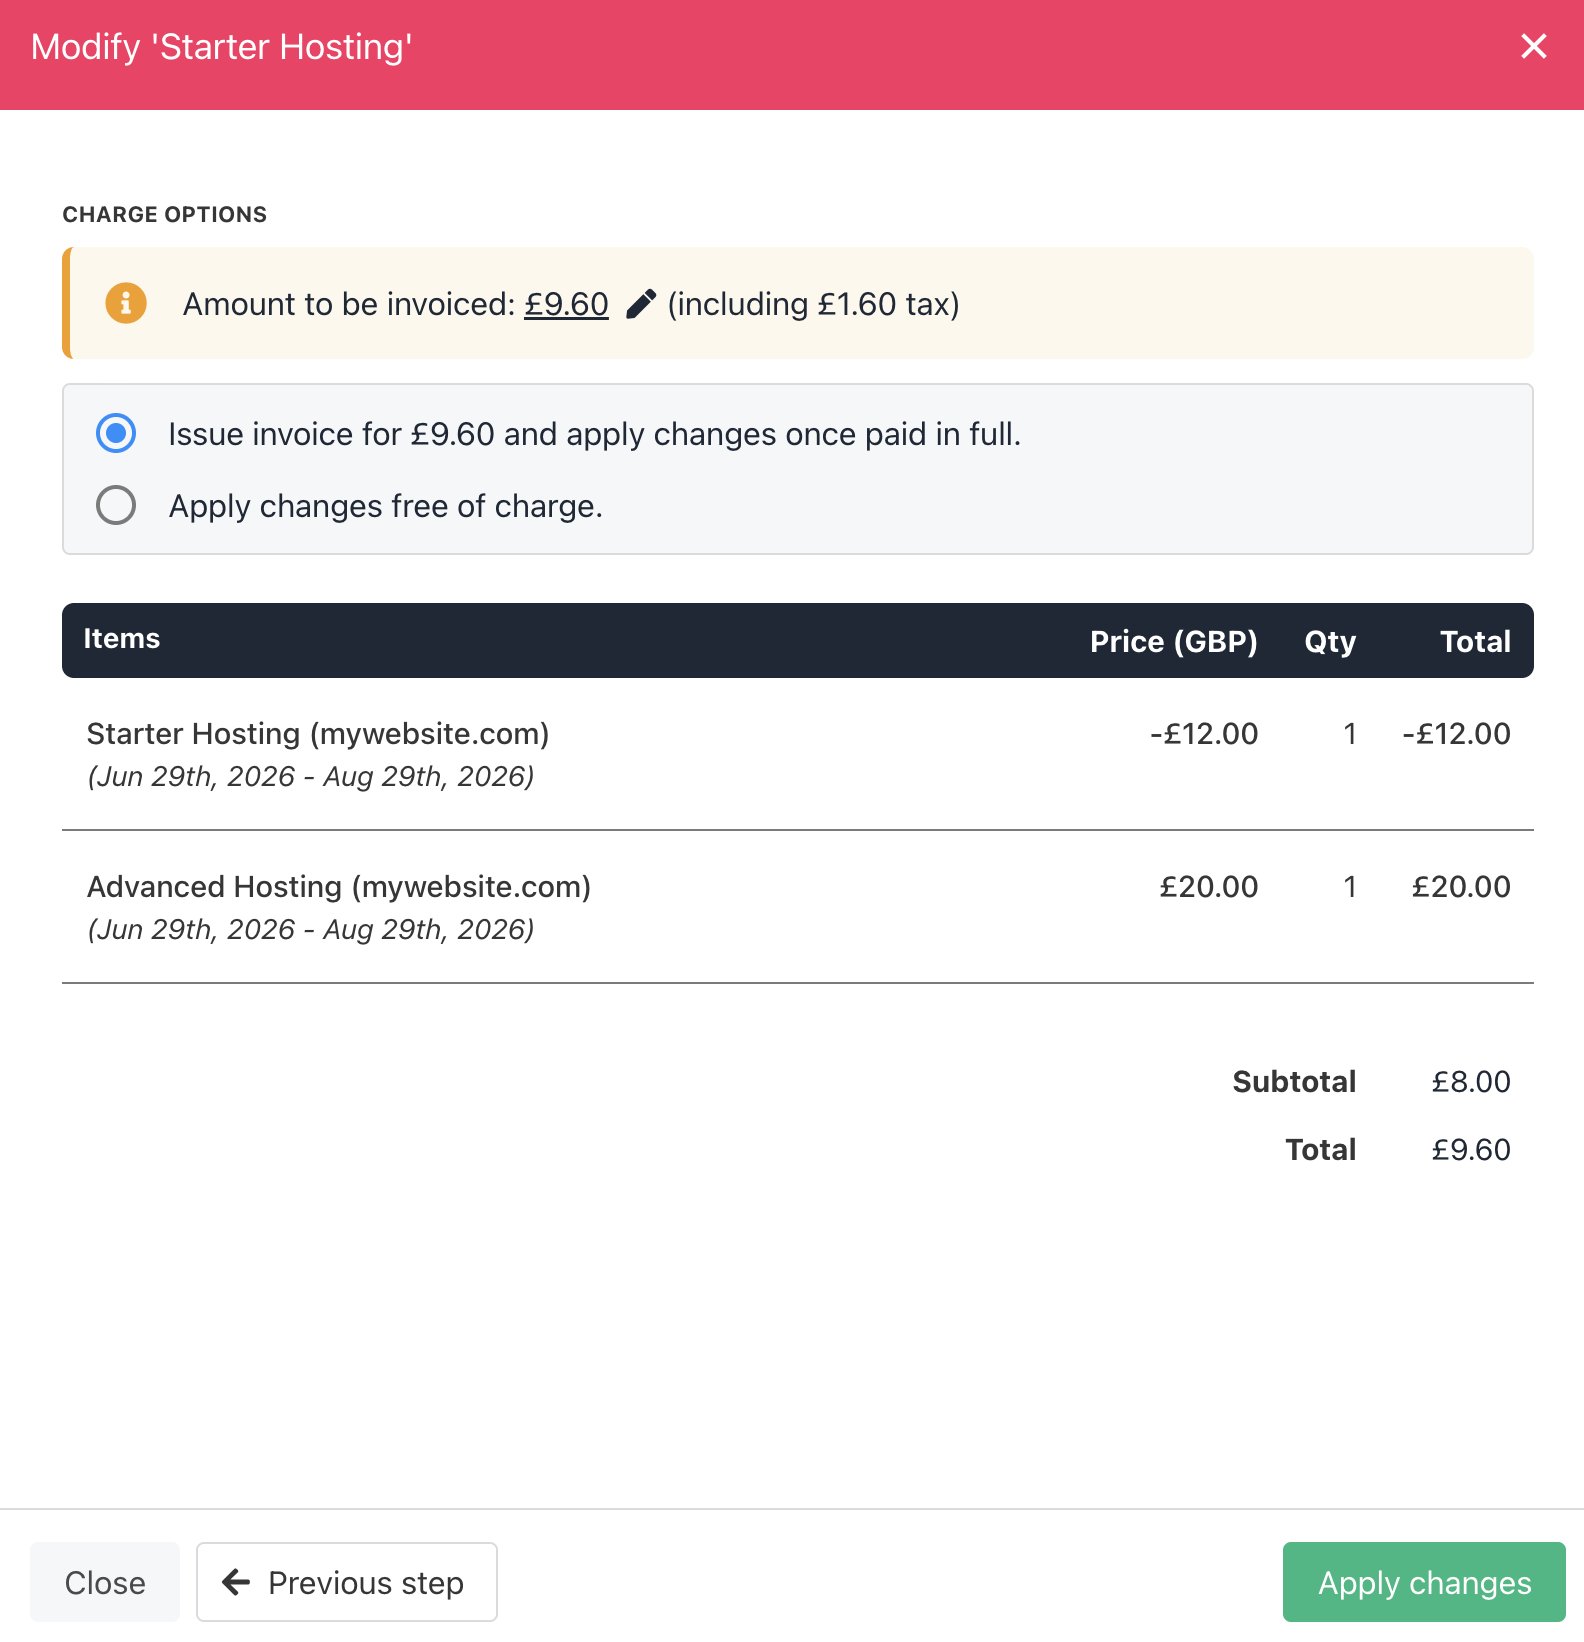
 2. You can choose new billing terms and the charge options.
 ## Apply pro-rata modifications without impacting existing invoices
1. Go to **Settings** > **Order Options**.
## Apply pro-rata modifications without impacting existing invoices
1. Go to **Settings** > **Order Options**.
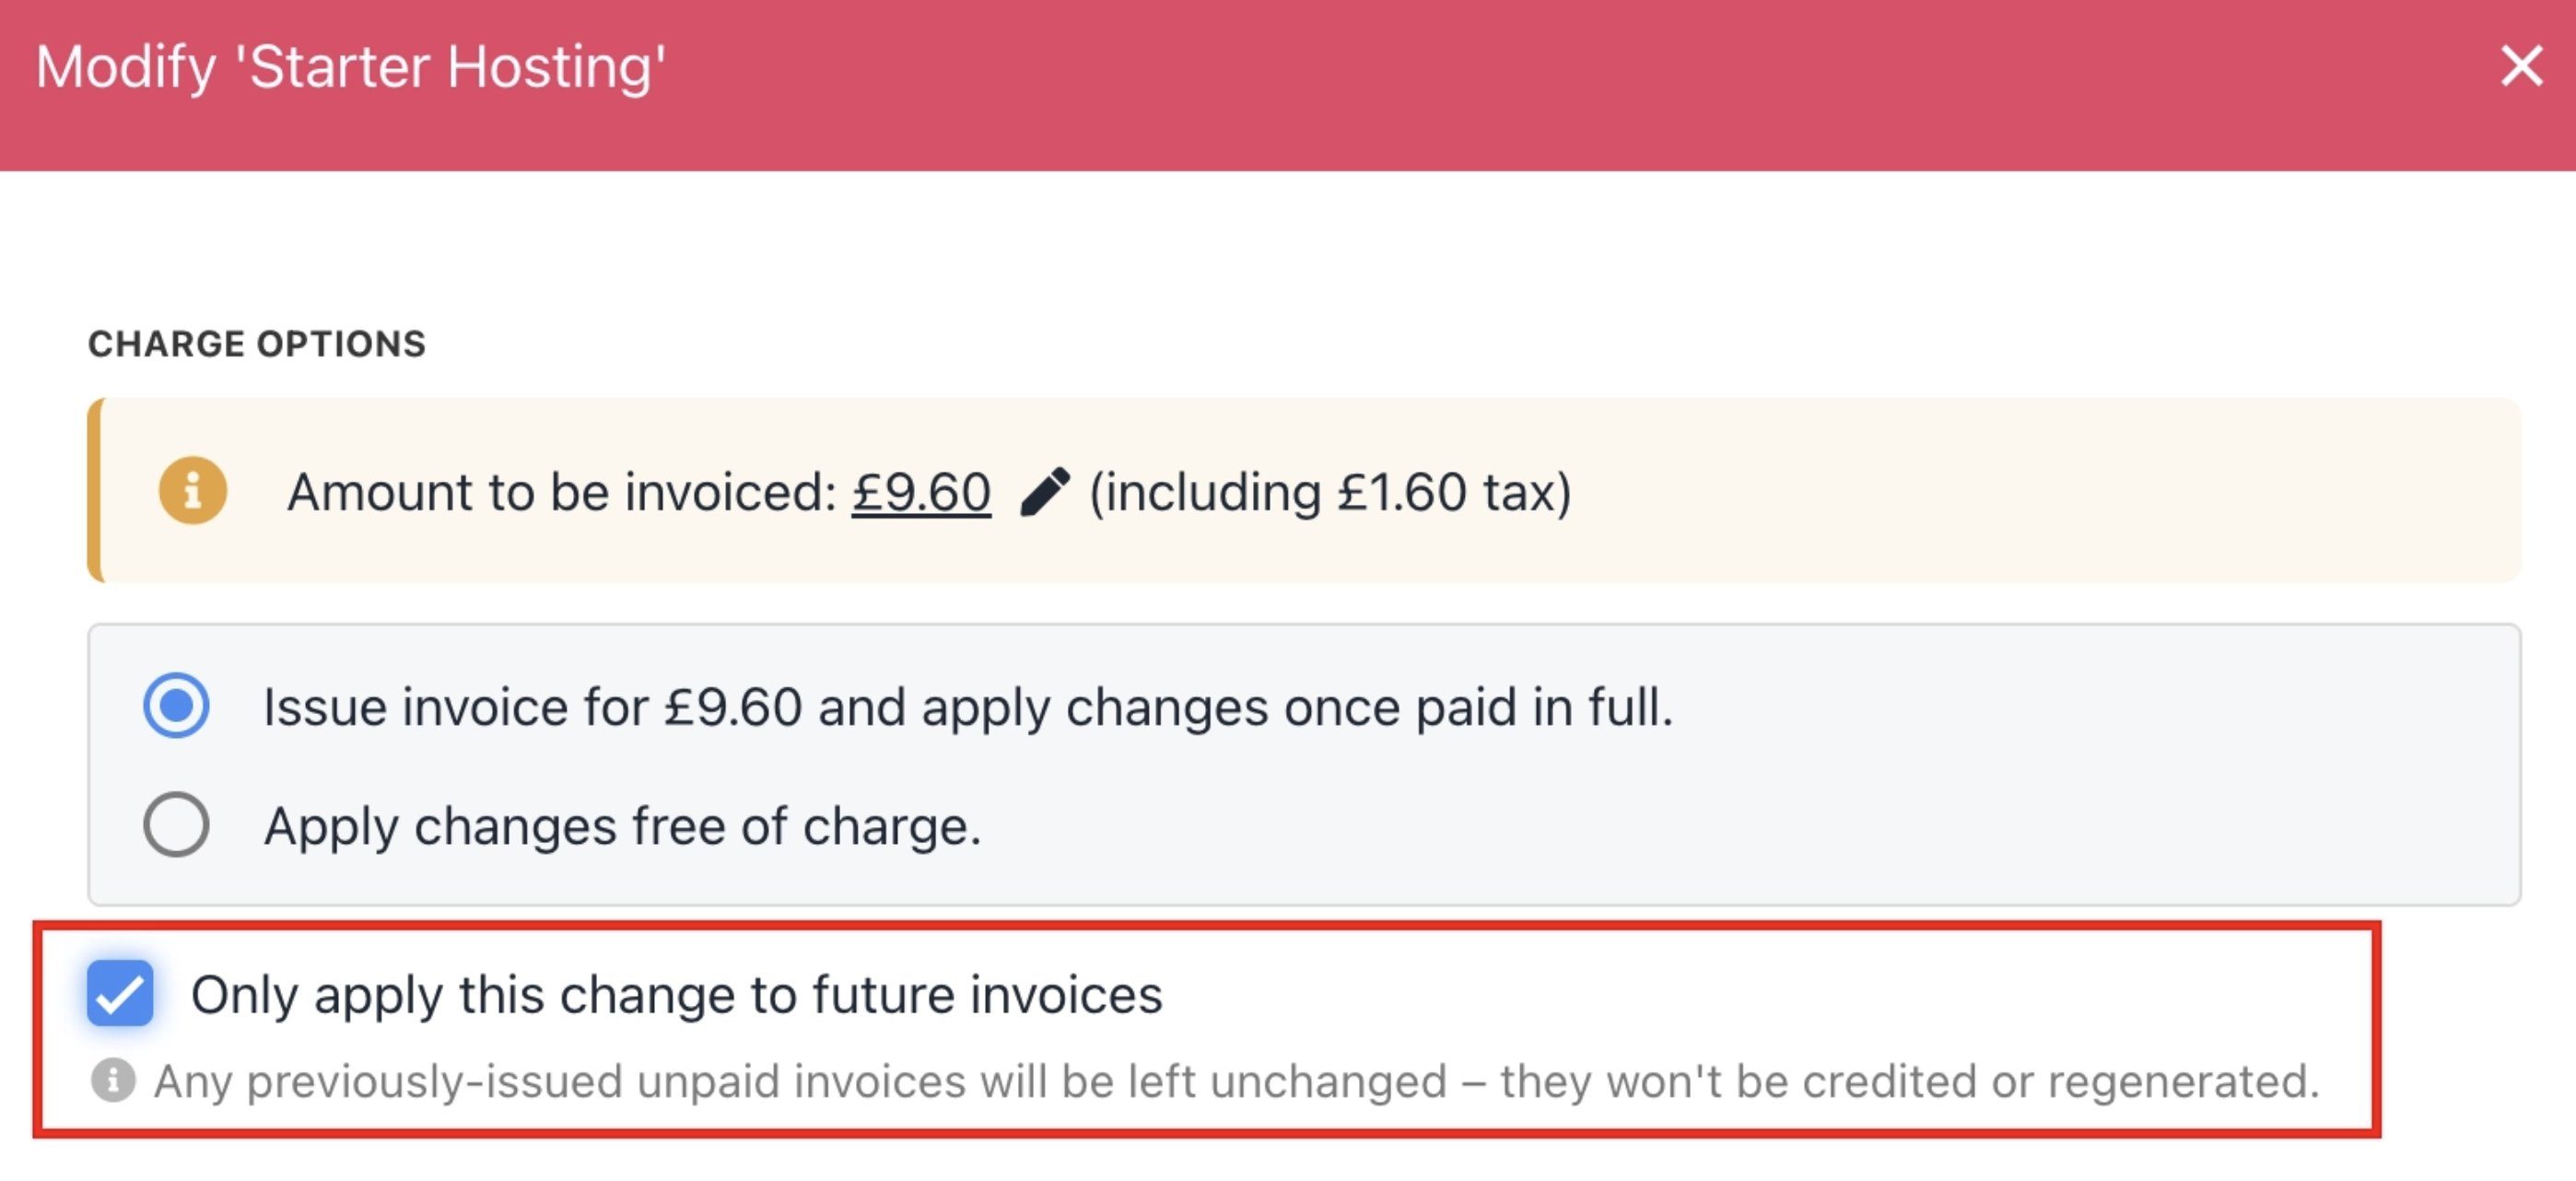
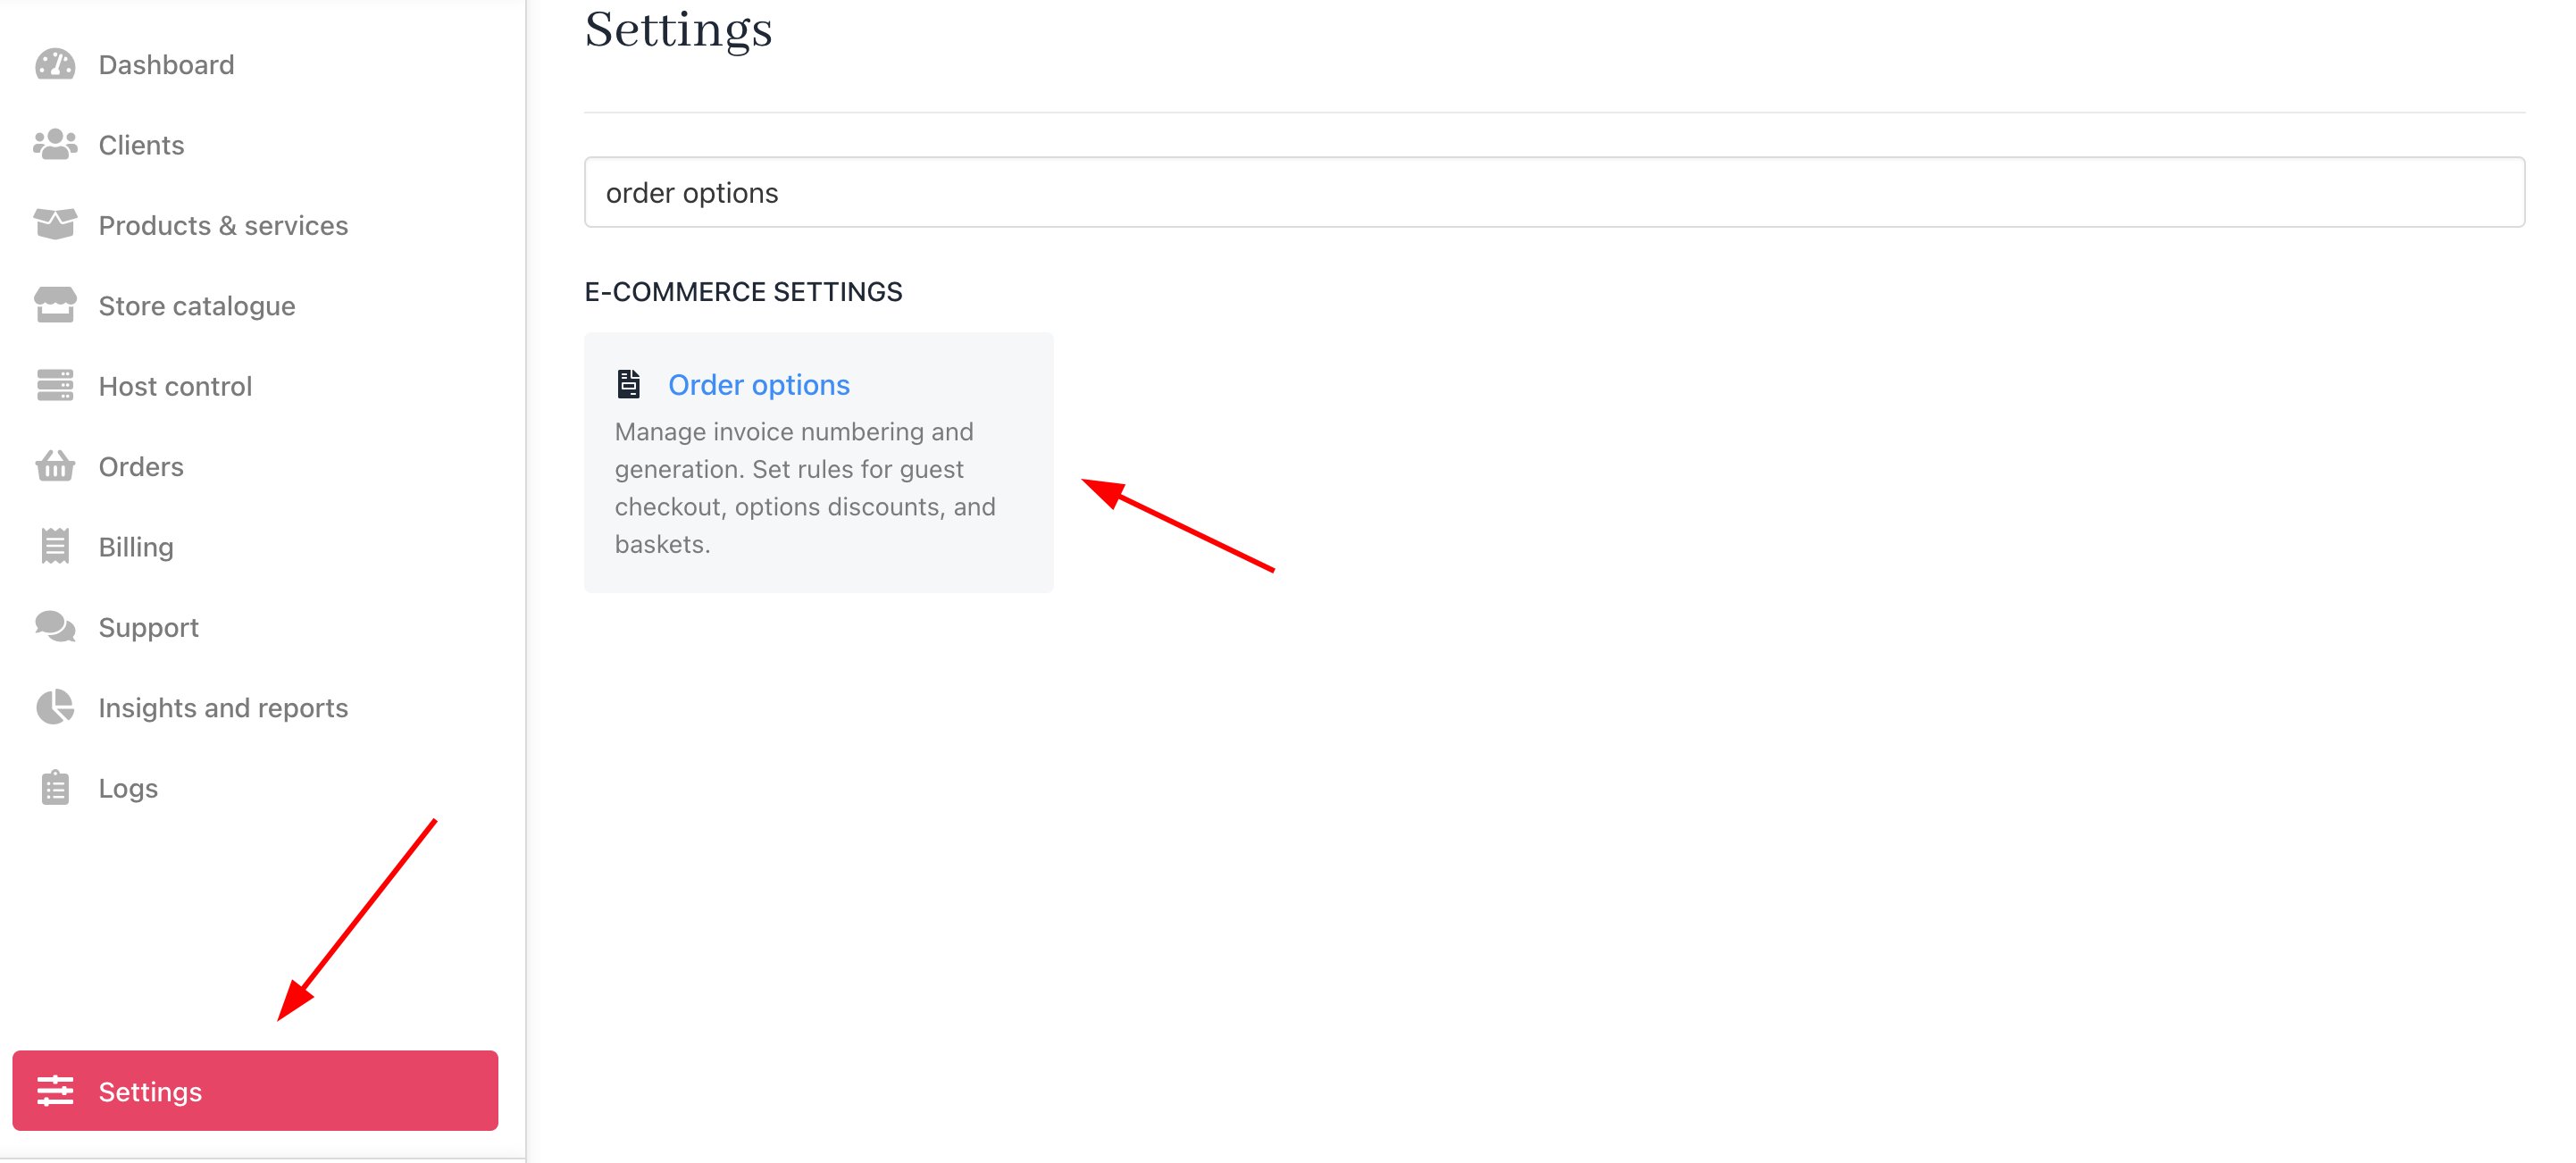 2. Under the **Misc** section, click **Enable control over pro rata/modify crediting invoices**. This controls whether crediting or refunding of invoices is disabled during pro-rata adjustments. When enabled, an additional parameter can be passed when pro-rating a product to suppress the automatic credit or refund on affected invoices.
 3. Then, when you modify a product and click **Preview changes**, you will see the option **Only apply these changes to future invoices**.