> ## Documentation Index
> Fetch the complete documentation index at: https://docs.upmind.com/llms.txt
> Use this file to discover all available pages before exploring further.
# How to Add Client Custom Fields
> Collect and save structured data
## Video tutorial
#### In this video tutorial we cover:
* How to create client custom fields.
* What the different settings on client custom fields mean.
* How to segment clients by custom fields.
#### Custom field placement
Add custom fields to the **Create account window** or [checkout basket](https://features.upmind.com/en/help/articles/4897219) to collect and store additional structured data against customer records. You can collect a wide range of data types, including:
* client information (e.g. age, date of birth, favourite band)
* answers to questions (e.g. How did you find us?)
* verification information (e.g. support pin numbers)
Custom fields are especially powerful because you can use them to [search and categorise](/setup-and-configuration/orders-services/how-to-review-orders) clients. Clients can optionally view and edit their custom field information through their self-service client area. You can also choose to display custom field information on the invoices that you send clients.
* If you want to create unstructured notes against a client, you can use Upmind's [client notes](/using-upmind/client-management/how-to-create-account-notes-and-secrets).
## Defining custom fields
1. Open the Upmind Admin dashboard and click the Settings button.
2. Click the Client custom fields tile.
3. Click the Create custom field button.
4. Click the field under CUSTOM FIELD NAME and select an option on the drop-down menu.
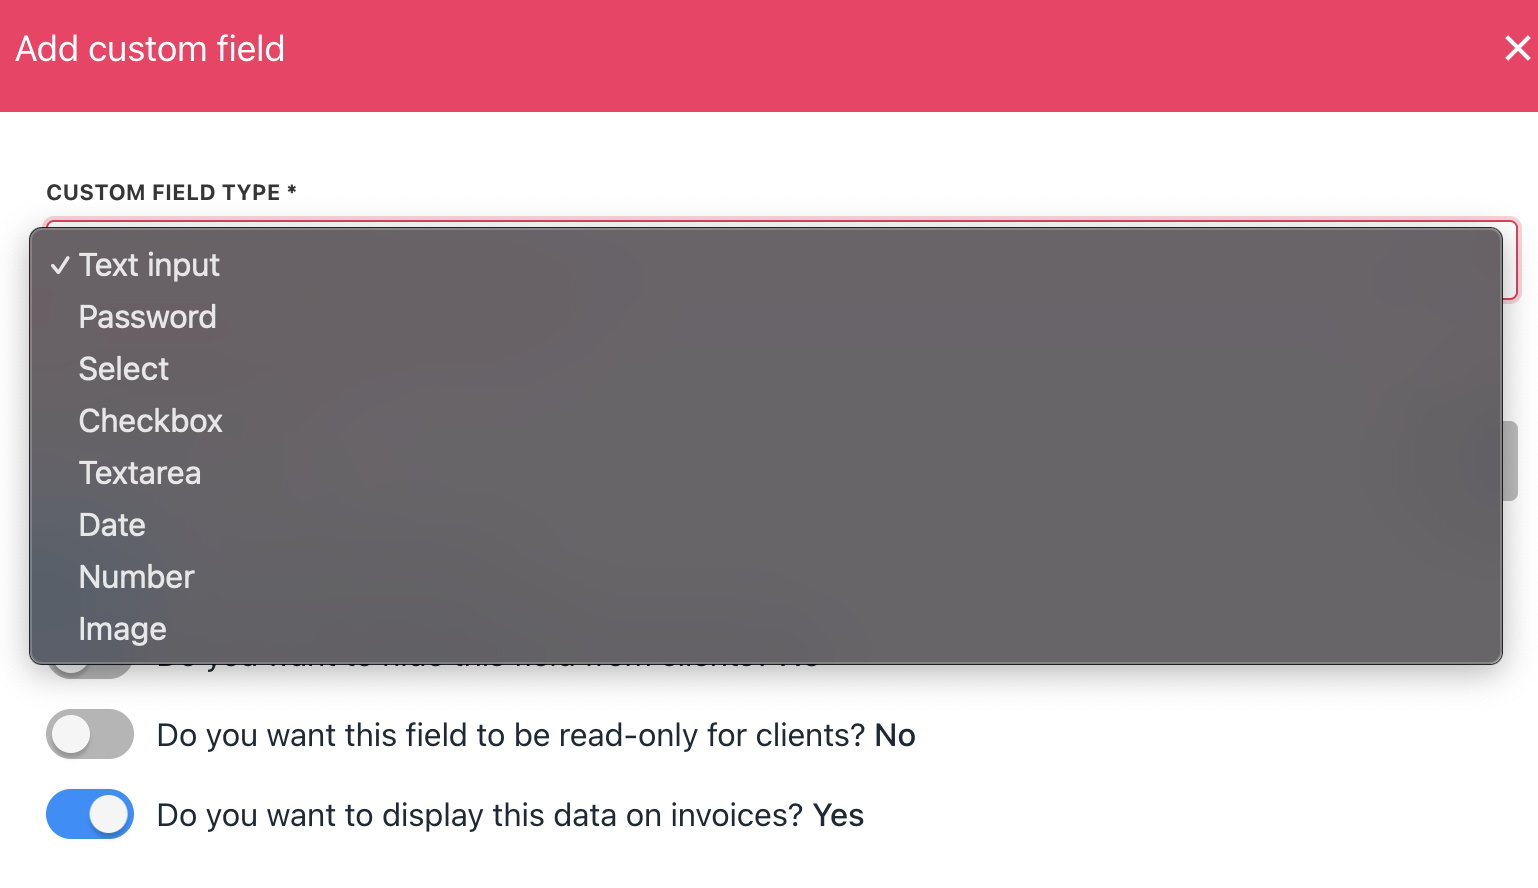 You can also enable/disable the following options:
* Is this field required?
* Do you want to hide this field from clients?
* Do you want this field to be read only for clients?
* Do you want to display this data on invoices?
### Text input
* A free form text field (ideal for short answers).
You can also enable/disable the following options:
* Is this field required?
* Do you want to hide this field from clients?
* Do you want this field to be read only for clients?
* Do you want to display this data on invoices?
### Text input
* A free form text field (ideal for short answers).
 ### Password
* A password text field that obscures the data.
### Password
* A password text field that obscures the data.
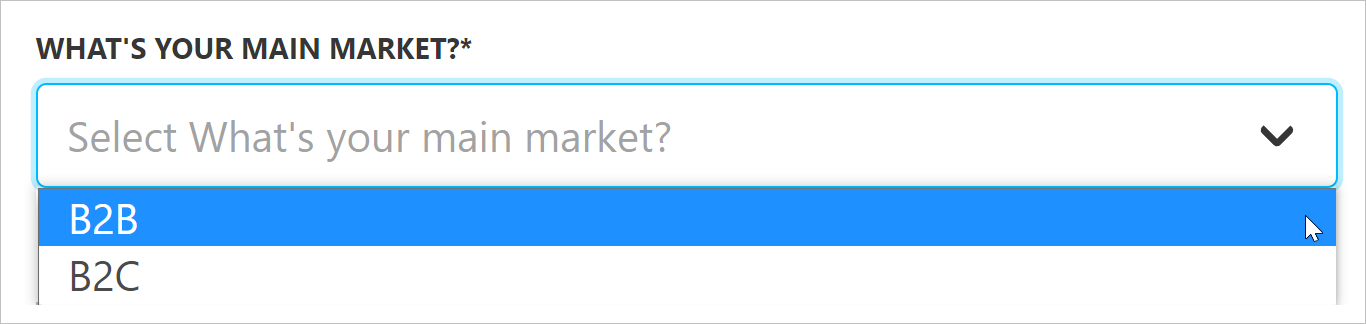
 ### Select
* Create a drop-down menu.
* Click the Add option button to add items to the drop-down menu.
### Select
* Create a drop-down menu.
* Click the Add option button to add items to the drop-down menu.
 ### Checkbox
* A Yes - No tick box.
* A checked box means Yes.
* The default setting is unchecked (No).
### Checkbox
* A Yes - No tick box.
* A checked box means Yes.
* The default setting is unchecked (No).
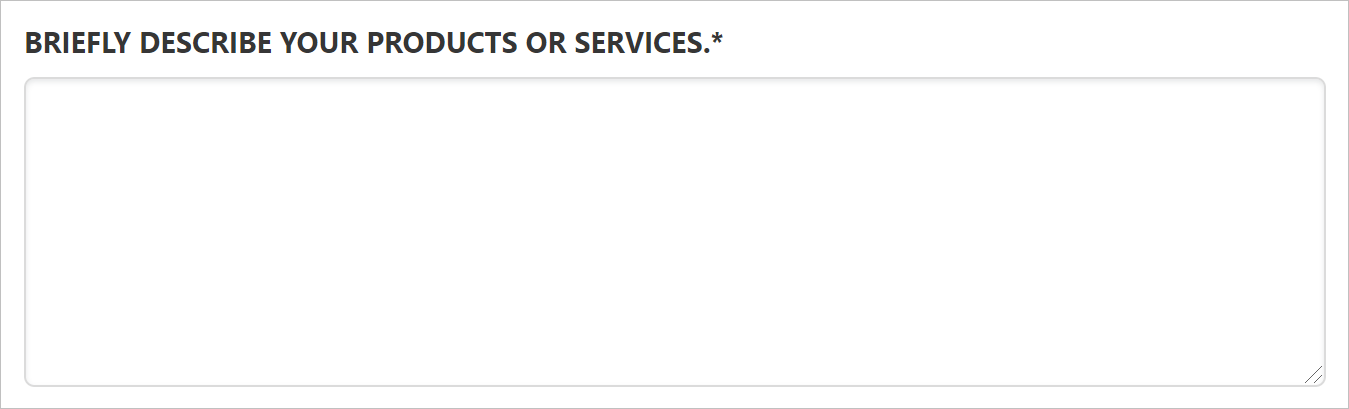
 ### Text area
* Clients enter a long-form response.
### Text area
* Clients enter a long-form response.
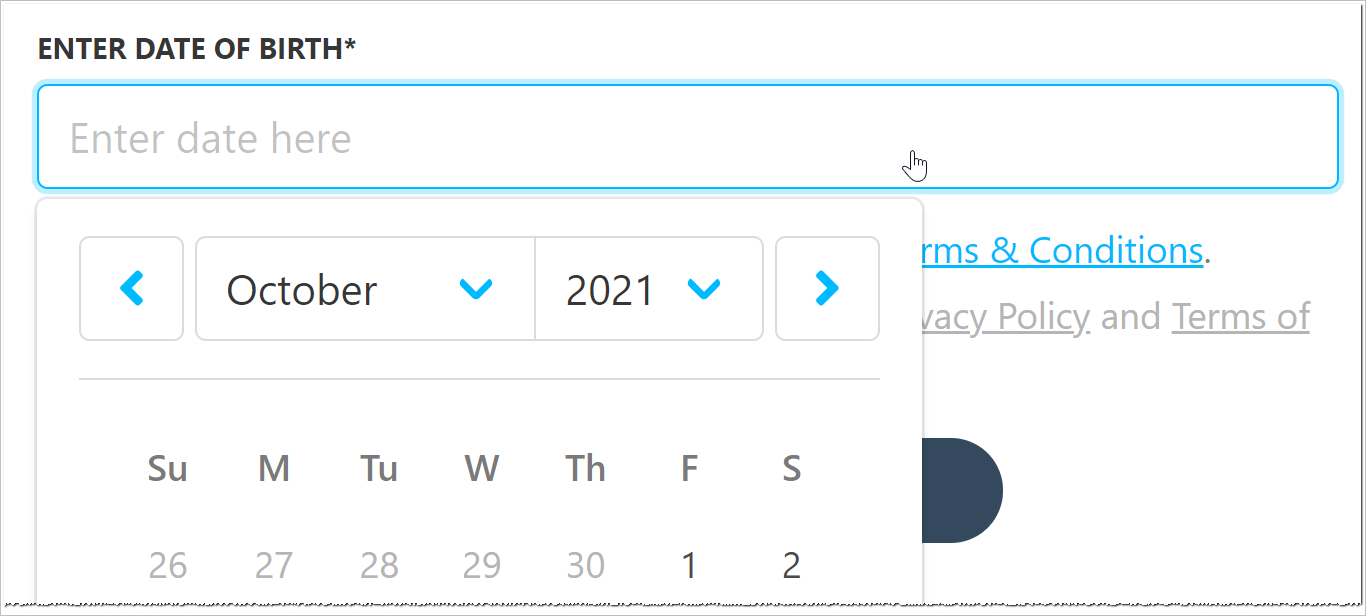
 ### Date
* Clients click the field and enter a date with the calendar.
### Date
* Clients click the field and enter a date with the calendar.
 ### Number
* Clients click the field and enter a number.
### Number
* Clients click the field and enter a number.
 ### Image
* Clients click the field and upload an image file.
### Image
* Clients click the field and upload an image file.