> ## Documentation Index
> Fetch the complete documentation index at: https://docs.upmind.com/llms.txt
> Use this file to discover all available pages before exploring further.
# How to Manage Your Admin Profile
> Add or change your admin information, such as name, address, email, avatar, etc, as you want.
Your profile contains personal information, some of which is visible to other staff and clients. If you use Upmind's integrated [support system](/using-upmind/service-desk/about-upminds-service-desk-features) you'll want to set your name and avatar correctly.
## **Opening the My Account page**
The first step is to open the My Account page.
1. Log in to your Upmind admin dashboard.
2. Click the logo at the bottom of the left pane.
3. Click **My Account**.
## **Adding an avatar**
Staff users and clients can see your avatar. It displays on every page. Upmind occasionally uses it in place of a display name.
For best display results, use square images (i.e., 1:1 aspect ratio) at least 128 x 128 pixels. Smaller images may appear blurry. The maximum file size is 1 MB.
To upload an image:
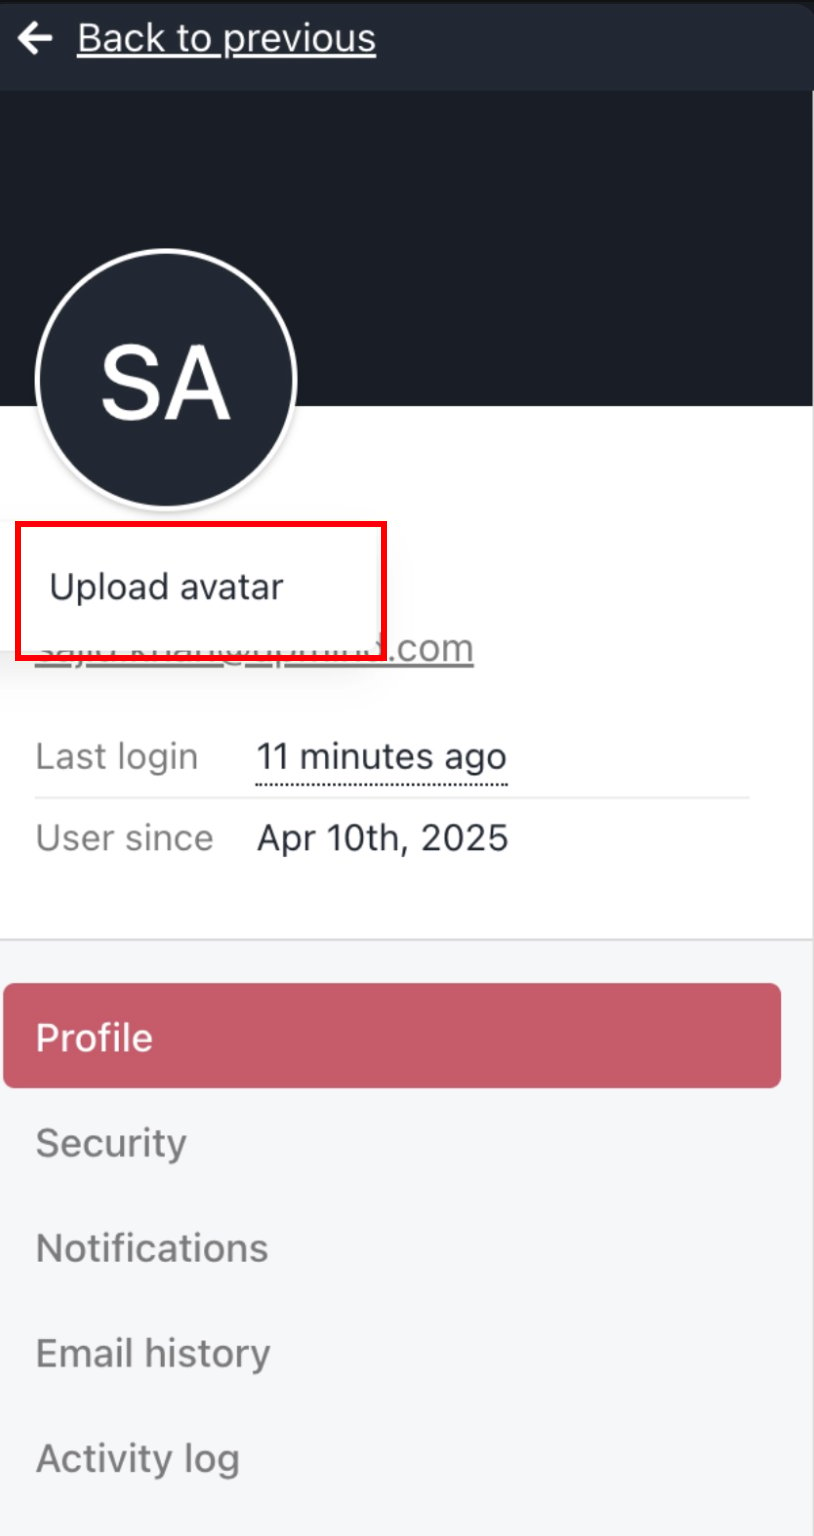
1. Click the avatar icon.
2. Select **Upload avatar** and select the image from your device.
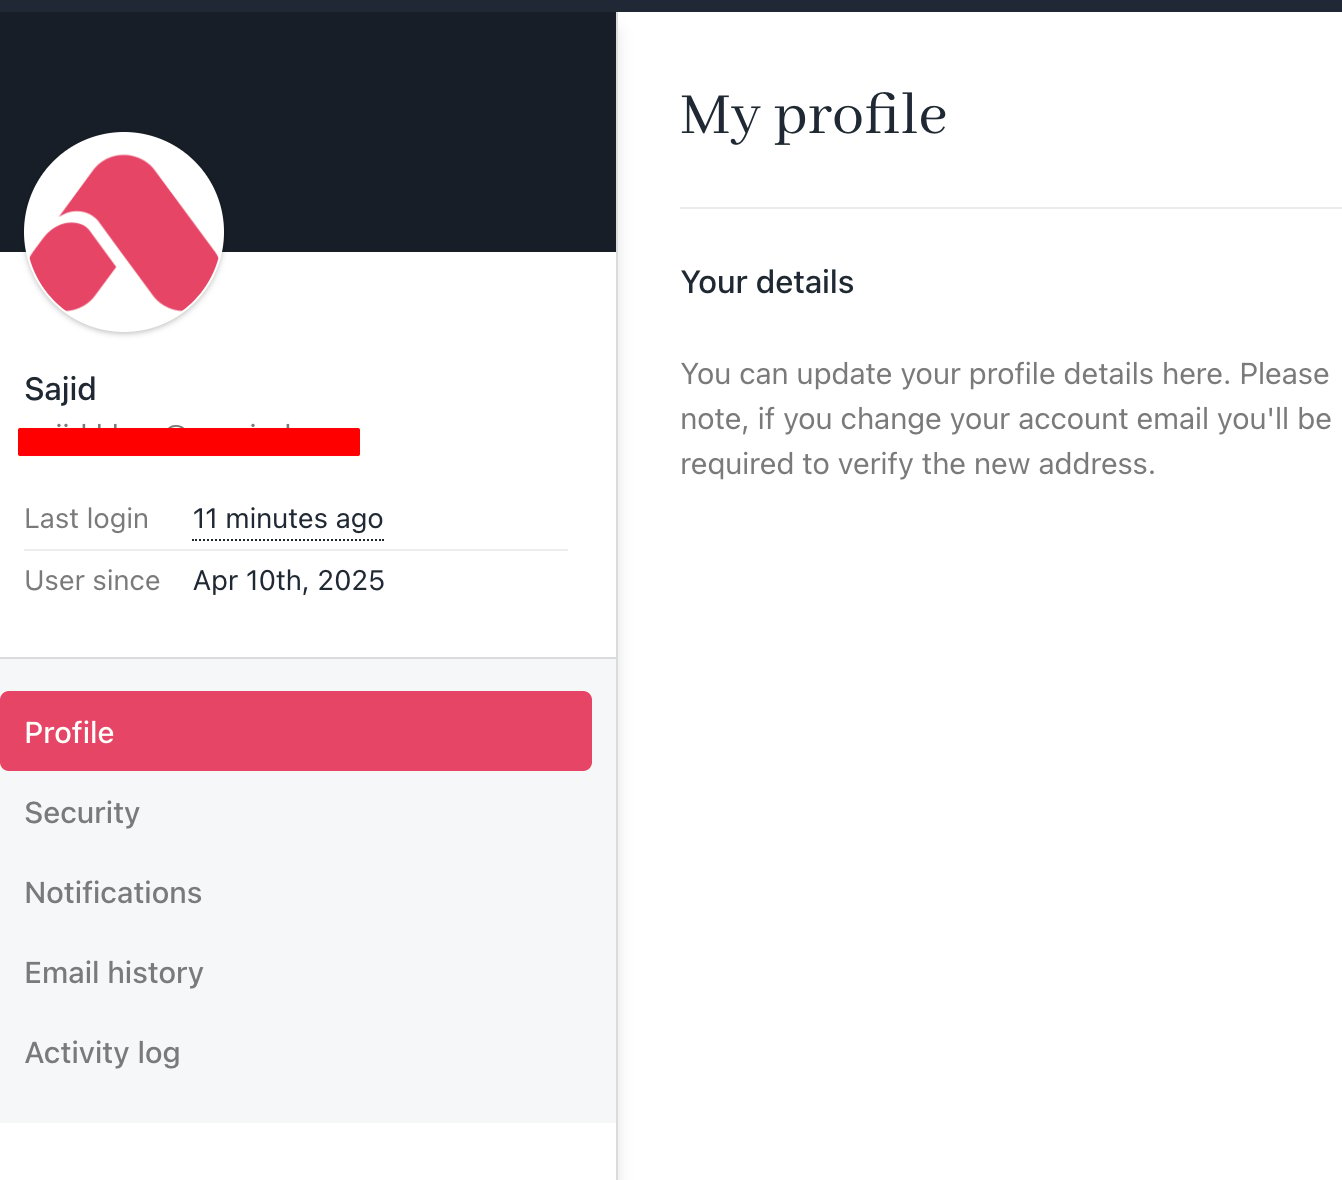
 3. Upmind adds the profile avatar.
 ## **Deleting an avatar**
To remove an image:
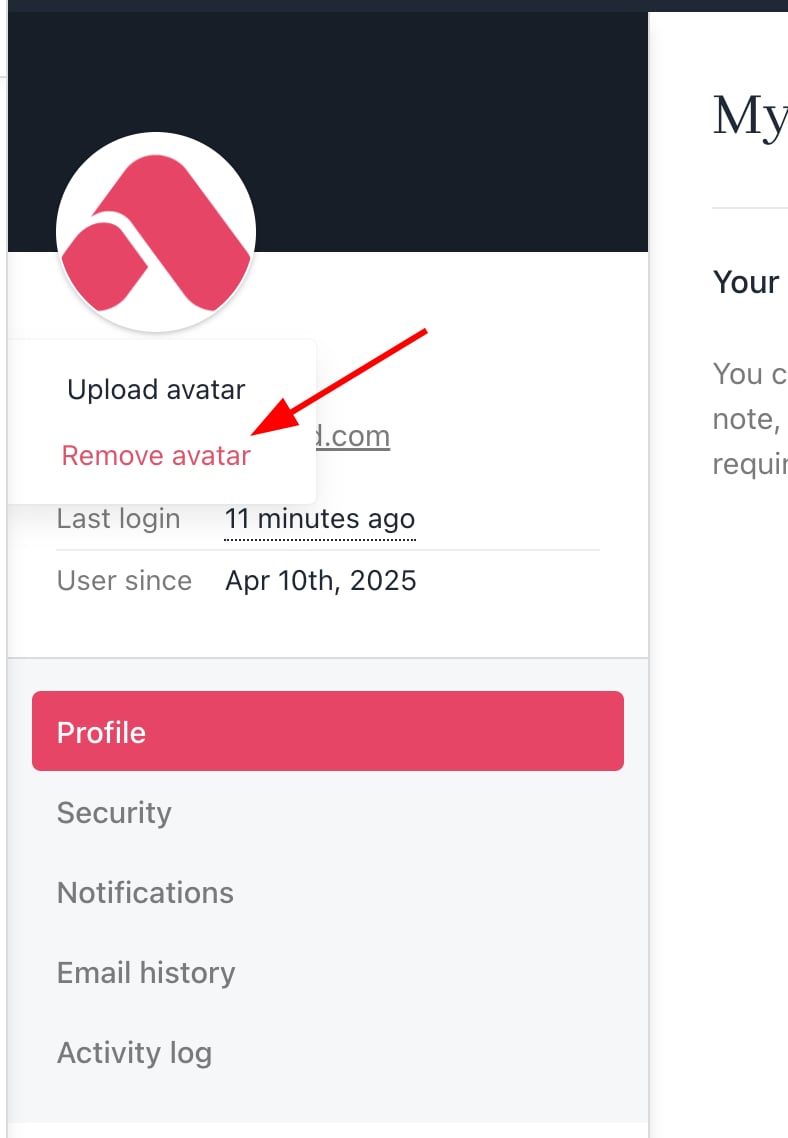
1. Hover over the image and select **Remove avatar**.
## **Deleting an avatar**
To remove an image:
1. Hover over the image and select **Remove avatar**.
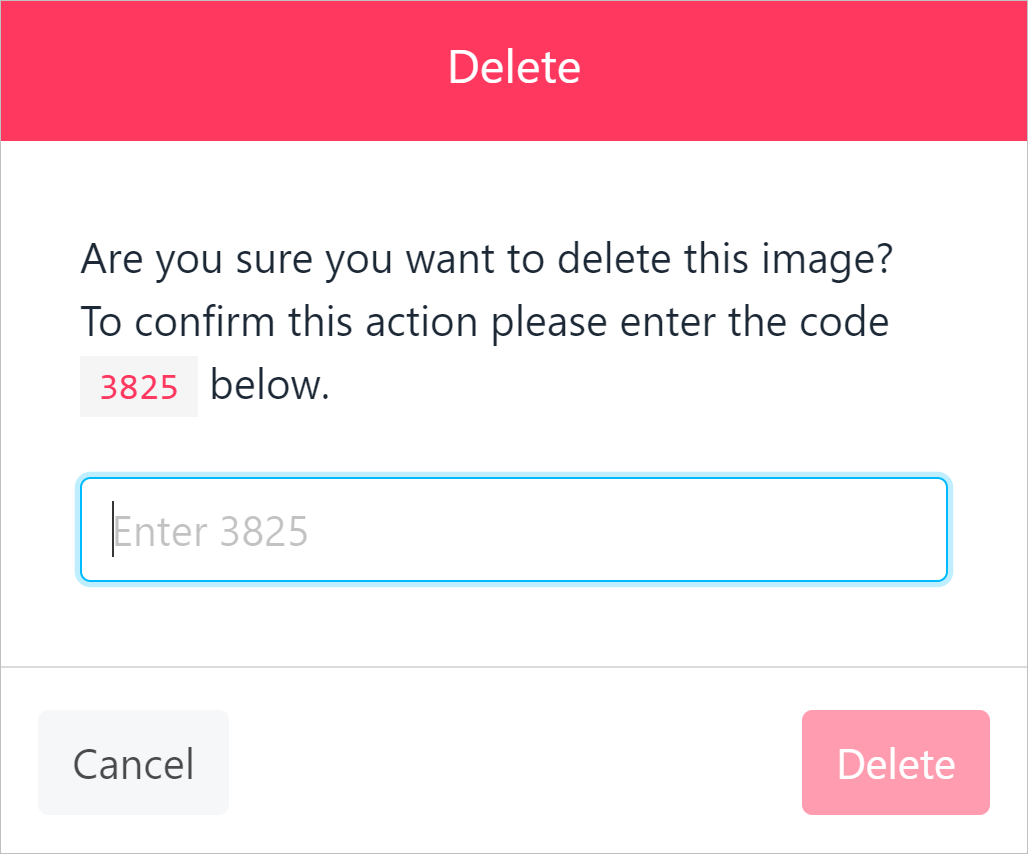
 2. Enter the confirmation code in the pop-up window and click **Delete**.
 ## **Changing profile settings**
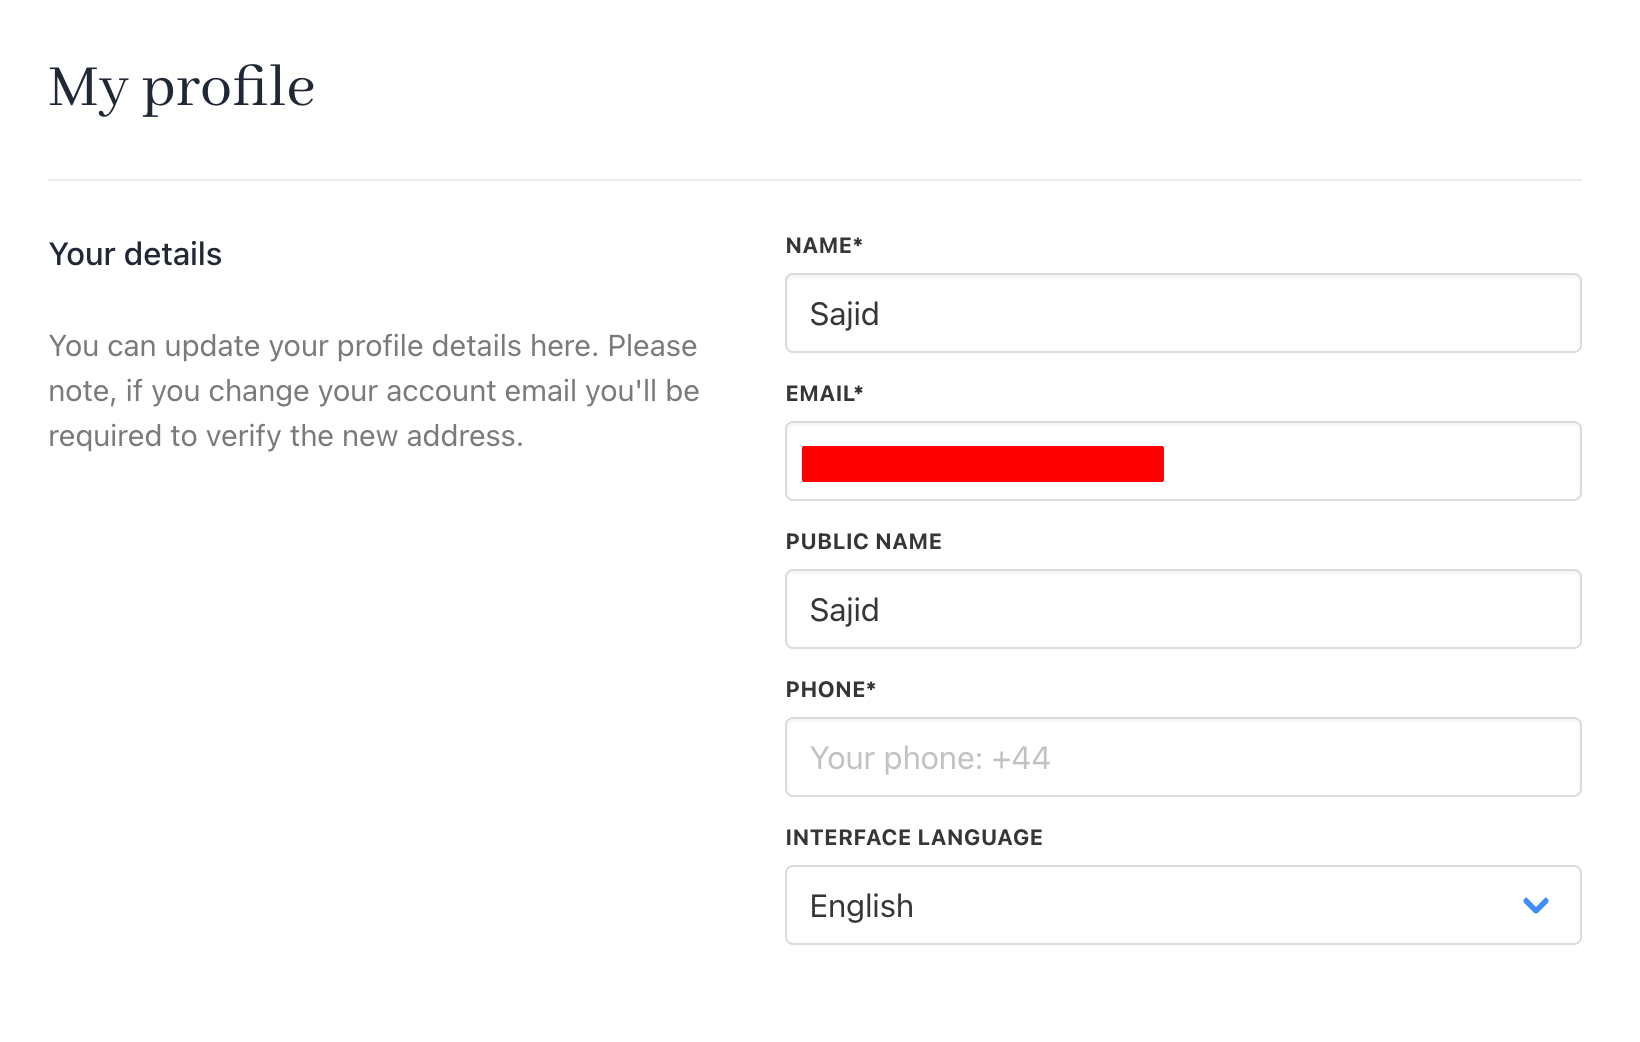
You can add or edit information on the **My profile** panel.
## **Changing profile settings**
You can add or edit information on the **My profile** panel.
 ## **Email and name**
Use your email to log in to Upmind. We also use that email address to send along service messages and notifications that you set up in our Notifications centre. Staff users and clients can see your name.
## **Phone**
We use your phone number for:
* Phone number verification, if you forget your login or are blocked for security reasons.
* Two-factor authentication, if enabled.
## **Interface language**
This sets the Upmind dashboard language. Upmind is multilingual. This can be defined on a per-client or per-staff basis.
## **Email and name**
Use your email to log in to Upmind. We also use that email address to send along service messages and notifications that you set up in our Notifications centre. Staff users and clients can see your name.
## **Phone**
We use your phone number for:
* Phone number verification, if you forget your login or are blocked for security reasons.
* Two-factor authentication, if enabled.
## **Interface language**
This sets the Upmind dashboard language. Upmind is multilingual. This can be defined on a per-client or per-staff basis.