> ## Documentation Index
> Fetch the complete documentation index at: https://docs.upmind.com/llms.txt
> Use this file to discover all available pages before exploring further.
# How to Sell CyberPanel Hosting
> Configure and sell CyberPanel hosting products with Upmind.
[CyberPanel](https://cyberpanel.net/) is an open-source web hosting control panel powered by the OpenLiteSpeed web server.
Before setting up CyberPanel in Upmind, please keep the following in mind:
* Ensure API access is enabled in your CyberPanel account and that you have administrator access.
* **One account is created per website.** Upmind creates a dedicated CyberPanel account for each website, and we currently do not support creating an account with a larger website limit.
* **Do not use an existing CyberPanel account.** The `username` field should only be used for the account created for the setup. If you use an existing account that already hosts multiple websites, terminating the setup will delete the entire account and all websites associated with it.
* **Termination deletes the account and website.** The `terminate` function removes both the website and its associated CyberPanel account. Therefore, using an account that contains other websites can result in those websites being deleted as well.
## Enabling API access
1. Log in to CyberPanel as an admin and open **Users** in the **Main** section of the sidebar.
 2. In the **Users** menu, click **API Access**.
 3. Under **Select User Account**:
* Choose the **account with administrator access to use for the API**.
* Select **Enable API Access**
* Click **Save Changes**.
* The **API Access Status** should then show **Currently Enabled**.
3. Under **Select User Account**:
* Choose the **account with administrator access to use for the API**.
* Select **Enable API Access**
* Click **Save Changes**.
* The **API Access Status** should then show **Currently Enabled**.
 ## Configuring CyberPanel provisioning in Upmind
1. In Upmind, go to **Settings** > **Provision Configurations**.
## Configuring CyberPanel provisioning in Upmind
1. In Upmind, go to **Settings** > **Provision Configurations**.
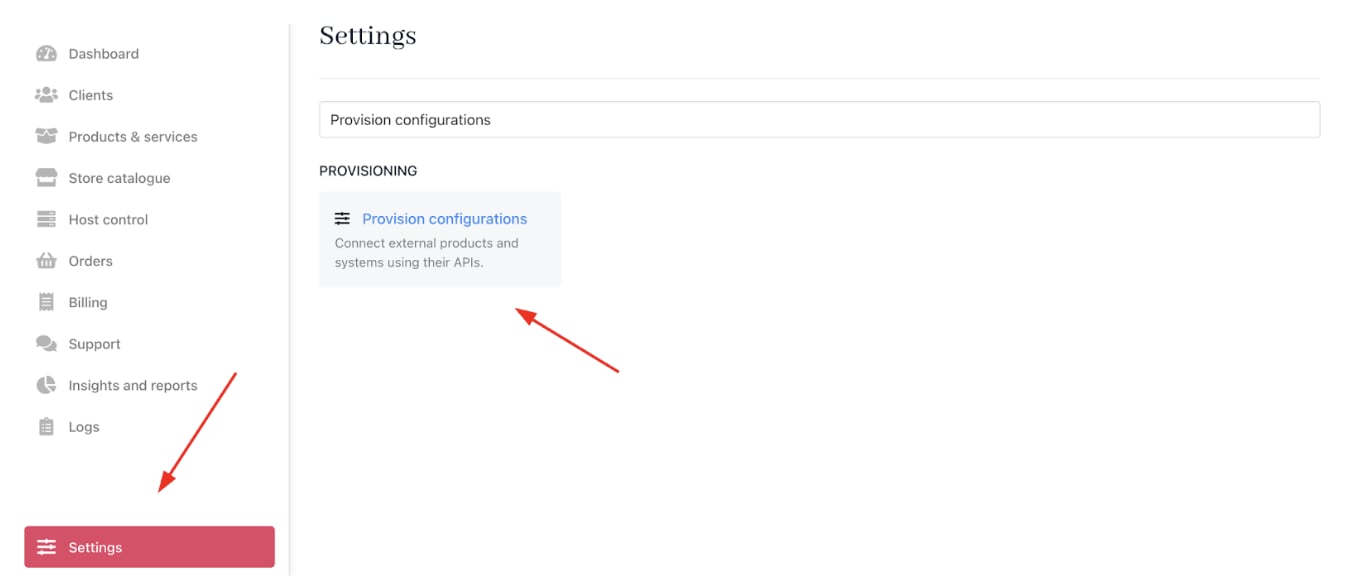 2. Click on **Add New Configuration**.
 3. Provide a **Name** (e.g., CyberPanel Hosting Provision).
4. Select **Web Hosting** as the product type.
5. Choose **CyberPanel** as the provisioning provider.
3. Provide a **Name** (e.g., CyberPanel Hosting Provision).
4. Select **Web Hosting** as the product type.
5. Choose **CyberPanel** as the provisioning provider.
 6. Complete the following details:
* Your server’s **Hostname**: Hostname of the CyberPanel server, e.g. [cp.example.com](http://cp.example.com)
* Your **Port**: Port the panel listens on. CyberPanel uses `8090` by default. If left empty, requests go to `https:///` with no port
* Your **Username**: Username of the CyberPanel admin account used for API requests
* Your **Password**: Password of that admin account
* **SSL Verify**: Whether to verify the server's SSL certificate (by default: off)
7. Click **Create**.
6. Complete the following details:
* Your server’s **Hostname**: Hostname of the CyberPanel server, e.g. [cp.example.com](http://cp.example.com)
* Your **Port**: Port the panel listens on. CyberPanel uses `8090` by default. If left empty, requests go to `https:///` with no port
* Your **Username**: Username of the CyberPanel admin account used for API requests
* Your **Password**: Password of that admin account
* **SSL Verify**: Whether to verify the server's SSL certificate (by default: off)
7. Click **Create**.

 ## Setting up CyberPanel Packages
Every hosting account in CyberPanel is created with a package, which sets its resource limits.
1. Create your packages in CyberPanel before provisioning accounts. See [CyberPanel Package Management](https://cyberpanel.net/KnowledgeBase/home/cyberpanel-package-management/) for how to create one.
2. When you create an account or change its package, the package name given to the provider must match a package name in CyberPanel **exactly**, including upper and lower case.
## Setting up CyberPanel Packages
Every hosting account in CyberPanel is created with a package, which sets its resource limits.
1. Create your packages in CyberPanel before provisioning accounts. See [CyberPanel Package Management](https://cyberpanel.net/KnowledgeBase/home/cyberpanel-package-management/) for how to create one.
2. When you create an account or change its package, the package name given to the provider must match a package name in CyberPanel **exactly**, including upper and lower case.
 The provider checks the name against CyberPanel's package list first, and fails with `The requested package does not exist on the server` if there is no match.
3. In Upmind, when creating a product, paste this value (for example, admin\_General) as the Package Identifier in the provisioning settings to match the CyberPanel package you created.
## Creating CyberPanel hosting products in Upmind
1. Go to **Host Control** > **Web Hosting** in Upmind.
The provider checks the name against CyberPanel's package list first, and fails with `The requested package does not exist on the server` if there is no match.
3. In Upmind, when creating a product, paste this value (for example, admin\_General) as the Package Identifier in the provisioning settings to match the CyberPanel package you created.
## Creating CyberPanel hosting products in Upmind
1. Go to **Host Control** > **Web Hosting** in Upmind.
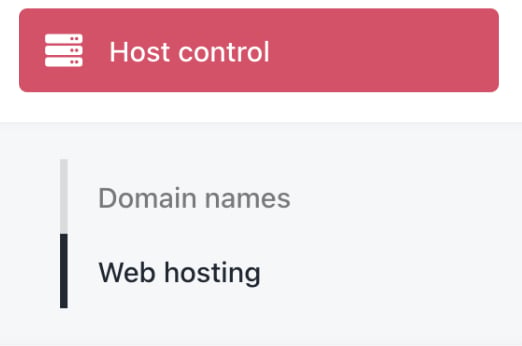 2. Click **Add New**.
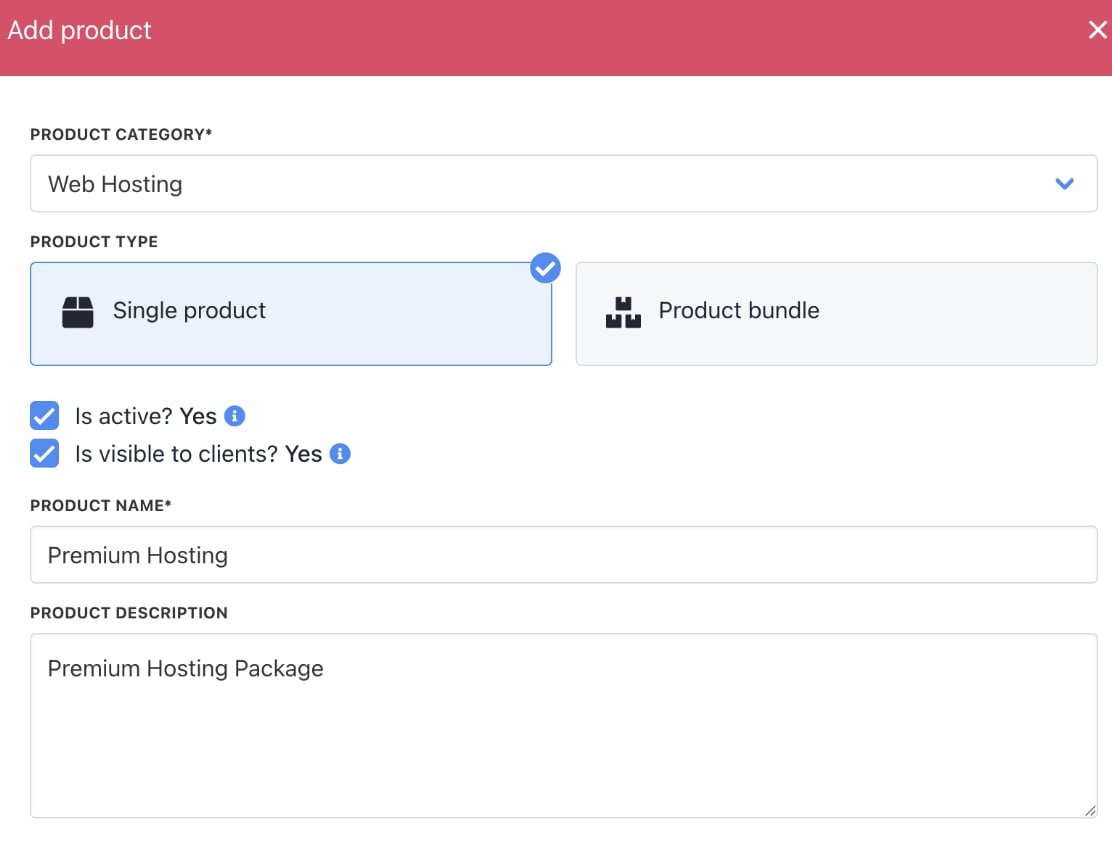
 3. Choose a category and fill in the details. Then click **Create**.
 4. On **Provisioning**, set the **Provision Provider** to **CyberPanel**.
5. Choose the **Configuration Mode** and **Provider Configuration**.
4. On **Provisioning**, set the **Provision Provider** to **CyberPanel**.
5. Choose the **Configuration Mode** and **Provider Configuration**.

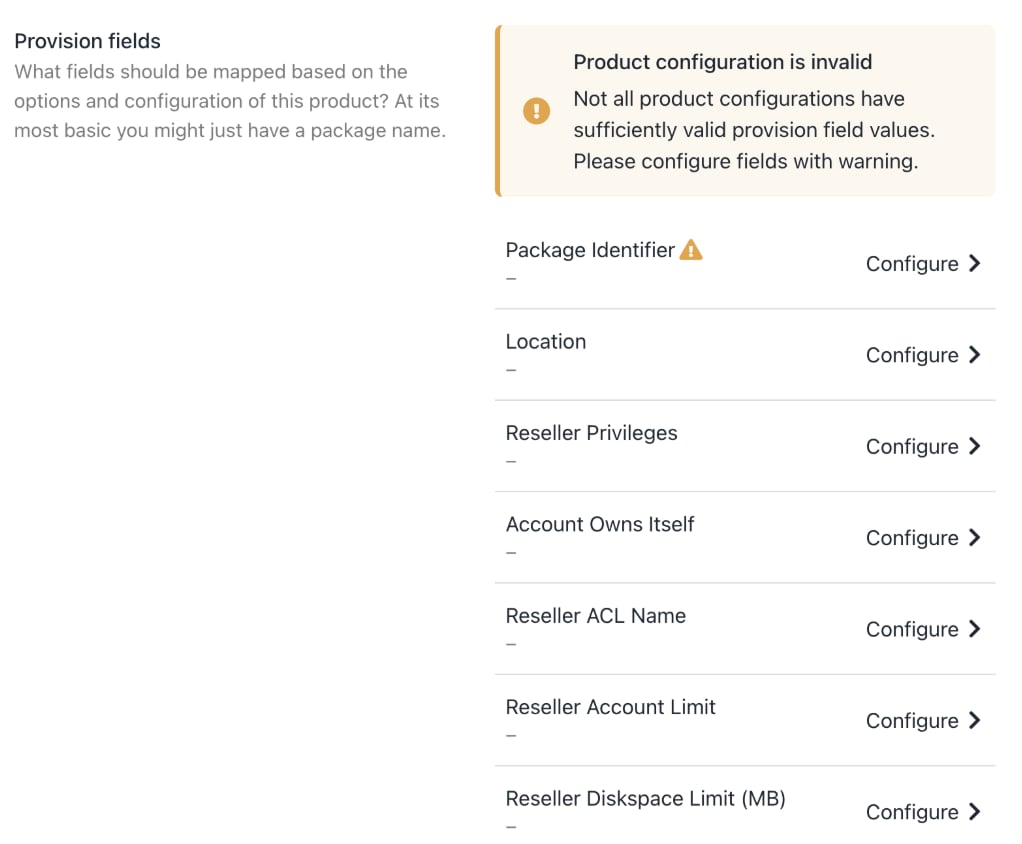
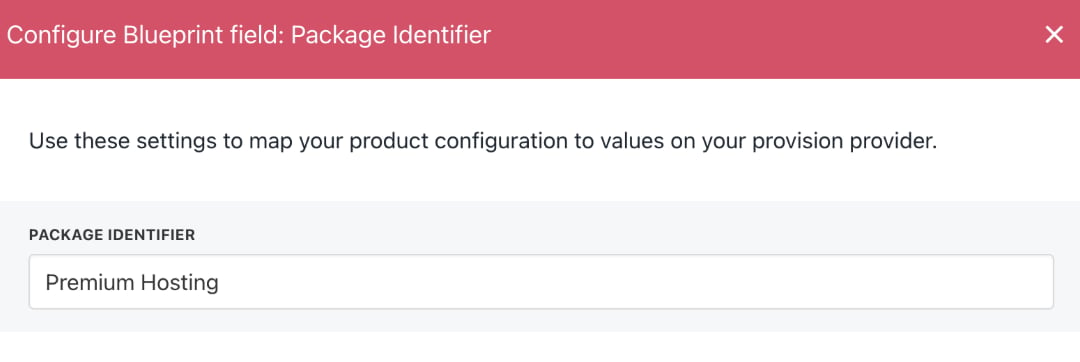
 6. Enter the **Package Identifier** exactly as it appears in **CyberPanel** (matching the package name).
7. Complete other product details like name, pricing, billing cycle, and permissions.
6. Enter the **Package Identifier** exactly as it appears in **CyberPanel** (matching the package name).
7. Complete other product details like name, pricing, billing cycle, and permissions.
 8. **Save** the product.
Customers with two-factor authentication enabled in CyberPanel cannot use the "Login to Control Panel" button in the Upmind Client Area. They must log in to CyberPanel manually instead.
This documentation is built and hosted on [Mintlify](https://mintlify.com), a developer documentation platform.
8. **Save** the product.
Customers with two-factor authentication enabled in CyberPanel cannot use the "Login to Control Panel" button in the Upmind Client Area. They must log in to CyberPanel manually instead.
This documentation is built and hosted on [Mintlify](https://mintlify.com), a developer documentation platform.