> ## Documentation Index
> Fetch the complete documentation index at: https://docs.upmind.com/llms.txt
> Use this file to discover all available pages before exploring further.
# How Do My Clients Change Account Settings
> Clients learn how to change passwords and add two-factor authentication to be secure.
This article shows your clients how to customise account settings. The Account settings page lets clients:
* Edit profile information
* Change the account password
* Add two-factor authentication
* View email history
* Account delegates
* Affiliate program (if enabled, [Upmind Affiliate](https://docs.upmind.com/using-upmind/affiliates/create-an-affiliate-system))
For information on managing two-factor authentication (2FA) as a client, follow this [guide](/managing-your-account/managing-2fa-two-factor-authentication-in-upmind/how-to-manage-two-factor-authentication-2fa-as-a-client).
## **Opening the account settings page**
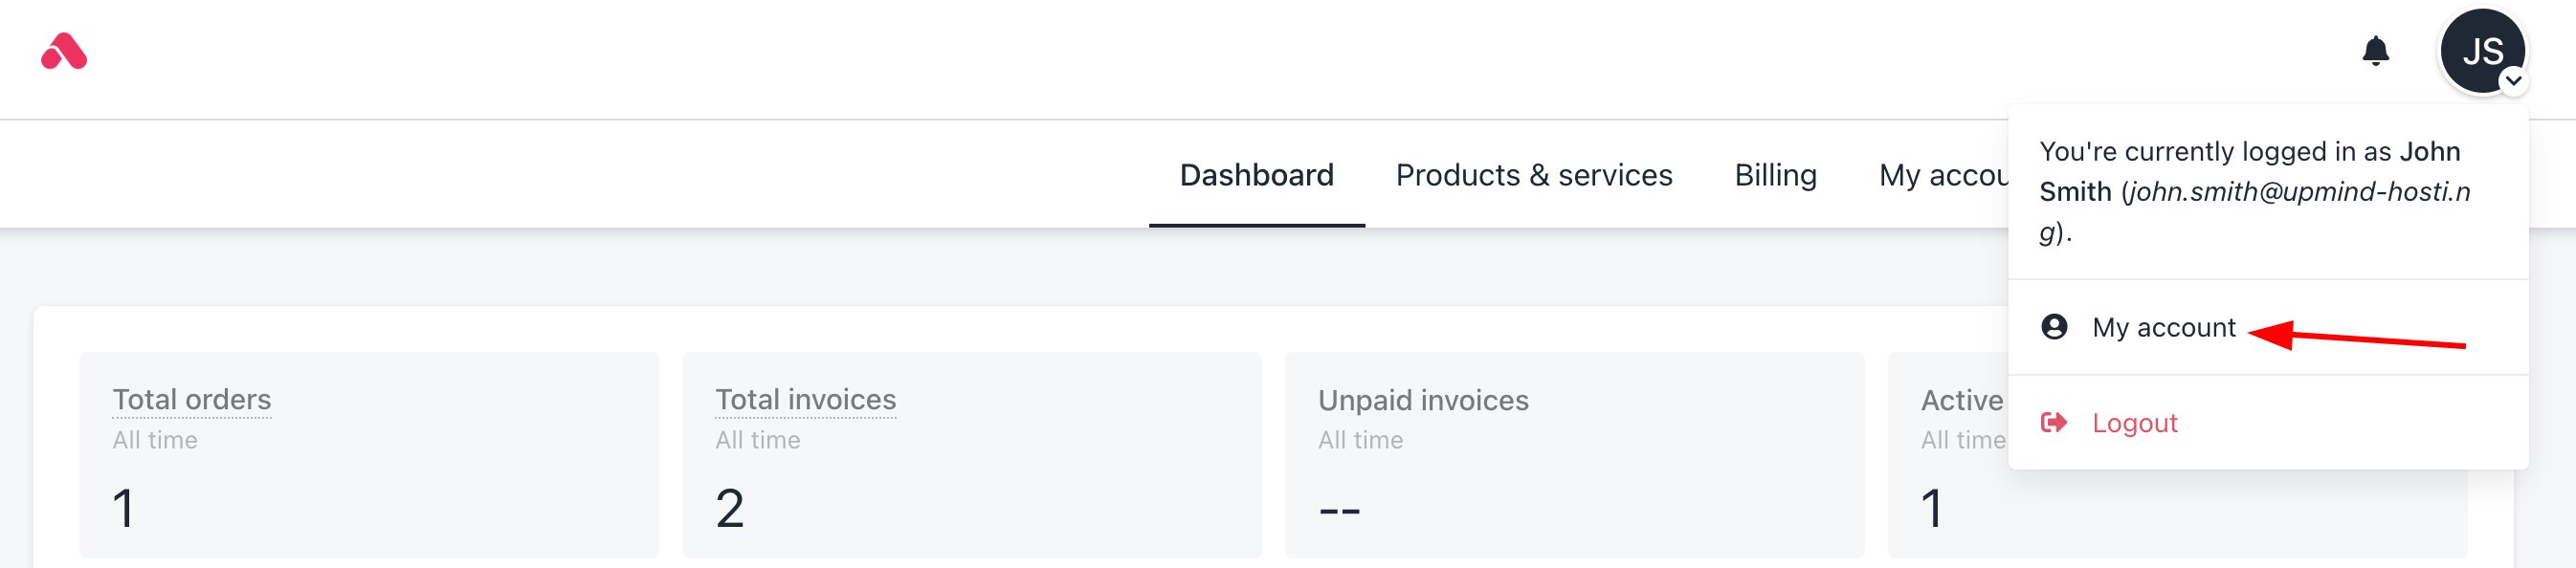
1. Log in to the client area.
2. Click the profile icon.
3. Select **My account**.
* The Profile page displays.
 ## **Editing profile information**
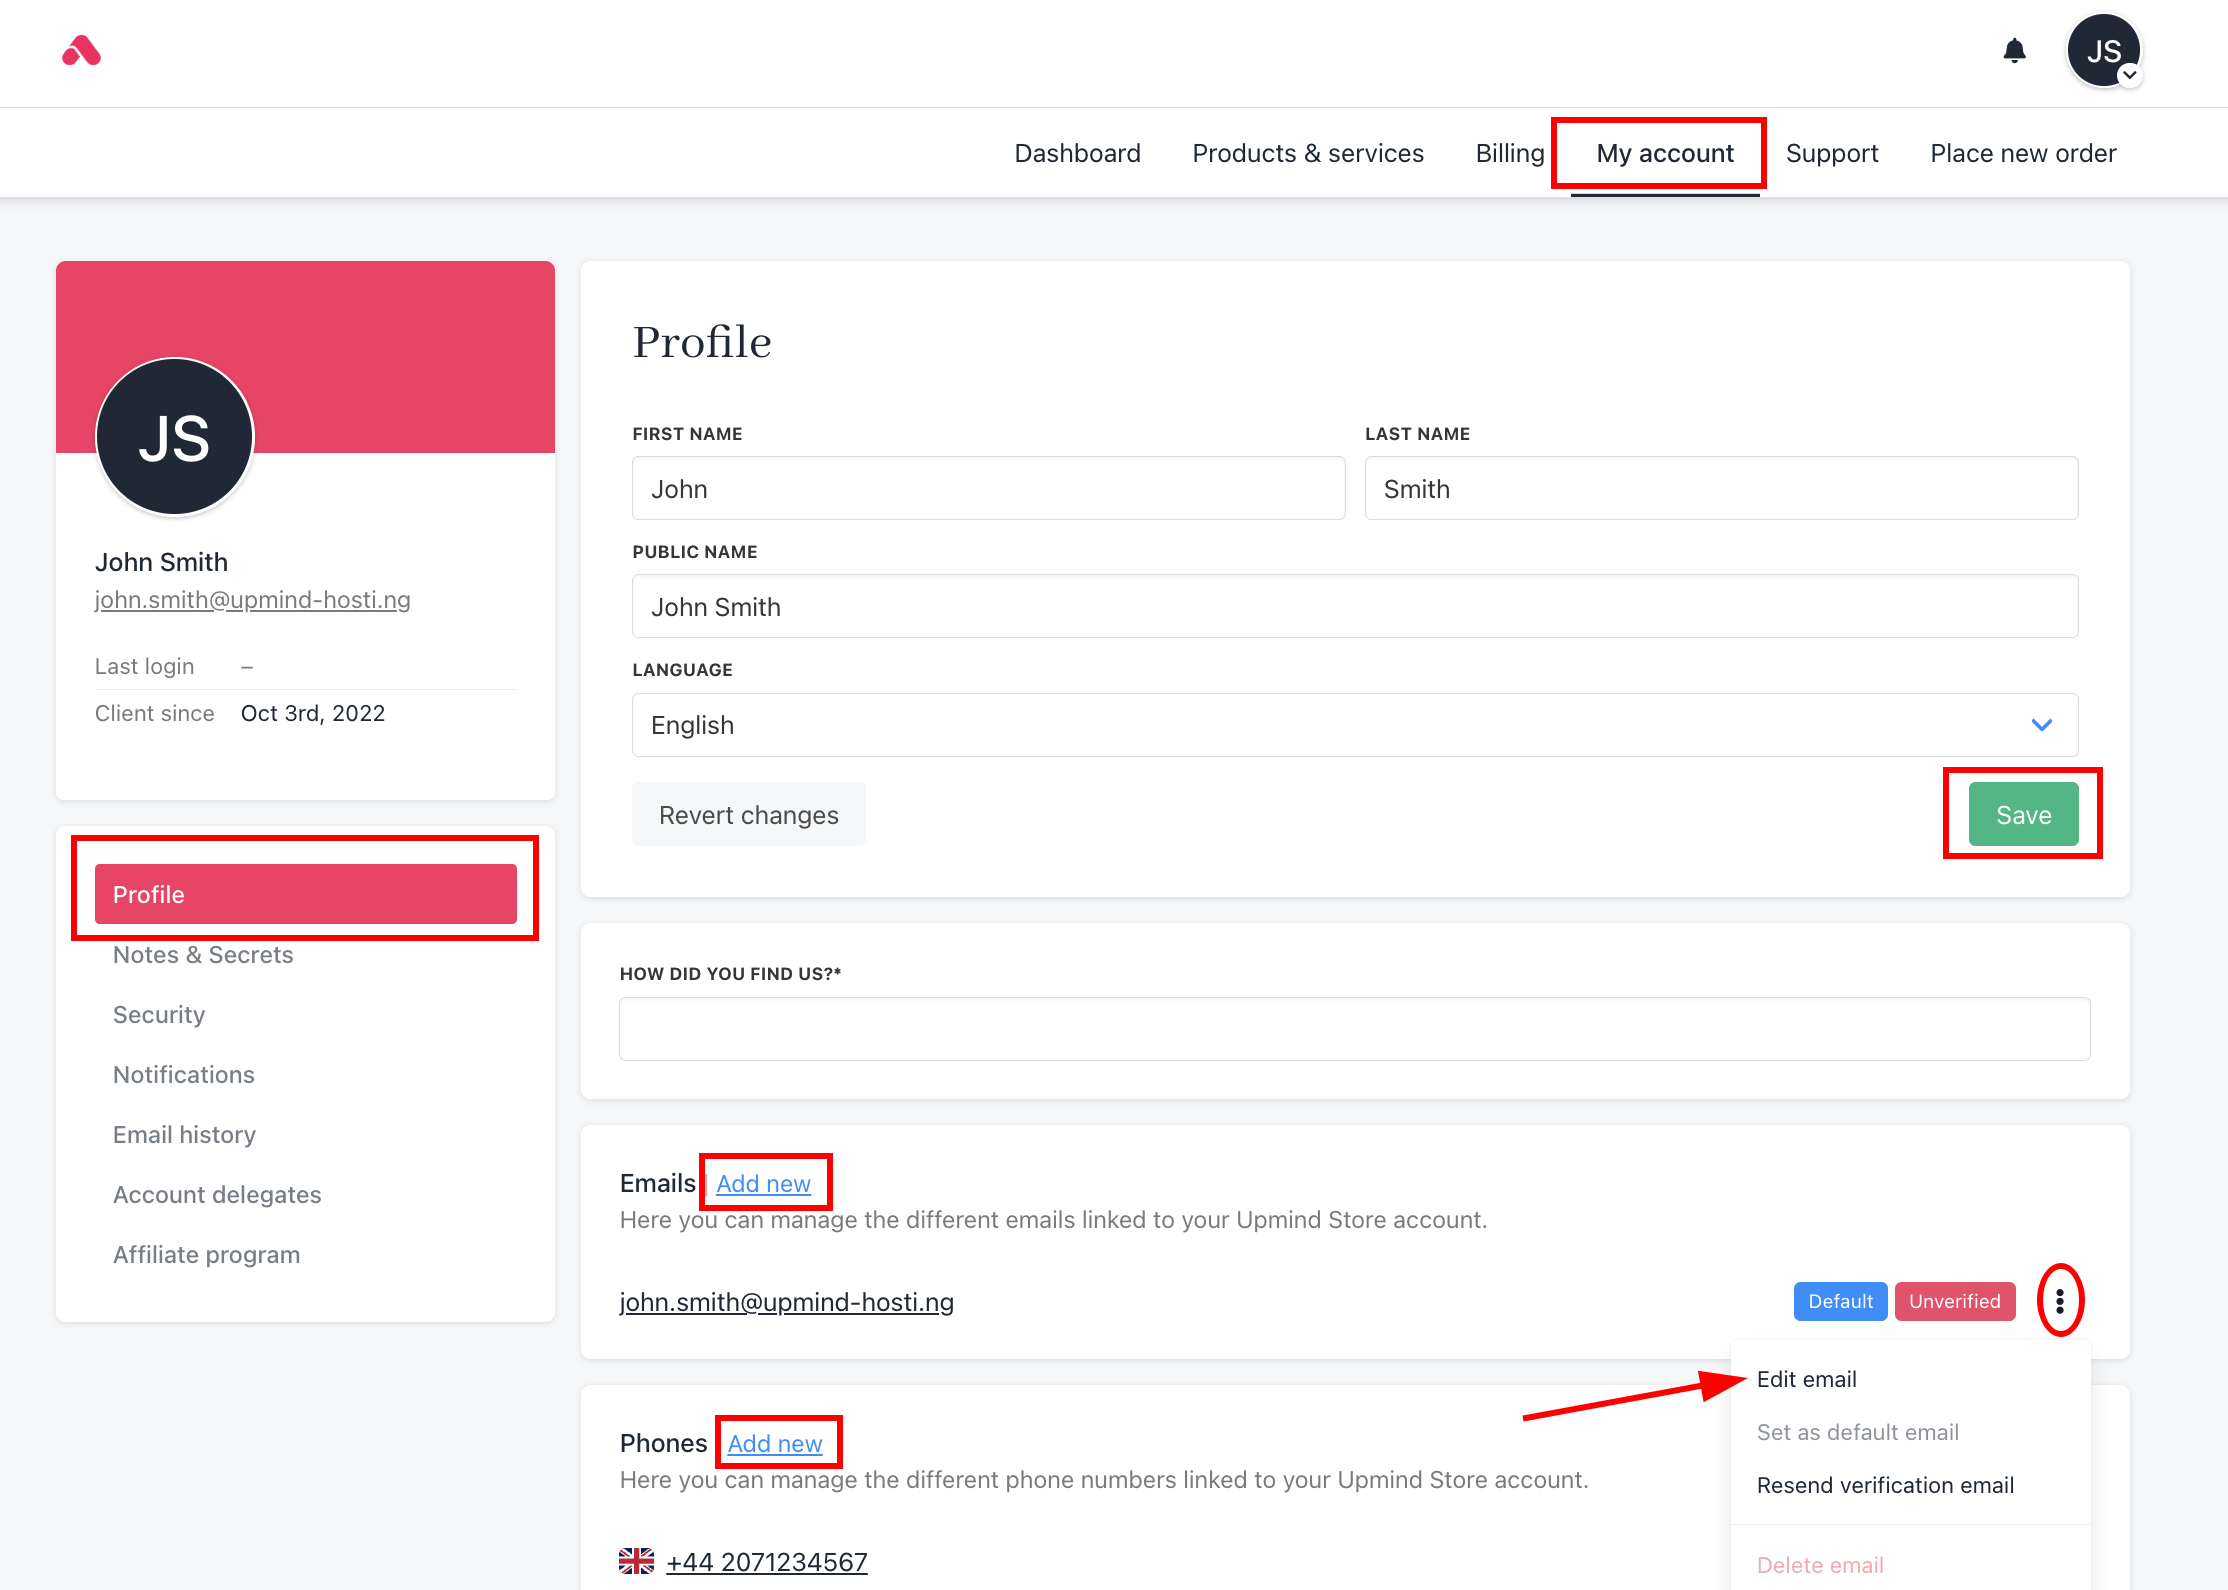
Clients can update their personal and company details from the profile settings.
1. Update the profile name and language, fill in the fields, and click **Save** to apply the changes.
2. Add a new email or edit the existing email address.
3. Change your phone number by adding a new number or editing the current one.
## **Editing profile information**
Clients can update their personal and company details from the profile settings.
1. Update the profile name and language, fill in the fields, and click **Save** to apply the changes.
2. Add a new email or edit the existing email address.
3. Change your phone number by adding a new number or editing the current one.
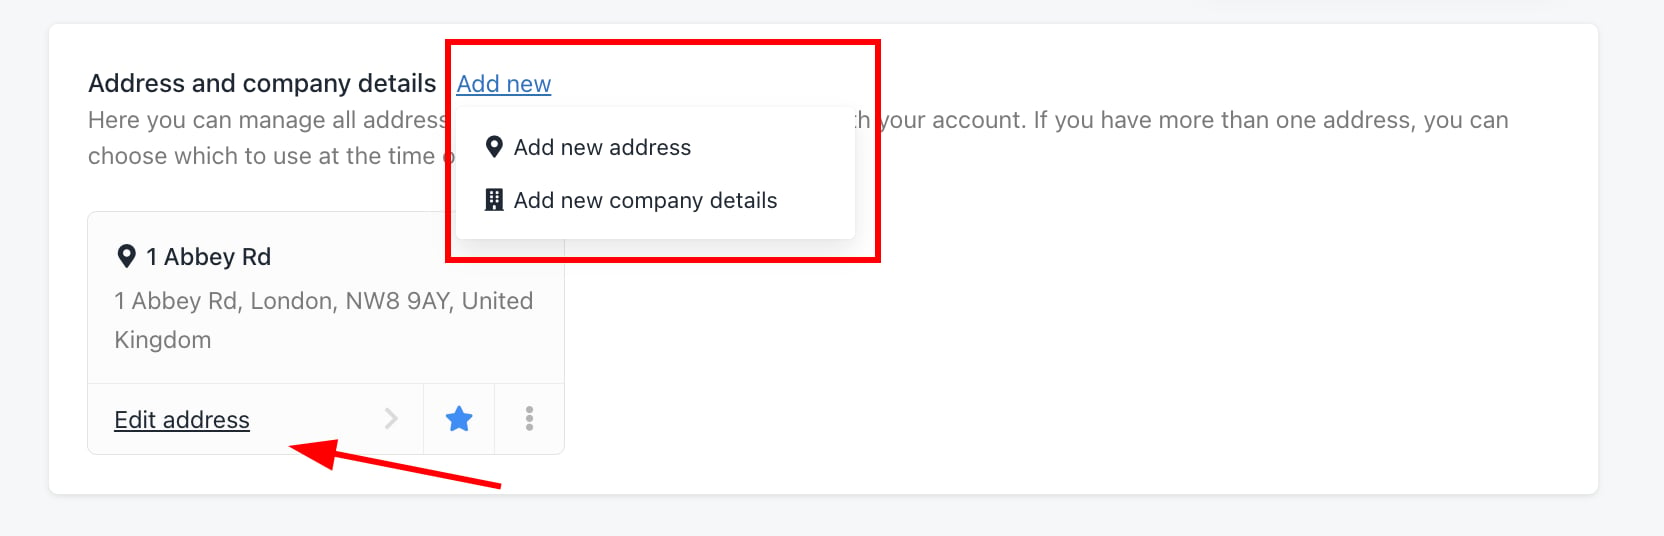
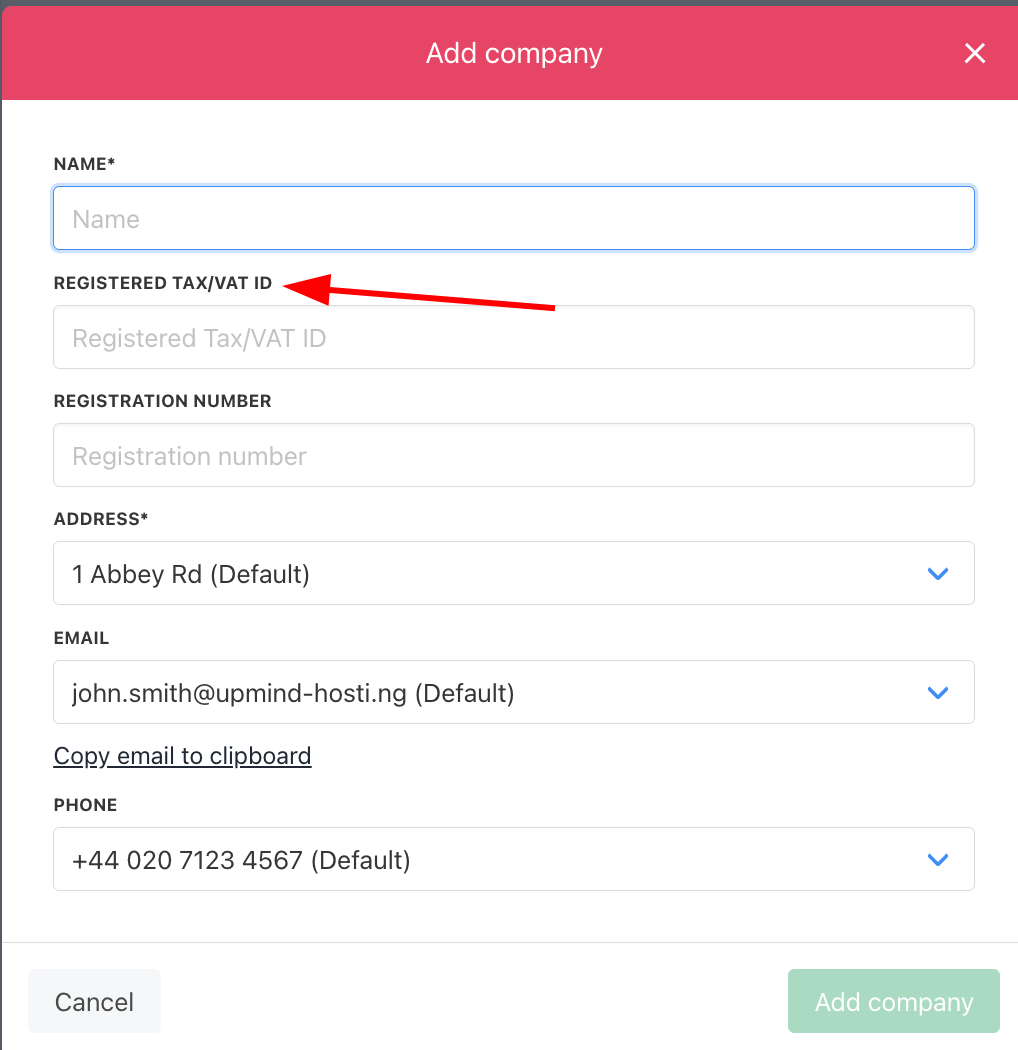
 4. Add or edit your address, and add company details to include your registered Tax/VAT ID.
 ## **Managing account security**
### **Changing your username**
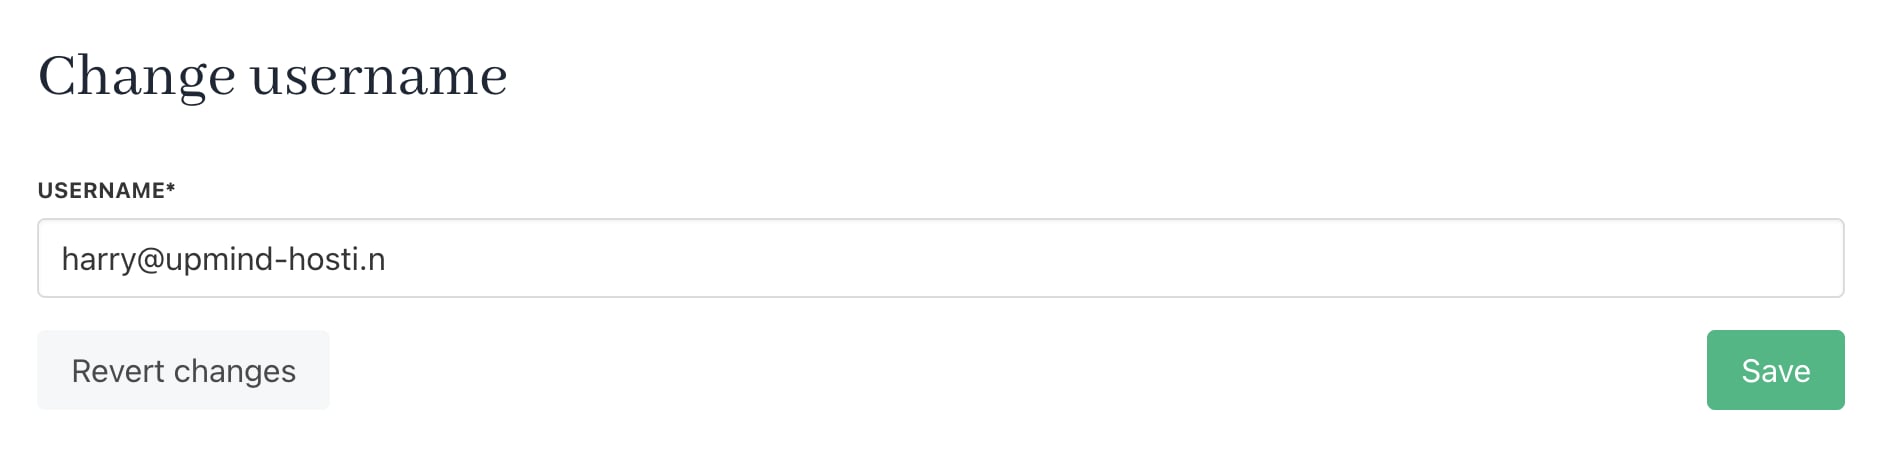
If you want to change your username, you will be prompted to provide your password again.
## **Managing account security**
### **Changing your username**
If you want to change your username, you will be prompted to provide your password again.
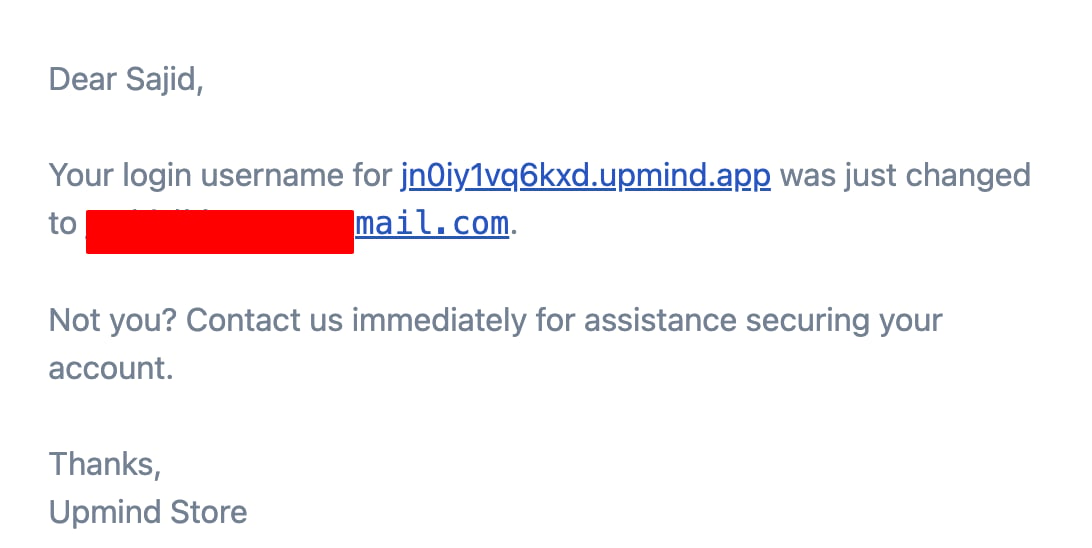
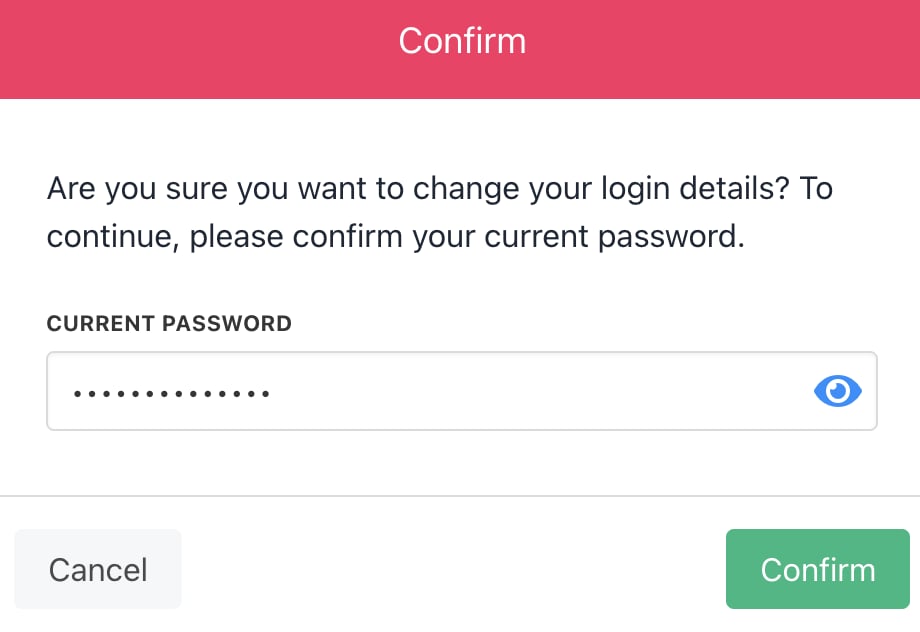 When changing your username, you will be prompted to provide the two-factor authentication code. An email will be sent afterwards to notify you of the change.
 ### **Changing your password:**
1. Go to **Security** in the left menu.
2. Enter your old password and new password.
3. Click **Change Password** to save your changes.
### **Changing your password:**
1. Go to **Security** in the left menu.
2. Enter your old password and new password.
3. Click **Change Password** to save your changes.
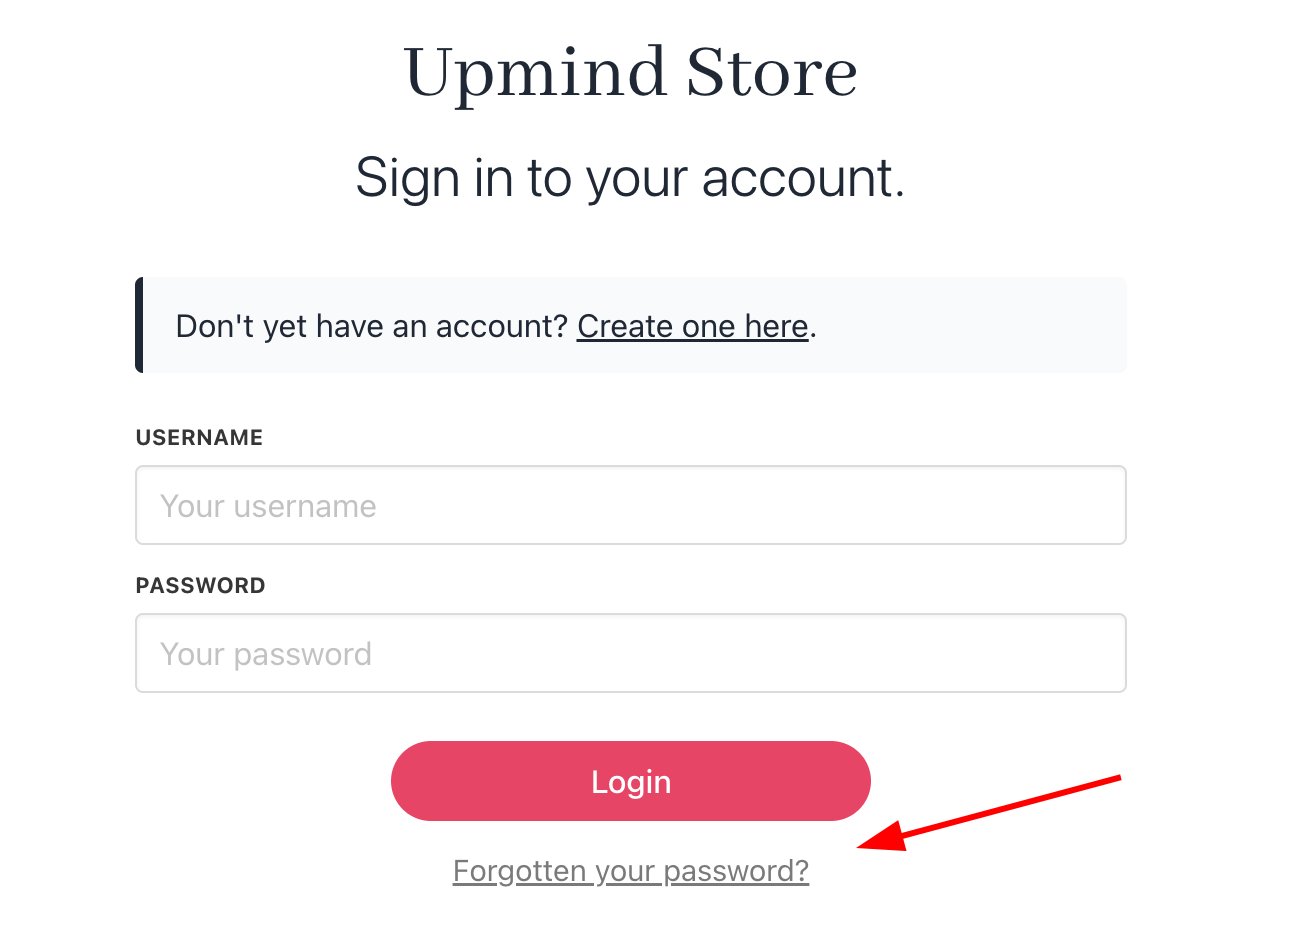
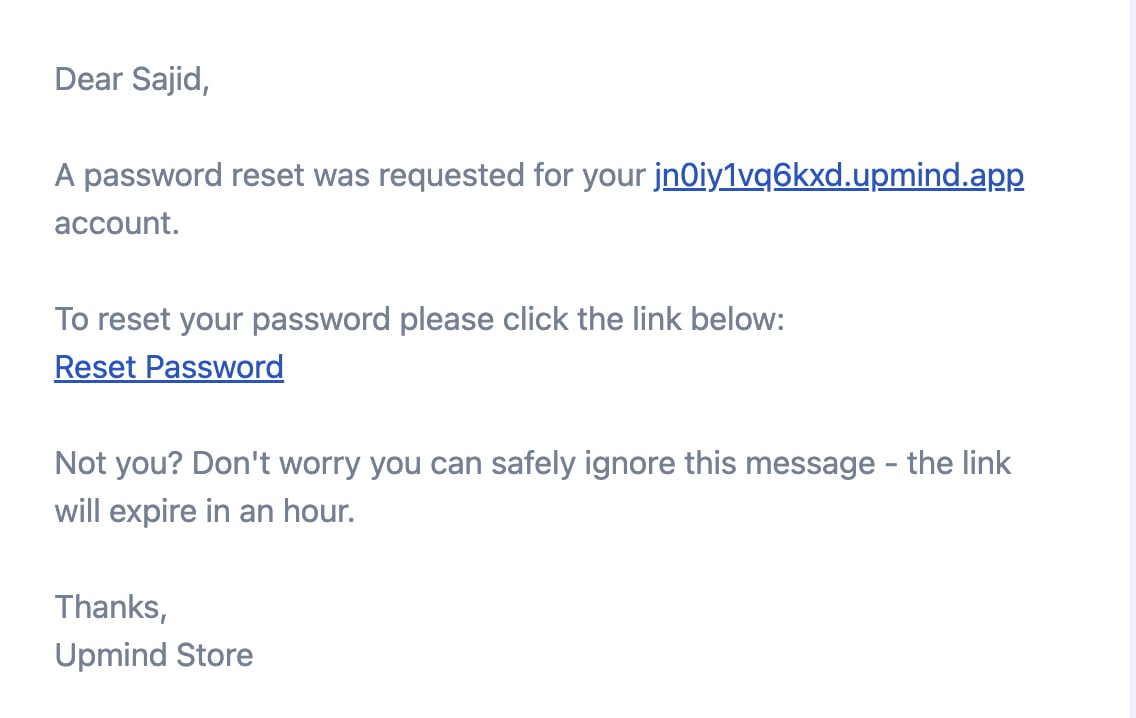
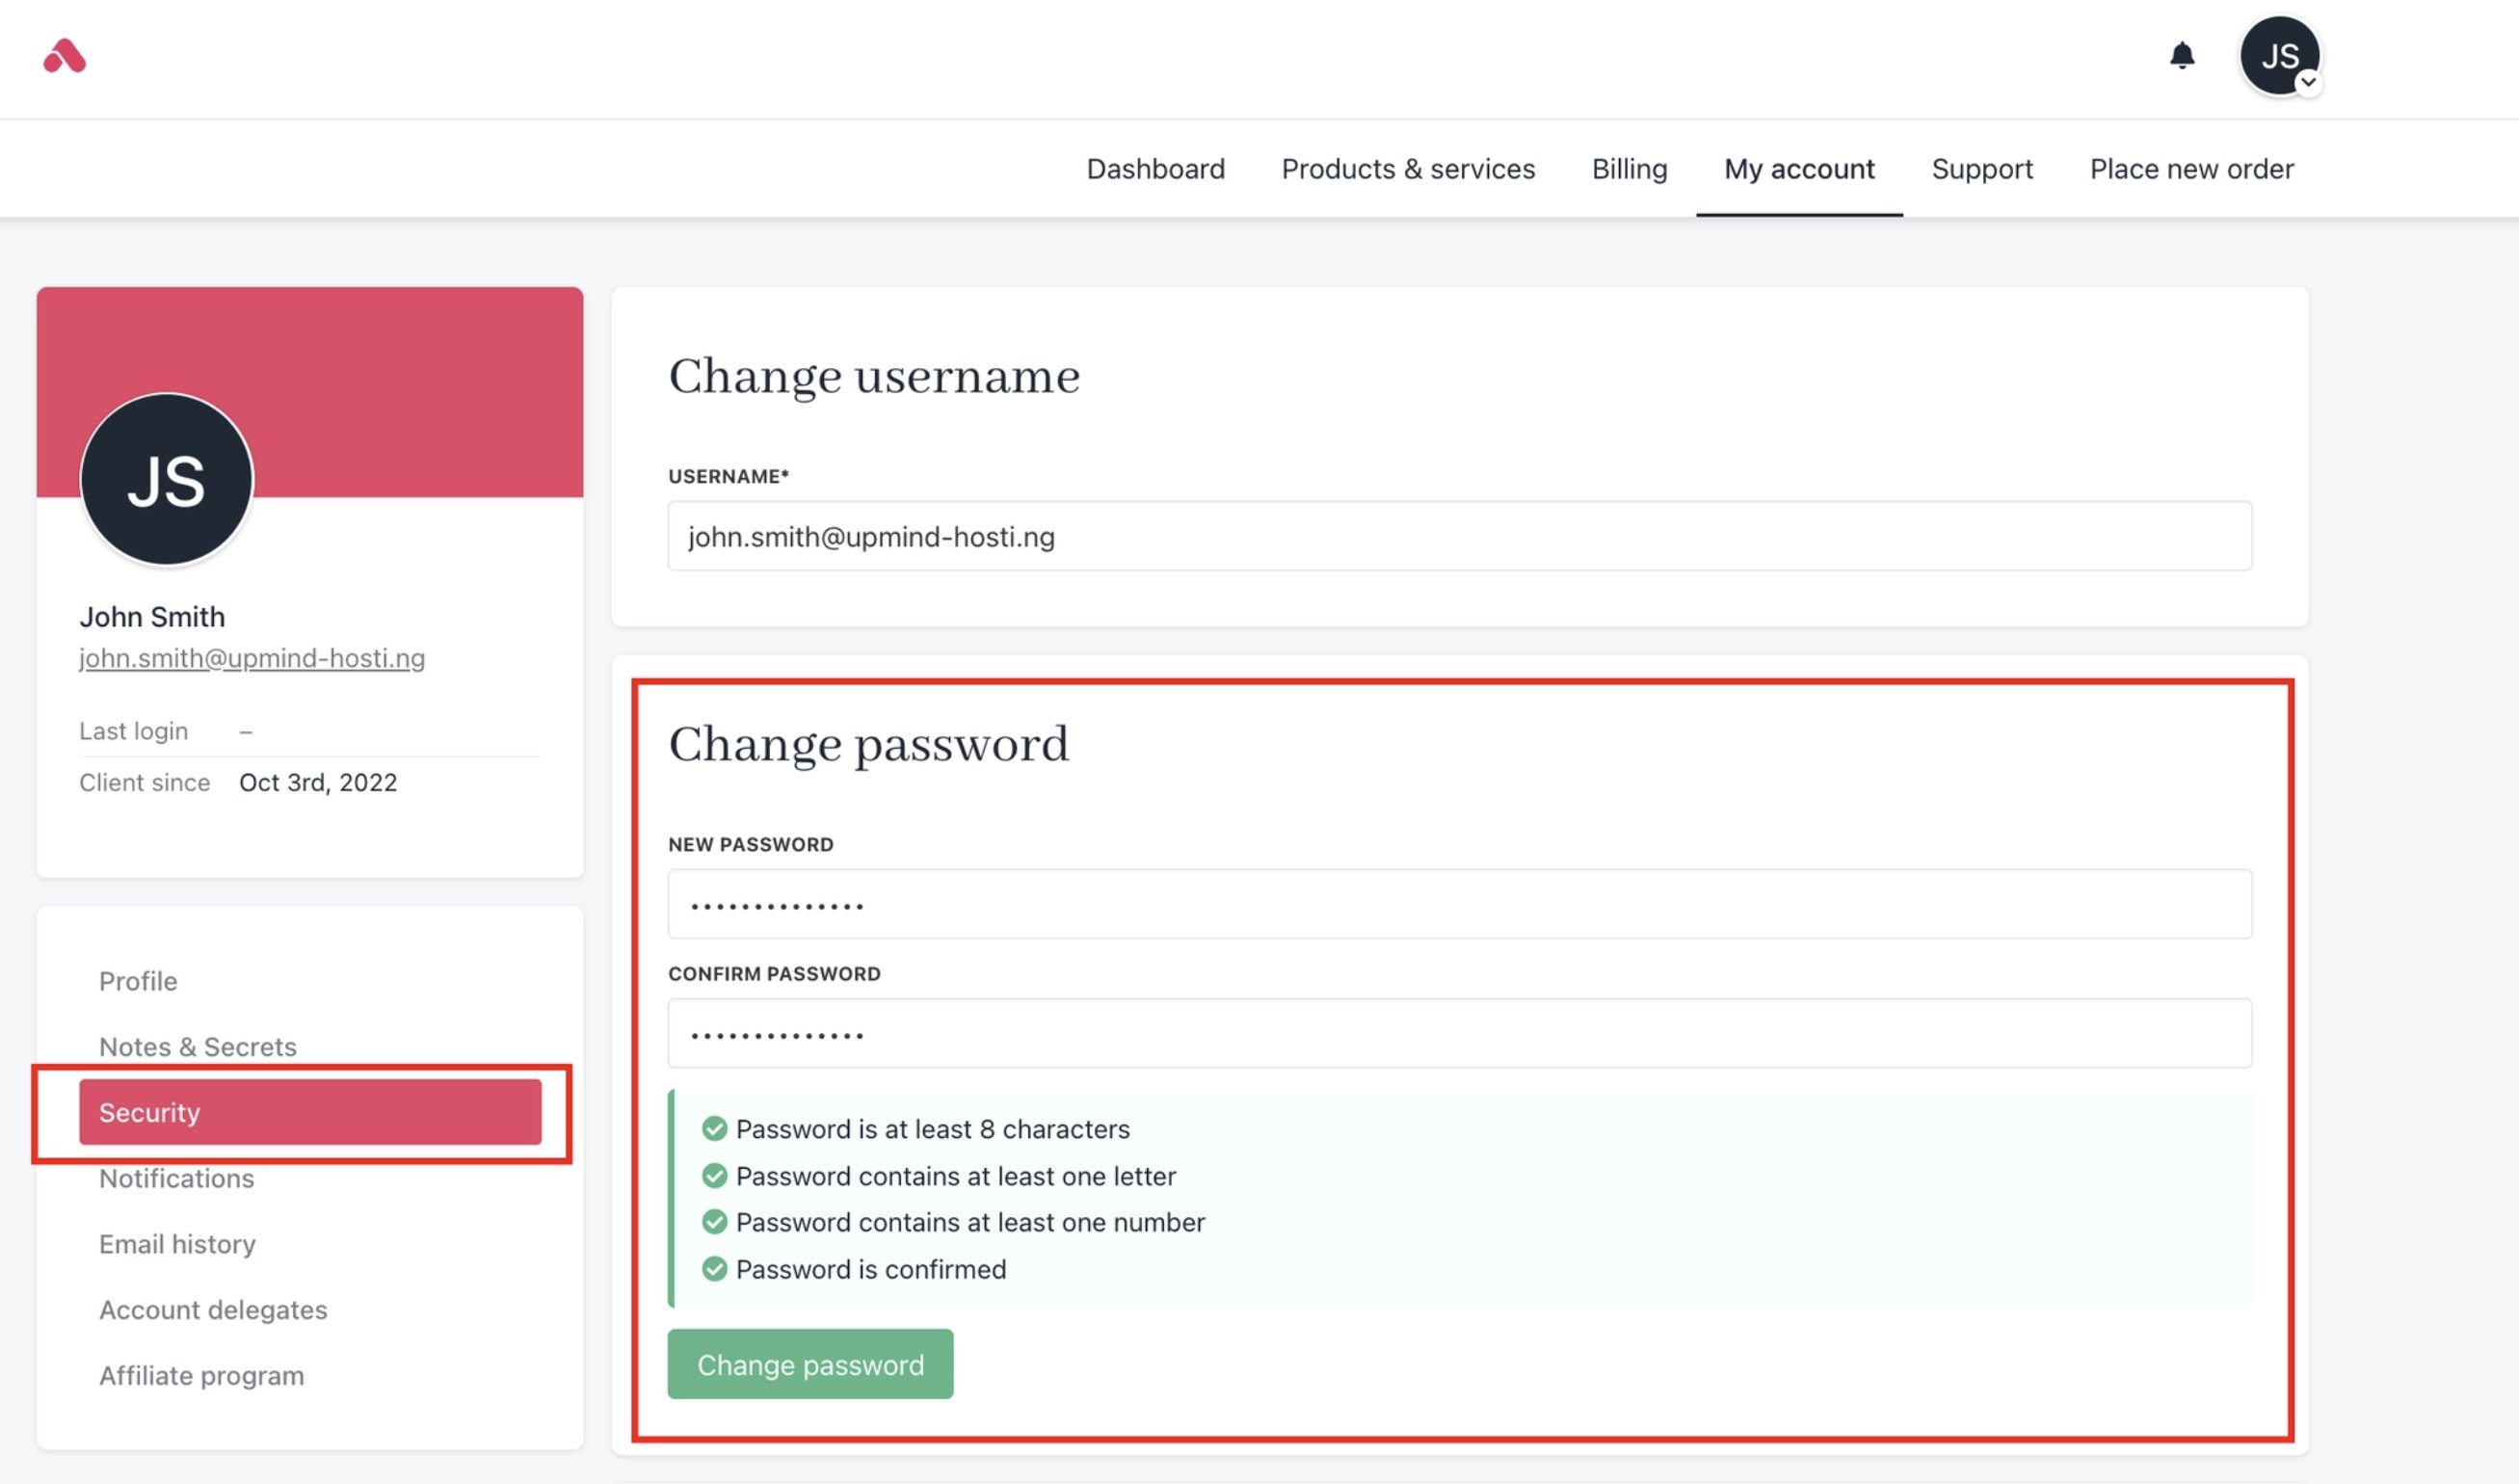 If you forget your password and try to reset it, you will get an email confirmation to reset your password.
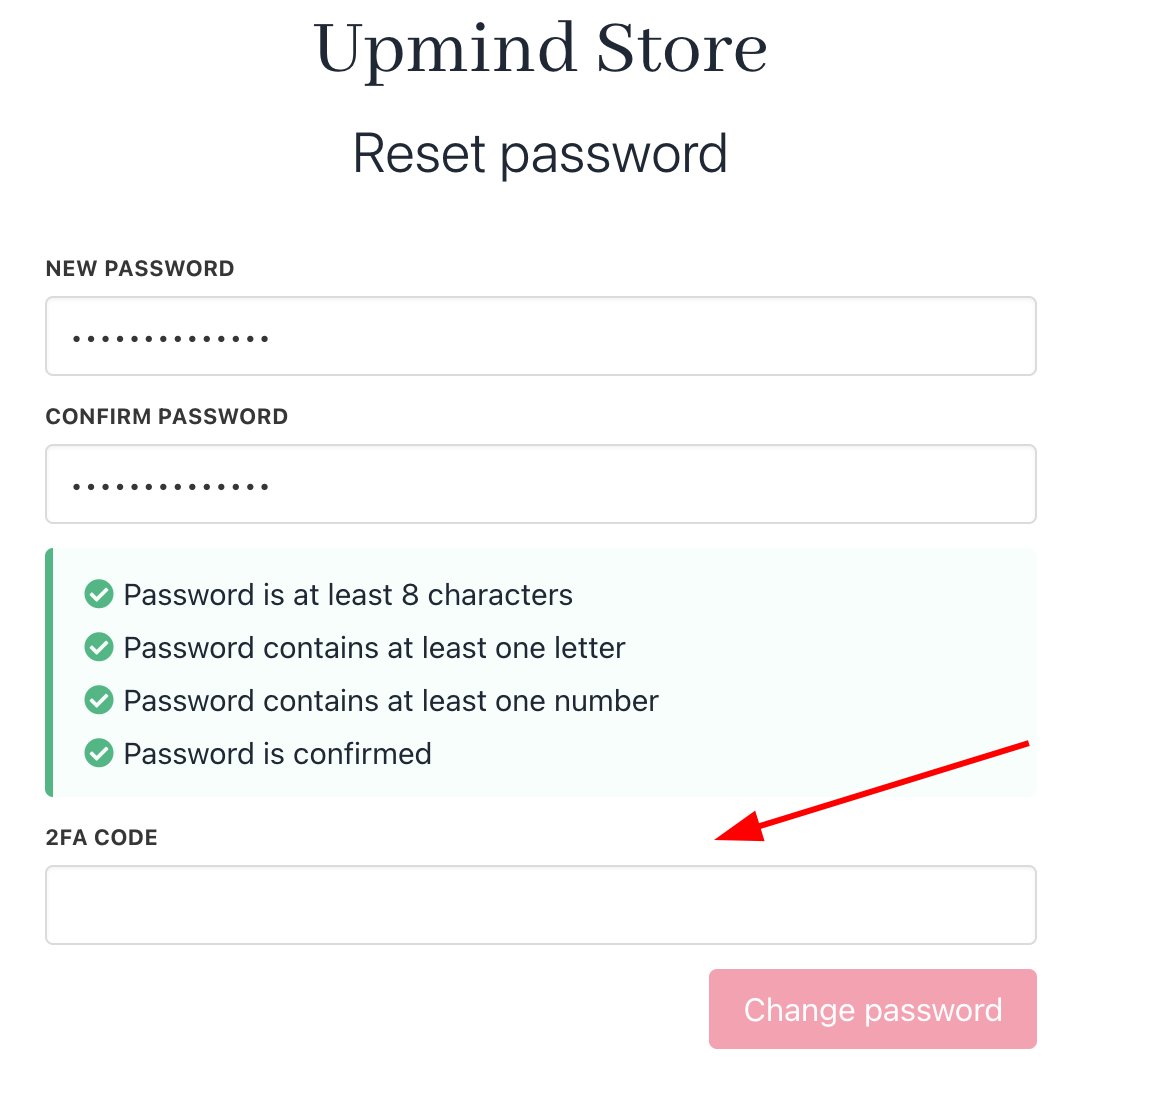
 When you reset your password, you will also need to provide a two-factor authentication code.
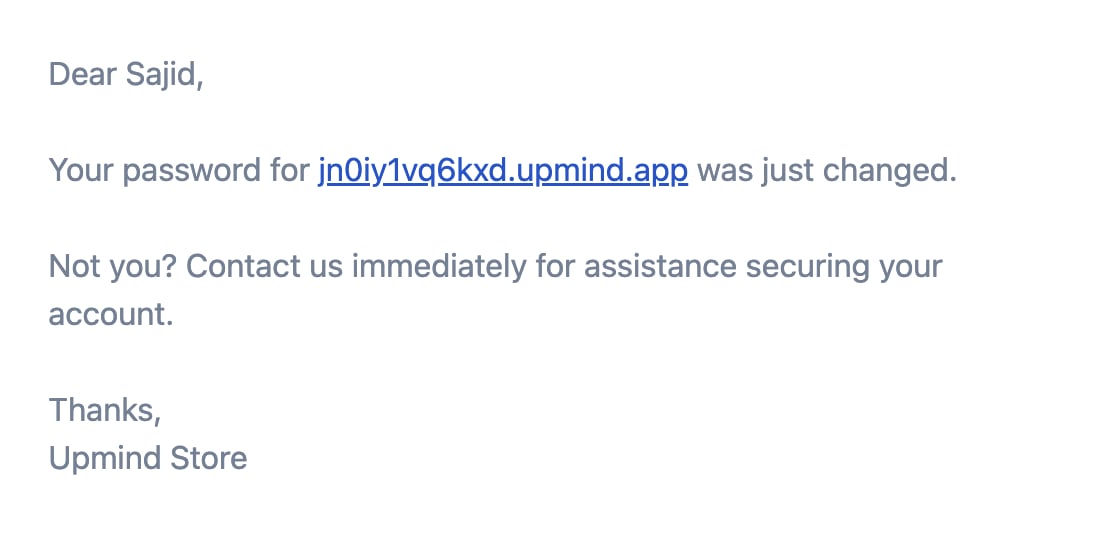
 Once you change your password, an email notification will be sent to you.
 ### **Restricting access with IP whitelisting**
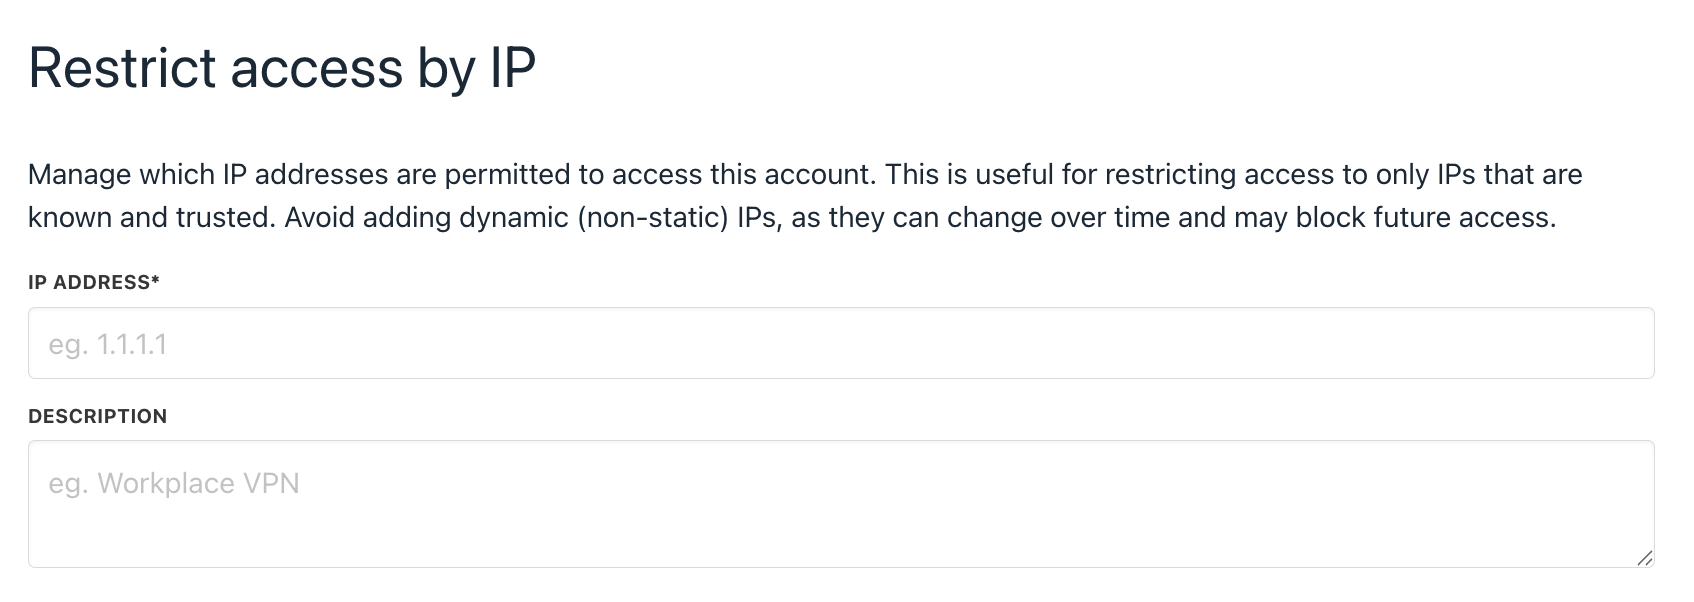
To restrict access, whitelist IP addresses in the client area by adding them.
### **Restricting access with IP whitelisting**
To restrict access, whitelist IP addresses in the client area by adding them.
 ## **Viewing email history**
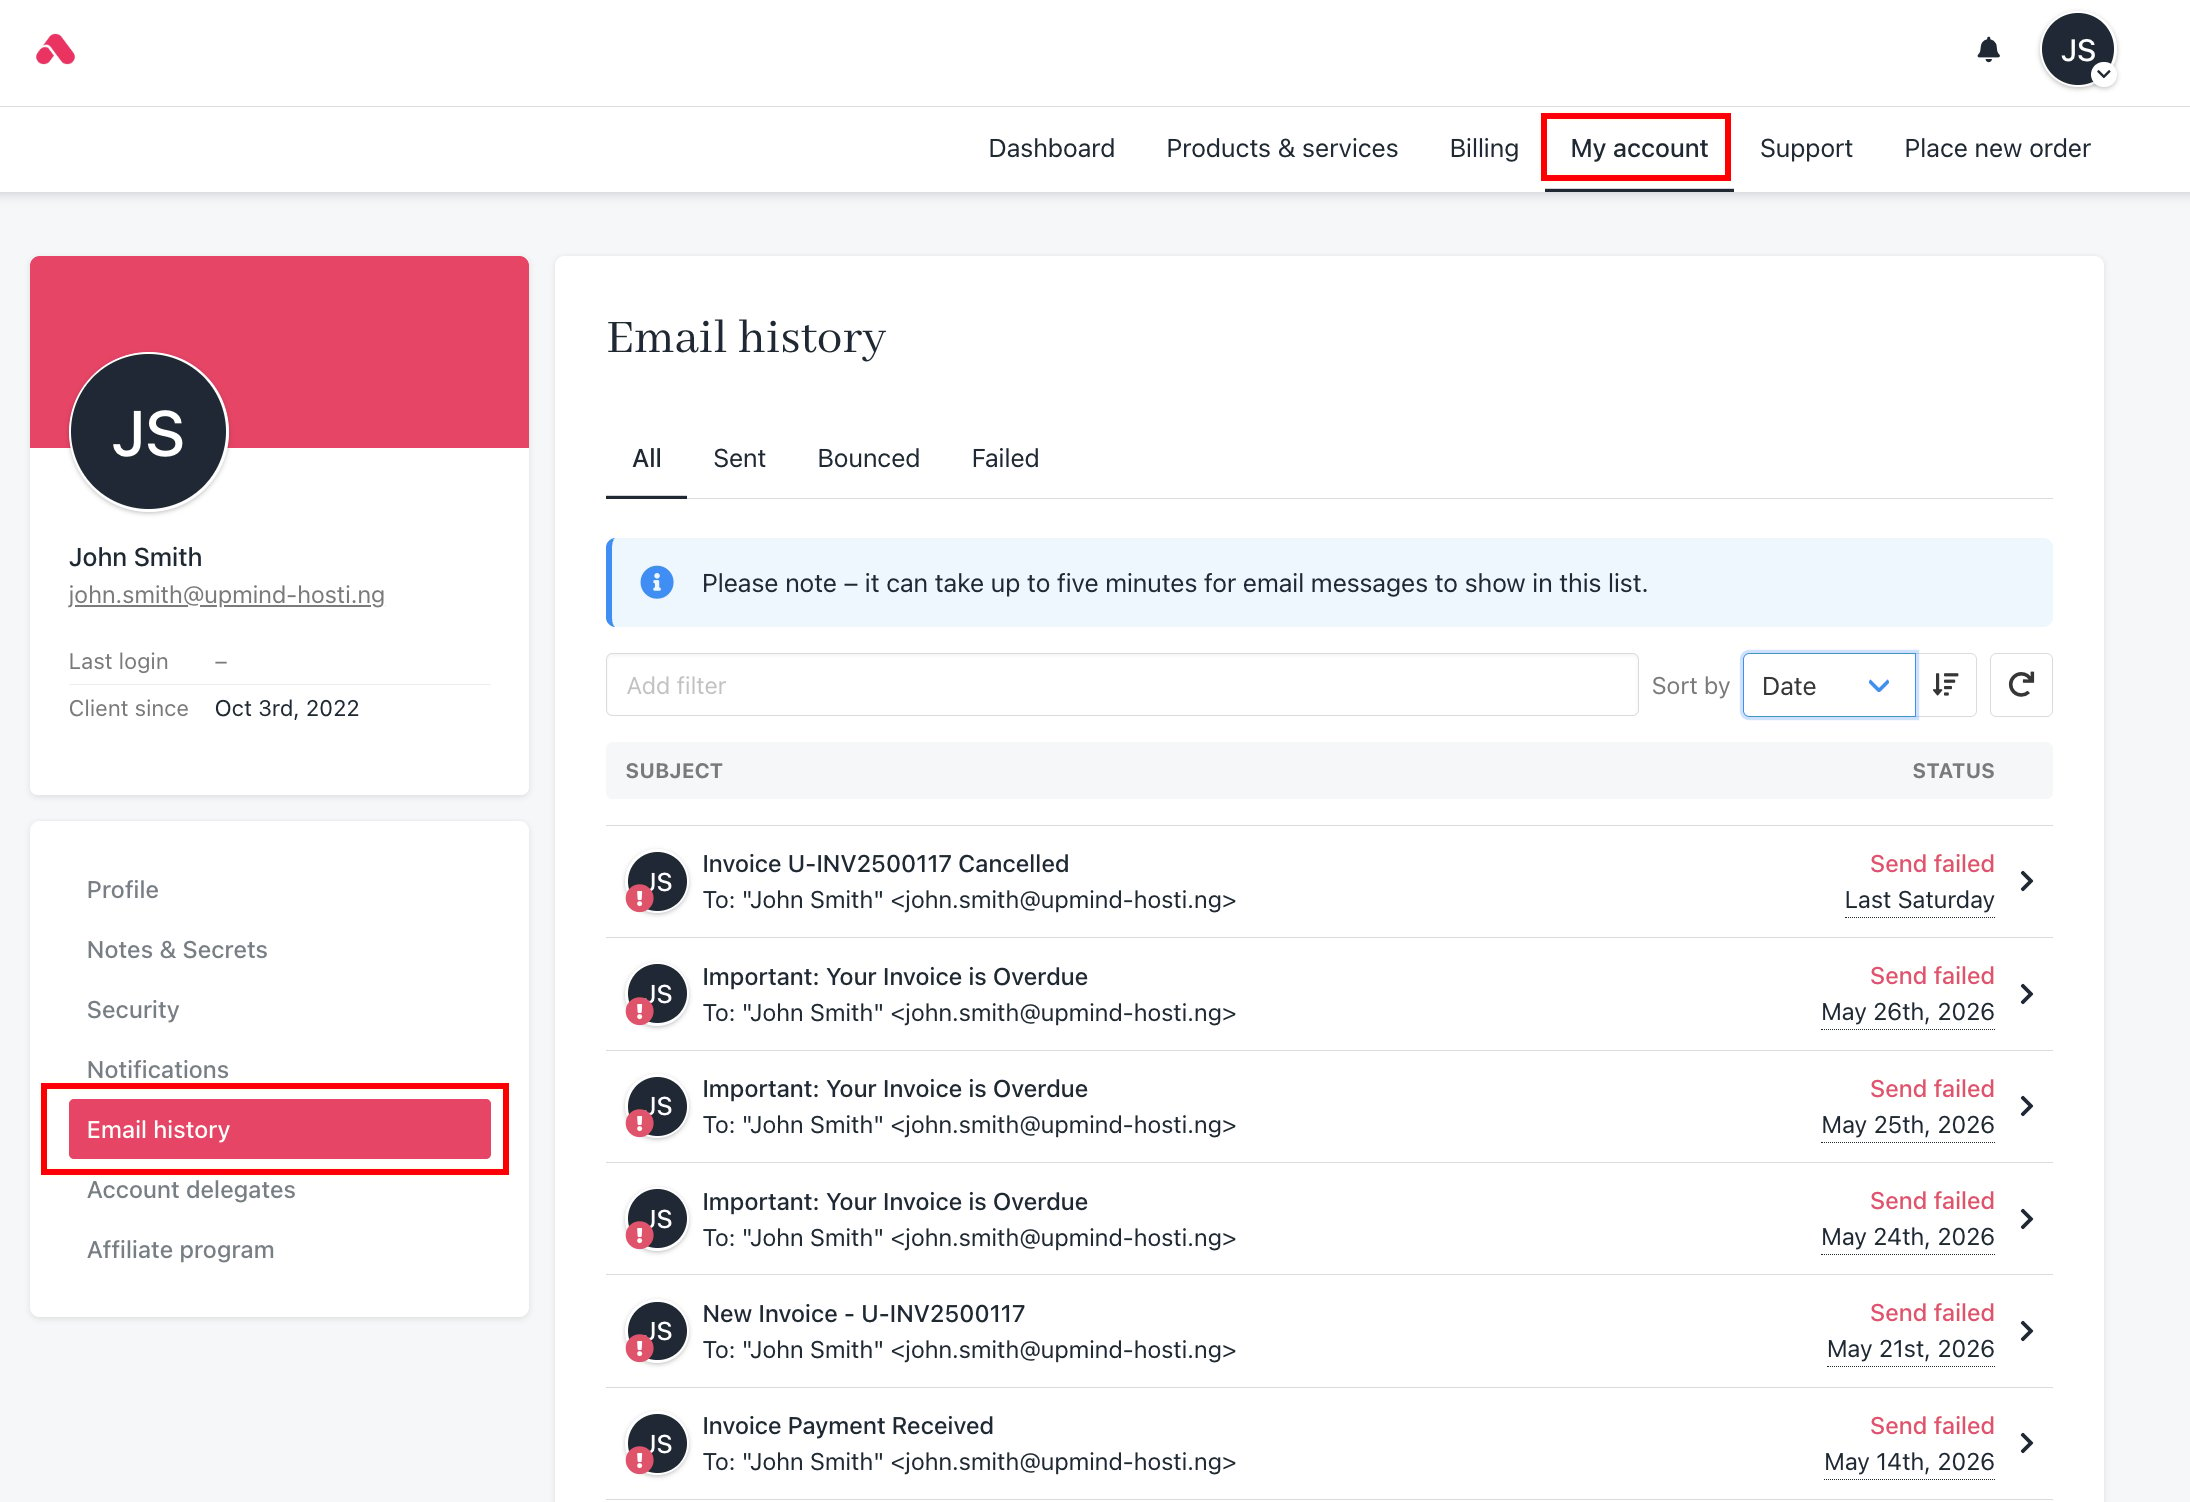
Clients can view a log of their emails and read each message.
1. Click **Email history** on the left menu.
2. A list of email messages will be displayed, including their statuses such as sent, bounced, and failed.
3. Clients can view an email by clicking on the message they wish to open.
## **Viewing email history**
Clients can view a log of their emails and read each message.
1. Click **Email history** on the left menu.
2. A list of email messages will be displayed, including their statuses such as sent, bounced, and failed.
3. Clients can view an email by clicking on the message they wish to open.
 ## **Inviting a delegate**
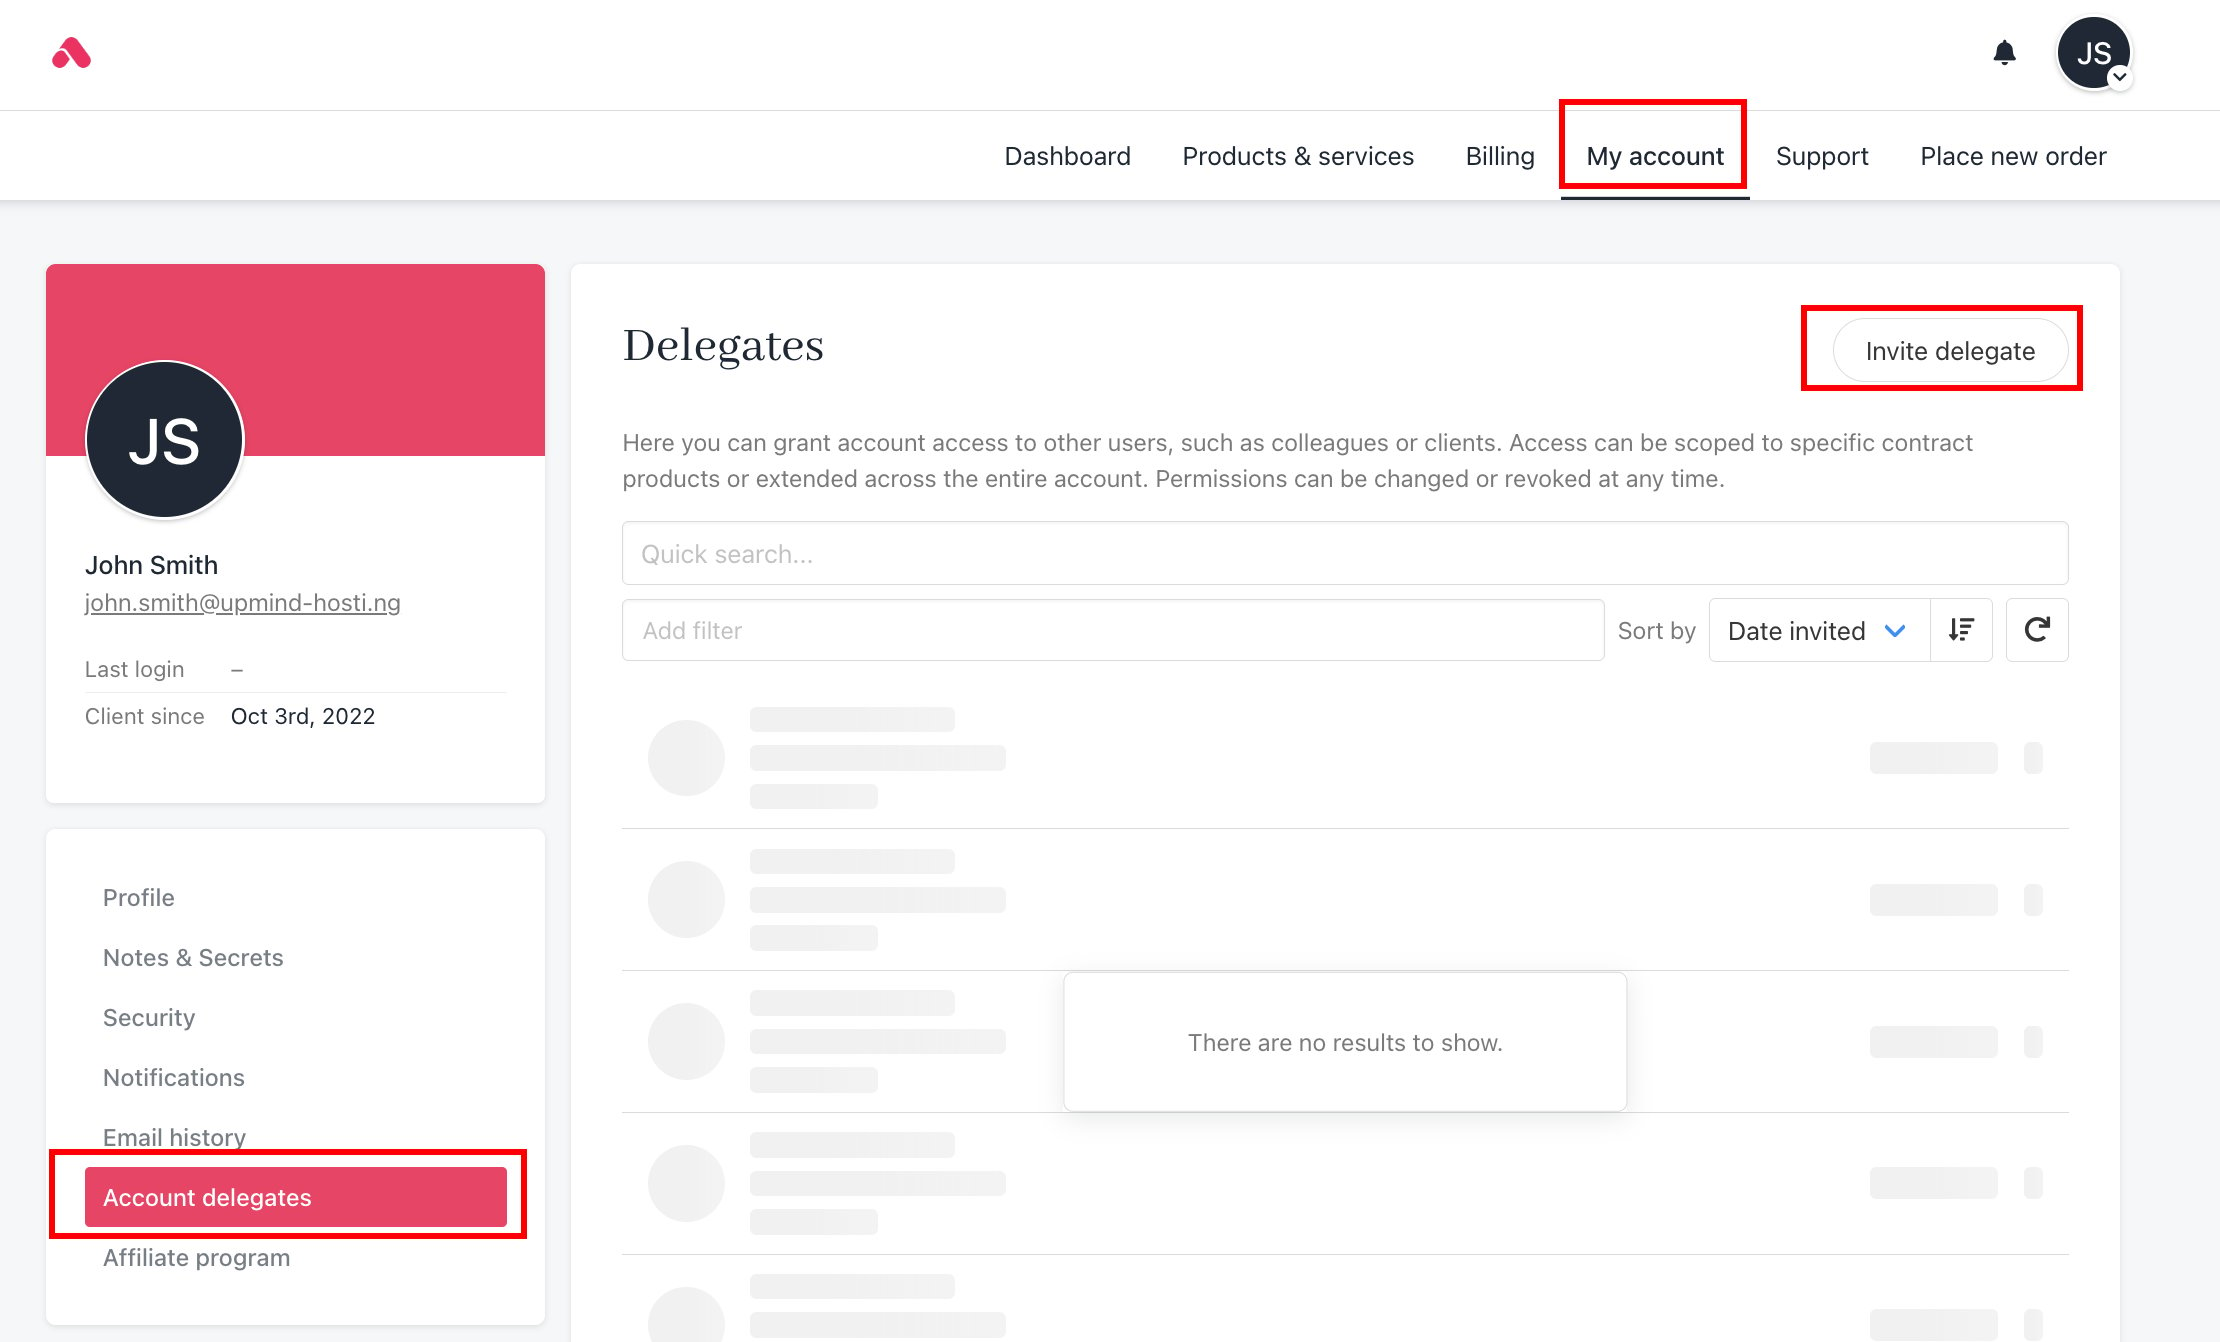
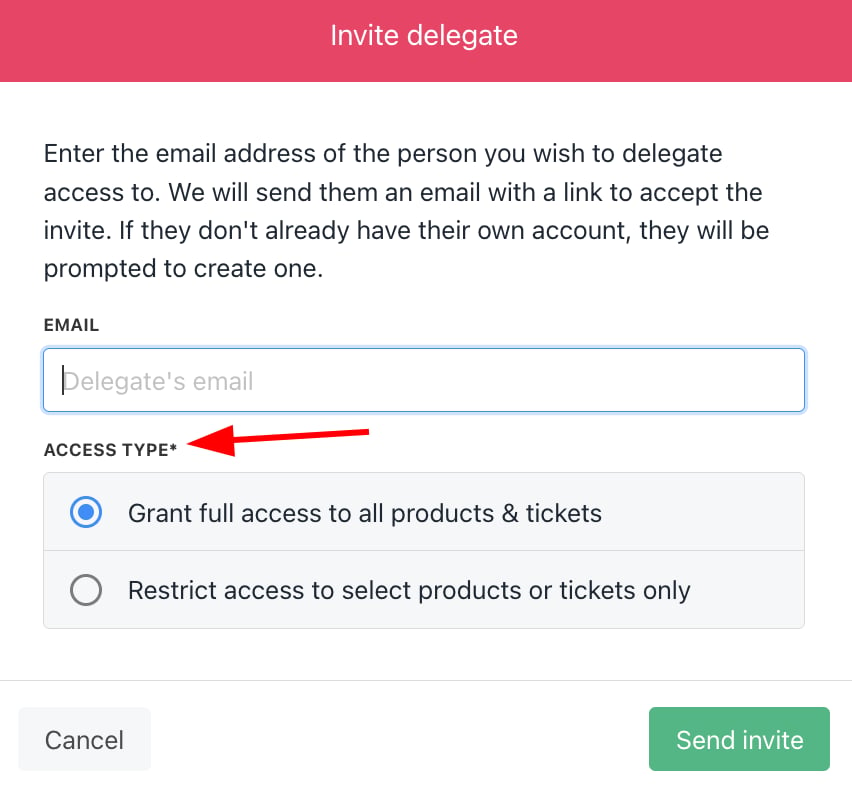
Clients can invite a delegate and grant access to all contract products or specific ones.
1. Go to **Account Delegates** in the left menu.
2. Click **Invite Delegate**.
3. Enter the delegate’s email address and select the contract products you want to share access to, or choose all.
4. Click **Send invite** to confirm.
## **Inviting a delegate**
Clients can invite a delegate and grant access to all contract products or specific ones.
1. Go to **Account Delegates** in the left menu.
2. Click **Invite Delegate**.
3. Enter the delegate’s email address and select the contract products you want to share access to, or choose all.
4. Click **Send invite** to confirm.
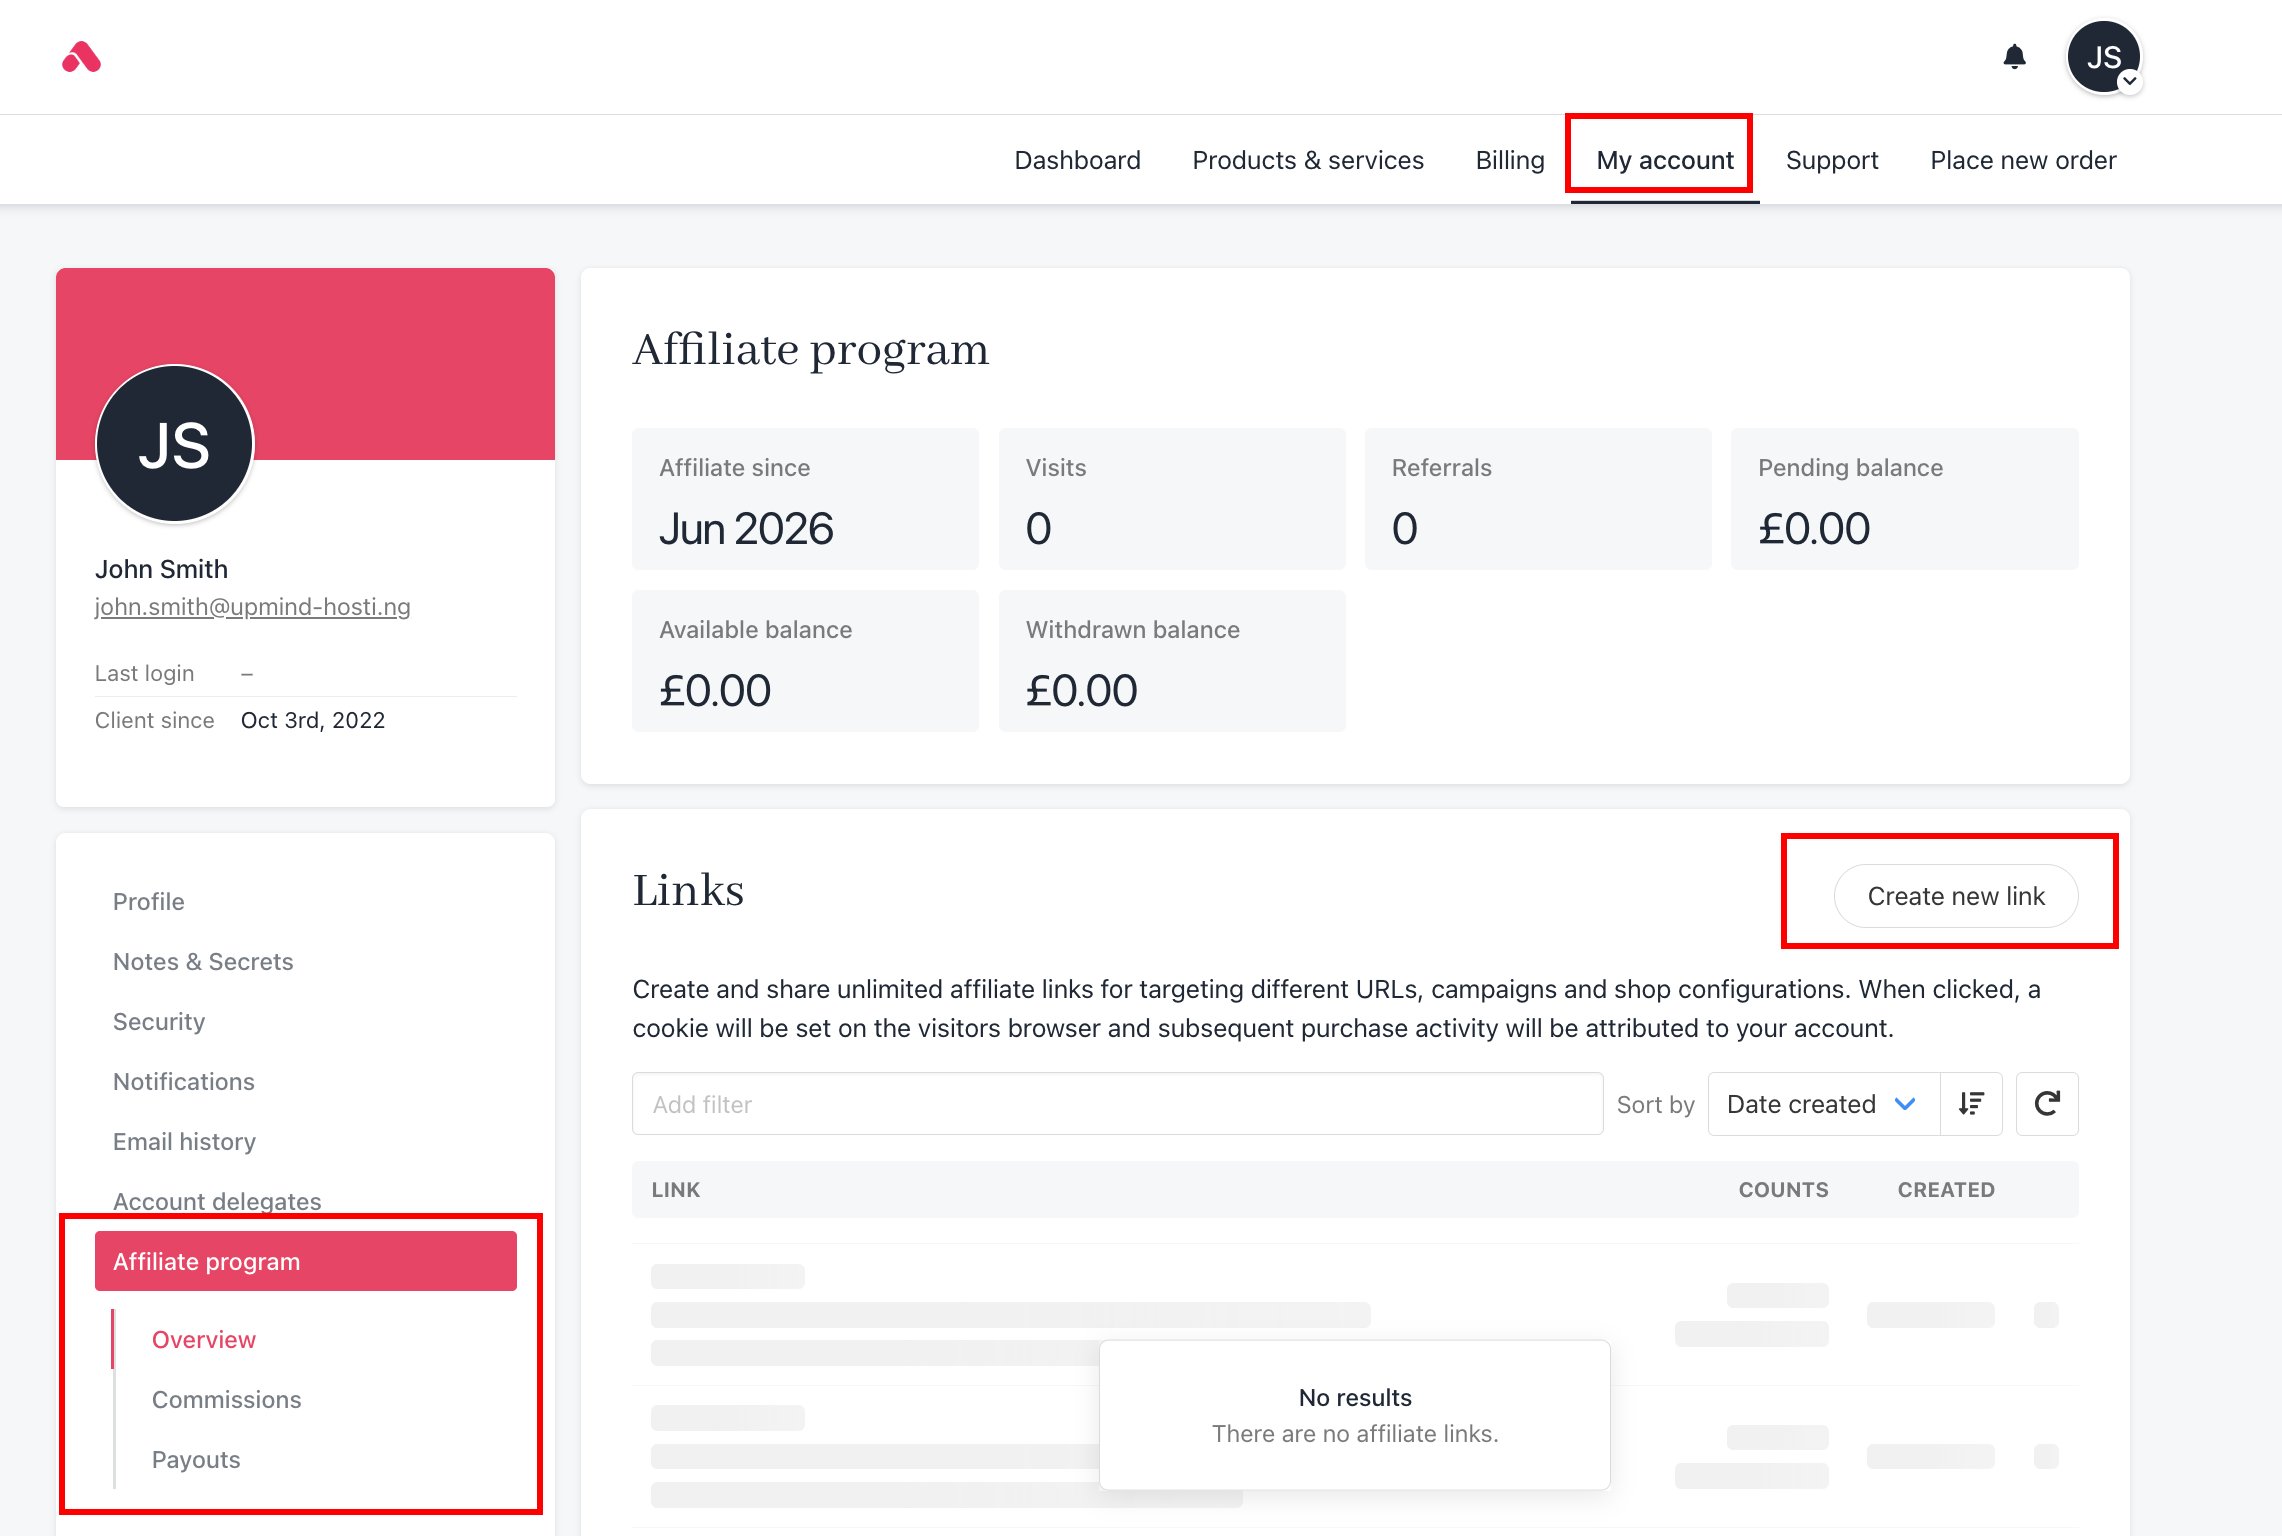
 ## **Viewing affiliate program**
Clients can view the affiliate overview, commissions, and payouts by going to **My Account** and selecting **Affiliate Program** on the left side.
1. Click on **Affiliate Program** in the left menu. It will show the **Affiliate Overview**.
2. Clients can create an affiliate program link and track referrals from the affiliate overview.
3. Clients can also manage payout destinations, view payout history, and see commission details.
## **Viewing affiliate program**
Clients can view the affiliate overview, commissions, and payouts by going to **My Account** and selecting **Affiliate Program** on the left side.
1. Click on **Affiliate Program** in the left menu. It will show the **Affiliate Overview**.
2. Clients can create an affiliate program link and track referrals from the affiliate overview.
3. Clients can also manage payout destinations, view payout history, and see commission details.